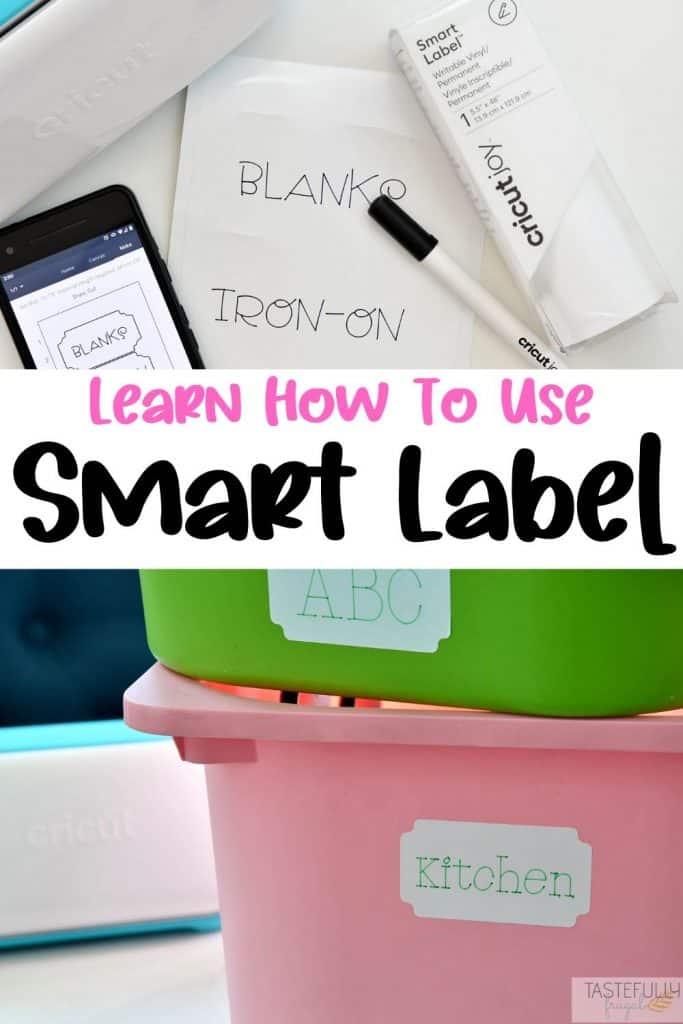
Learn all about Cricut’s new writable vinyl, Smart Label!
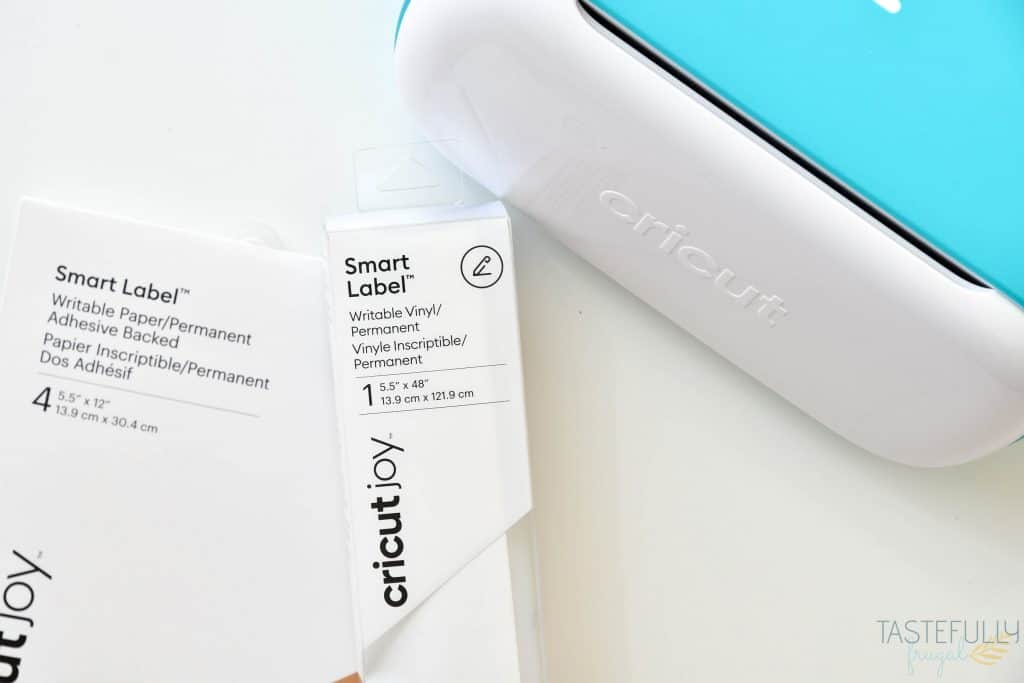
In case you missed the announcement, earlier today Cricut launched a brand NEW cutting machine, Cricut Joy!! It’s Cricut’s most compact cutting machine, but don’t let the size fool you. It has a TON of new features and materials that go with it. If you want to read more about the Cricut Joy, check out this post.
What is Smart Label?
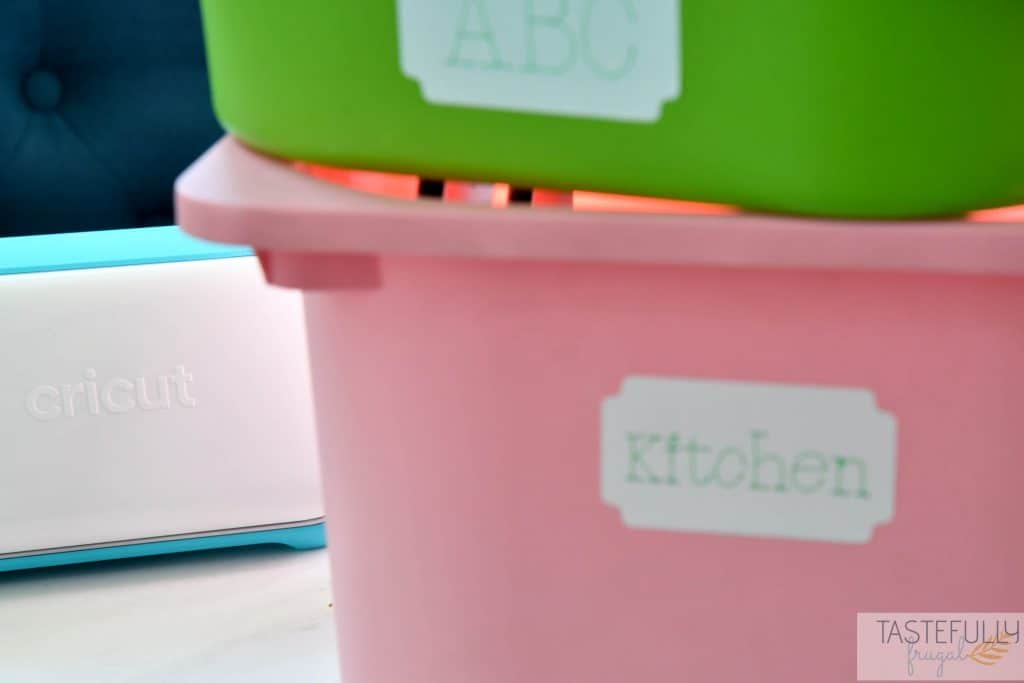
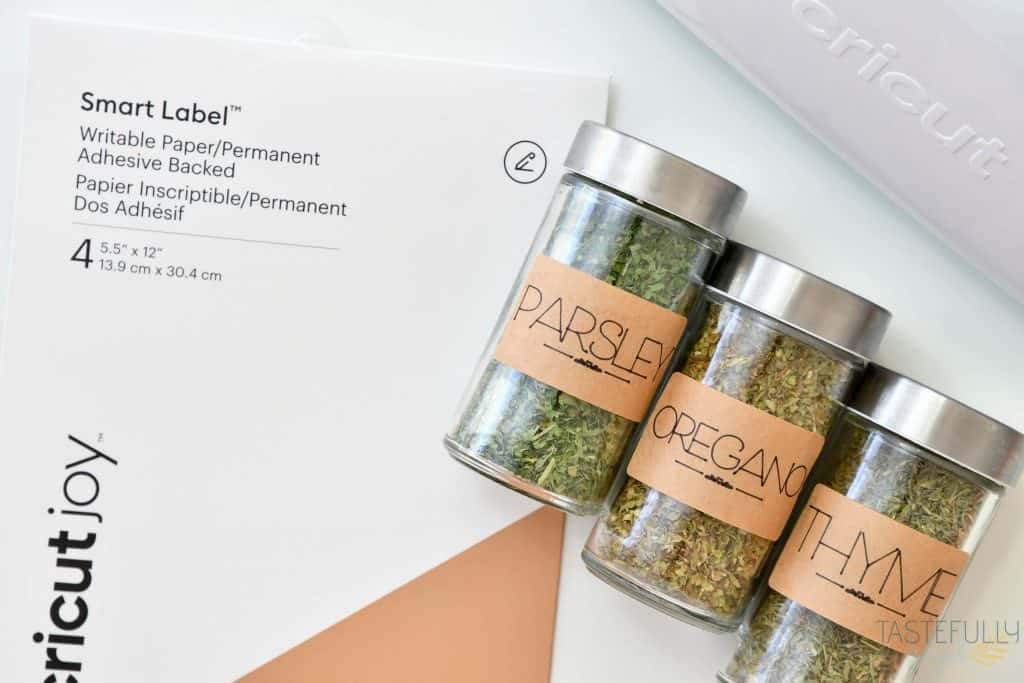
Right now I want to talk about one of those new materials, Smart Label. My favorite feature with Cricut Joy is the ability to cut without a mat. With Smart Label it takes it a step further and allows you to write on the vinyl WITH NO SMUDGES! This makes creating labels for your pantry, kids room, craft room, really anywhere a breeze! I even used Smart Label to put my son’s name on his third lunchbox we’ve bought him this year (he’s known for losing things).
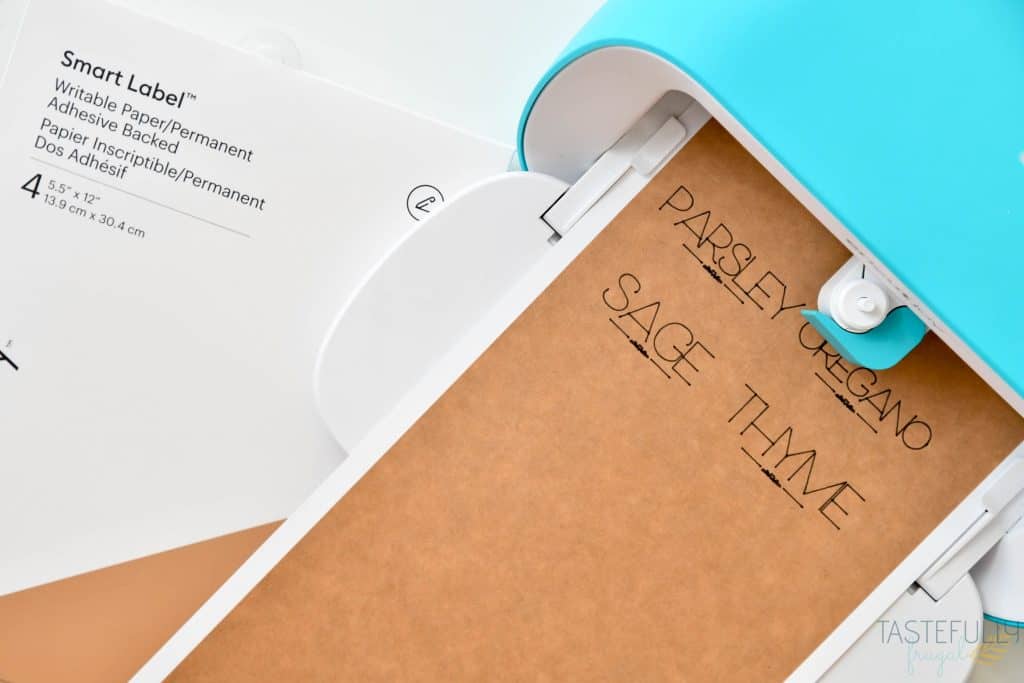
Smart Label is also great for teachers and professional organizers too! It allows you to put your own personal touches on labels, quickly and easily. Unlike a label maker where you are limited on fonts and colors, only your imagination is the limit with Smart Label. You can choose your font, choose your color and even choose if you want artwork to be on your labels too!
Is Smart Label Permanent?
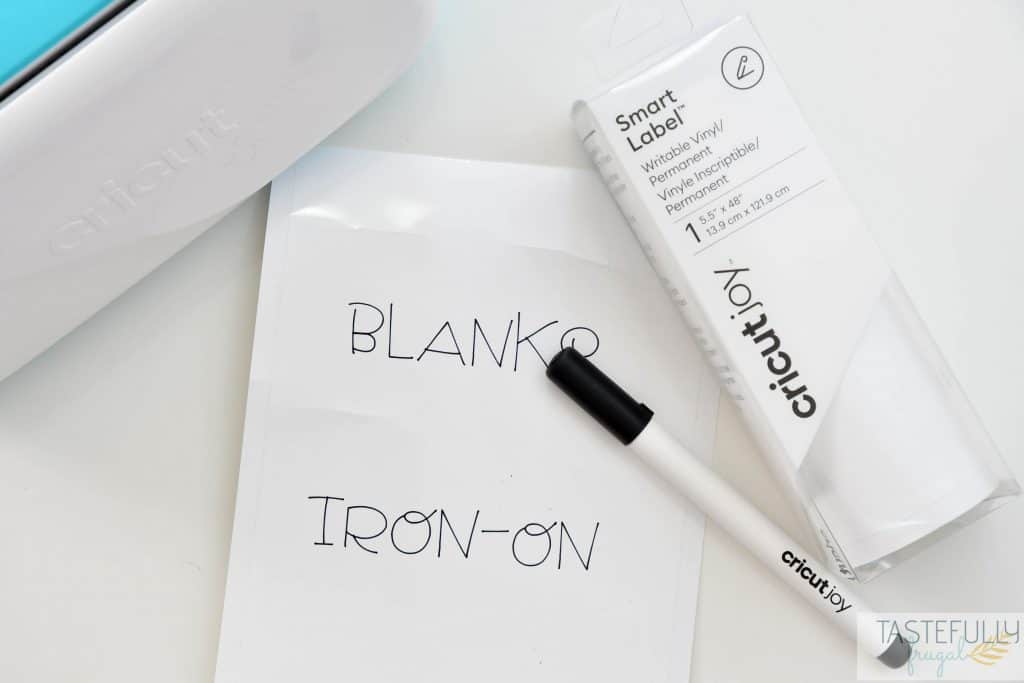
There are two different Smart Label materials that are available. The Smart Label Vinyl is a permanent vinyl. Even though it is permanent vinyl, you can remove it from most surfaces if you need to. There is also a Deluxe Adhesive Backed Smart Label paper that is not permanent.
What Pens Can I Use?
There is a whole line of pens for Cricut Joy that you can use with Smart Labels. I had the chance in January to go to the Cricut offices and try out all the new products and we learned as we were using them that the gel pens don’t dry on the vinyl as fast so they do smudge. So it’s best to stick with any of the solid color pens and markers that are NOT glitter.
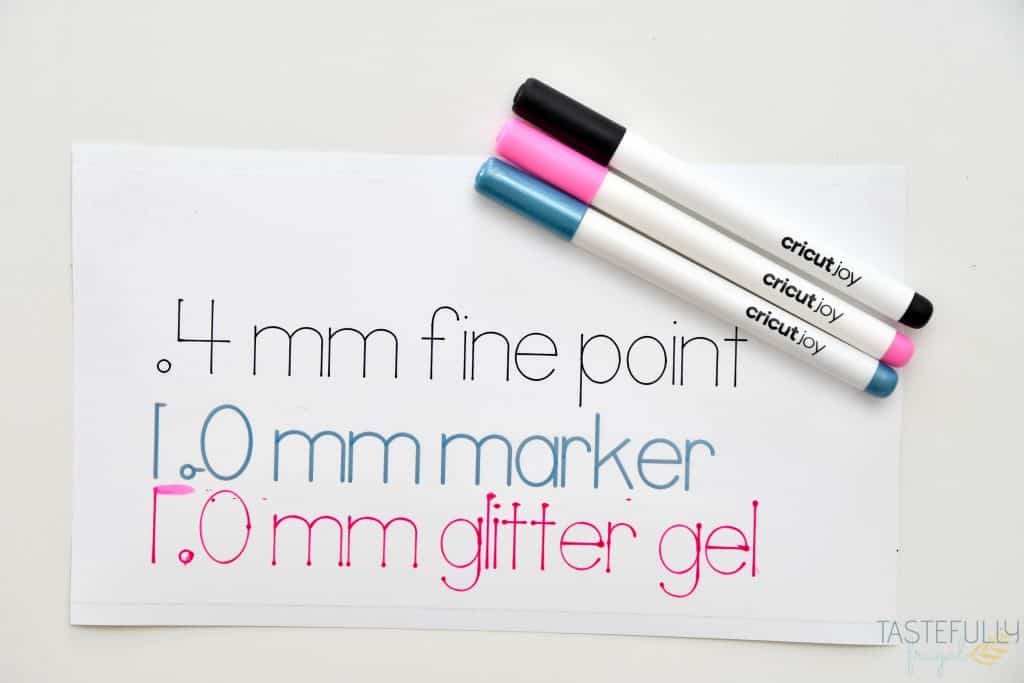
As you can see from the above picture, there is quite a range of thickness of pens too! If you are doing a smaller label, for like a spice jar, you’ll want to stick with either a .3 or .4 mm pen. If you are making a larger label, like for playroom organizers or classroom folders, you can use any sized pen or marker.
How Do I Use Smart Label?
Using Smart Label with Cricut Joy is really super easy! All you have to do is create your designs in Design Space, send it to Cricut Joy, load the pen first, then the blade and you’re good to go! A few things to note:
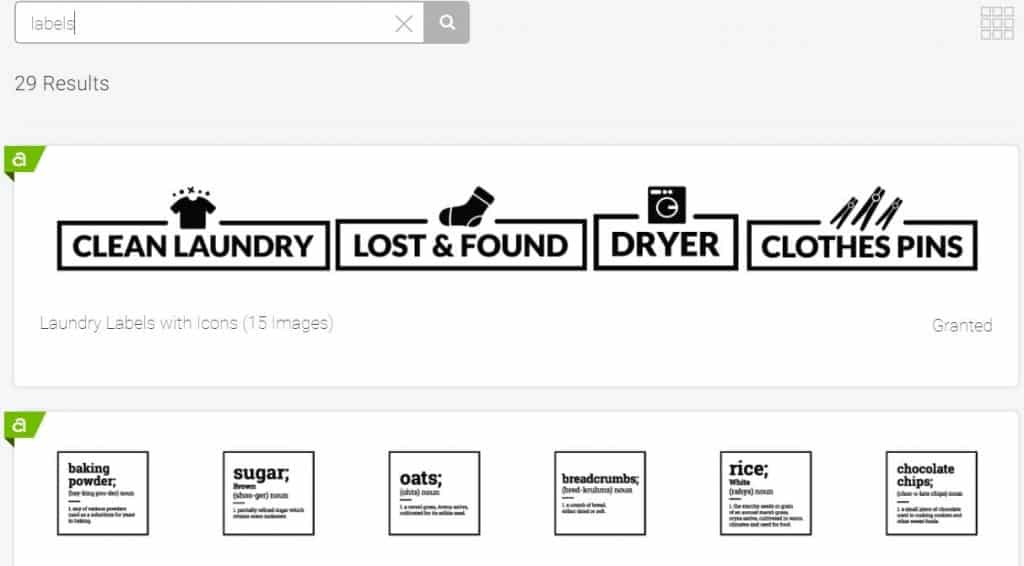
- There are pre-made label designs available in Design Space (like the ones I used for my pantry jars here). Click images, search Image Sets and then LABELS for dozens of different designs.
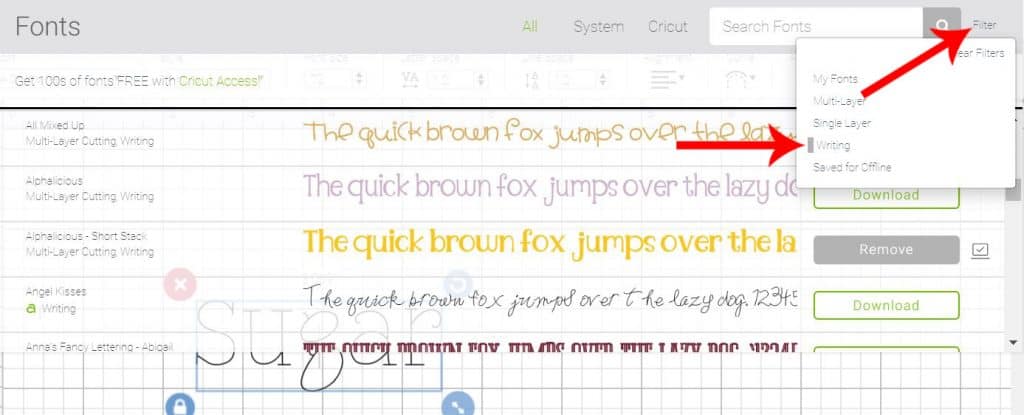
- If you are creating your own label you’ll want to make sure you are using a WRITING font. To do this, add your text, click the FONTS box, and then filter fonts to WRITING.
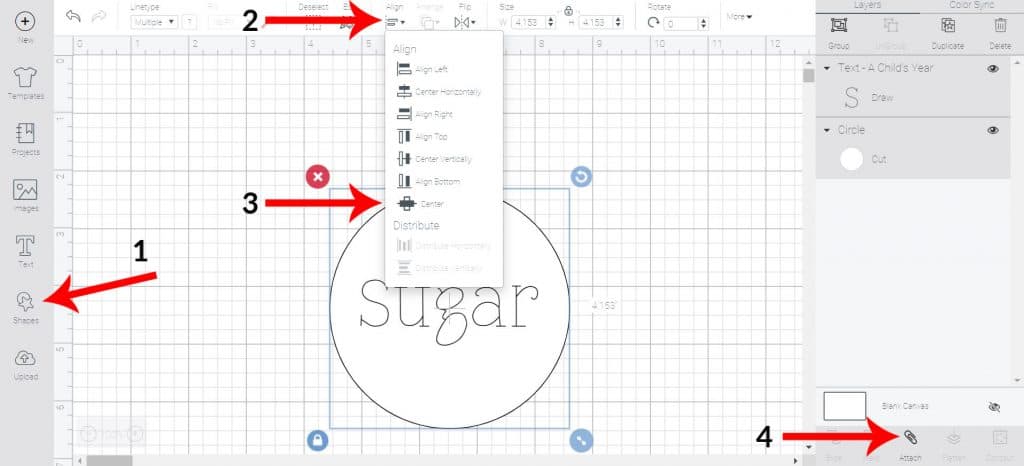
- If you are creating your own label you want to make sure you are adding a shape to be cut around your label AND attaching the shape to your writing so it will cut and write together. To do this:
- Add your text, make sure it’s set to write (see above tip)
- Add your shape from the shapes button in Design Space
- Size your shape to fit around your text
- Select both your text and shape and center it (with the ALIGN feature in the top menu)
- While both text and shape are still selected, click ATTACH in the bottom right menu.
Check out this video below to see how EASY Smart Label is to use!
Make sure to subscribe to my YouTube channel to check out all the video tutorials for Cricut Joy (and Explore Air 2 and Maker too). For more Cricut projects and tutorials, check out these posts. For tips, tricks and immediate help, be sure to join our FREE Cricut Support Group.


LuLu says
This is great, I can make labels for my jars of Homemade cookies. I love that you showed how to do it on Youtube. Thank you, Sydney.