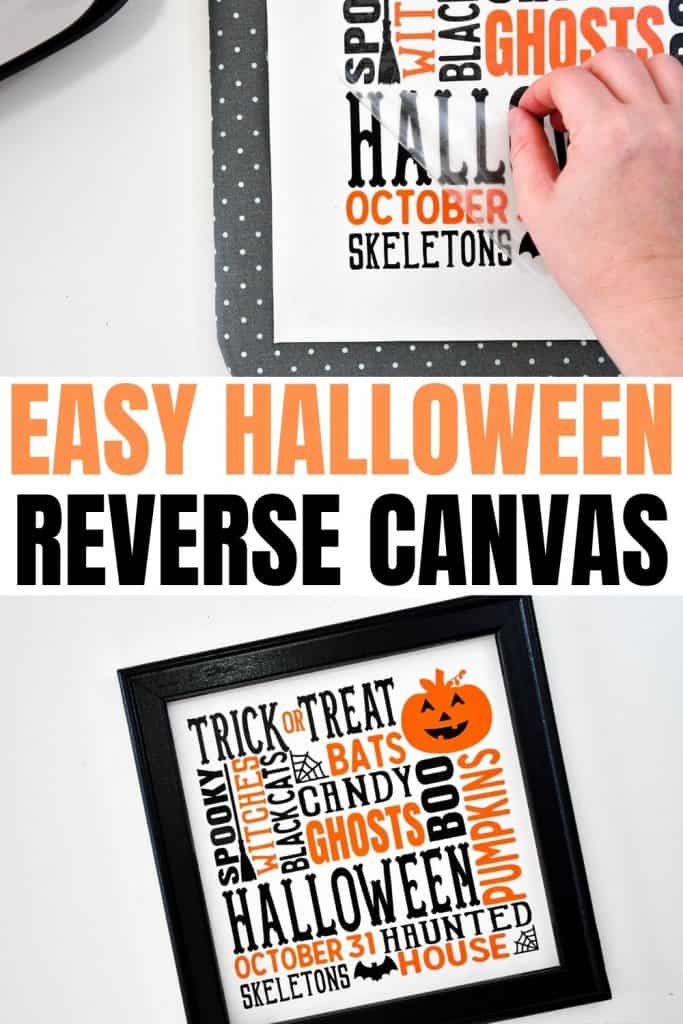
Learn how easy it is to make a reverse canvas with the help of your Cricut machine with these tips and tricks.
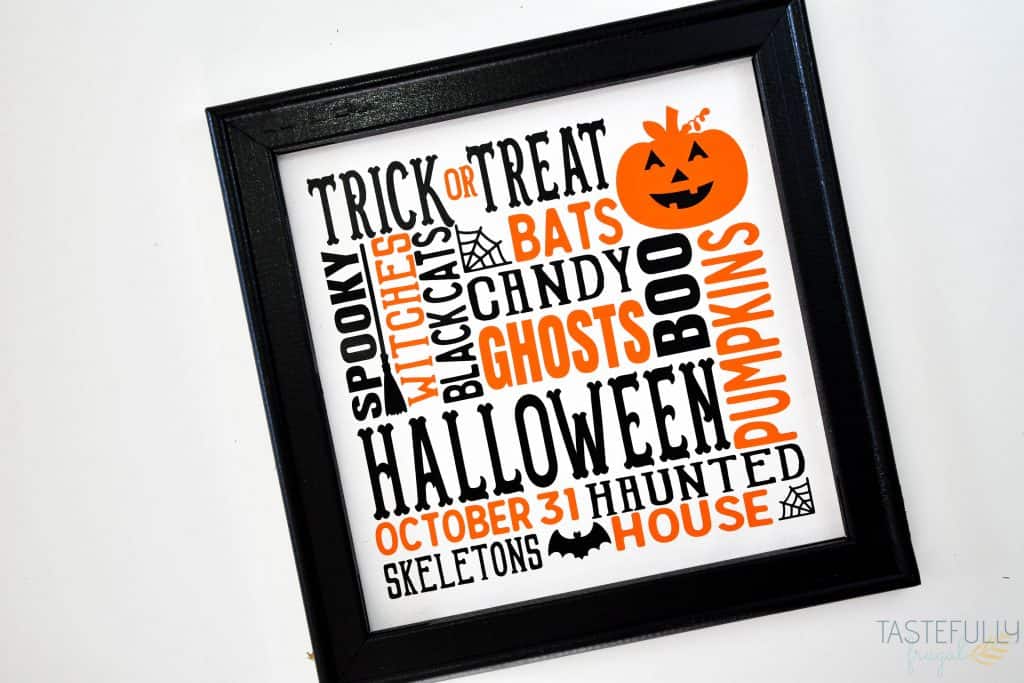
I have been seeing friends make reverse canvases for months now and I have always been intimidated by them! I think it was the whole, getting the canvas off the frame and that had me a little worried, but I am happy to report that with the right tools it is SO easy! Honestly it is one of the easiest projects I have ever made.
What is a reverse canvas?
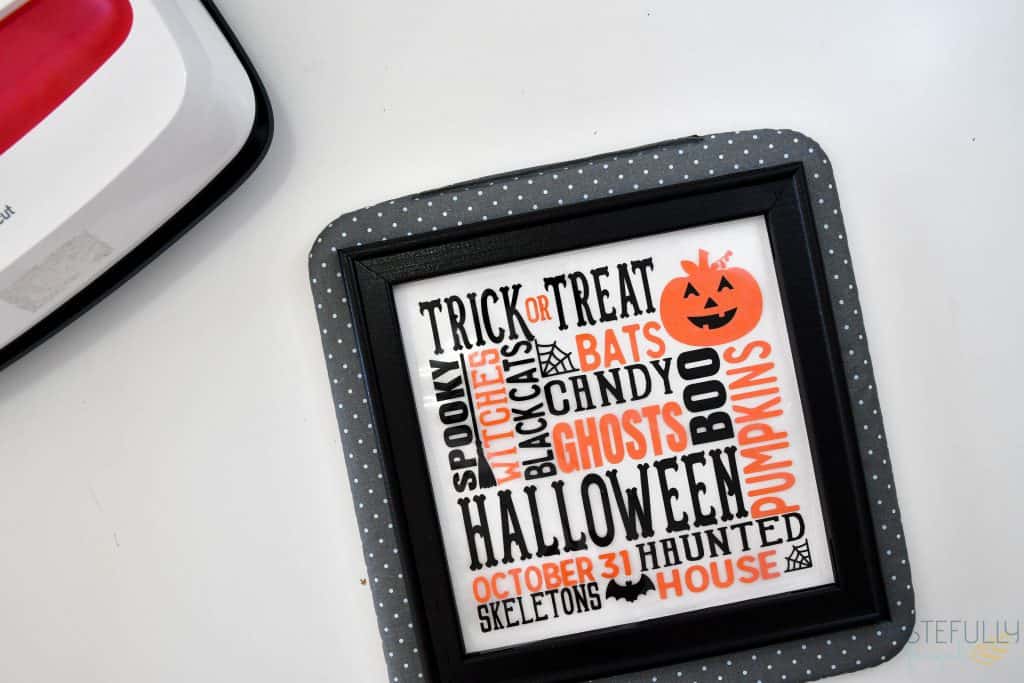
Not sure what a reverse canvas is or what makes it different from the canvases you buy from the store? No worries, I didn’t know either at first. A reverse canvas is when you take a canvas (any size) and remove the canvas part from the frame and put the frame on top. You usually either paint or stain the frame before you attach it back to your canvas. Keep reading for tips on how to easily remove the frame and the best paint to use.
What type of vinyl works best for reverse canvas?
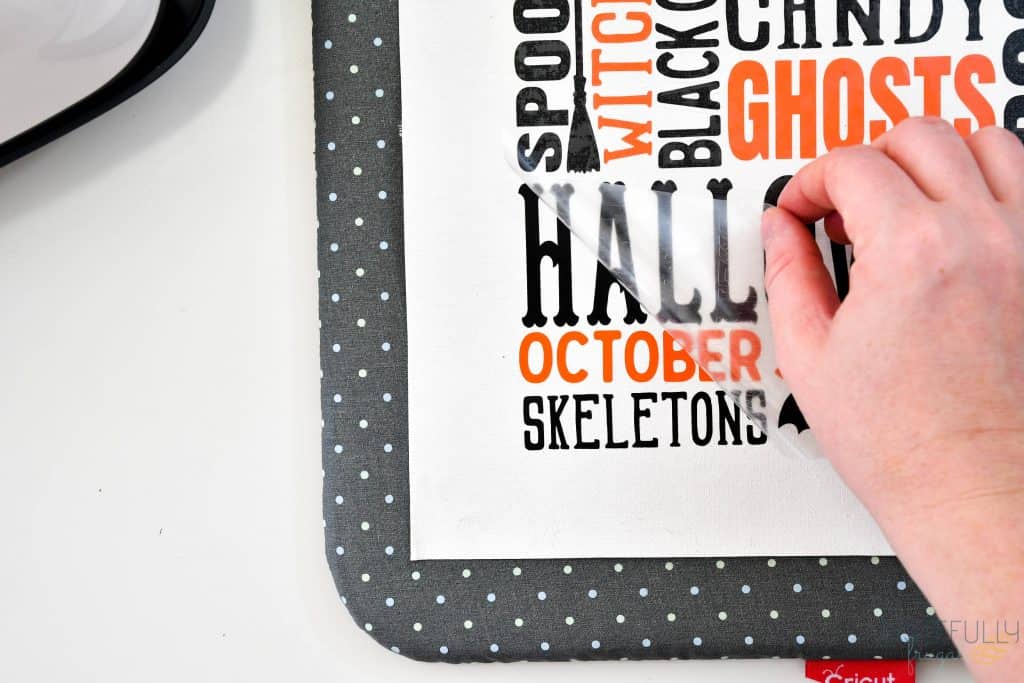
Even though this is my first reverse canvas, I have done several projects with these canvases before. I’ve found the best vinyl in terms of ease of use and longevity of the project is HTV or iron-on vinyl. For this project I used Siser Easyweed HTV in black and orange. You can buy it here. If you want to use the same Halloween Subway Design I used here, you can find it in the Fall Craft Bundle on DesignBundles.
How do you remove the canvas from the frame?
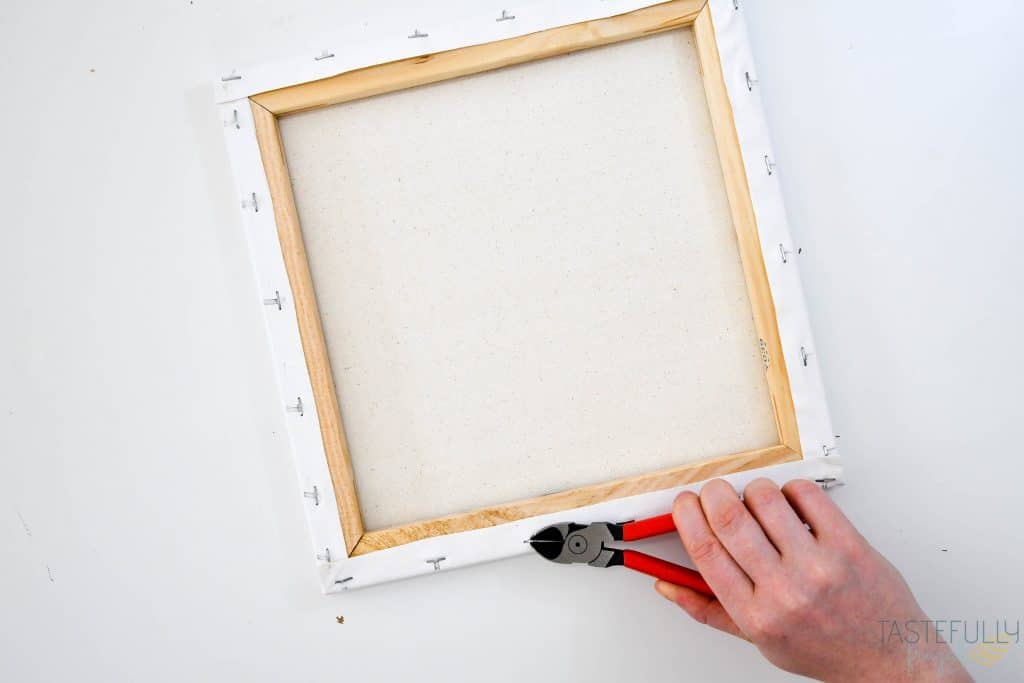
This was the part I was most worried about. But thankfully my hubby had the perfect tool for it! We used a Knipex Diagonal Cutter. They are like pliers but they are curved on the inside which makes pulling out the staples SUPER easy! You can get them at any home improvement store or on Amazon.
What paint works best?
The type of paint you use can make a big difference in not only your finished reverse canvas but how quickly you can finish your project. You want to use a quality paint that doesn’t take several coats to give you full coverage. We are big fans of Krylon Spray Paint. The coverage is really good, we only needed two coats but probably could have gotten away with one, and it dries super quick! It was dry to the touch in just 14 minutes! That makes a big difference when you’re trying to finish a project during baby’s nap time!
How to make a reverse canvas
We’ve covered some of the tips and tricks I’ve learned with making a reverse canvas but let’s put it all together in one simple tutorial! If you prefer a video tutorial you can check out the full process in my YouTube video below.
SUPPLIES:
Canvas (I used a 12×12)
Tool for removing staples (these pliers made it SO easy)
Paint for frame (I used Krylon Semi-Flat in Black)
HTV (I used Siser EasyWeed in Black and Orange. Use code GET5 to save 5%)
EasyPress 2 and Mat
Scissors or Rotary Cutter
Staple Gun (this is the one I have and love)
If you need to order Cricut supplies and you’re shopping on Cricut.com, use code SAVE10 to save 10% and get FREE shipping on all $50+ orders. That’s on top of the 10% discount Cricut Access members get automatically! Learn more about Cricut Access here.
DIRECTIONS

Remove staples from back of canvas and frame. Put frame on top of canvas and measure how big you want your design. I found that 10.5″ square was the perfect size for my project.
Paint frame.
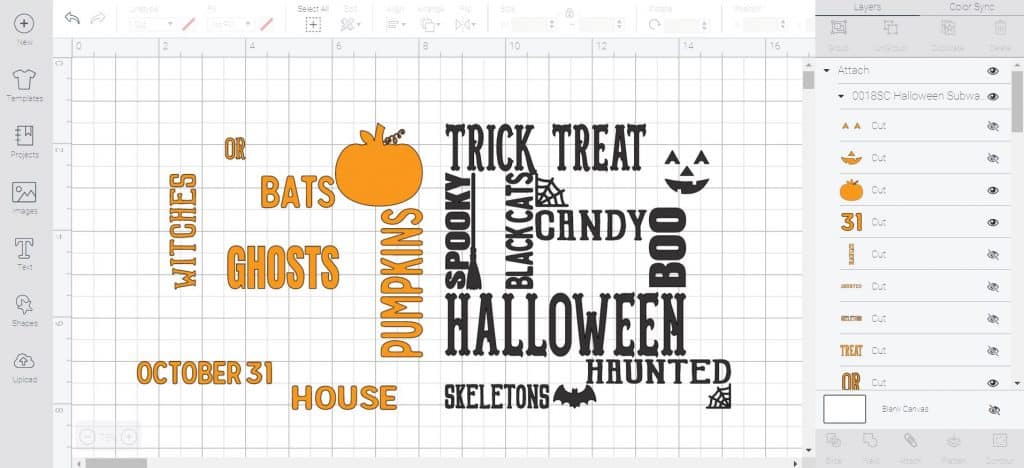
Upload design to Design Space, or create your design in Design Space. If you’re using more than one color, like we are here, make sure you attach all the like colors for the easiest application to the canvas.
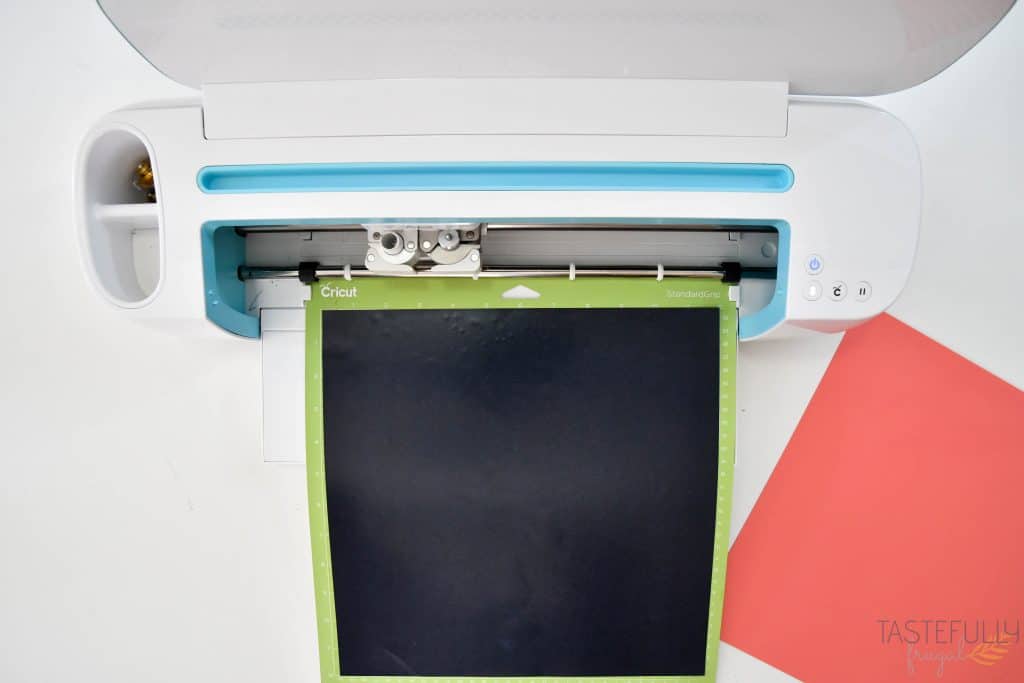
Cut your design out with your Cricut. ***Tips for cutting HTV***
-Make sure to MIRROR your design on the preview screen.
-Use a StandardGrip or LightGrip mat and put your HTV shiny side DOWN.
-Most HTV cuts perfectly on the Everyday Iron-On setting. If you’re using a speciality HTV, like glitter or foil, search for that type of iron-on in the materials drop down menu in Design Space.
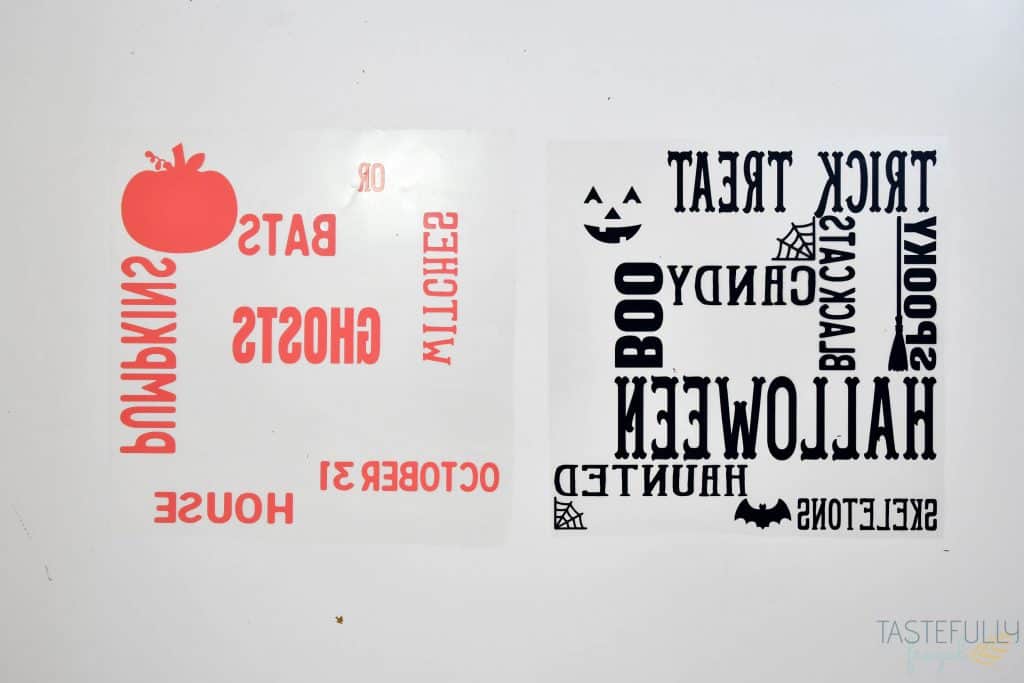
Weed excess vinyl from your design.
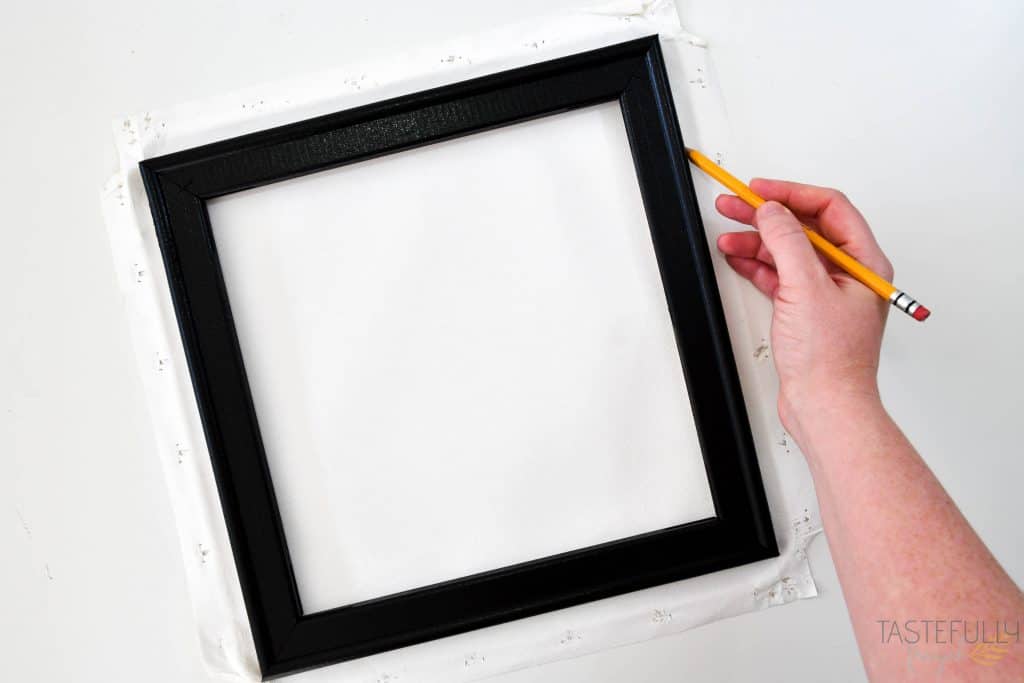
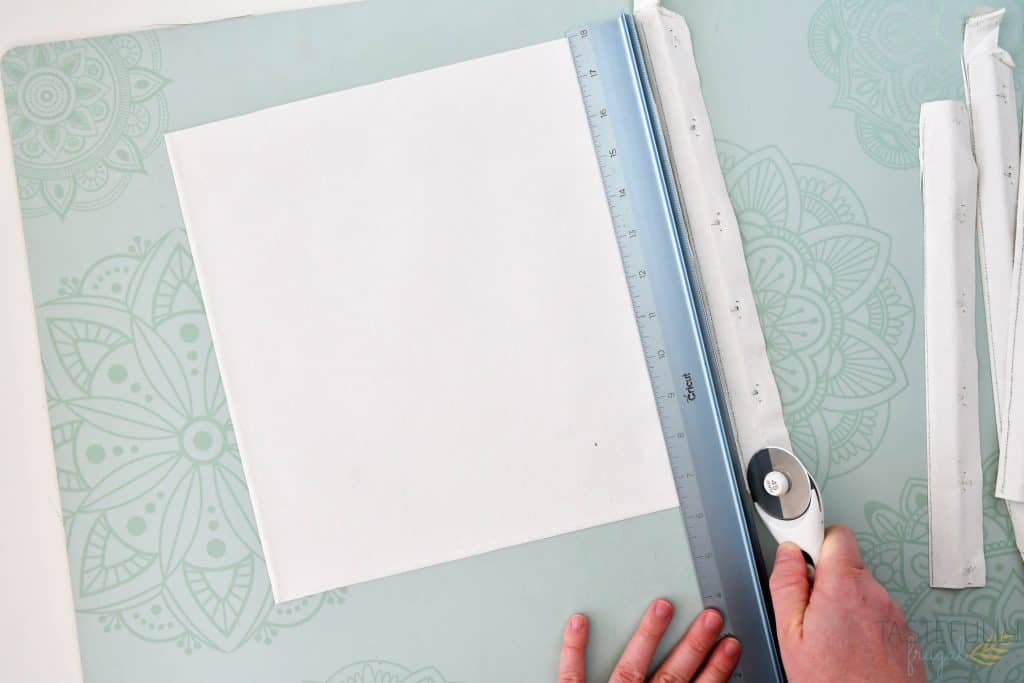
Line up painted frame on your canvas and mark where excess canvas is. Use scissors or a rotary cutter to cut off excess canvas.
Preheat your EasyPress 2 to 285F and 15 seconds. Once EasyPress has reached temperature, put your canvas on the EasyPress mat and preheat your canvas for 5 seconds.
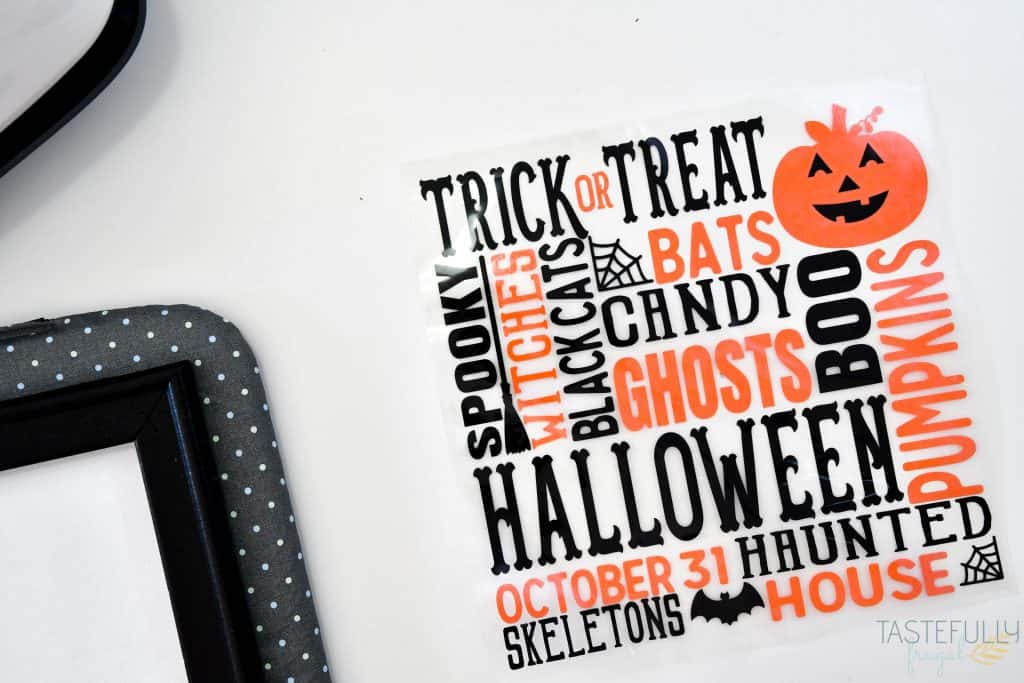
Line up your first layer of HTV on your canvas. I did orange first, since it was the pumpkin and we wanted the jack-o-lantern eyes in black to be the top layer.
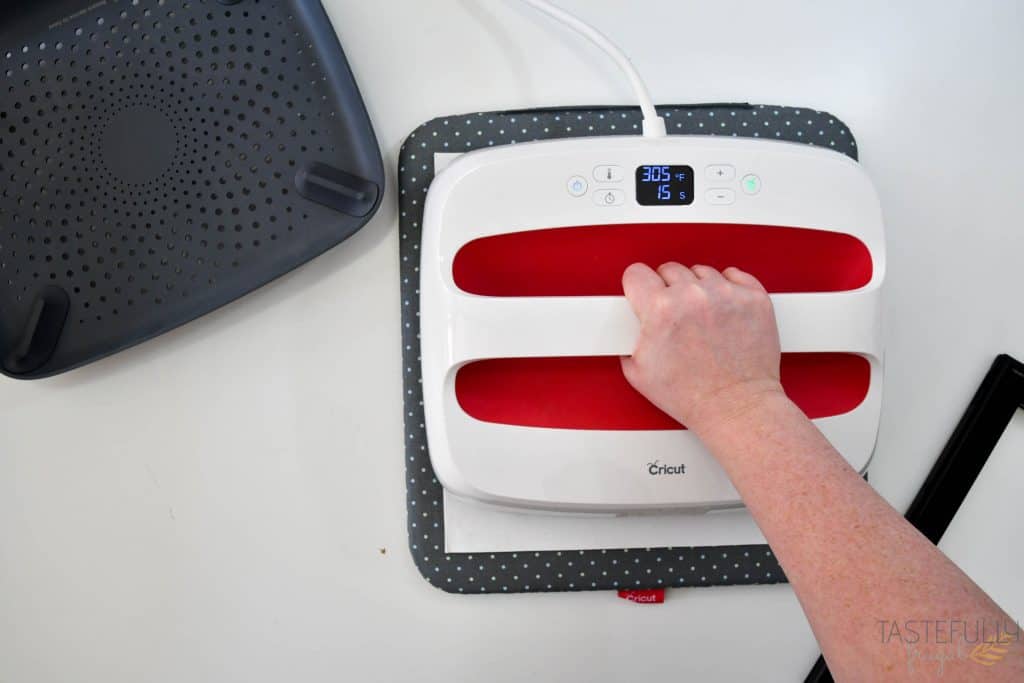
Press first layer for 10 sec. Let HTV completely cool and then remove the plastic backing.

Line up second layer of HTV and press for full 15 sec. Let HTV completely cool before removing backing again.
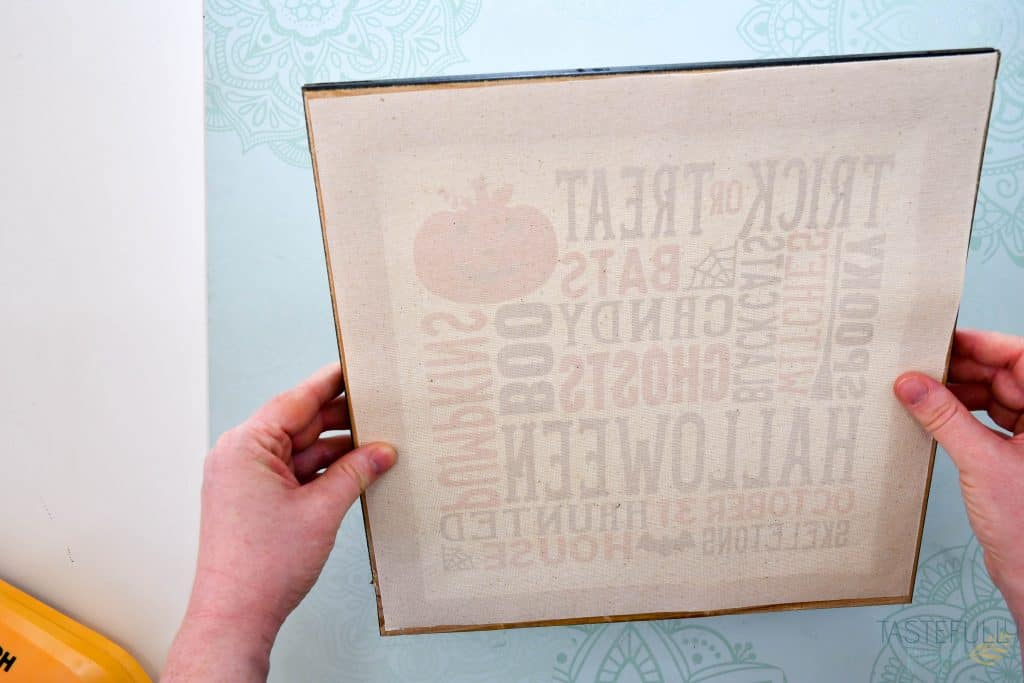
Put your frame face down on your work surface and then line up your design on your frame. I used an LED light to help see through the canvas to make sure it was lined up perfectly.
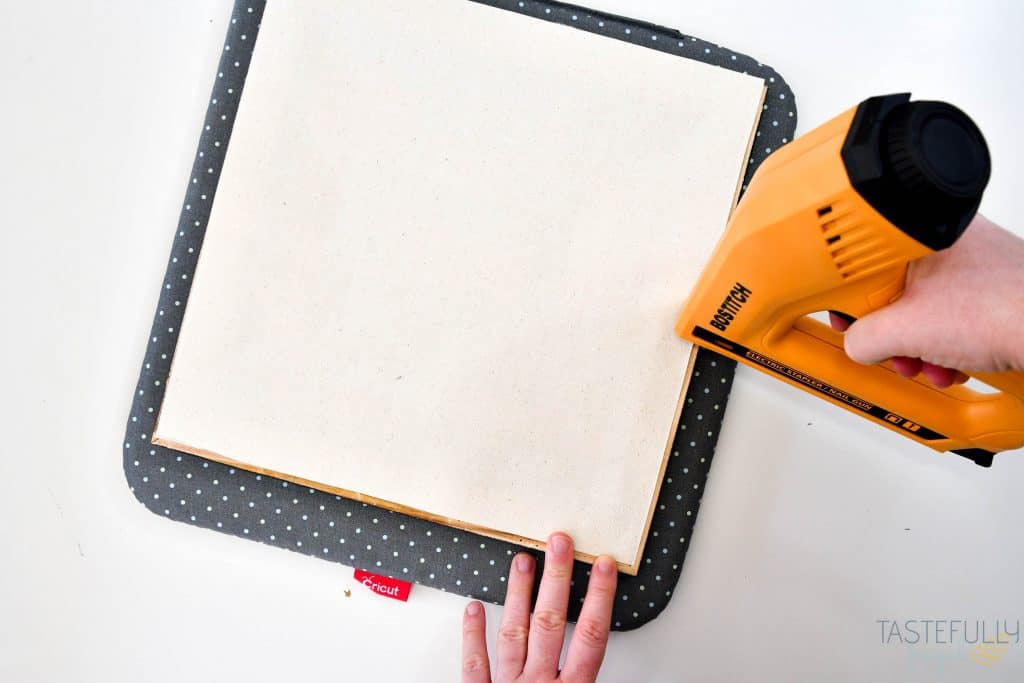
Use staple gun to staple canvas to frame. I started with the two sides then did the opposite two sides and lastly the corners.
Easy Reverse Canvas

And just like that you have a reverse canvas! Not only are the design possibilities endless with a reverse canvas but it’s a super affordable project too! You can often find multi-packs of canvases on sale at your local craft store for 50-70% off.
Make sure to subscribe to my YouTube channel to check out all the video tutorials. For more Cricut projects and tutorials, check out these posts. For tips, tricks and immediate help, be sure to join our FREE Cricut Support Group.


Leave a Reply