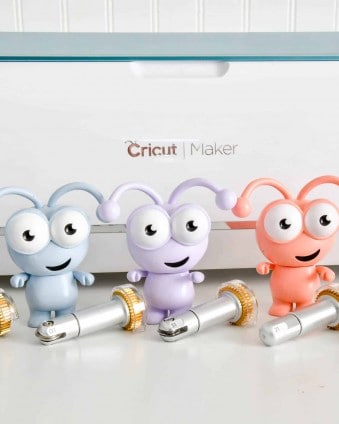
Cutting the pieces for your quilt is easy peasy with the Cricut Maker! Check out this post for tips and tricks for prepping your fabric and cutting fabric with the Cricut Maker.
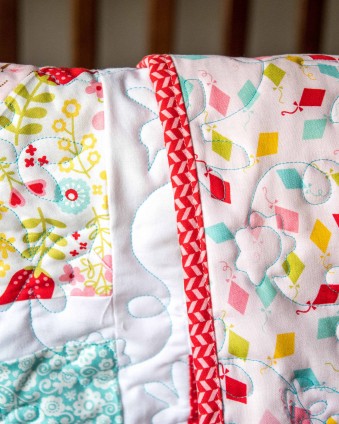
Last week, I shared with you how excited I was to make my first quilt EVER! Making a quilt has been on my bucket list for years and I’m so happy to finally be crossing it off. You can check out my post on the fabrics, patterns and tools here. But today’s post is all about the easy part – cutting the fabric! The reason I say this is the easiest part is because the Cricut has teamed with Riley Blake Designs and taken ALL of the hard work out of quilt making.
There is some prep work to be done prior to cutting your pieces. BUT Cricut has been hard at work creating tools to make that part of the process easy too! Today I’m going to share with you how to prep your fabric for cutting and how to get the best results with cutting fabric. Then tune in on August 15th for the finished quilt and tips on how to piece everything together. 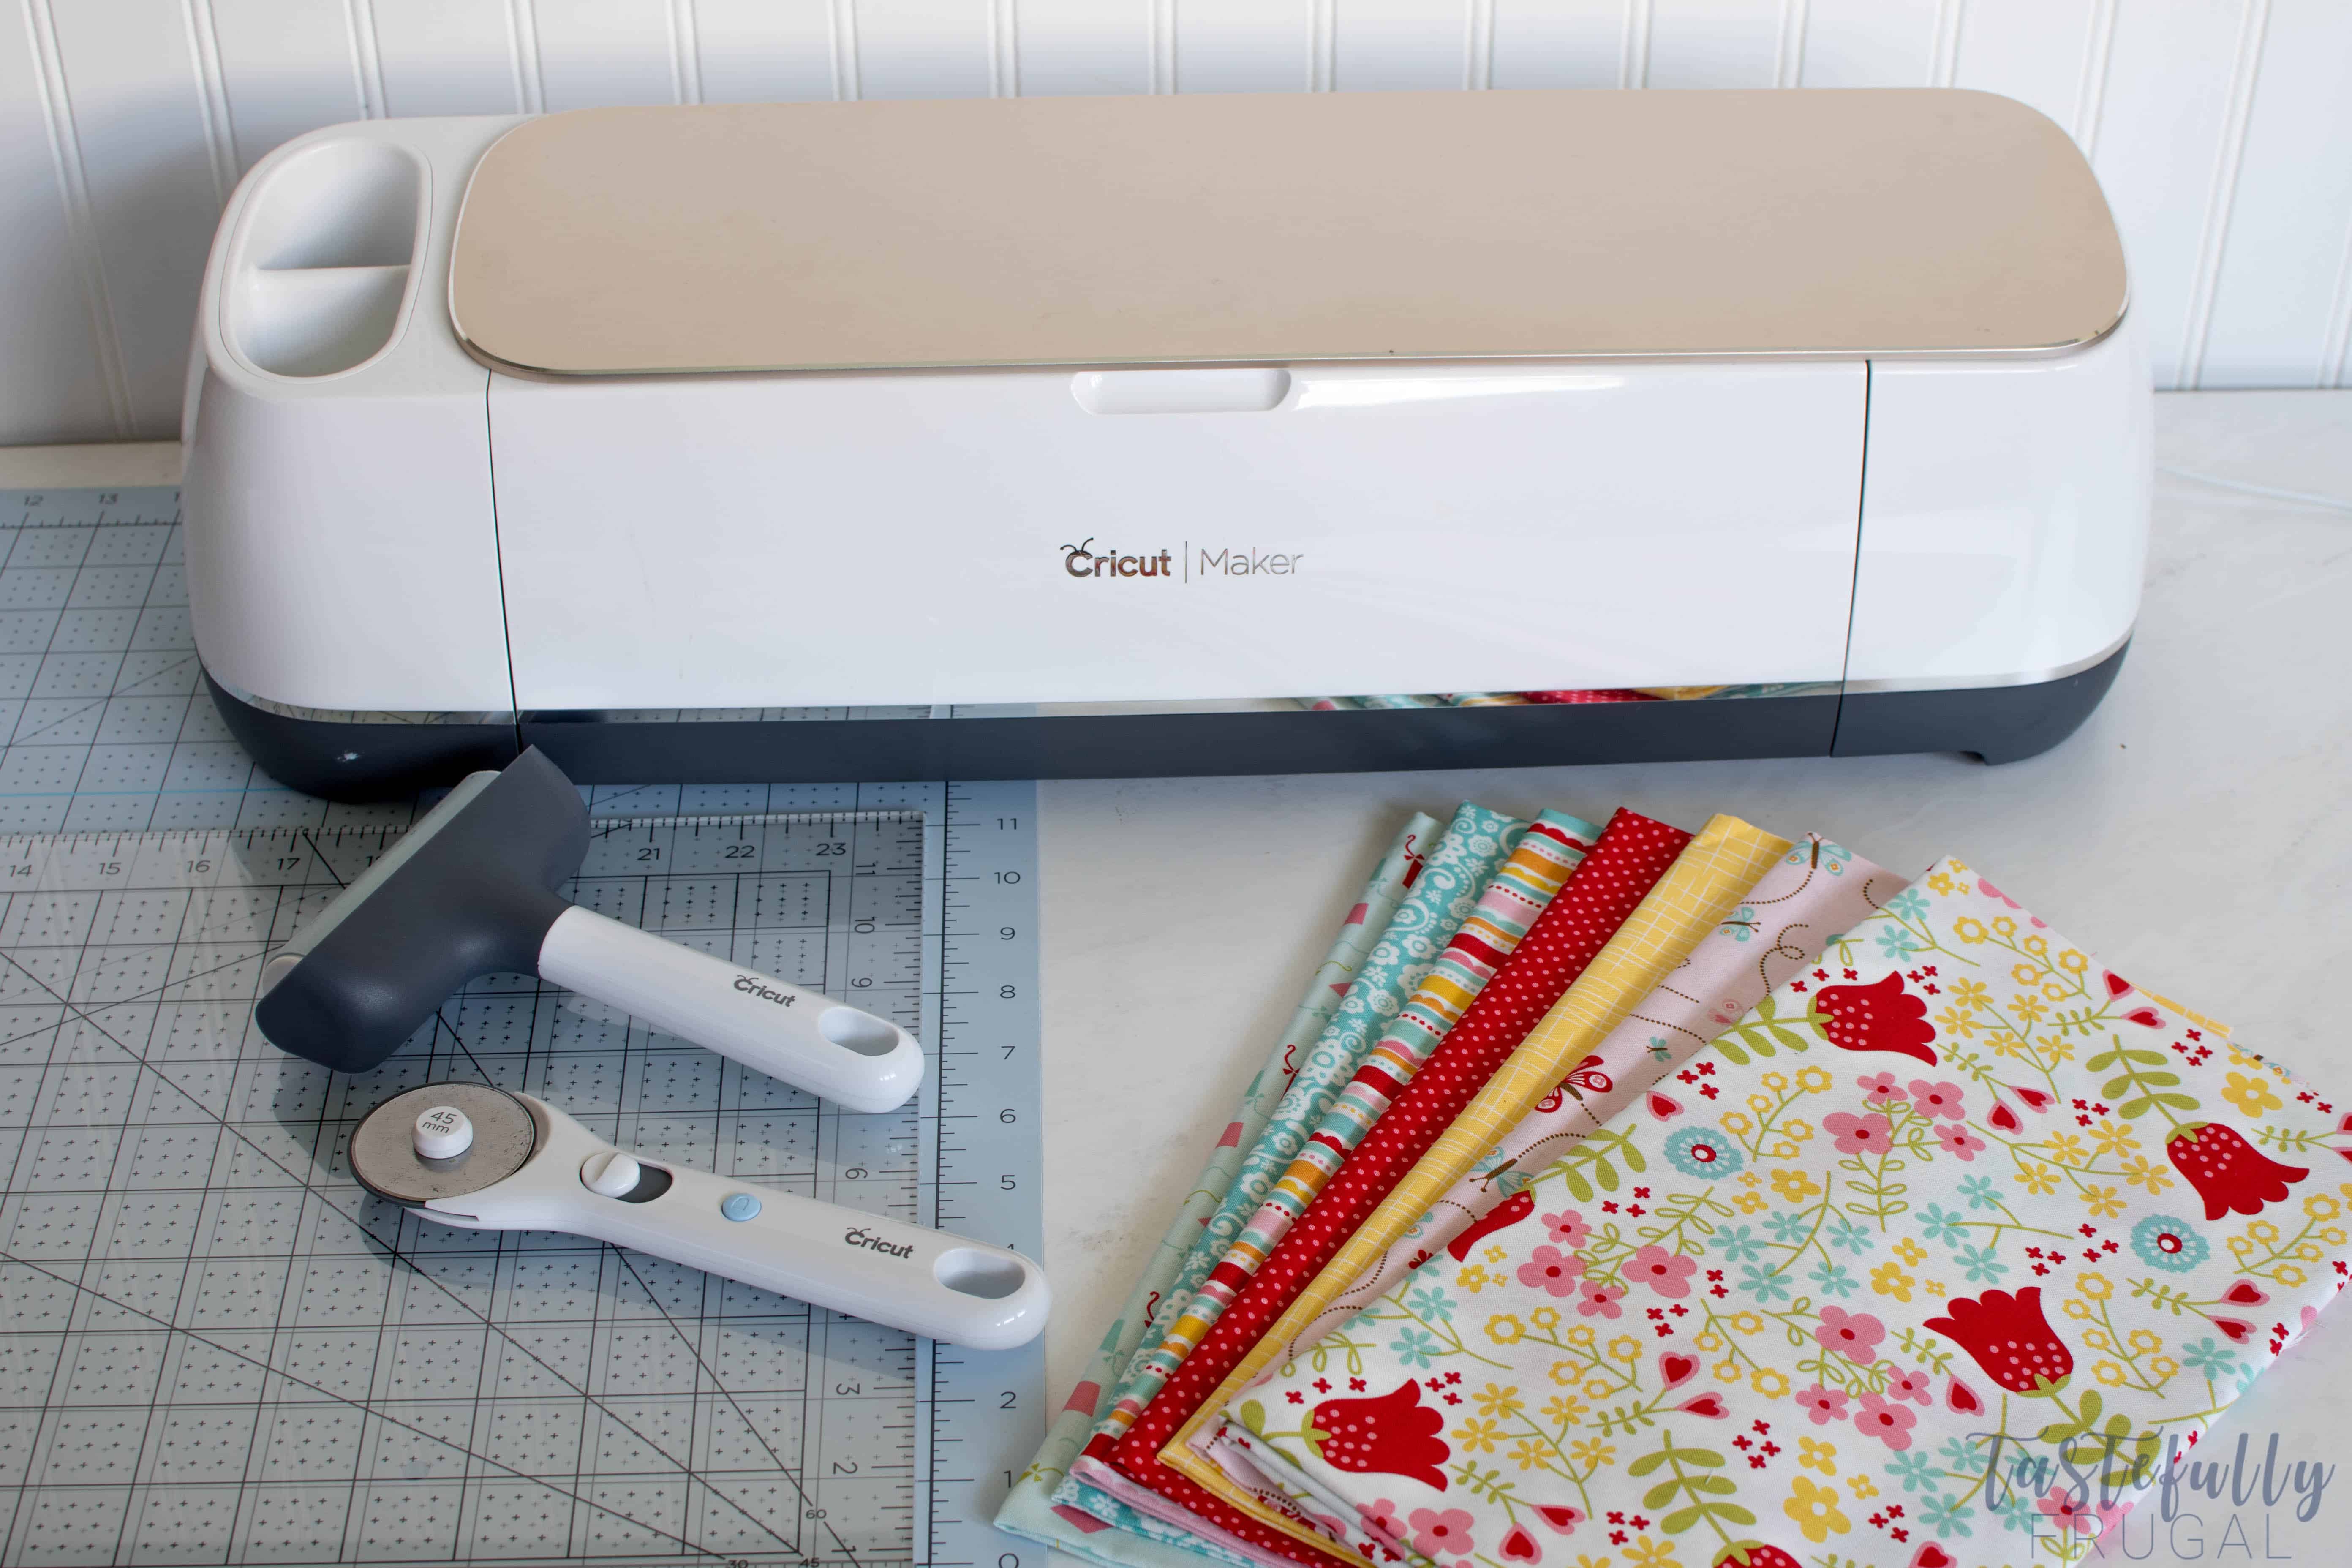
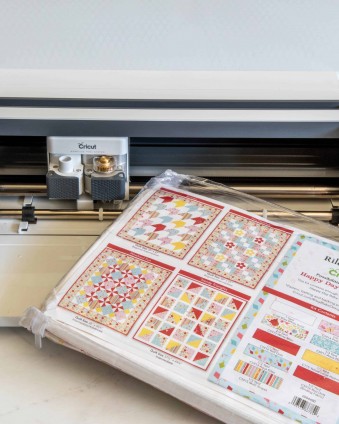
I’m using the Happy Day Baby Size Quilt and the Trendy Triangles Pattern. You can find all the quilt kits here and all the patterns available here. And remember to use code TFRUGAL to save 10% and get FREE shipping when you order. Let’s get started prepping our fabric!
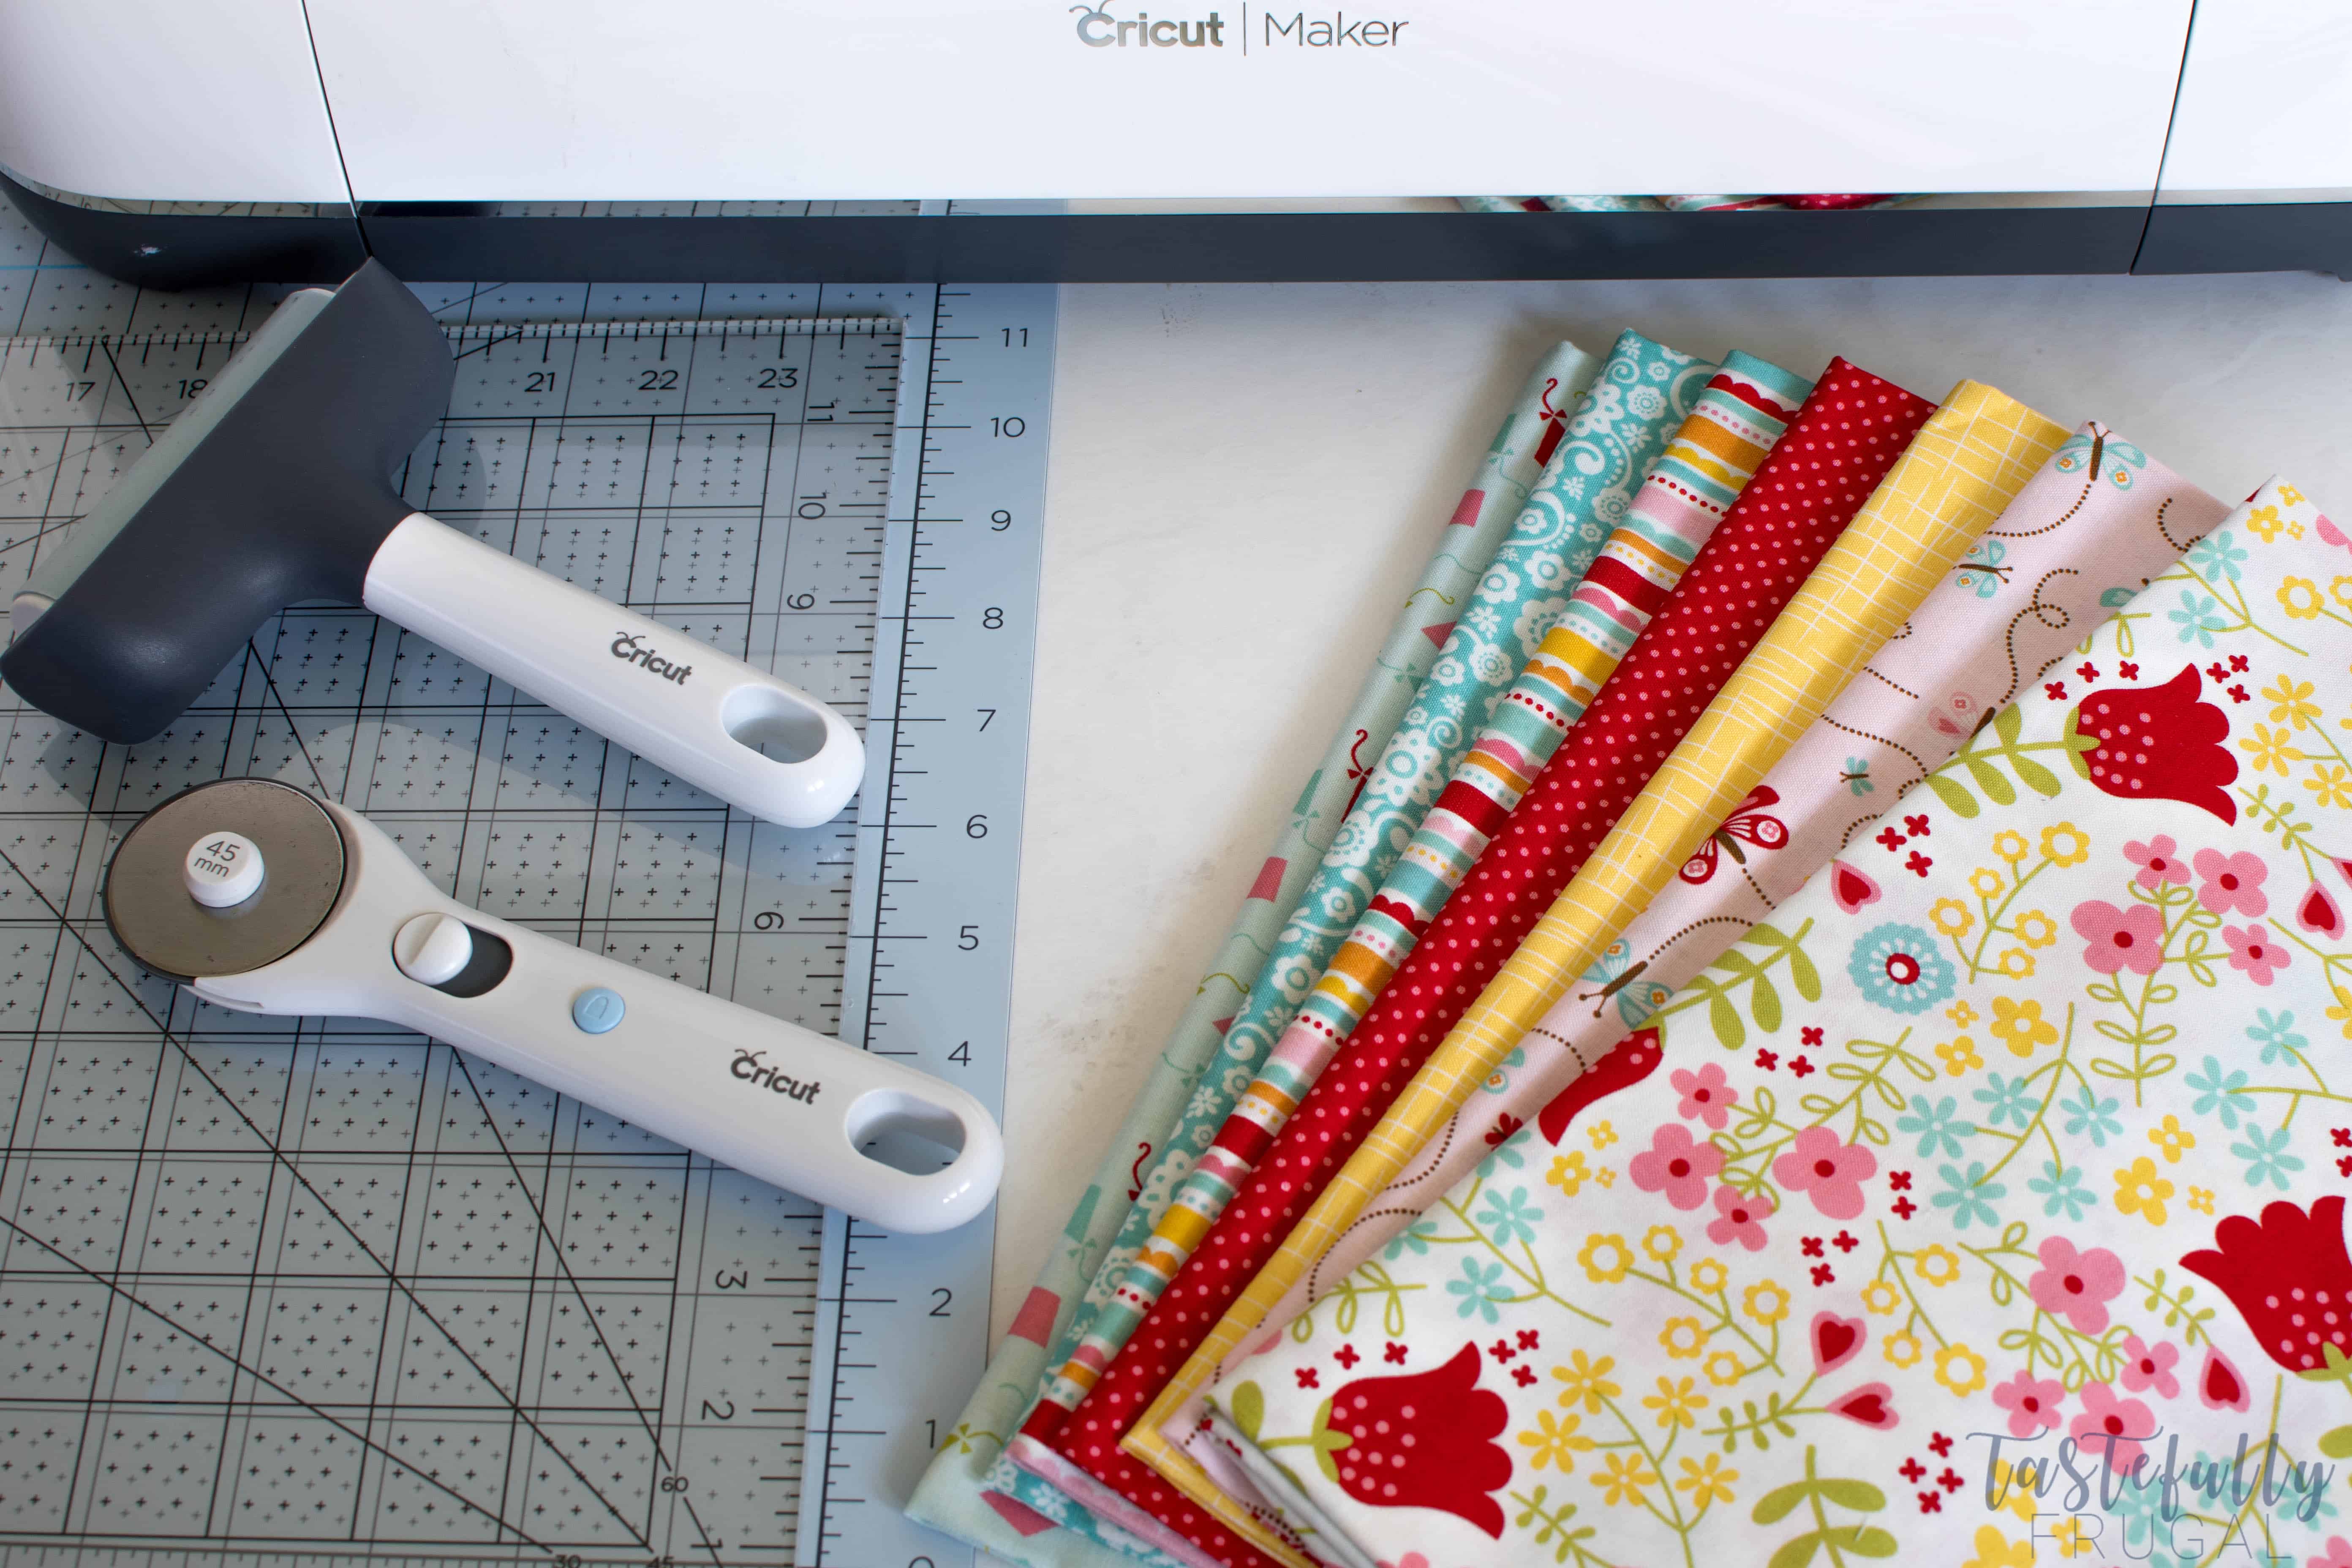
Step 1 – Cutting The Fabric Down To Size. The fabric in the Riley Blake Quilt Kits comes cut down so you don’t have much scrap fabric but you still need to cut them to fit your Pink Fabric Cutting Mat. The easiest way to do this is to line your fabric up to the 12″ mark (the width of your cutting mat) on your Self Healing Mat and then use the Acrylic Ruler and Rotary Cutter to cut your fabric to 12″ wide.
When you’re putting your fabric on the cutting mat, let the extra fabric hang off the end of the cutting mat. This way you can have bigger pieces leftover if your pattern doesn’t cut on the full 12″x24″ mat.
Step 2 – Putting Fabric On The Cutting Mat. This part can be a little tricky if you try to just put your fabric on a new mat. I’ve found the best way to prep your cutting mat (Pink, Green, Blue or Purple) is to press it against your shirt a few times to get some of the extra sticky off. I can usually get about 10-15 cuts out of each mat before I need to clean it and re-sticky it (is that even a word).
To clean mats, just use a little liquid dish soap and warm water and a clean cloth and lightly blot your mat. Let air dry.
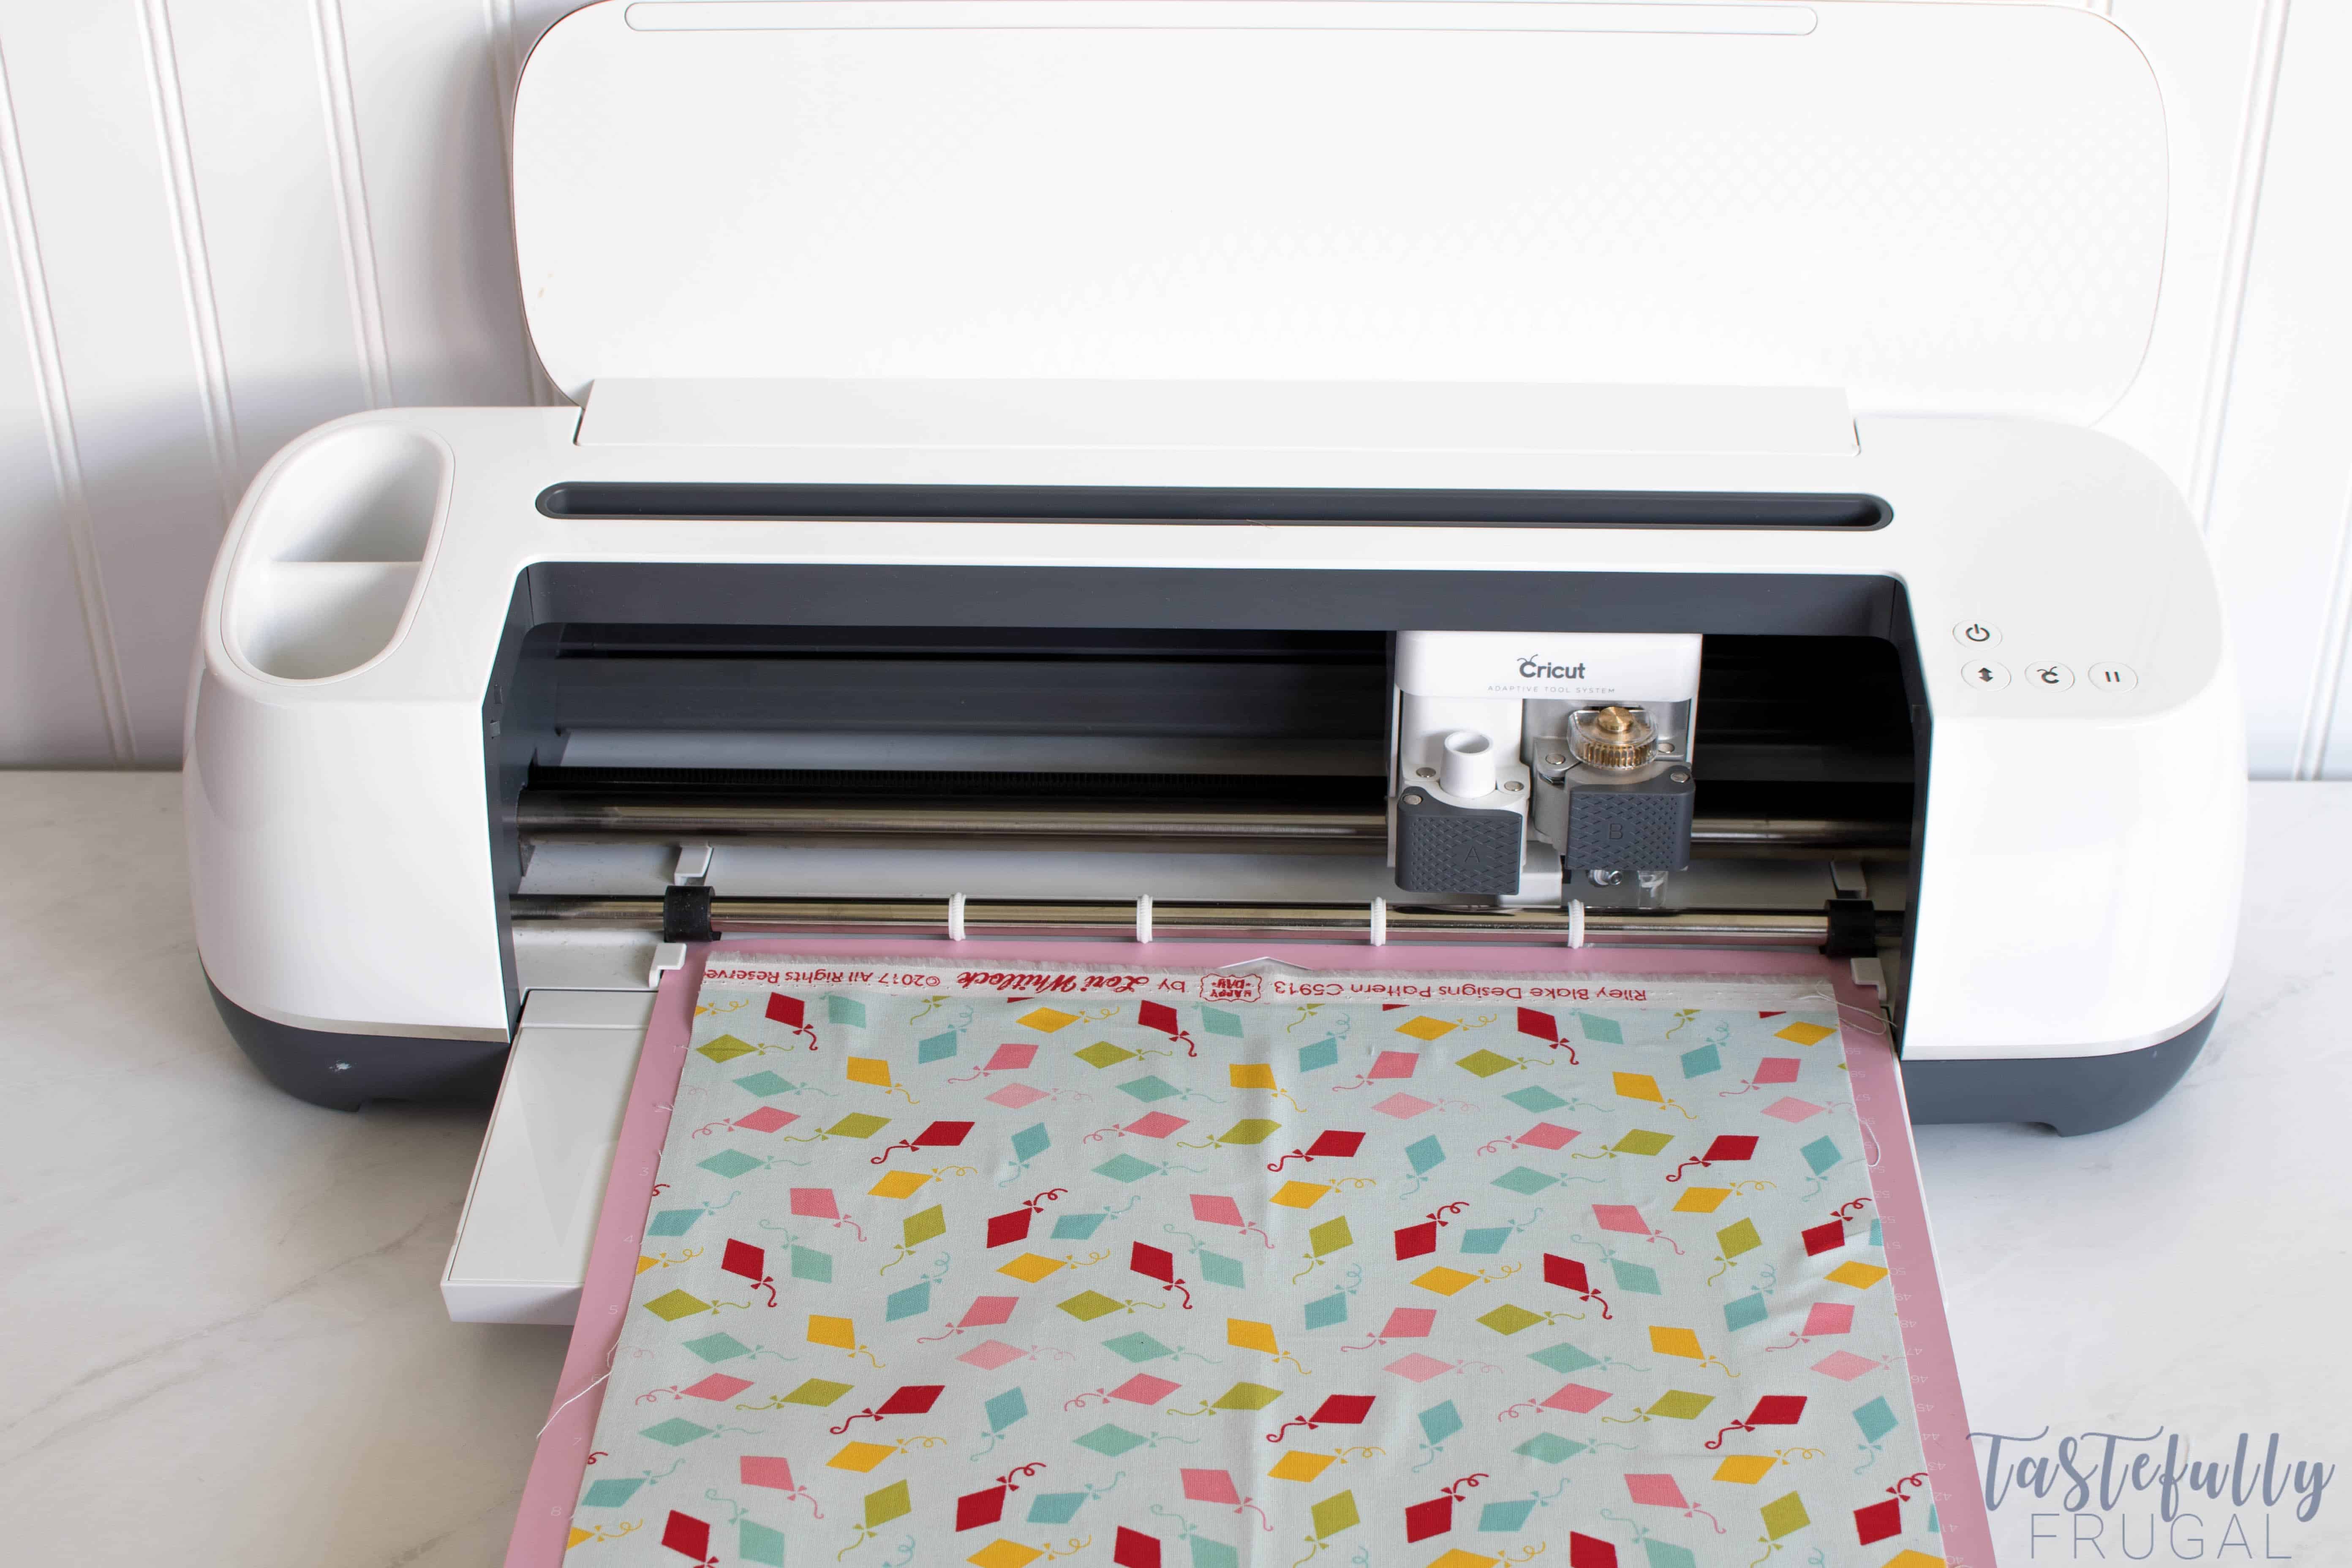
When your putting your fabric on your pink mat, line your fabric up along the top. Use your Brayer to get your fabric to sit flat on your mat so it cuts smoothly.
When I’m cutting a lot of fabric, like with this quilt, I like to prep a second pink mat with fabric while the first mat is cutting. This cuts down on the amount of time it takes to cut all the pieces. If you’re wanting to make quilts and/or bigger projects, investing in 2-4 12″x24″ cutting mats is definitely a good idea.
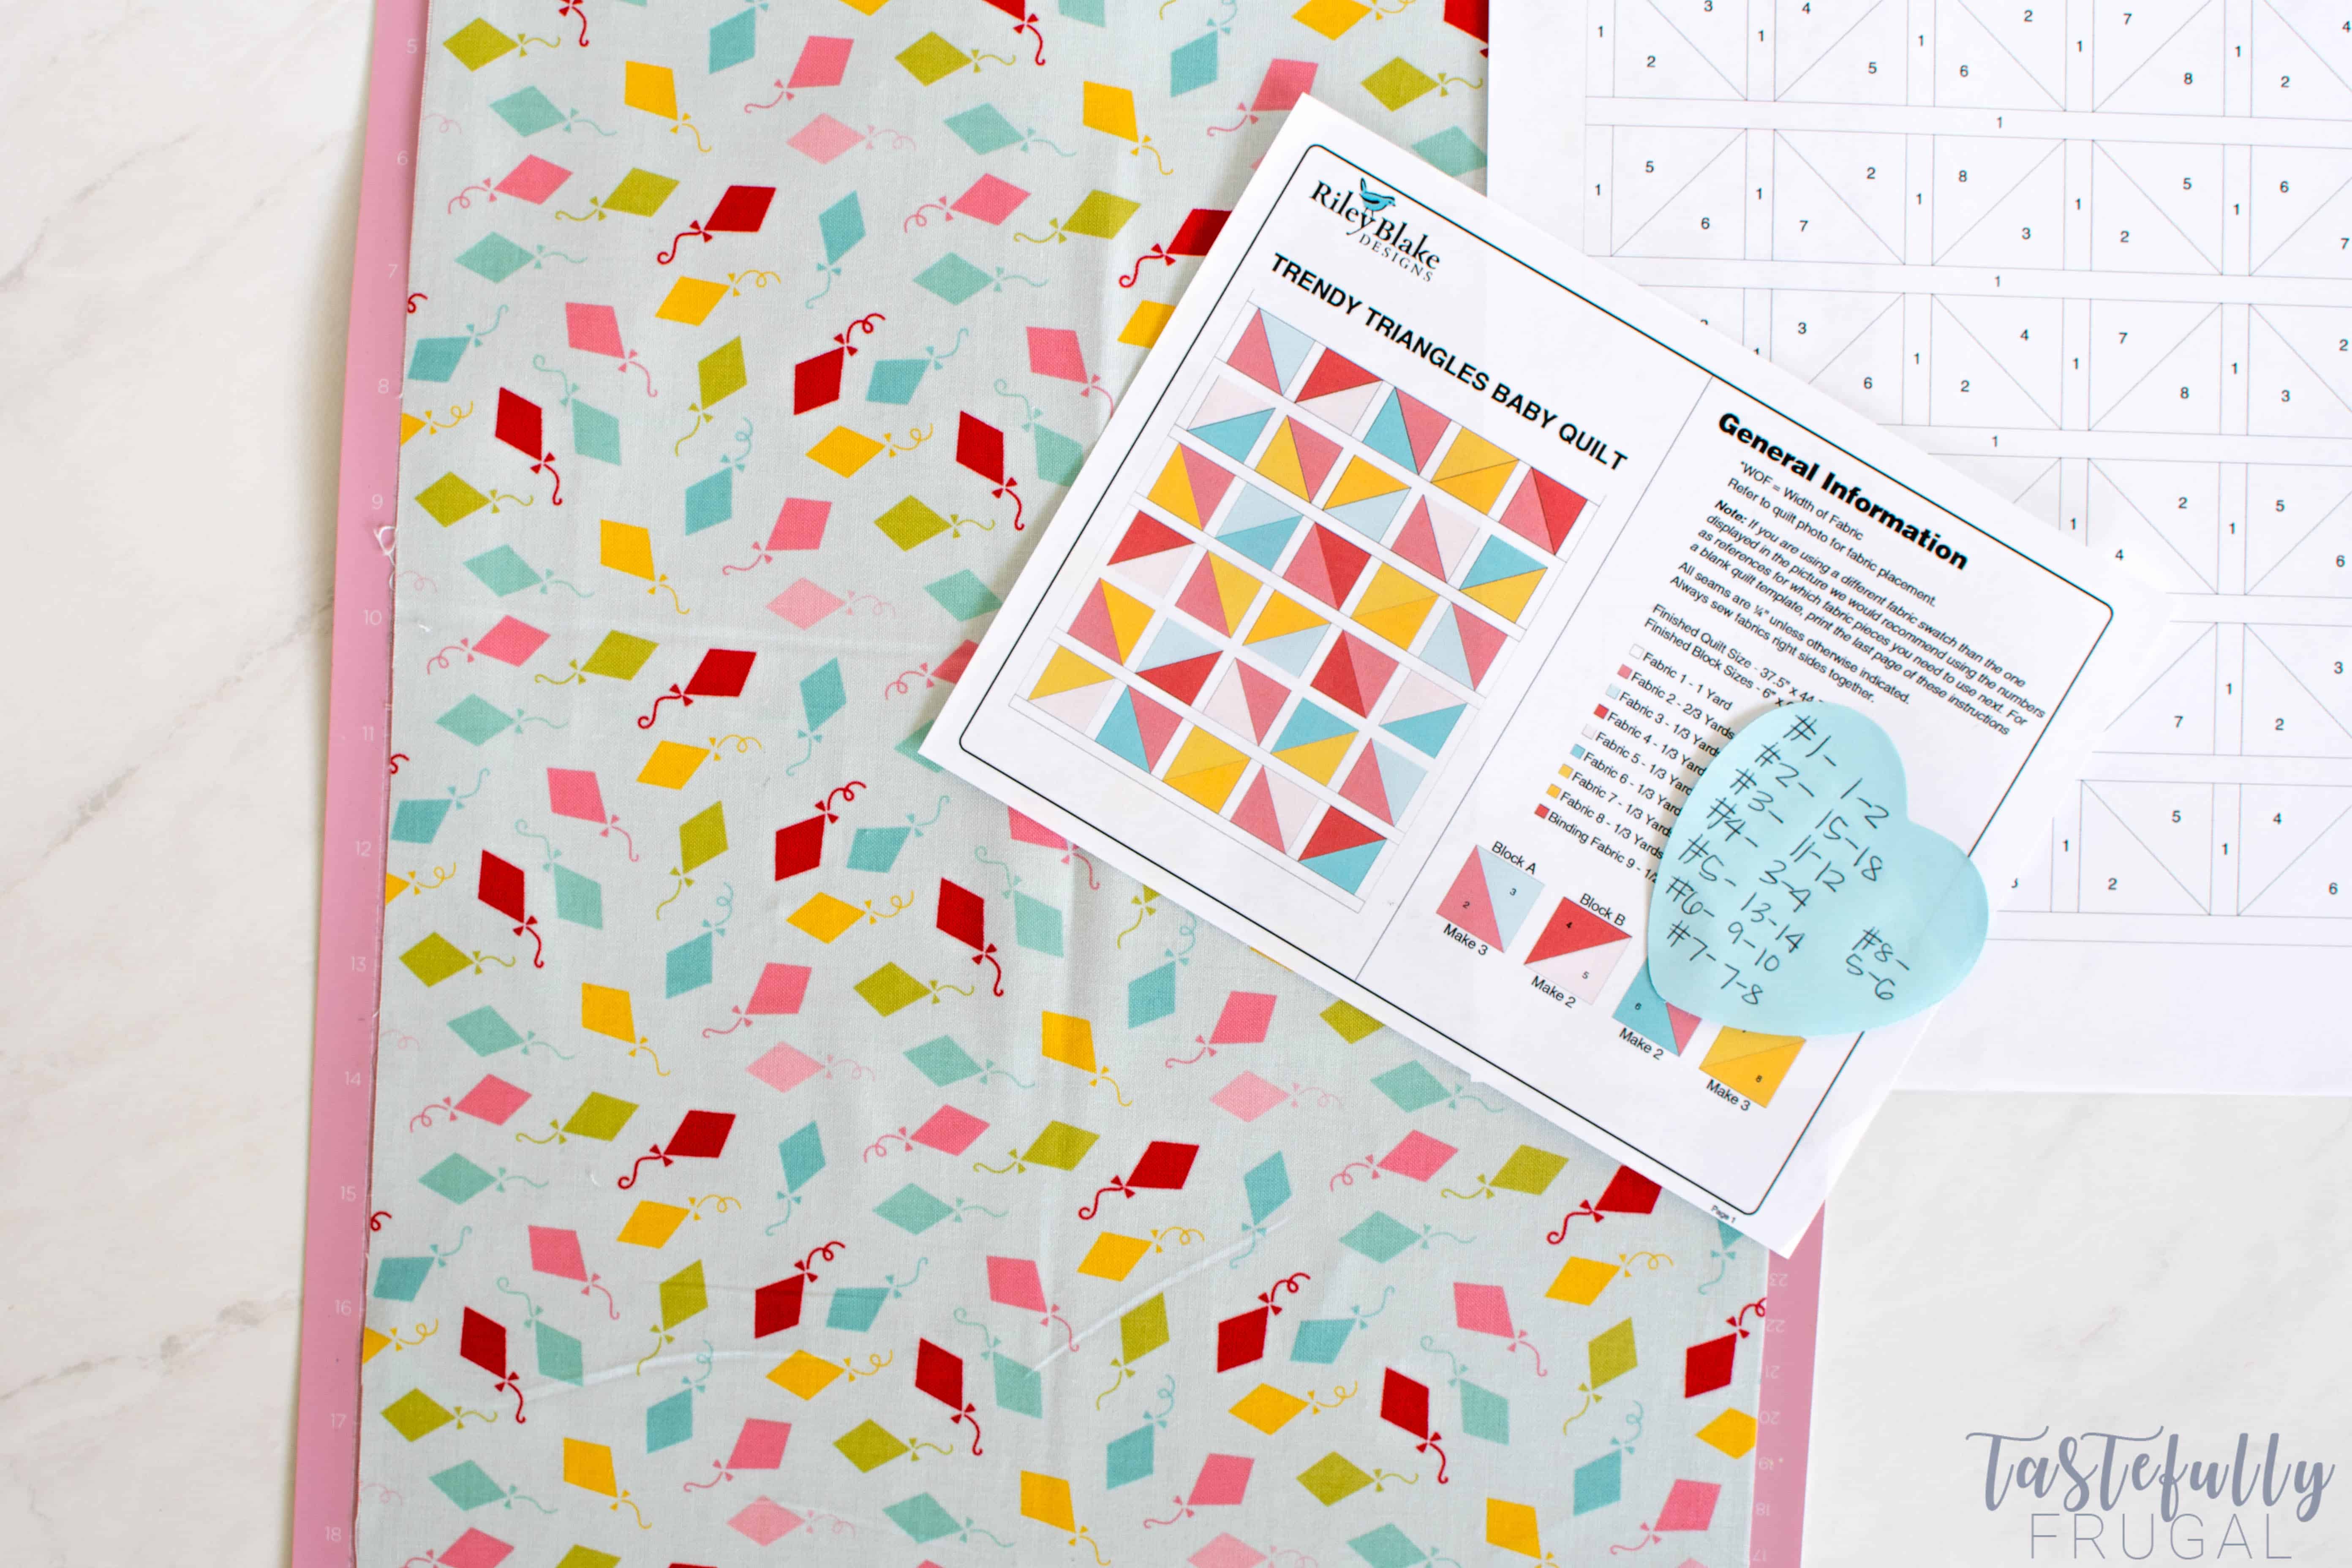
Step 3 – Cutting Fabric. Now comes the fun part! Before you cut your fabric you’ll want to make sure you’re cutting the right fabric. When you download the PDF instructions, each fabric in your kit will have a number (1-8) listed on the first page at the end there is a black and white design of your pattern with each fabric number and where it belongs in the design. Assign each of your fabrics a number and make sure that you’re cutting the right design out of each fabric.
To do this I like to take a sticky note and assign how many mats (and which mats) each color go to. For example, on the Trendy Triangles pattern I used, Fabric 1 is mats 1-2, Fabric 2 is mats 2-4, etc. When you are preparing to cut, you can see how many mats of each color (fabric) there are.
I love, Love, LOVE how easy and quickly the Cricut Maker cuts out all the pieces I need for my quilt! And I can’t wait to show you guys what it looks like when it’s done.
Don’t forget, use code TFRUGAL when you’re shopping on Cricut.com to save 10% and score FREE shipping! If you’d like to check out more ways you can use Cricut products check out these posts! Need help with your Cricut? Join our Cricut Support Facebook Group!
This is a sponsored conversation written by me on behalf of Cricut. The opinions and text are all mine.





Rebecca Jackson says
Hi, Thanks for all the valuable information. I have learned so much from here. The cutting demo photos are perfection! I am so blessed by this post! Your sense of humor is a blast to read.