Iron-on Vinyl is one of my favorite materials to use with my Cricut machines! It’s easy to cut, easy to weed and even easier to apply. The design and project opportunities are endless too! You can add iron on vinyl to shirts, tote bags, notebooks, wood, cardstock, really just about anything that isn’t super sensitive to heat.
I know I’m not the only one who loves iron-on vinyl. Some of the most frequently asked questions we get in our Cricut Support Facebook group have to do with using iron-on vinyl. And probably our number one question, or group of questions, is how to layer iron on vinyl.
In this post I’ll share my top tips for layering iron on vinyl as well as share a really fun Disney themed tote bag that you can make layering iron on vinyl. Let’s get started with some things to keep in mind if you’re wanting to do a project that involves multiple layers of iron on.
Top Tips for Layering Iron On Vinyl
I’ve been using iron-on vinyl for almost 10 years now and have learned a few things that makes crafting easier (and some things to avoid at all costs)! Here are my top 3 tips for making a multi-layer iron on project:
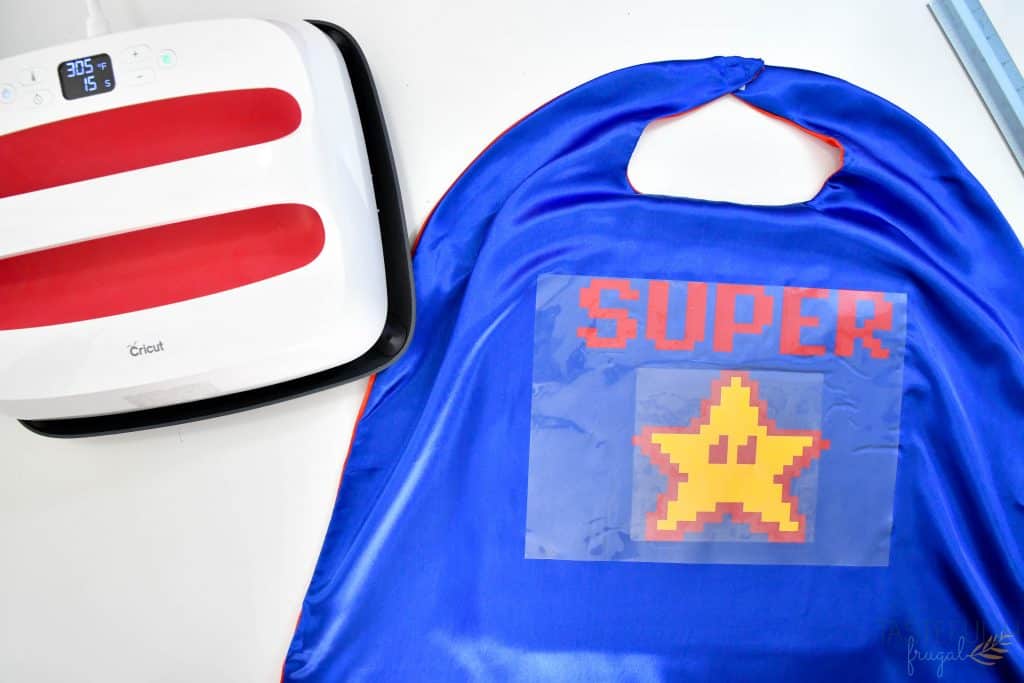
- Press your first layer for 3-4 seconds less than the recommended time. Because you’re going to be pressing it multiple times, it’s best to not give the first layer the full amount of heat. By pressing for a few seconds less than the recommended time, there is less likely a chance of the bottom layer getting overheated and losing the adhesive (aka peeling).
- Use iron-on vinyls that have similar temperature settings. That way you don’t have to wait long periods for your EasyPress or Heat Press to change temperature. Also, make sure that whatever layer you are putting down first, requires the highest temperature. You’re going to be pressing it multiple times and if you give it too much heat you can melt the adhesive off or ruin the design.
- If you are using an iron on vinyl that requires a cold peel, make sure to press it last. A lot of times the finish on these iron on vinyls can be damaged if they are peeled to early (like the metal and foil iron on). They can also be ruined by being pressed more than once. To keep them looking shiny and bright, have them be the top layer you press.
How Many Layers of Iron On Can You Press?
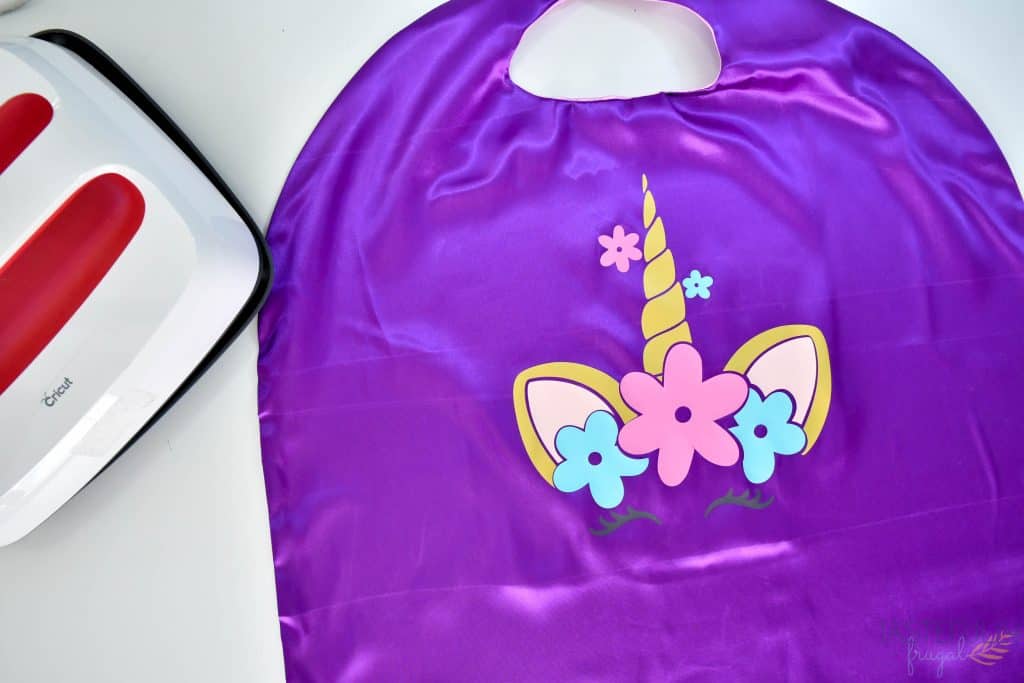
You’ll see a few different answers to this question depending on who you ask. Like I mentioned earlier I’ve been making shirts, onesies and other iron on projects for a long time, and while yes I’ve been able to do 5+ layers of iron on and it hasn’t peeled right away they don’t last much past a few washes. When you are pressing iron on that many times it’s going to lose some of the adhesive that gets it to stick to your project.
To be safe, I tell people no more that 3 layers, two at best. I made shirts for my two oldest about 5 years ago with 3 layers of iron on and they have been passed down to my younger three and they are still holding strong.
Is There Iron On Vinyl You Can’t Layer
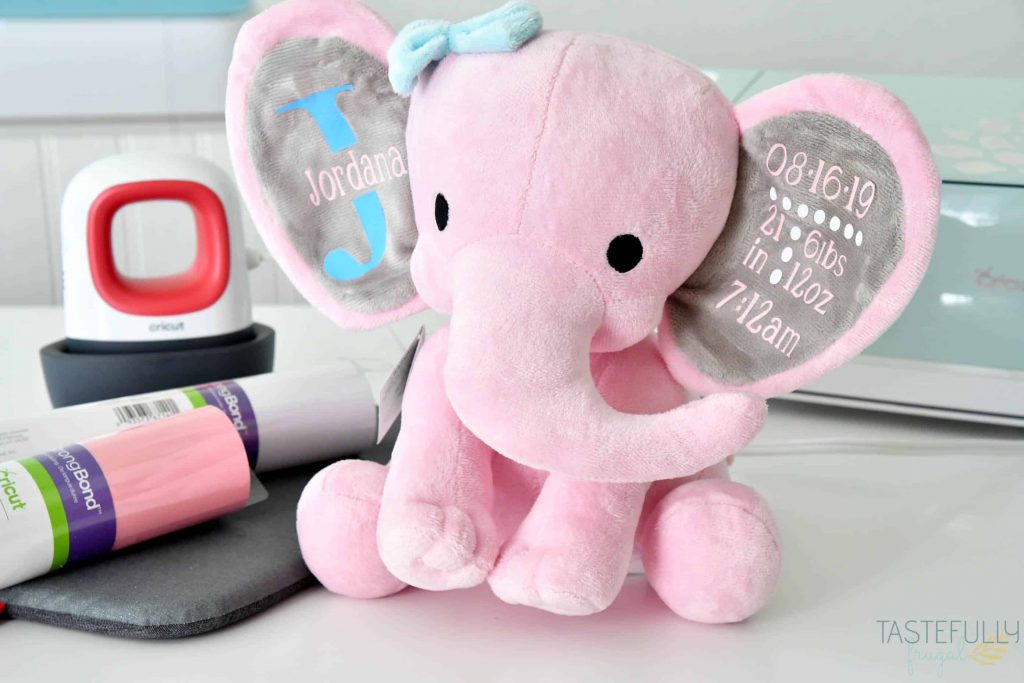
Any material that doesn’t have a smooth finish you don’t want to put another layer of iron on vinyl on top of. The two types I get asked about the most are Glitter and StripFlock. The textures for these HTVs will press through to your top layers and they can affect the stickiness of your other layers too.
If you’re creating a design with glitter, StripFlock or patterned iron on, make sure to have that HTV be your top layer.
How to Layer Iron On Vinyl
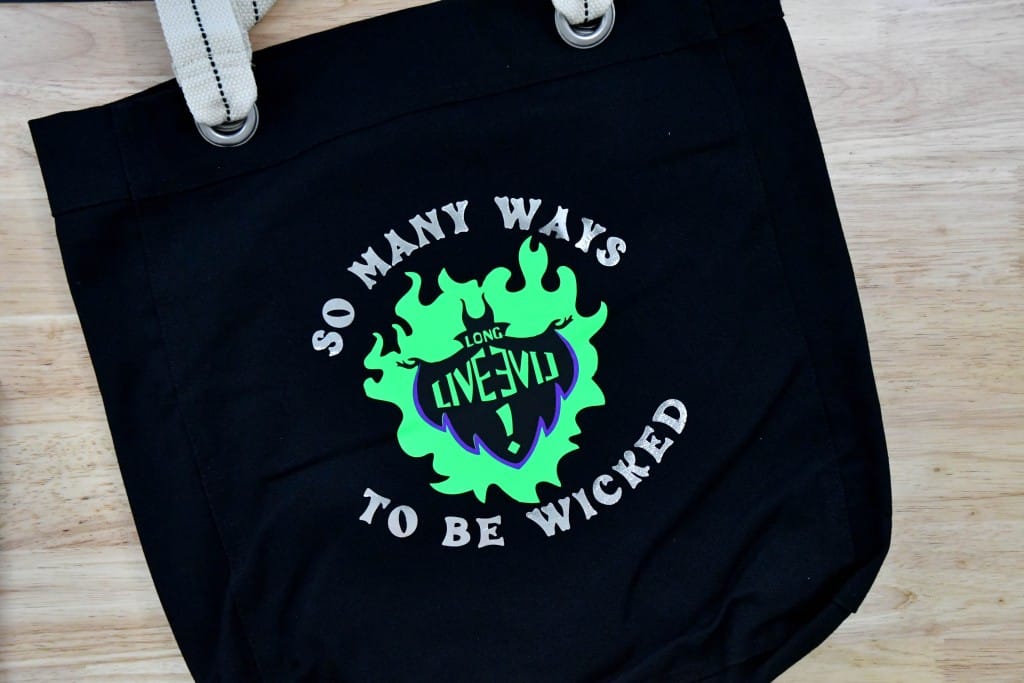
We’ve talked about the do’s and don’ts when it comes to layering iron on vinyl. Now let’s make a project! We love the Descendants movies from Disney and this tote bag was inspired by one of the main characters in that show, Mal, Maleficent’s daughter. You can find the Long Live Evil design on Etsy.
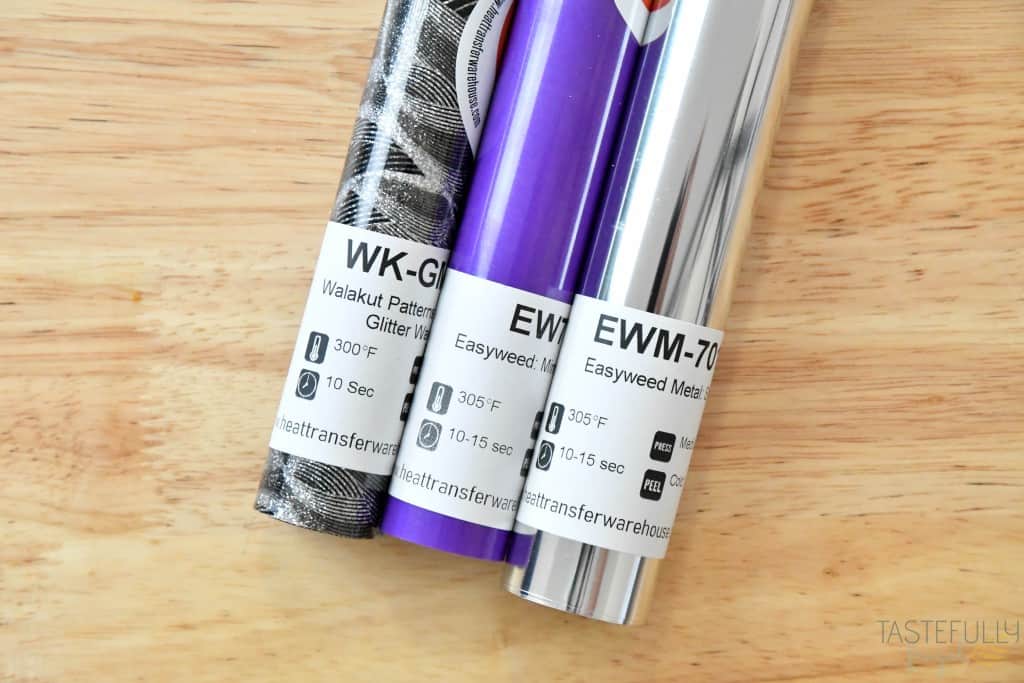
Supplies:
- Iron on Vinyl – I’m using Siser EasyWeed, Fluorescent, Metal and WalaKut Express
- Tote Bag
- Heat Press or EasyPress
- EasyPress Mat
- Lint Roller (optional)
Directions:
Cut your design on your Cricut machine (make sure to mirror your iron on vinyl). Weed away excess iron on.
Preheat your EasyPress or Heat Press. Like I mentioned above, you want to press the HTV that has the highest temperature first.I chose to use 3 Siser products that all are pressed at 305F and the WalaKut is 302F.
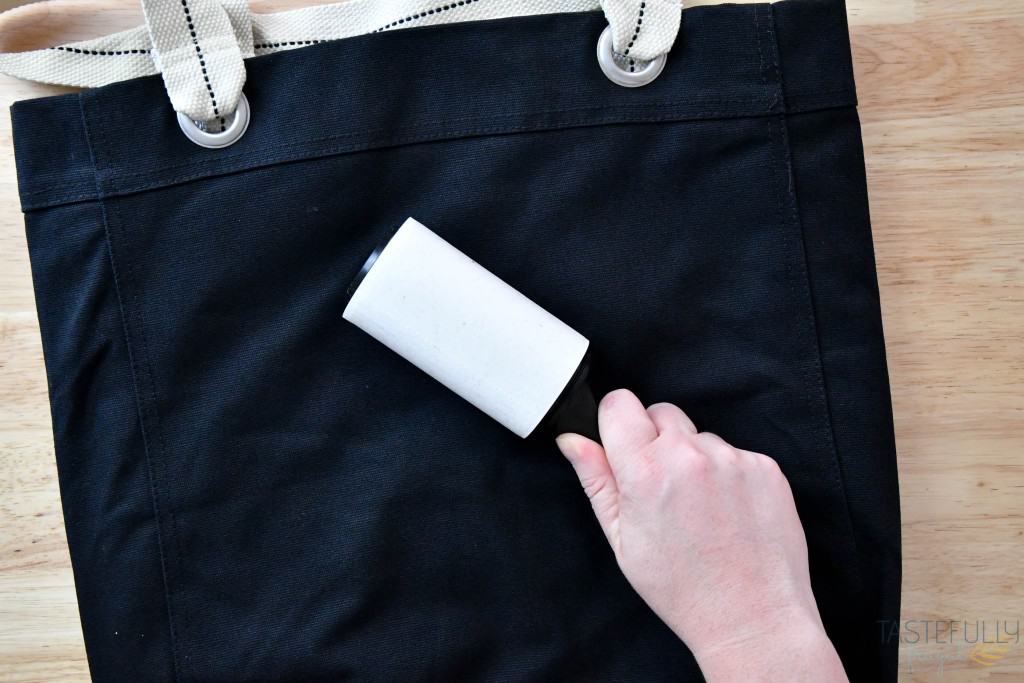
Wipe down your tote bag with a lint roller to remove any fibers that could affect your HTV from sticking.
Add EasyPress mat into the tote bag to make sure you’re getting the full heat of your EasyPress or Heat Press on the front of the tote bag.
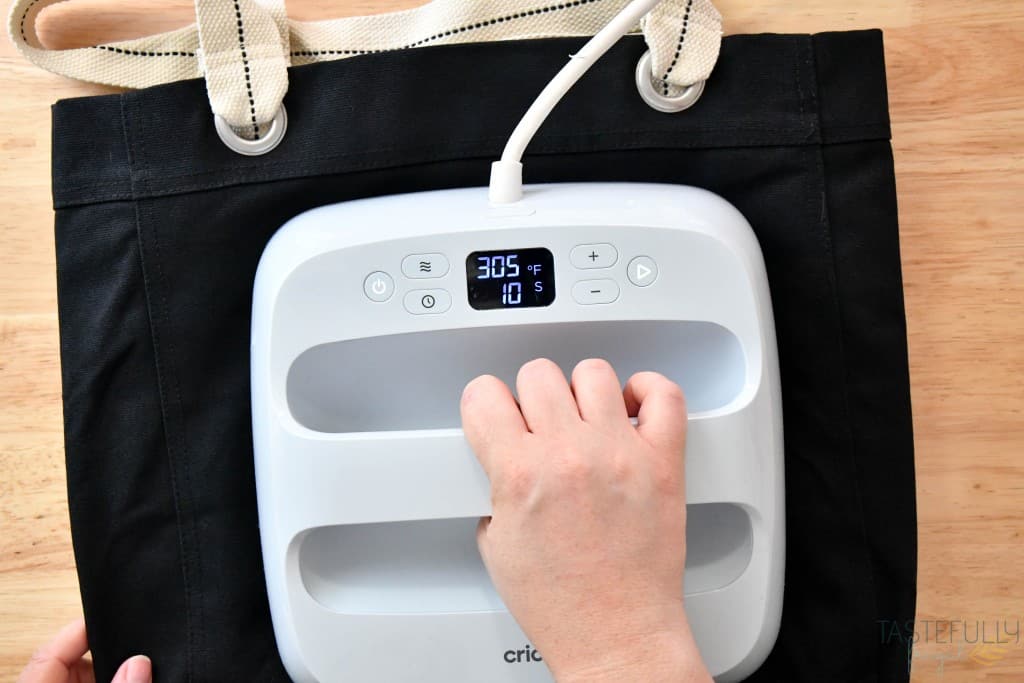
Preheat your tote bag for 5 seconds.
Next, line up your designs on your tote bag and measure them to make sure they are centered.
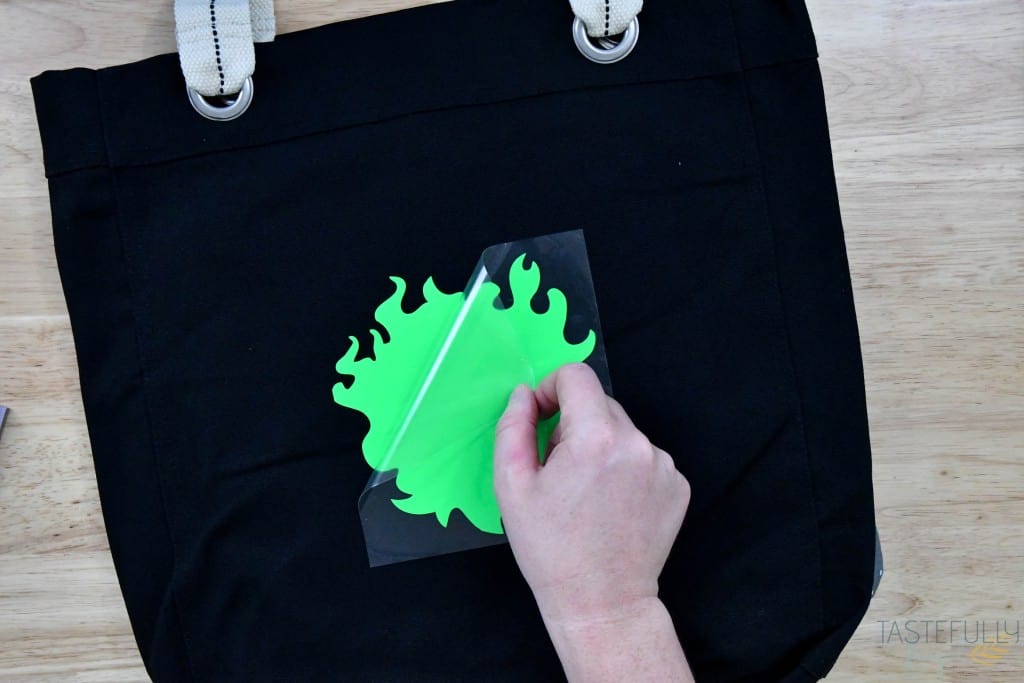
Remove all but the bottom layer (the fluorescent green flames) and press for 5 seconds. This is a warm peel material so peel the backer off right after pressing. **NOTE – keep the backer to use to protect this layer in the next few presses.
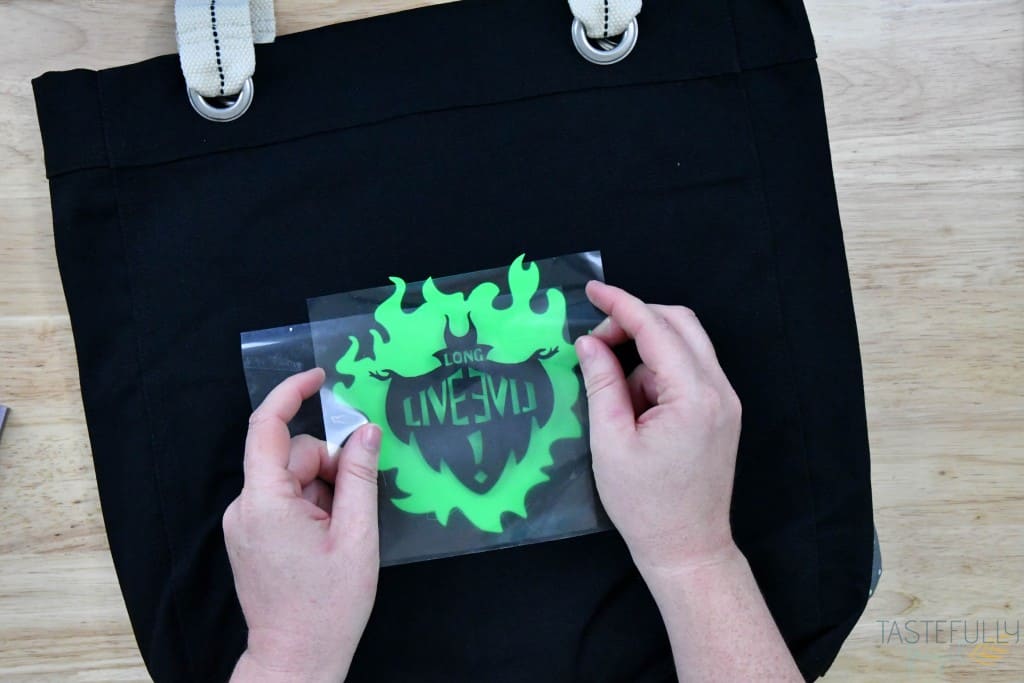
Line up the second layer (the black long live evil design) on top of the green layer. Put the backer from the green layer on top of the second layer and press again for 5 seconds. Remove both backers.
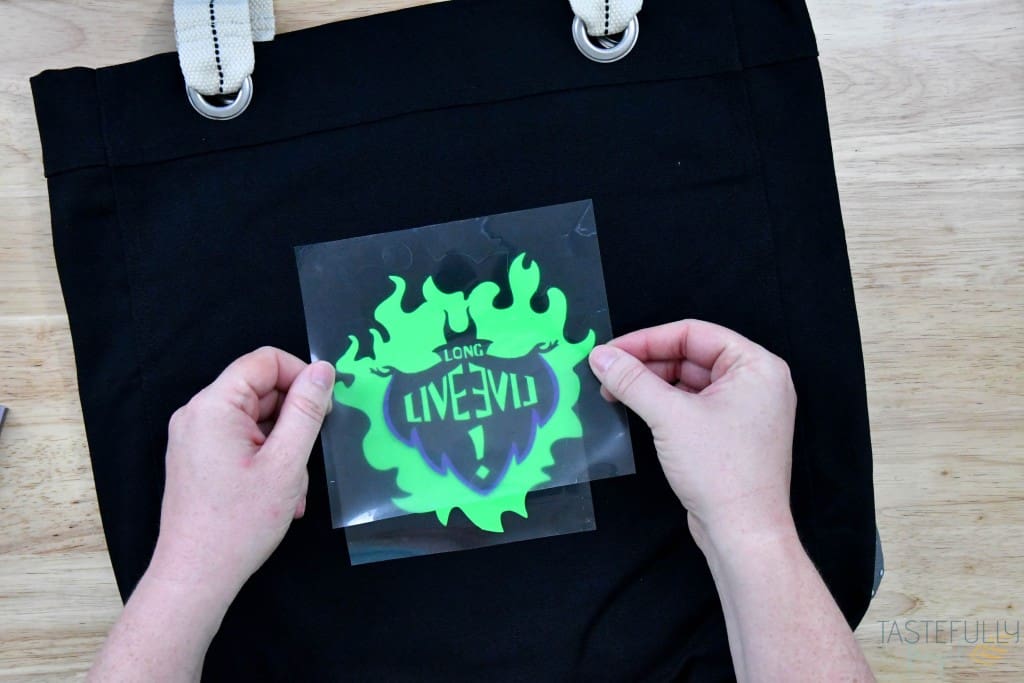
Line up the third layer (the purple sleeves) and cover the whole design with the backer from the first layer. Press for 8 seconds. This material is also a warm peel so you can peel the backers off right away.
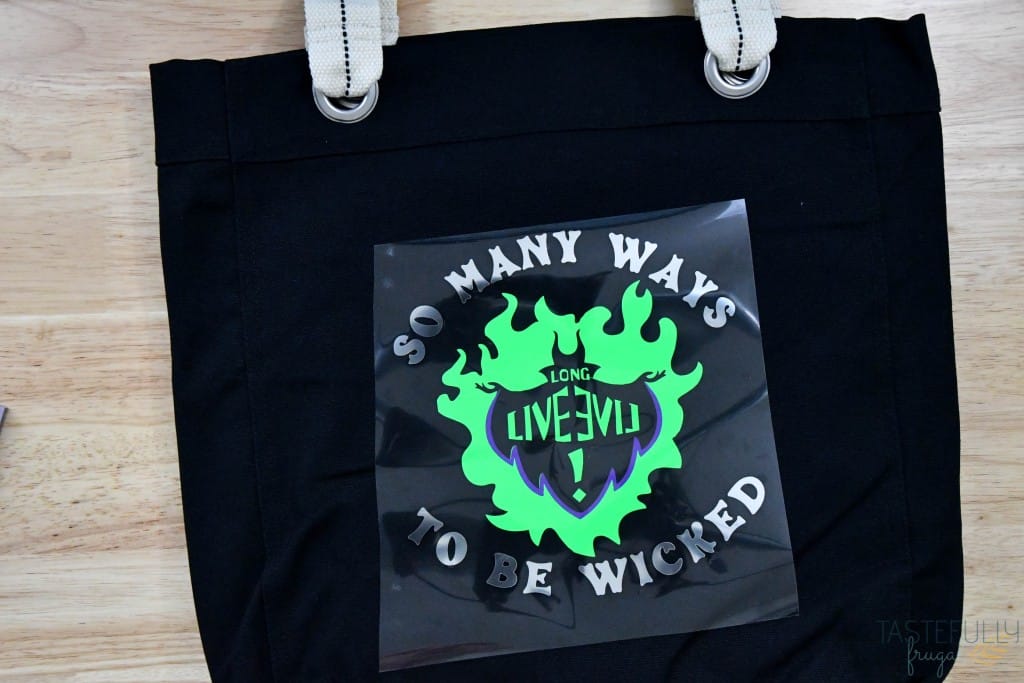
Line up the Siser Metal saying around the pressed design and press for 10 seconds. Let the HTV completely cool before peeling (wait 2-3 minutes).
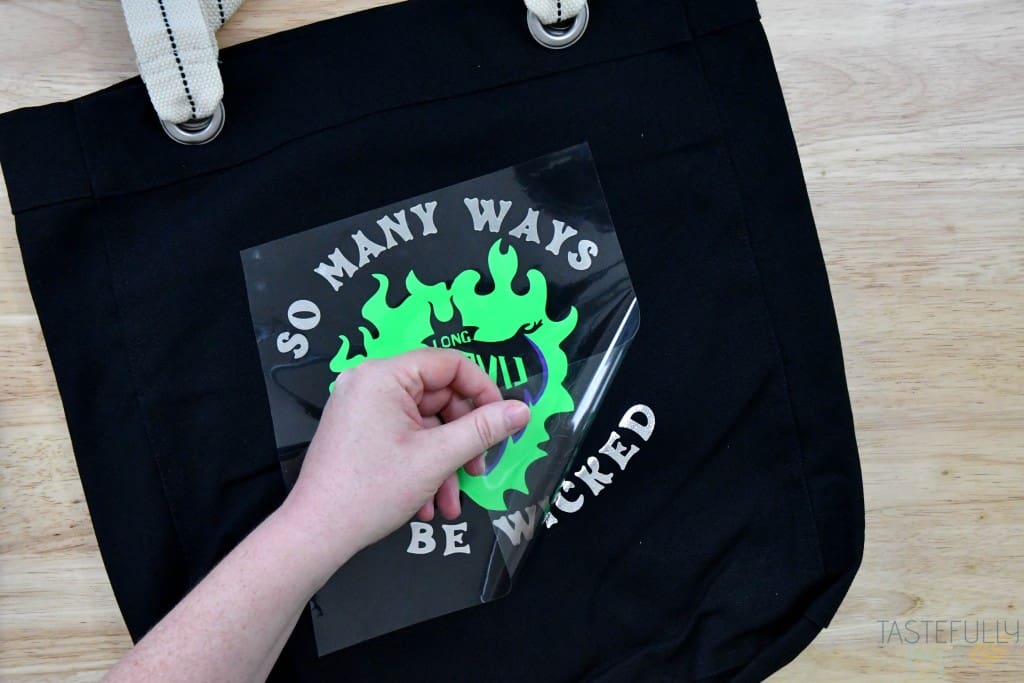
Layered Iron On Tote Bag
I love layering iron-on vinyl because it gives projects different pops of colors and textures that you can’t get when doing sublimation or single layer iron on projects. I hope this post answered your questions about layering iron on vinyl. If you have any questions I didn’t answer, leave them in the comments and I’ll get back to you as soon as I can.
Be sure to subscribe to my YouTube channel to check out all my video tutorials including projects and how to’s. For more Cricut projects and tutorials, check out these posts. For tips, tricks and immediate help, be sure to join our FREE Cricut Support Group.


Leave a Reply