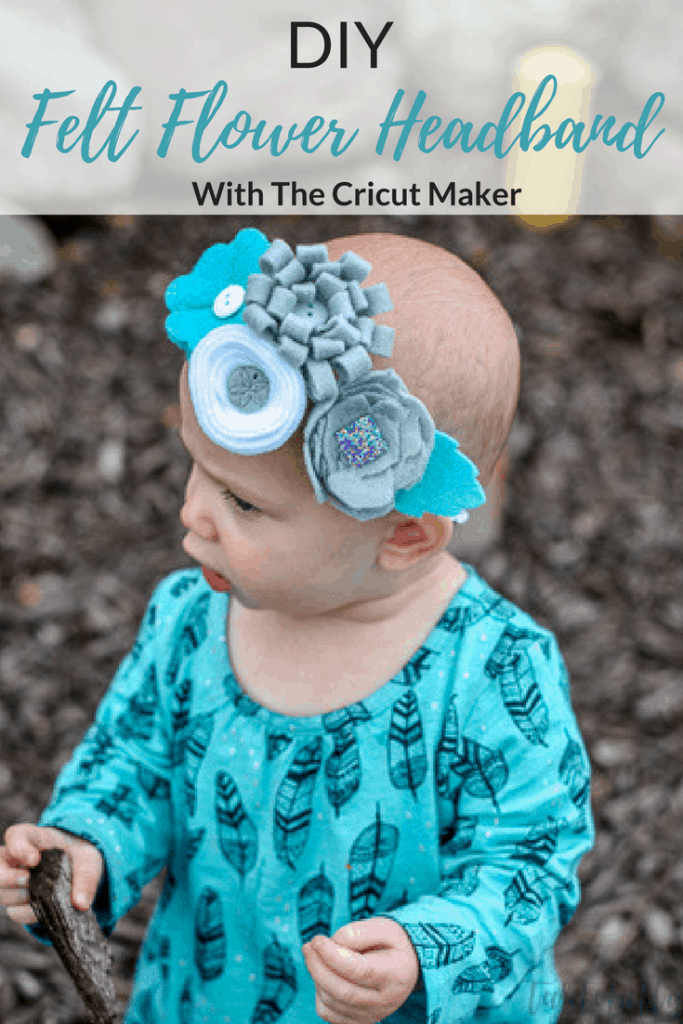
Making felt flower headbands like this one is a breeze with the NEW Cricut Maker!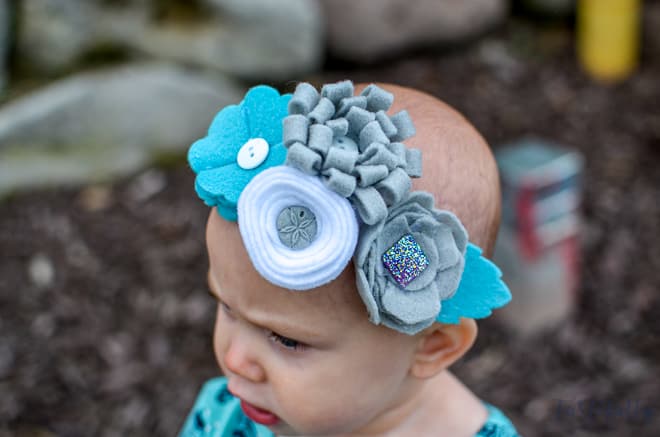 Who knew having a little girl would be so much fun?! I was a tom boy growing up so dresses, flowers, frilly things were not my thing. But when we found out we were having a girl I knew I wanted her to be a pretty little princess. It’s been so fun buying cute outfits for her and making her girly shirts.
I was so excited when the Cricut Maker came out mostly because I knew the amount of cute, girly thing I could make Mahle just tripled! I have bought several flower headbands for her in the past but now I want to make my own.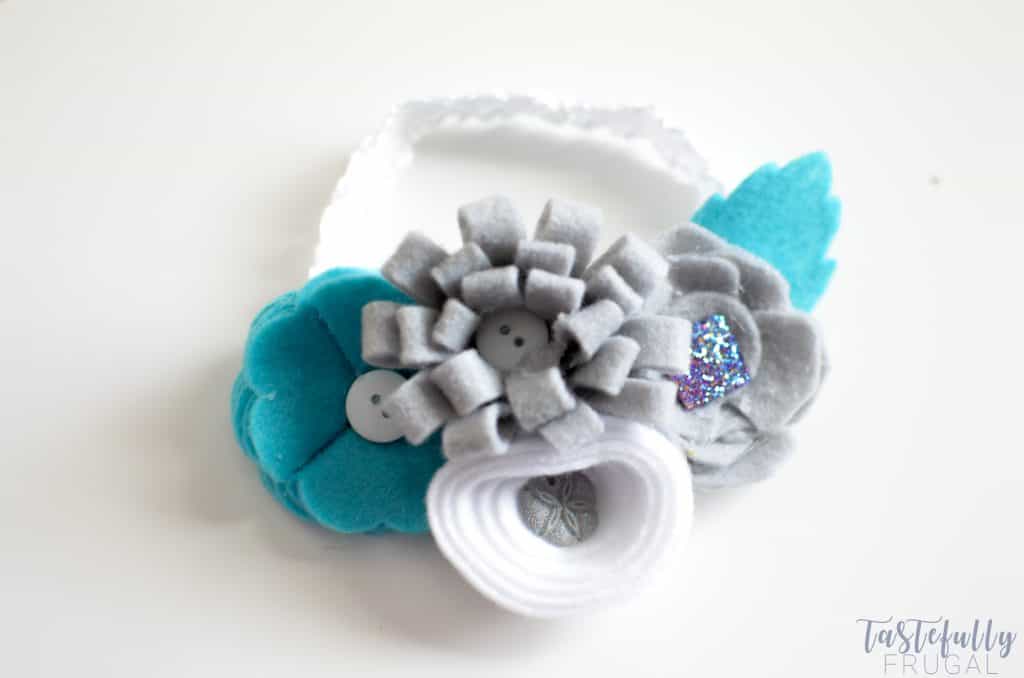
As soon as I saw that this Fancy Felt Flower Headband was part of the 50 FREE projects included with the Maker I knew it had to be one of the first projects I made! One of the things I love most about the Make It Now projects in the Design Space is they all have the directions on how to put the project together once you have all the pieces made. It really makes creating projects a whole lot less intimidating.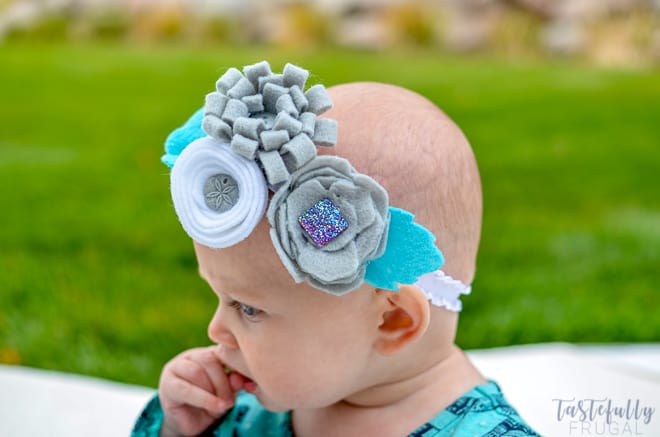
I decided to go with grey and a turquoise blue for the flowers because Mahle has several outfits these colors go so well with. For the buttons I got this cute little jar from my friend Ali about a year ago and I was able to go through the jar and find buttons that match perfectly.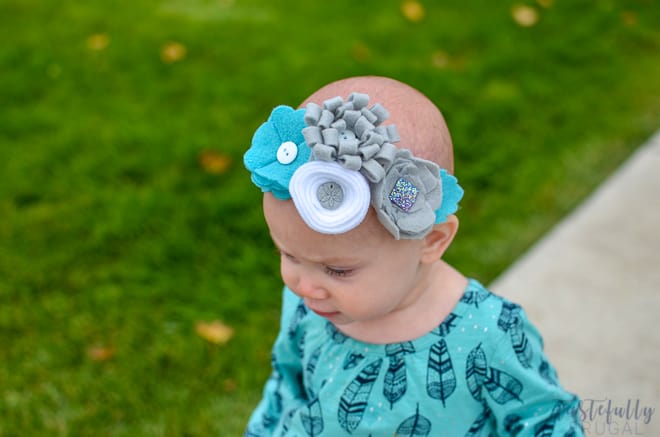
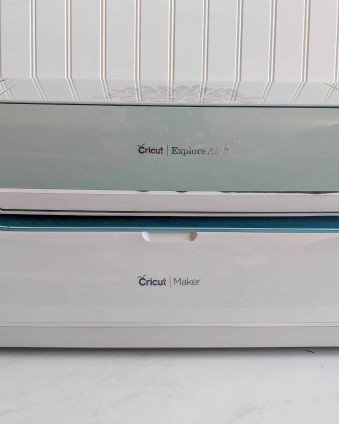
I was so amazed when I first cut felt with the Maker. I had tried to cut felt in the past with my Explore Air and it just didn’t work out so well. But with the new rotary blade it cut through the felt like butter! You can read more about cutting felt and tips on getting the most out of your felt and mats here.
Supplies:
Felt (You’ll need 3 colors, I used white, grey and turqoiuse and I just used the cheap craft store felt)
Buttons
Directions:
- Open up this design in design space and follow the directions to cut the piece.
- To make the turquoise flower, fold four of the turquoise felt cutouts in half, leaving one unfolded as a base. Overlap them as quarters over the base flower, moving counter-clockwise, and tacking the centers in place with the hot glue gun as you go. Glue the button into the center.
- For the first gray flower, fold the slitted cutout in half length-wise, then curl it around itself (I wrapped it around my finger) with the narrowest end in the middle, gluing in place as you go. Fold the tabbed petals of the center bottom piece into the center, then glue the main spiral into it. This will make a smooth base for the flower to attach to the headband. When assembled, glue the mint button into the center.
- For the white flower, curl the piece around itself in a tight spiral, and glue in place. Glue button in middle.
- For the second gray flower, curl the petals around the center, gluing in place as you go. Glue the two leaves to the bottom of this flower.
- Measure the elastic around babies head and glue the two ends together.
- Arrange the flowers on the elastic and use the hot glue gun to attach them.

And just like that, within minutes you’ve created a beautiful headband for less than $2! Want to check out the other 49 FREE projects included with your Cricut Maker?! Click the pictures below to see how some of my blog buddies created these projects with their Maker!
[inlinkz_linkup id=739058 mode=1]
Want to make these projects but don’t have a Maker yet? Enter through the widget below to not only win the new Cricut Maker but also the HSN bundle
Giveaway open to residents in the US and Canada ages 18 years and older. Giveaway runs from 10/2/17-10/9/17 and winner will be notified by email no later than 10/10/17. Winner will have 48 hours to respond or a new winner will be chosen.



Judy says
I need to upgrade and would love to win!
Sydney says
I’ll keep my fingers crossed for you Judy!