Create a fun (and tasty) New Years Eve Party perfect for the whole family with your Cricut Maker.
How in the world is New Years Eve only 3 weeks away?! This year we are hosting New Years Eve at our house and we’ll have a packed house full of adults and kids. Since we’ll have so many people and my kids go back to school January 2nd I wanted to create a party that was easy to setup and take down and something everyone would like. In the past I’ve done two different party tables for the grownups and kids but whose got time for that these days?! Thanks to my Cricut Maker I was able to create everything for our party in the afternoon and now I can focus on the activities to keep everyone busy (those ideas are coming next week).
Easy New Years Eve Projects – Pick A Theme
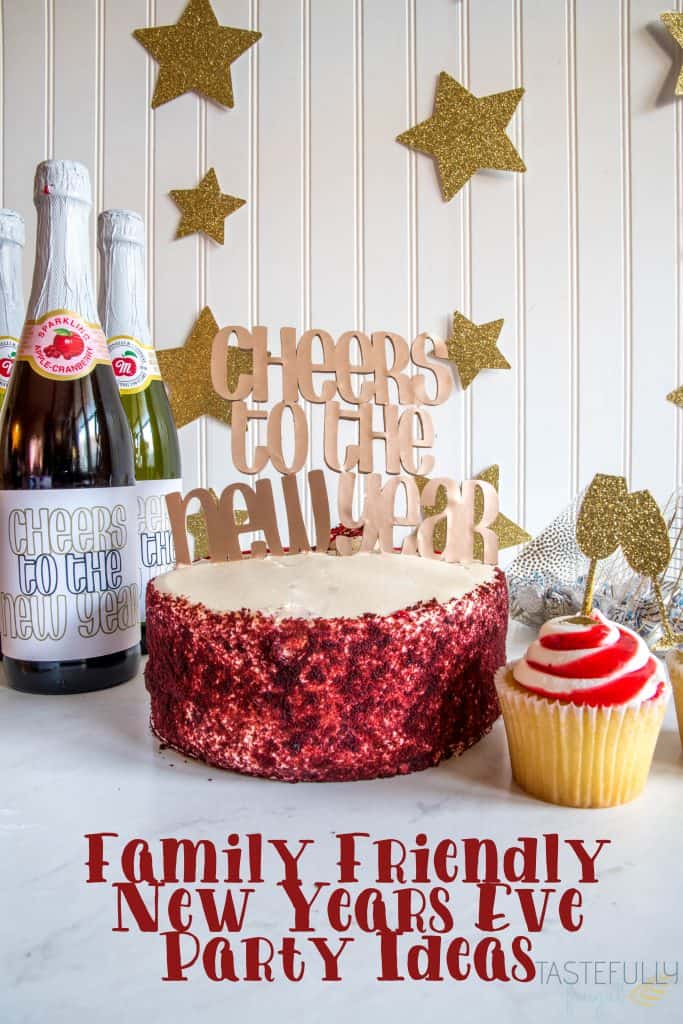
One of the reasons I love my Cricut Maker is the ability to make DIY holiday projects that last for years to come. I went with the theme Cheers To The New Year instead of a 2019 theme because I can keep everything and use it again. The knife blade makes cake and cupcake toppers out of wood or chipboard and the scoring wheel makes creating homemade goody bags SO easy! You can read more about the knife blade and how it works here and I’ll be sharing more on the scoring wheel in the next few weeks too.
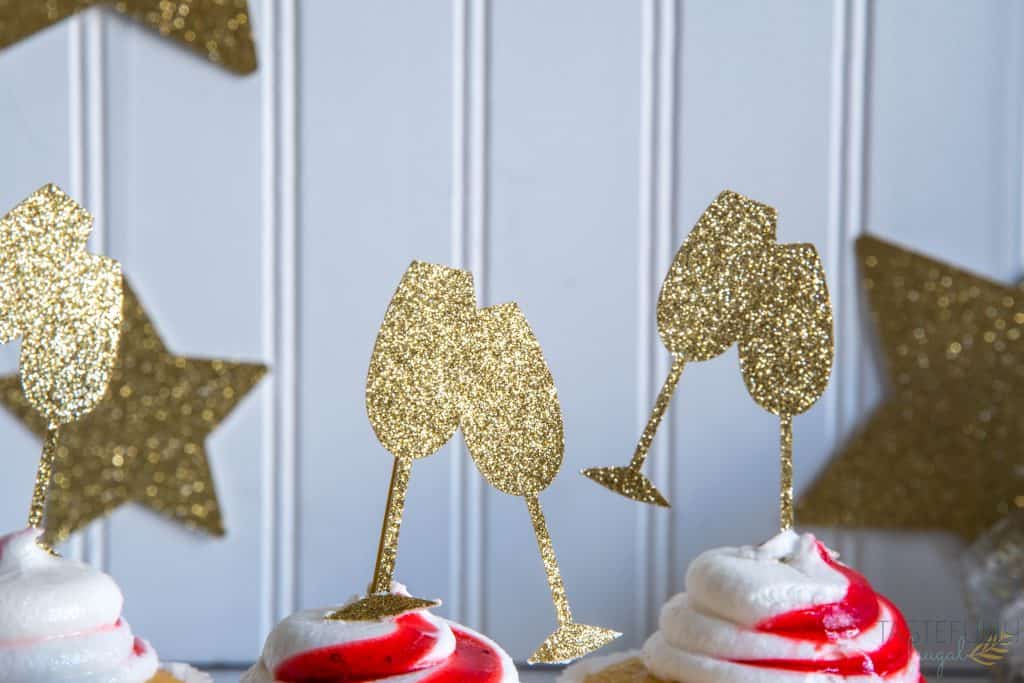
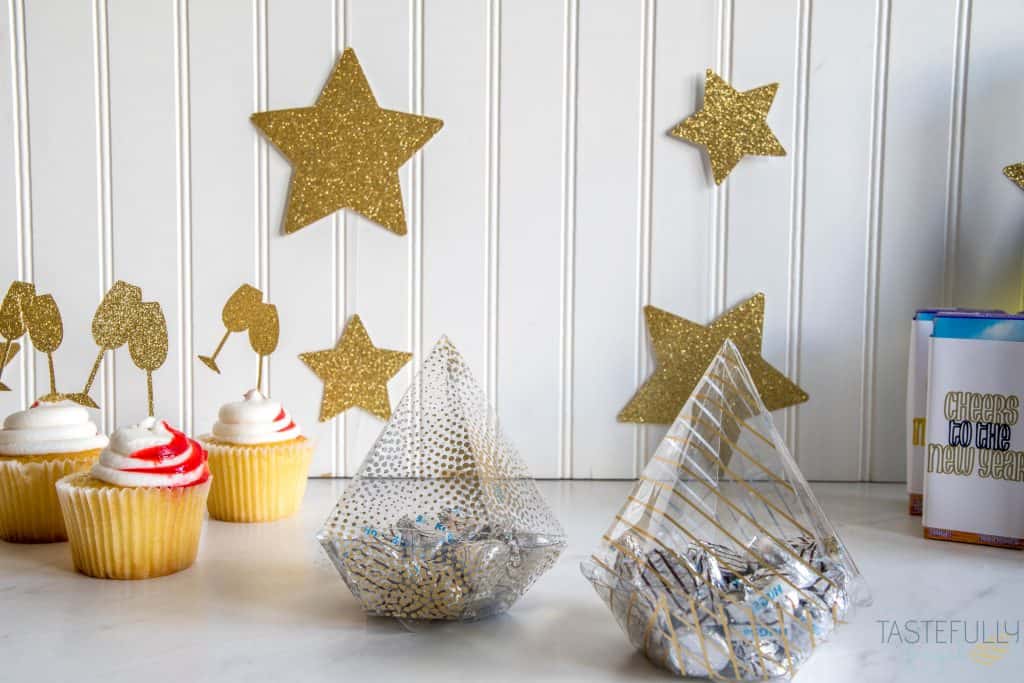
Once I decided on a theme I chose a color palette. To keep things as budget friendly as possible I used what I already had which was a whole lot of gold. This would be a fun party to do in silver and black too. I used glitter cardstock for the star backdrop and cupcake toppers (I like buying the bulk sets on Cricut.com because they come in the 12×12 size. I stock up when they’re on sale because it’s a whole lot cheaper than buying the bigger sheets in the store).
DIY New Years Eve Projects
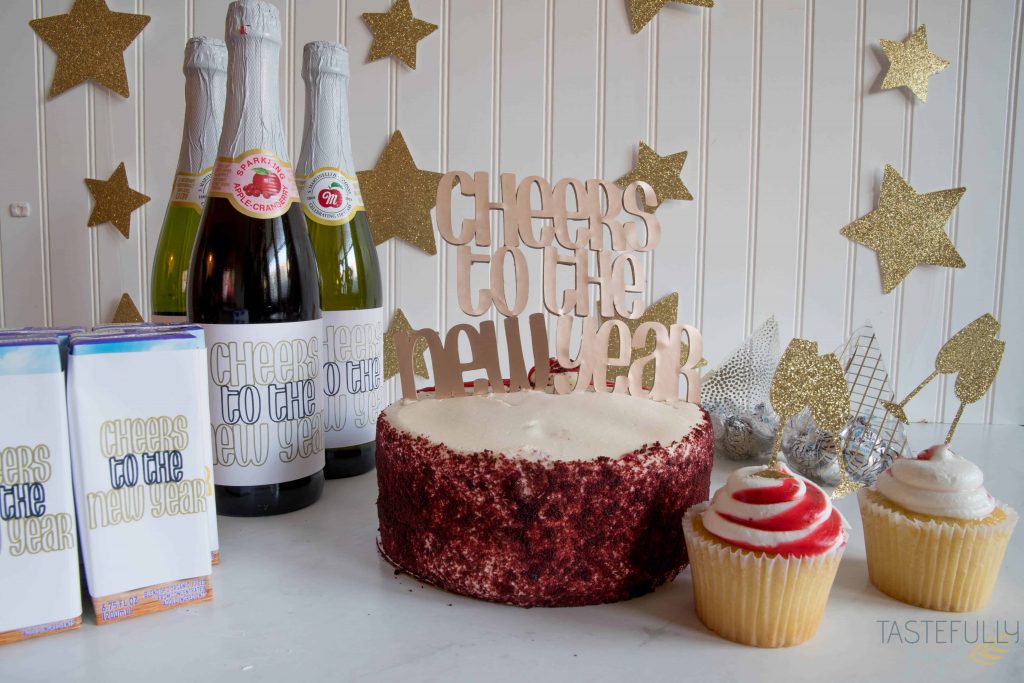
To make the star backdrop I cut out the stars (you can go directly to the design space canvas here) on my Maker and then used a hot glue gun to attach the stars in alternating sizes to fishing wire, that way when you are taking pictures it looks like they are floating.
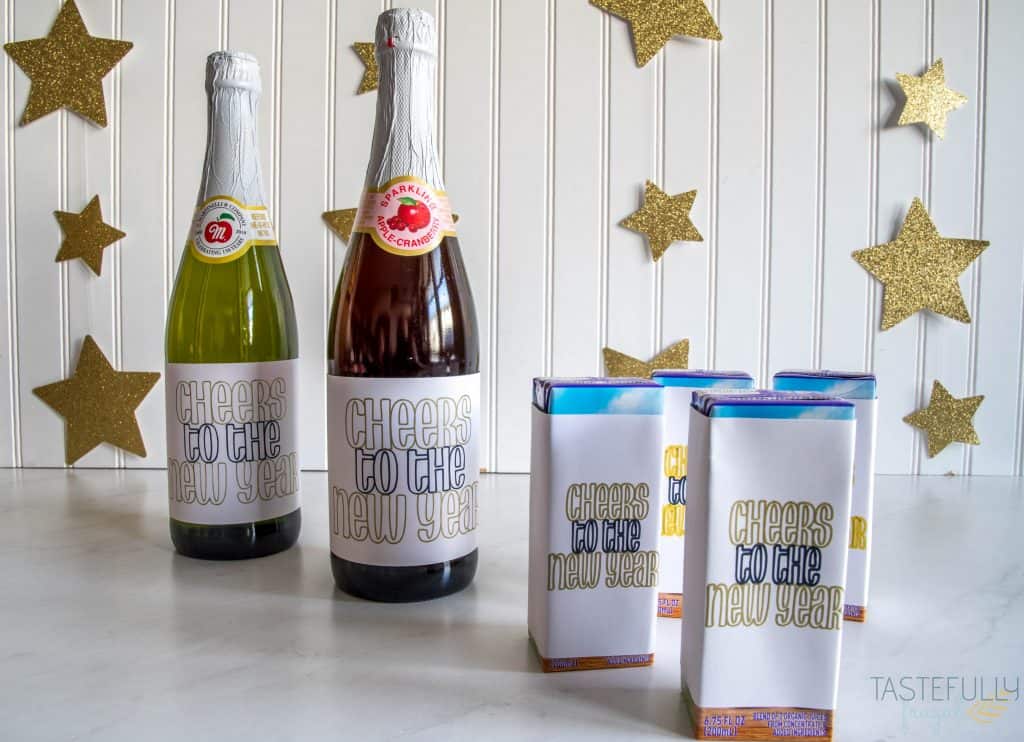
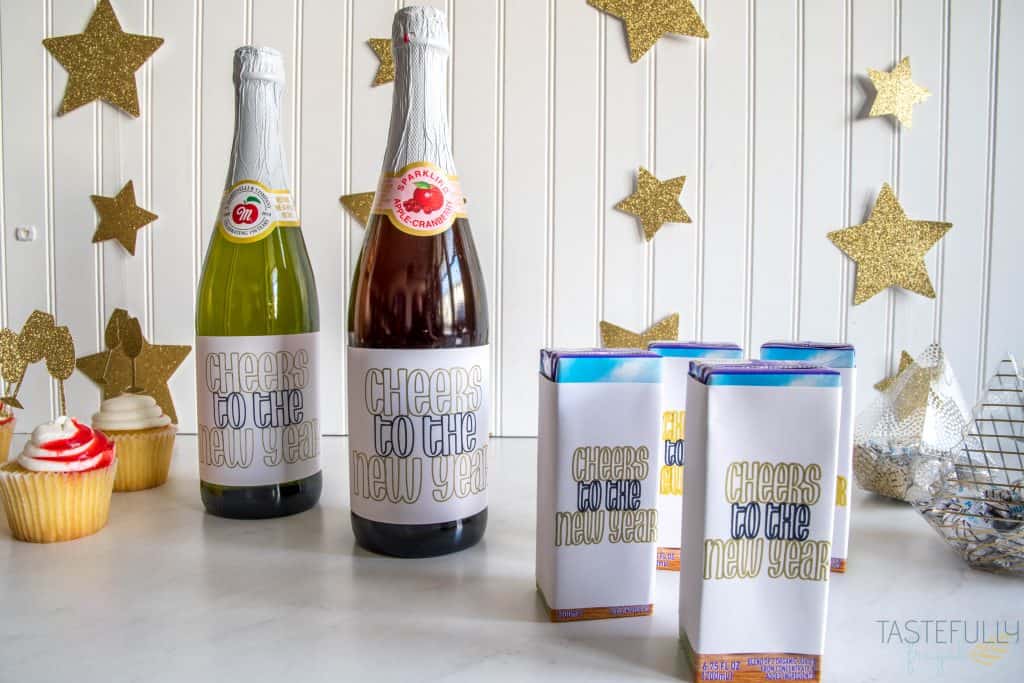
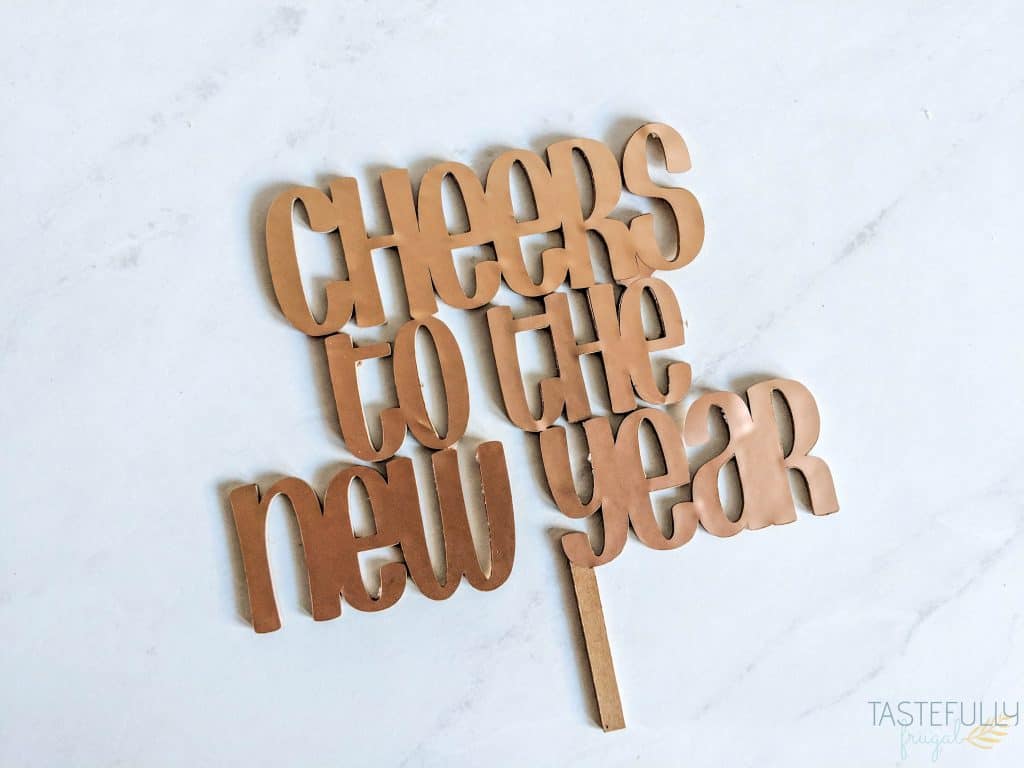
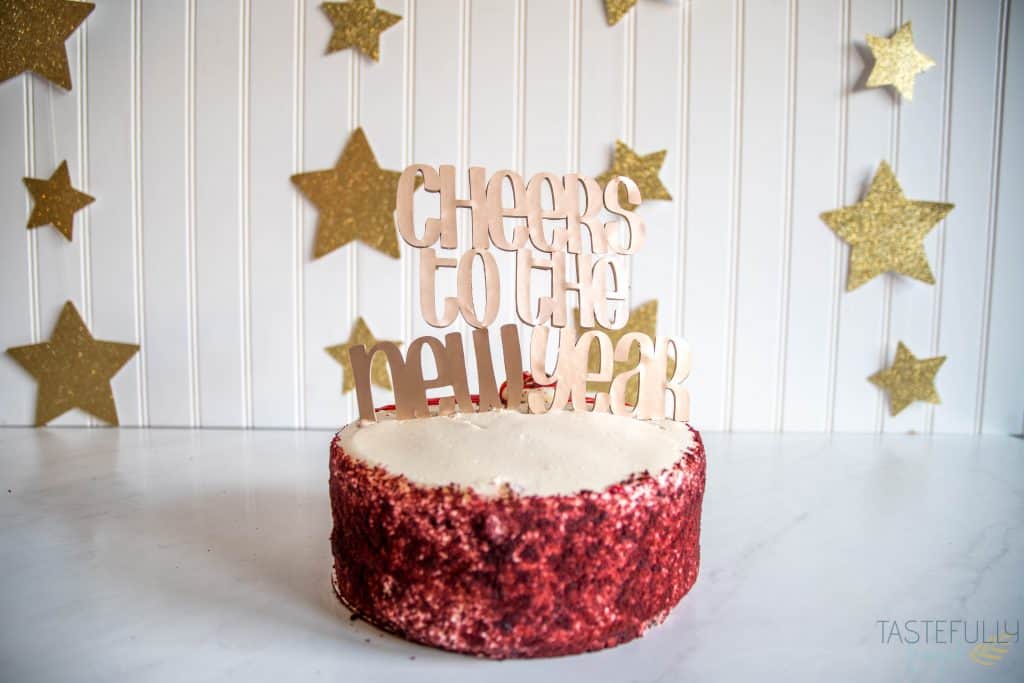
The cake topper is made out of chipboard and adhesive foil and I used the same design from the cake topper for the bottle and juice box wrappers. The printable sticker paper made it really easy to apply these too. You can get the design space canvas for the cake and cupcake toppers, and wrappers here and I’ll show you how to make the cake topper below.
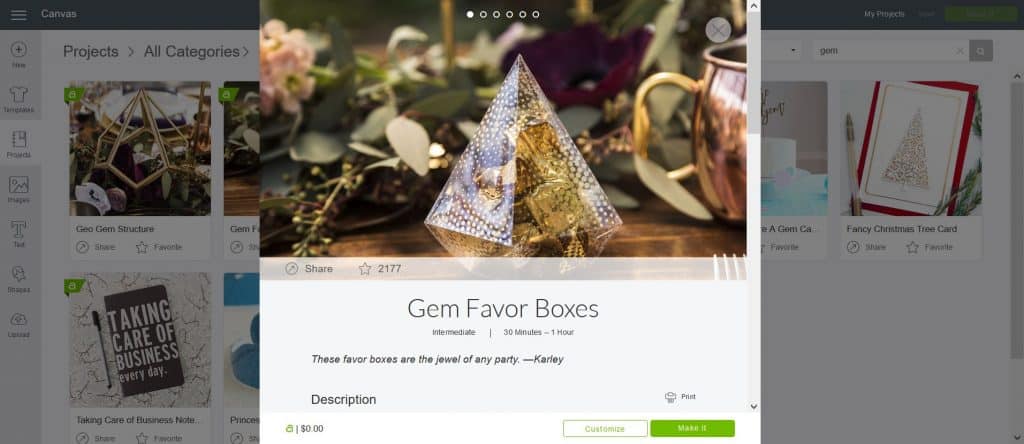
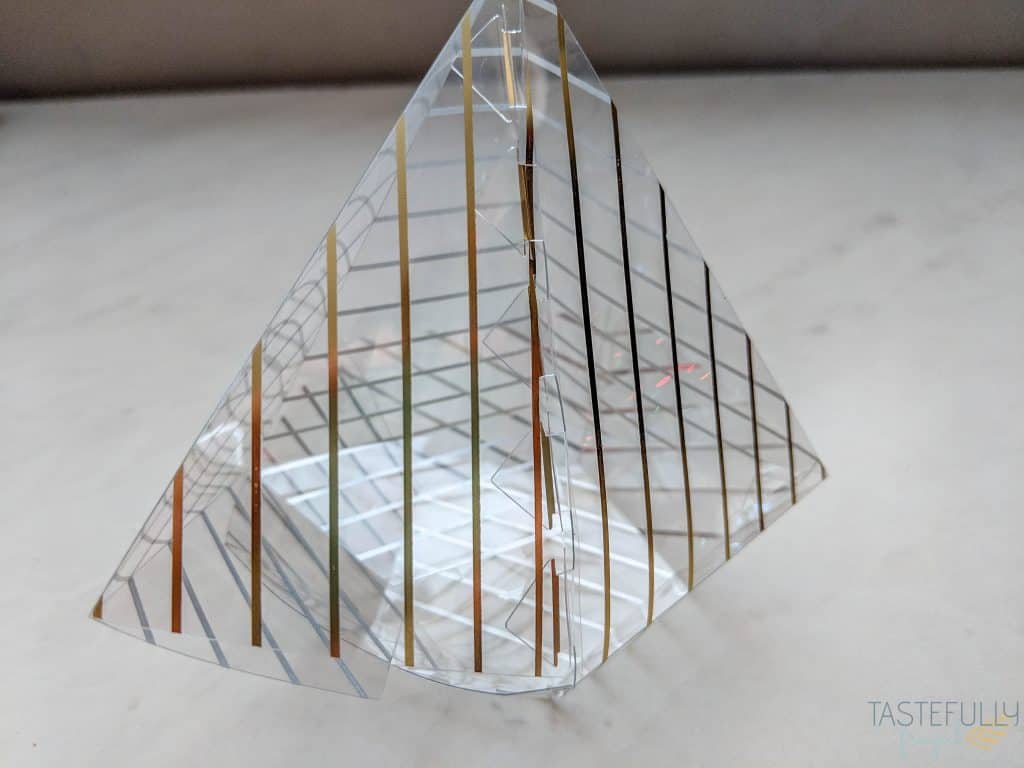
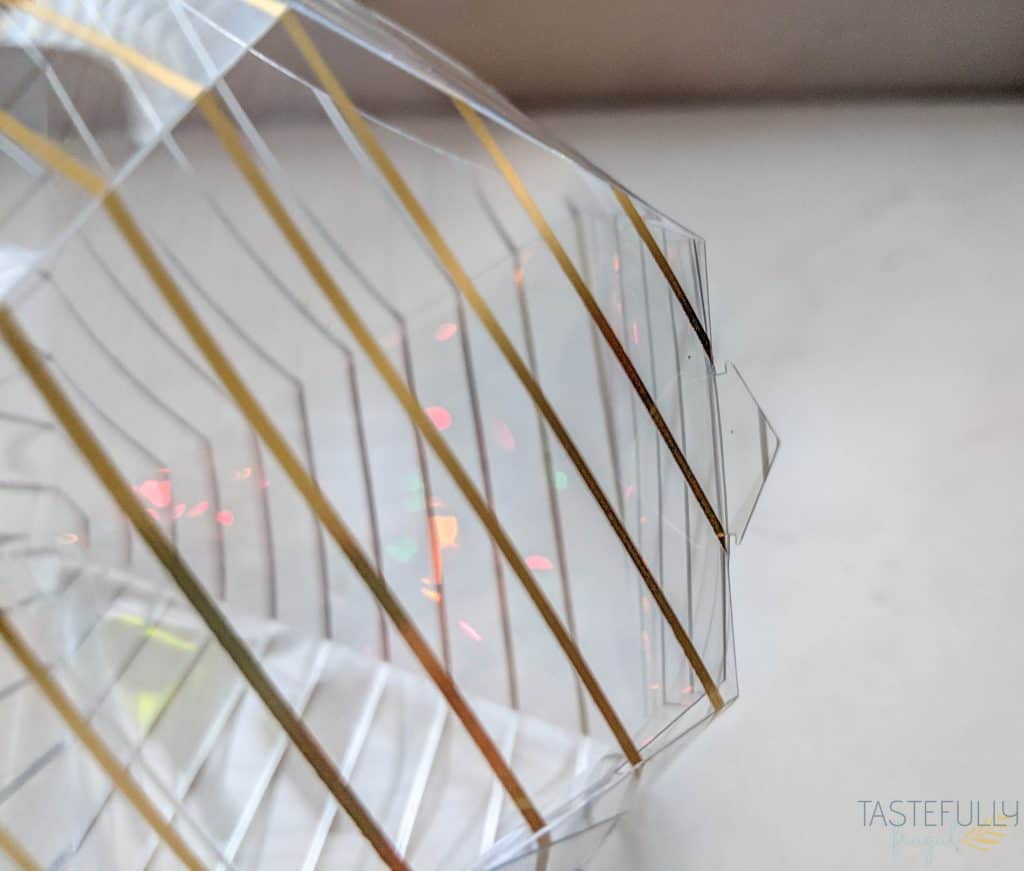
I think my favorite project here was the gem favor boxes I made with foil acetate. The foil acetate is so fun (and easy) to work with and this pack of foil acetate had all the colors I needed to create coordinating gift boxes in different patterns. I made 4 boxes but my little helpers helped themselves to the candy and boxes before I could take pictures.
Let me show you how EASY these boxes and the cake topper are to make!
SUPPLIES:
CAKE TOPPER:
GEM FAVOR BOXES:
When ordering from Cricut.com make sure to use promo code TFRUGAL to get 10% off and score FREE shipping on orders over $50!
DIRECTIONS:
CAKE TOPPER:
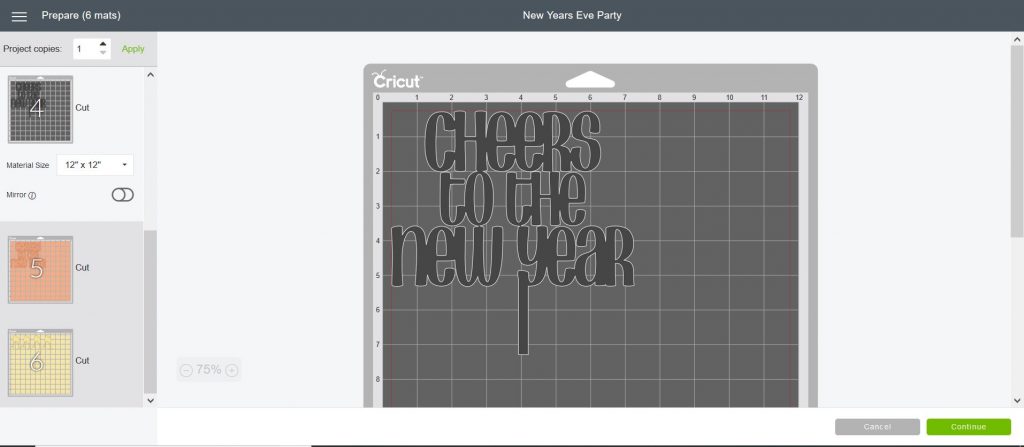
Open up this design in design space and cut the 2 larger Cheers To The New Year files (the black and orange).
You’ll want to start the chipboard first because it takes a long time (about 2 hours to cut). Select CHIPBOARD from the browse materials drop down menu.
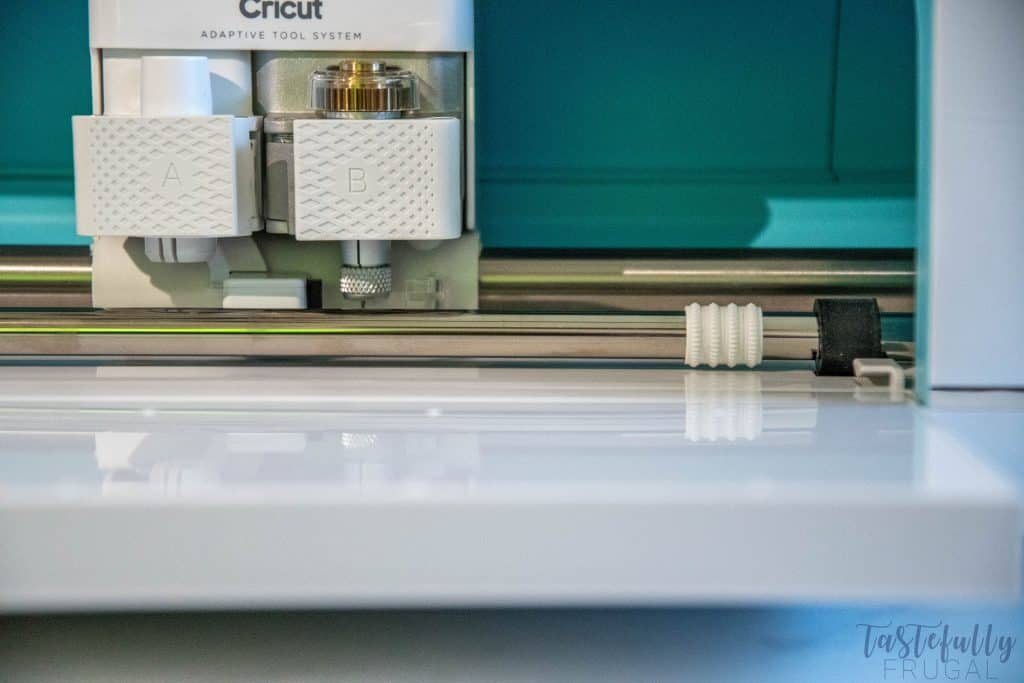
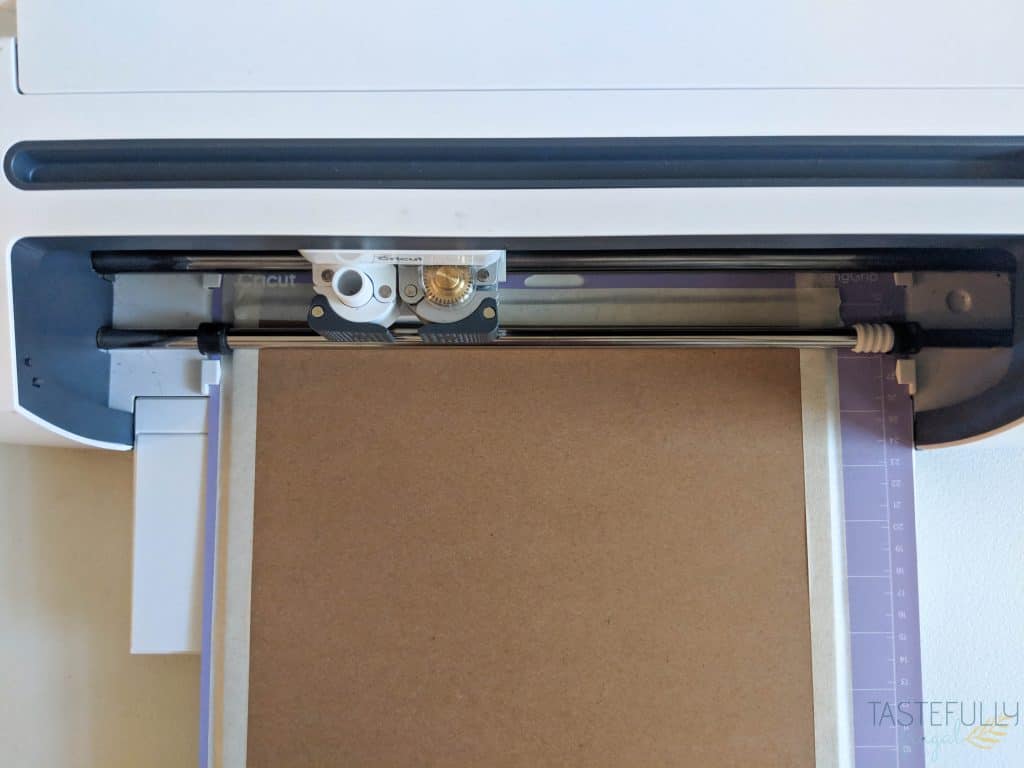
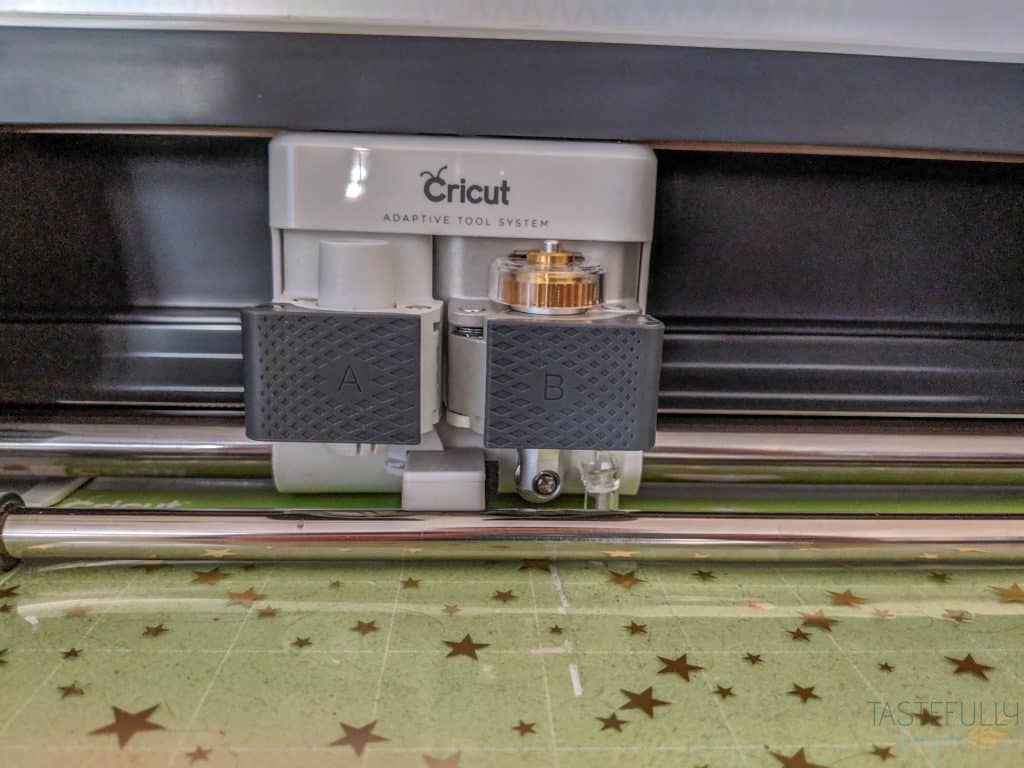
Load the knife blade into the B clamp and move the star wheels all the way over to the right. If you haven’t used your knife blade before you’ll want to calibrate your knife blade before cutting (find out how to do that here).
Attach your chipboard to the StrongGrip Mat and apply masking tape to the corners to keep it on the board for the full cut. Cut the design out of chipboard.
Put your adhesive foil on the StandardGrip Mat and change your material from CHIPBOARD to ADHESIVE FOIL in design space.
Change the knife blade to the fine point blade in the B clamp. Cut your design.
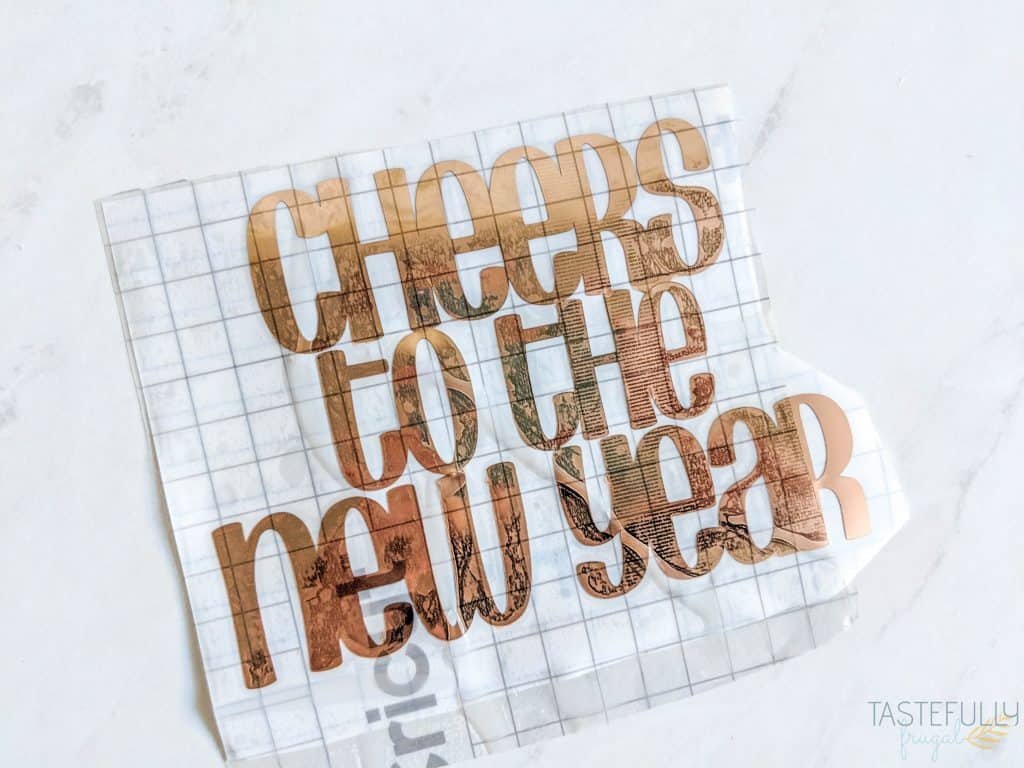
Weed the excess foil and apply transfer tape to the foil.
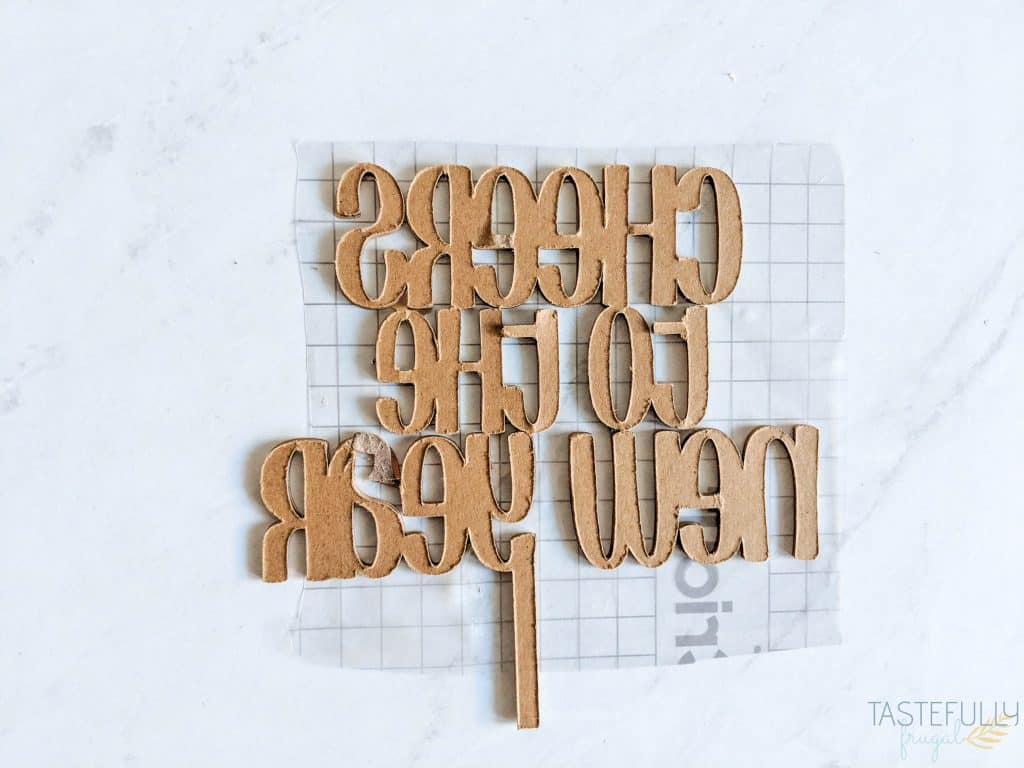
Place your foil transfer tape side down on a flat surface and apply the chipboard design on top of the foil. I’ve found this is the easiest way to get the designs to line up perfectly.
Flip over your cake topper and firmly press down on the foil. Remove transfer tape at a 90° angle.
Place on top of a cake.
FAVOR BOXES:
Open up this project in design space and hit make.
Select Foil Acetate from the browse materials menu.
Place your foil acetate on your StandardGrip mat pattern side up.
Insert your scoring wheel into the B clamp. Once the scoring is done replace the scoring wheel with the fine point blade.
Remove the foil acetate from the mat. Remove the plastic backing from the foil acetate at this step too.
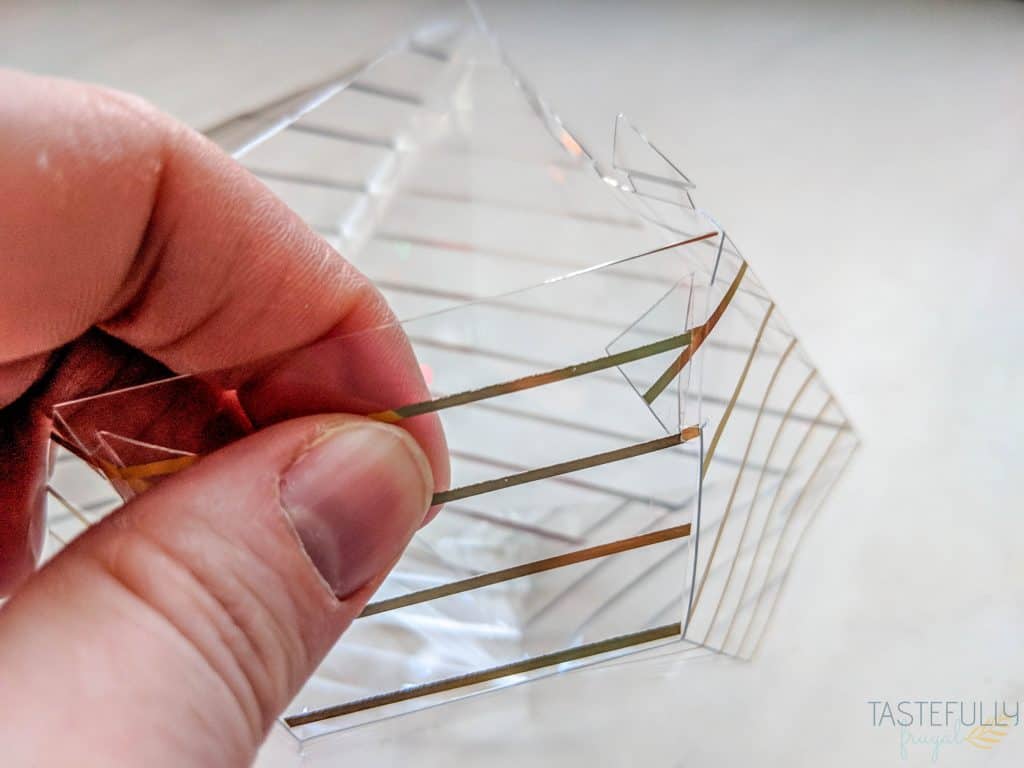
Fold all your score lines and open up the slits to insert your tabs.
Starting at the base insert the tabs into the slits.
After the base is put together insert the side tabs starting from the top and working your way down.
Insert the center two tabs into the slits at the bottom of the base.
Fill with candy (or whatever treat you’d like).
What are your plans for New Years Eve this year?! Let me know in the comments and if you’re crafting what you’ll be creating! If you’d like to check out more ways you can use your Cricut check out these posts! Need help with your Cricut? Join our Cricut Support Facebook Group!
This is a sponsored conversation written by me on behalf of Cricut. The opinions and text are all mine.


Leave a Reply