Ordering wedding invitations can be stressful and expensive. Make yours for a fraction of the price and have total control with your Cricut Explore Air.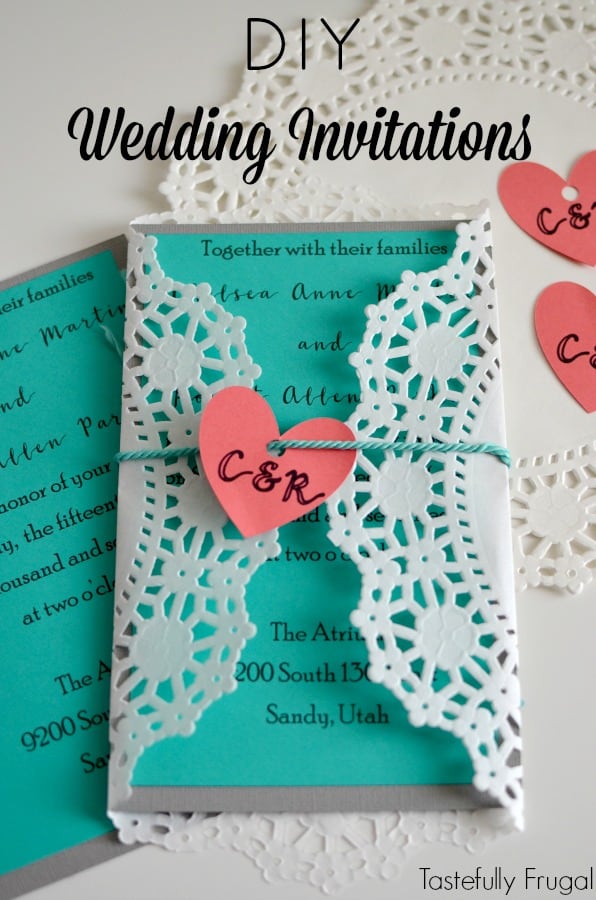
Getting married is one of the most exciting times in your life! And I don’t know about you but when I got married I wanted everything to be perfect and just how I pictured it. But having everything picture perfect can be difficult; and expensive. I remember when I was looking for wedding invitations all the ones I liked were upwards of $2 each and when you’re ordering 100+ invitations that’s $200 just for the invitations. And that was on the low side. I wish I would have had my Cricut when I got married because there are SO many things you can make instead of buy and save a ton of money; AND have complete control of the design process. Like invitations.
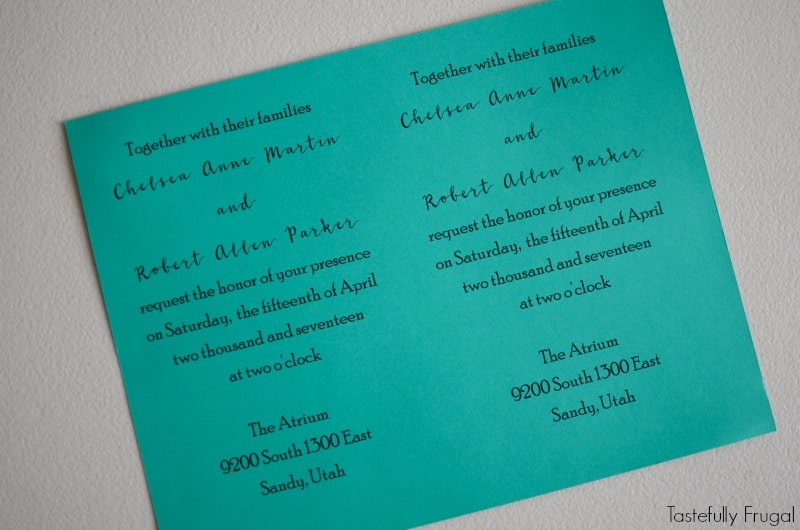
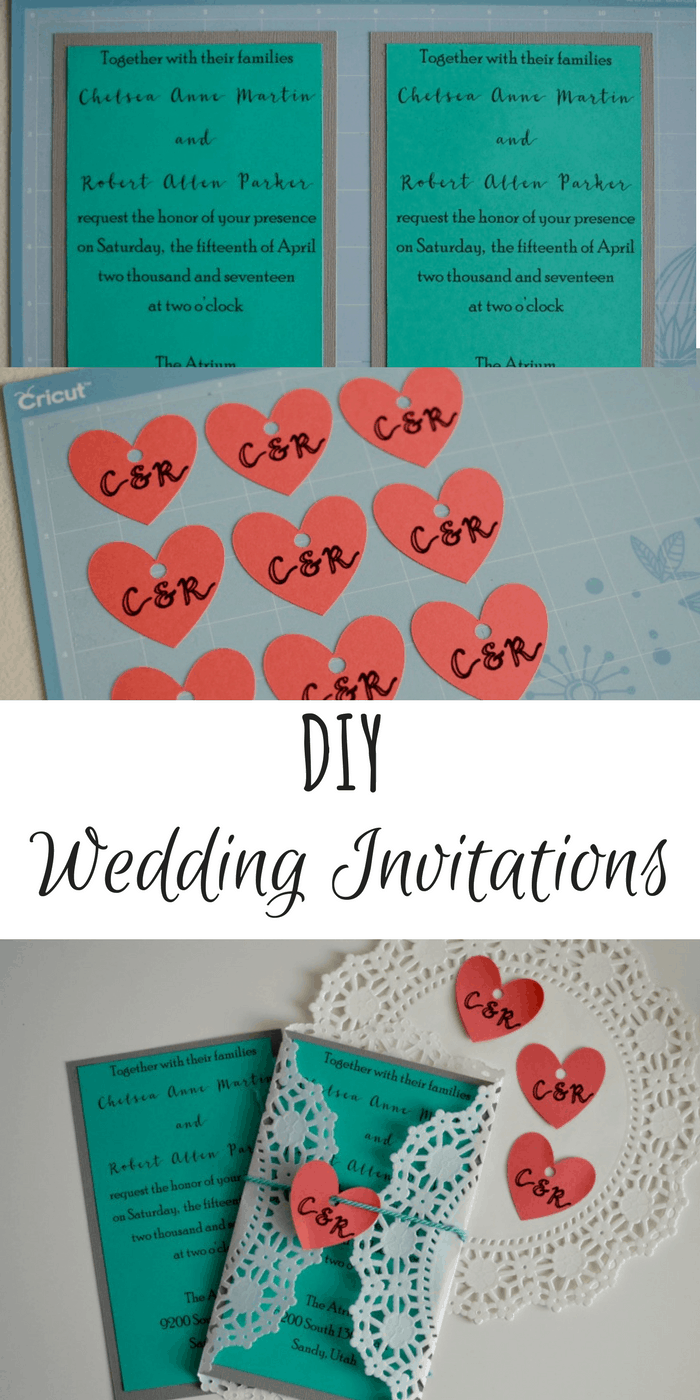
The supplies to make these invitations cost $20 for just over 100. That’s just $.20 per invitation instead of $2; that’s $20 instead of $200! And there are so many ways you can customize these! The first thing you need to decide when making your invitations is the colors of your wedding. This post has some great color combinations and actual examples of what these colors look like. The coral and turquoise combination is my favorite.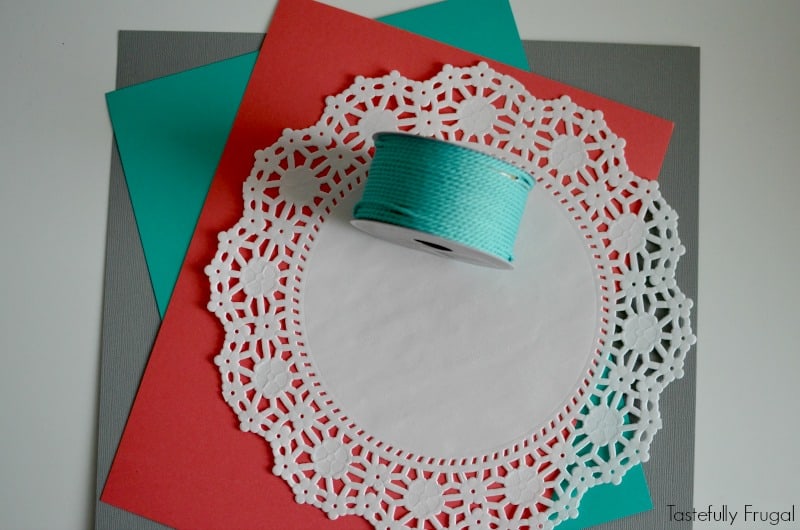
Next you need to decide the wording of your invitations. Who is hosting the wedding (the couple, the parents, both sets of parents)? Where is the wedding being held? When is the wedding? Are you sending out invites for the ceremony and the reception? Just the reception? Is dinner being served? These are some of the questions you need to have answers to before starting on your invitations. Here is another great post to help with the wording set up of your invitations.
Now that you have your color theme down and the wording of your invitations lets start putting them together! I had originally wrote up the wording of the invitations in the Cricut Design Space but when I realized I could only get one invitation per page I decided to write up and print the first part of invitation in Word and then cut them in Cricut. Here’s how I put these invitations together.
Supplies:
Cardstock– I used coral, turquoise and grey (I found 50 packs of cardstock at Michaels for $2 a pack)
Ribbon, string or twine- I used turquoise ribbon I found at Michael’s for $2
Turnbow Adhesive Roller (or double sided tape)
Step 1- Decide on how big you want your invitations to be.
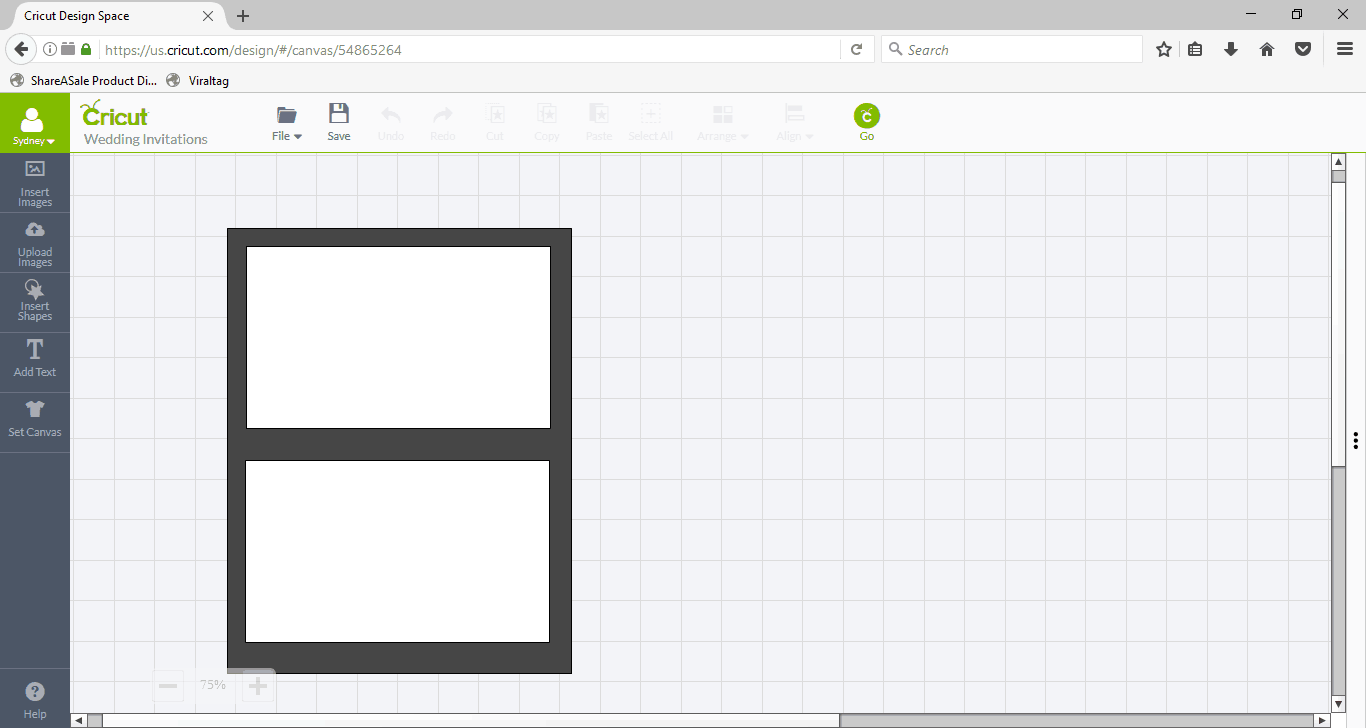
I wanted my invitations to be 5″ x 8″ and I also wanted them to be two tone. So I started by making a 5×8 rectangle in design space.
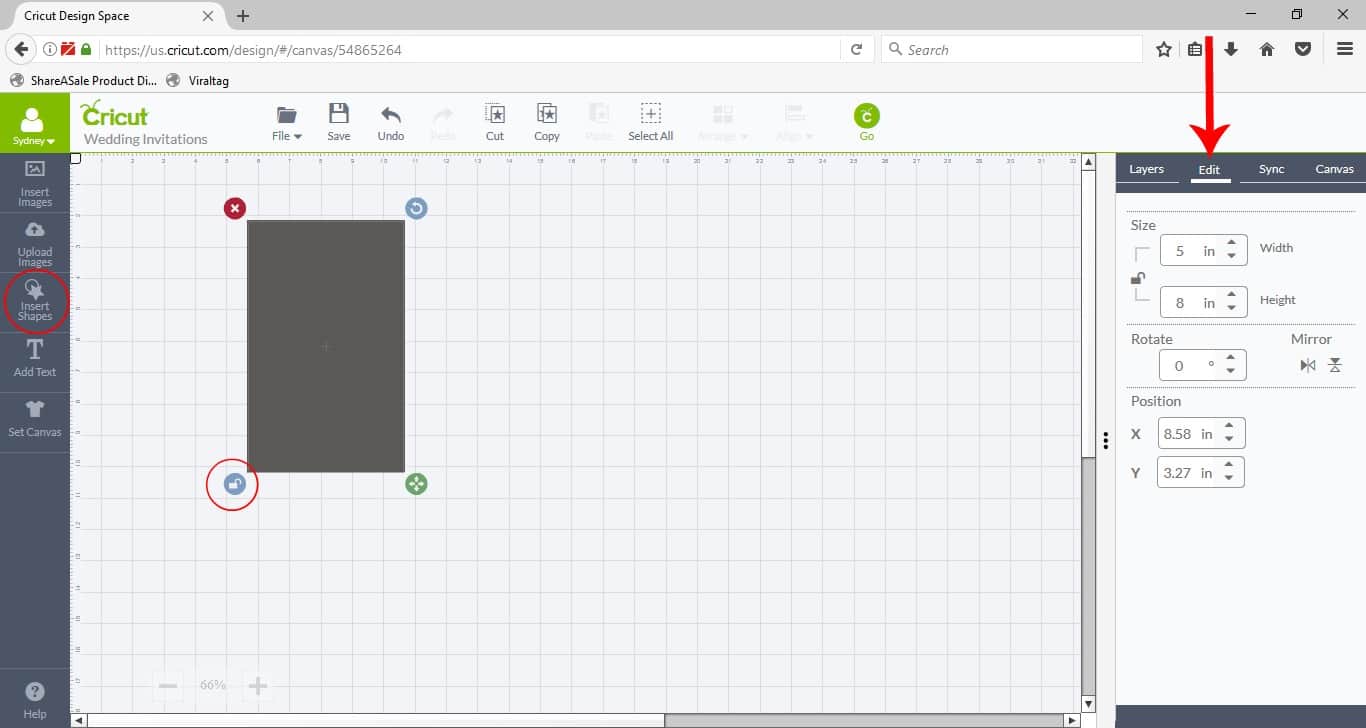 To do this you need to click INSERT SHAPE, choose the square and then click the lock button to make it so the length and the width of the don’t have to be the same. Next, click the EDIT tab and change the size to 5″ width and 8″ height.
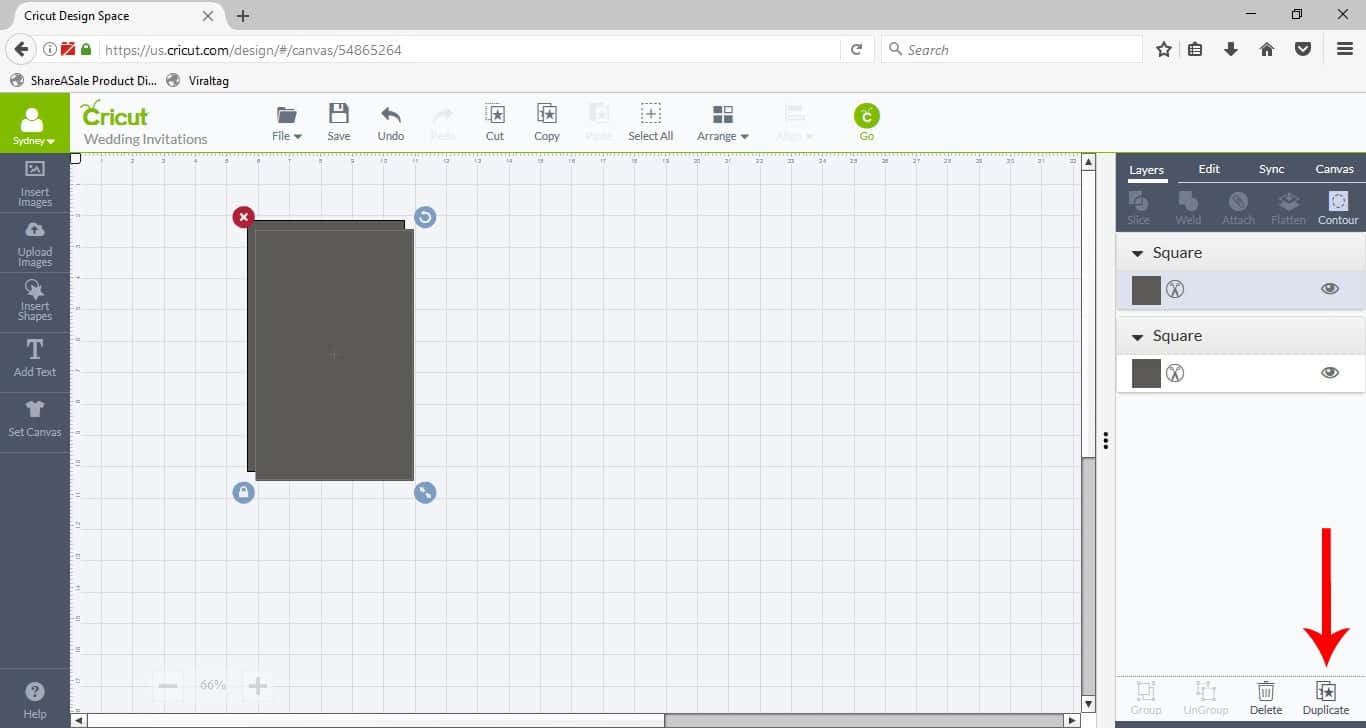 Use the duplicate button to add a second rectangle.
Send the design to be cut. Make sure your dial is on cardstock.
Step 2- Design the actual invitation in Word.
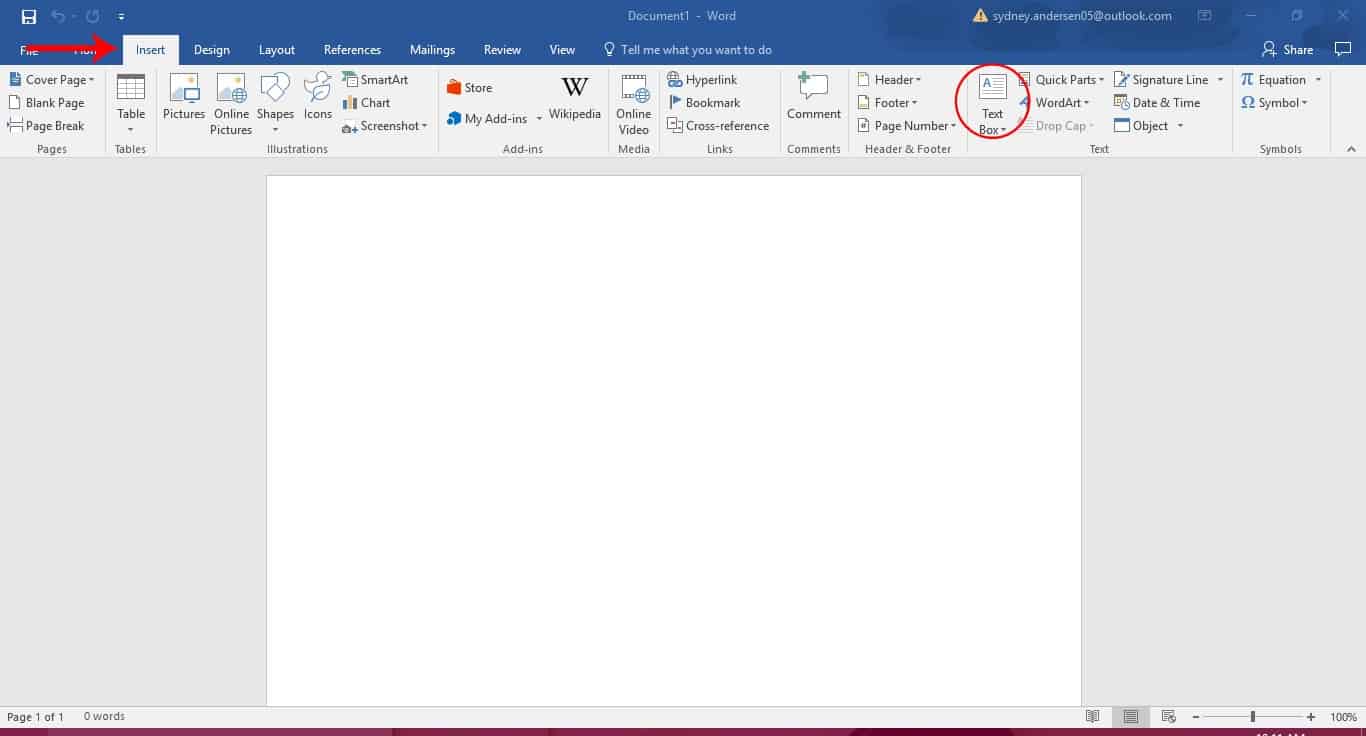 Start by drawing a text box (go to INSERT-TEXT BOX-DRAW TEXT BOX).
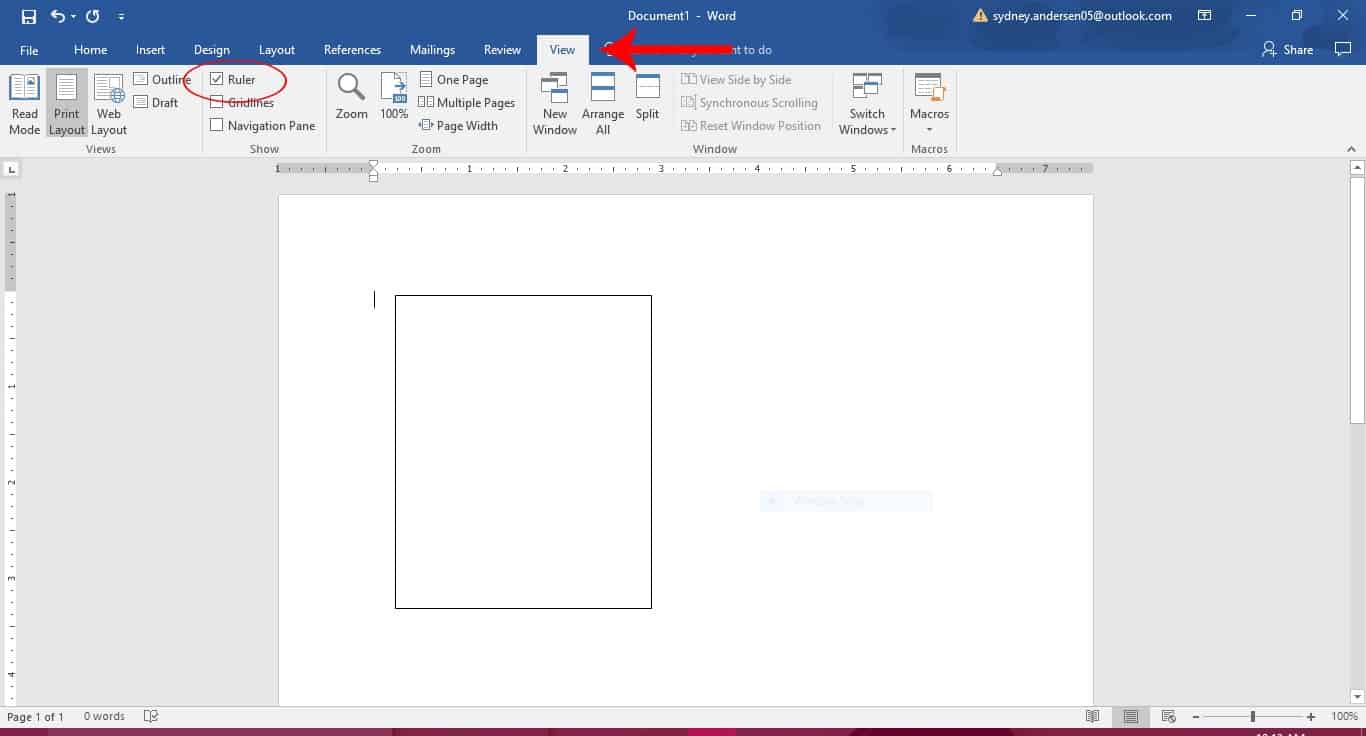 Make sure your ruler is on your screen (you can do this by clicking the VIEW TAB and check the RULER check box).
 Draw a text box that is 7.5″ tall by 4.5″ wide.
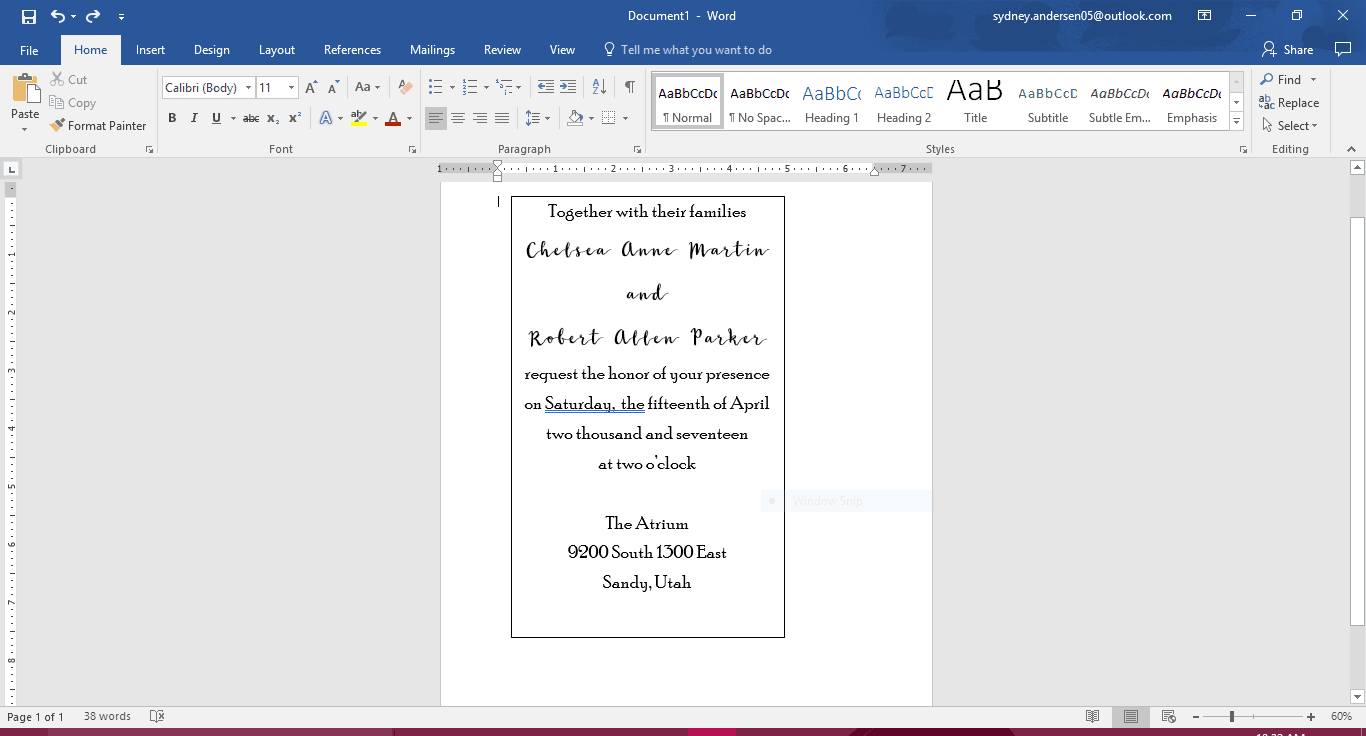 Write up your invitation. I used the Poor Richard and Wildera fonts. Play around with fonts and sizes to make sure everything fits how you like it.
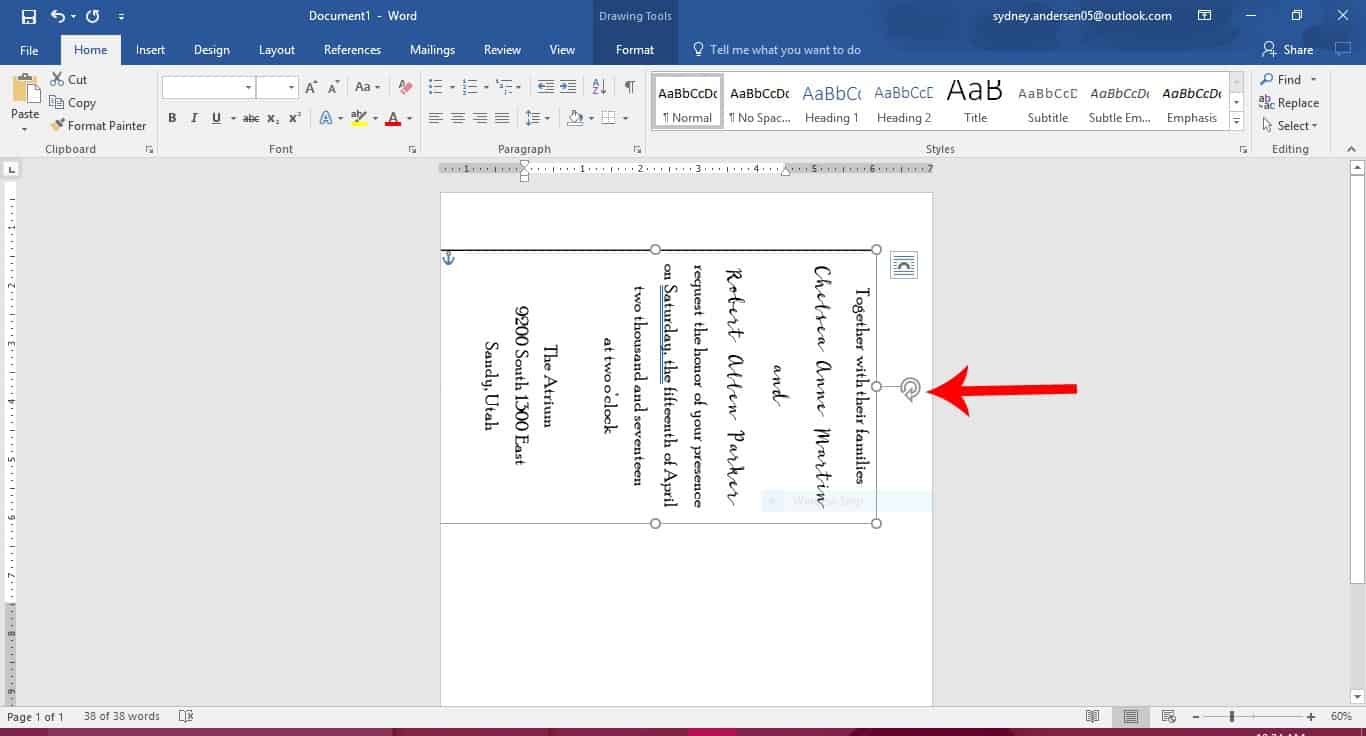 Rotate text box 90° so the invitation is now horizontal. Remove the text box line by right click the text box, selecting OUTLINE and then NO FILL.
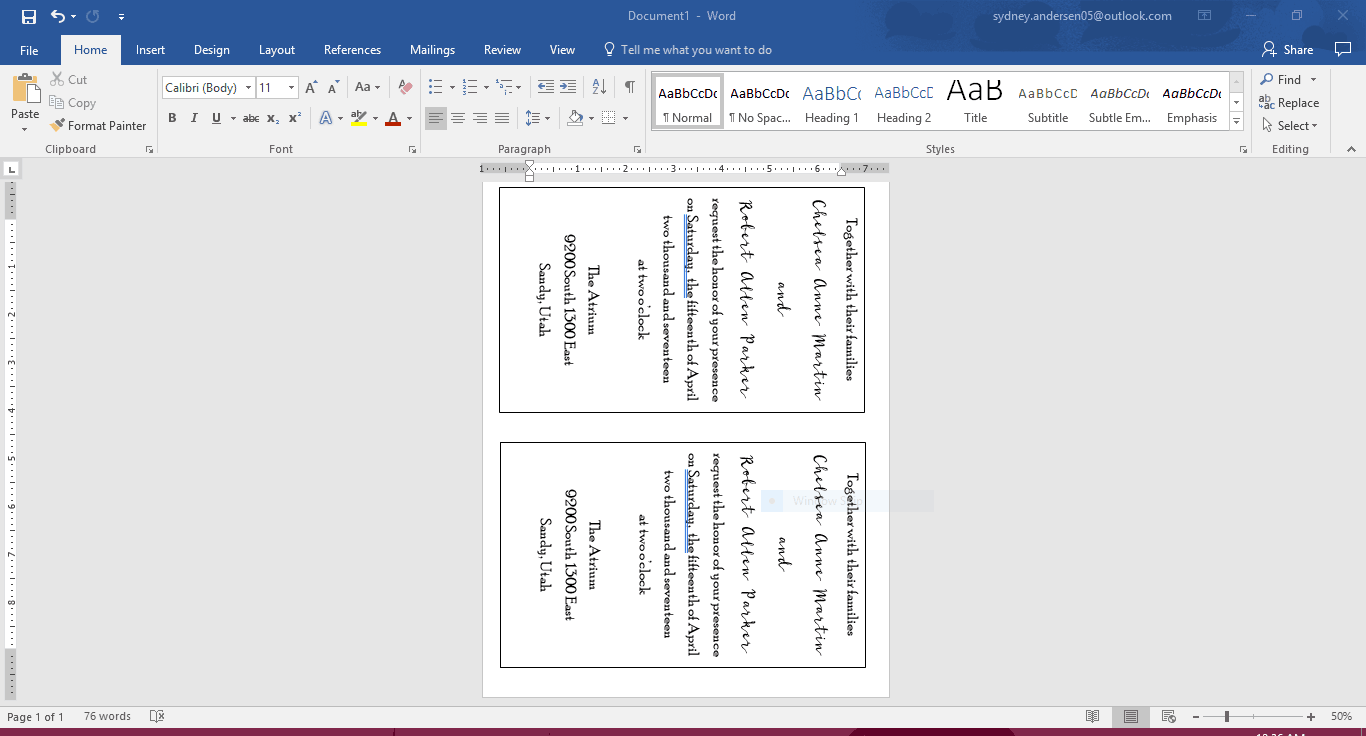 Copy and paste so you now have two invitations per page.
 Print invitations.
 Go back to Cricut Design Space and add an 8.5″ x 11″ rectangle. Add a second rectangle and make it 7.5″ x 4.5″ (the same size as your textbox for the invitations) .Duplicate the second rectangle so you have two. Fit the two smaller rectangles into the bigger rectangle about where the text boxes are located in your word document (reference back to your word document to make sure). I didn’t fit my wording to the line on my text box so if the the rectangles don’t line up exactly on the design space it’s no big deal.
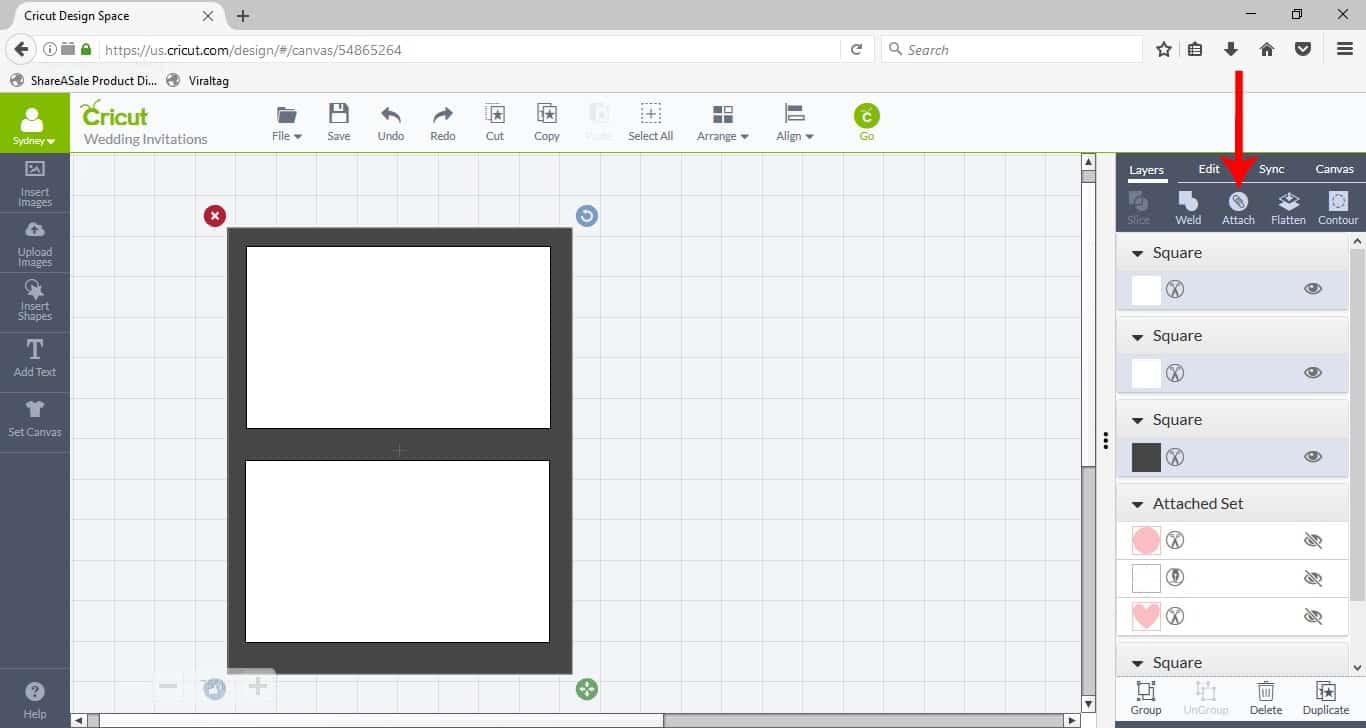 Select all three rectangles (click and drag around the largest rectangle) and click ATTACH.
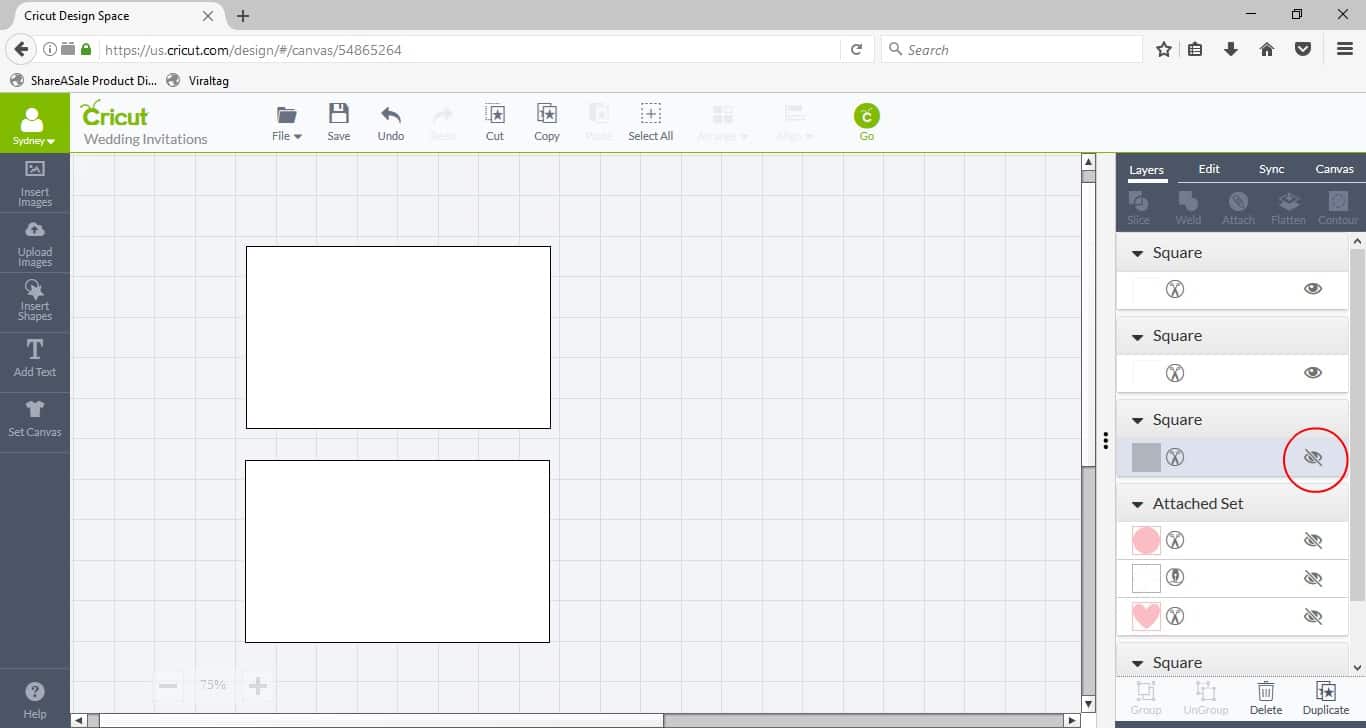 Make the 8.5″ x 11″ rectangle not visible by clicking the eye icon.
Send the design to be cut.
Step 3- Put together invitations.
Using a Tombow adhesive roller (or double sided tape) apply the teal invitation on to the grey background.
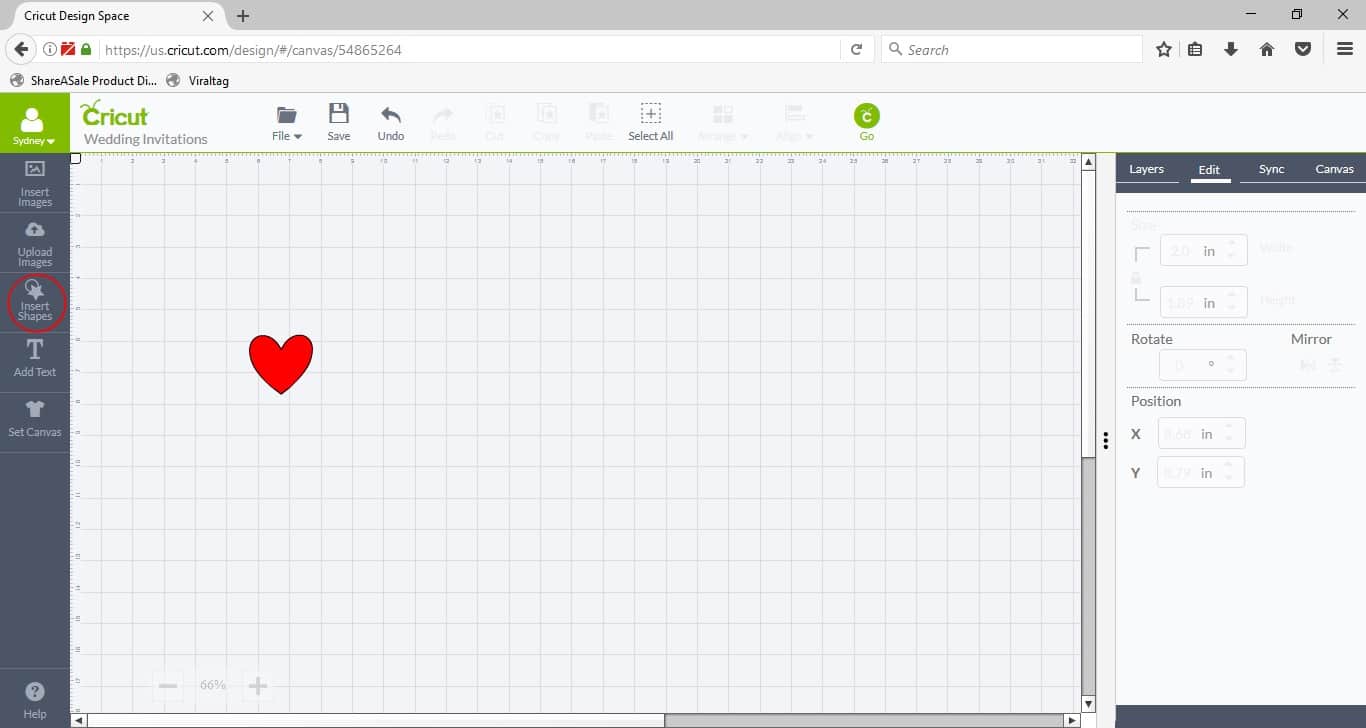 In the Cricut Design Space add a heart. Make it 2″ wide.
 Add the bride and groom’s initials into the heart (I used the Wildera font, same as on the invitations). Change the initials from cut to WRITE.
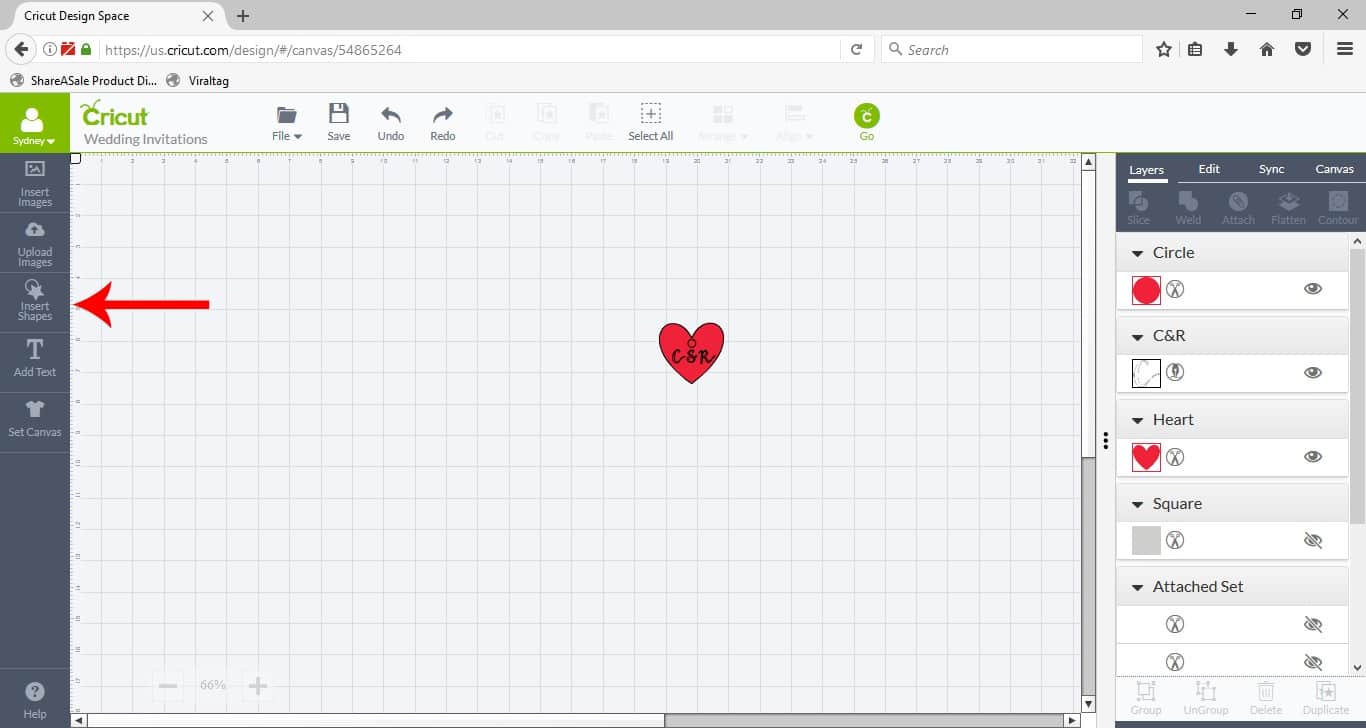 Add a circle and insert above initials in heart.
Attach initials, circle and heart together.
 Use the duplicate button to duplicate hearts (you can fit 12 hearts on an 8.5″x11″ cardstock)
 Insert a Fine .4 Tip Black Cricut pen into the A spot.
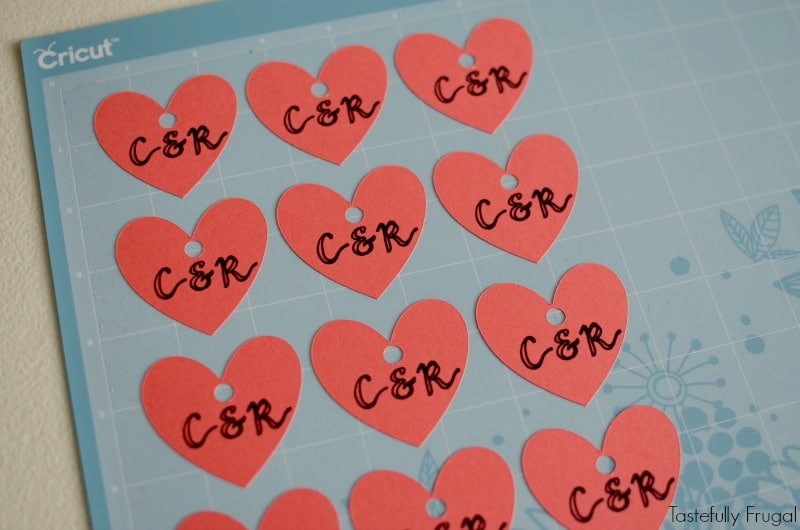 Cut and write hearts.
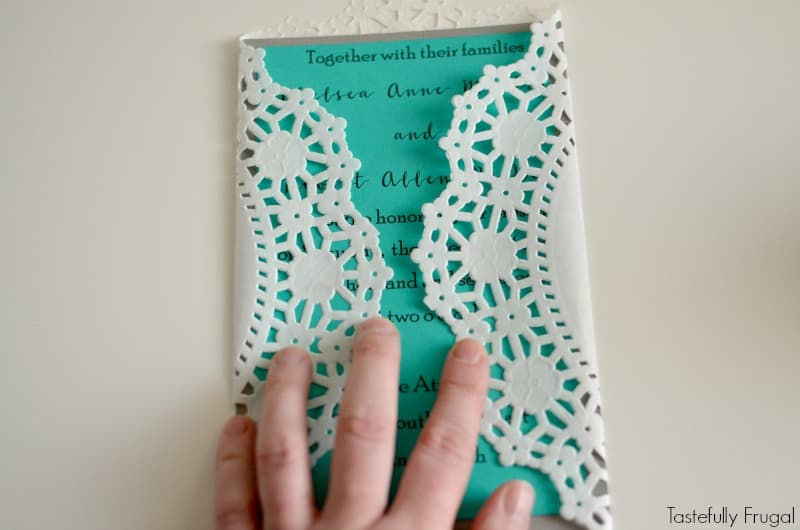 Fold a 10″ paper doilie around your invitation.
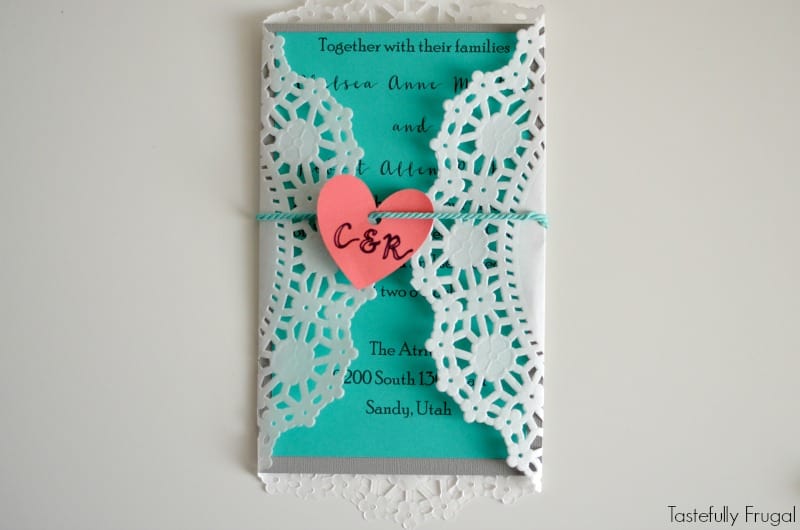 Using ribbon, string or twine attach heart to invitation and tie in back.
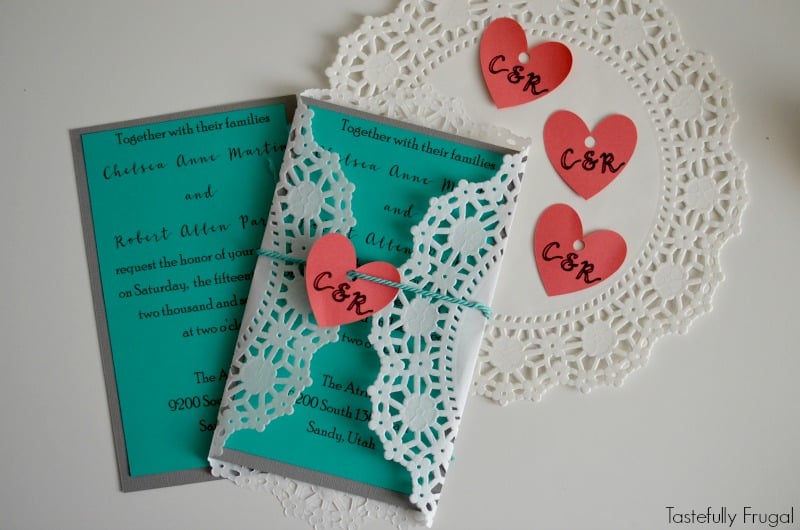 And there you have it; custom invitations for less than $.25 each! When you send things to be cut (and written) you can also choose the quantity you want to make. This way you can print as many copies as you need without having to go back to preview every time.
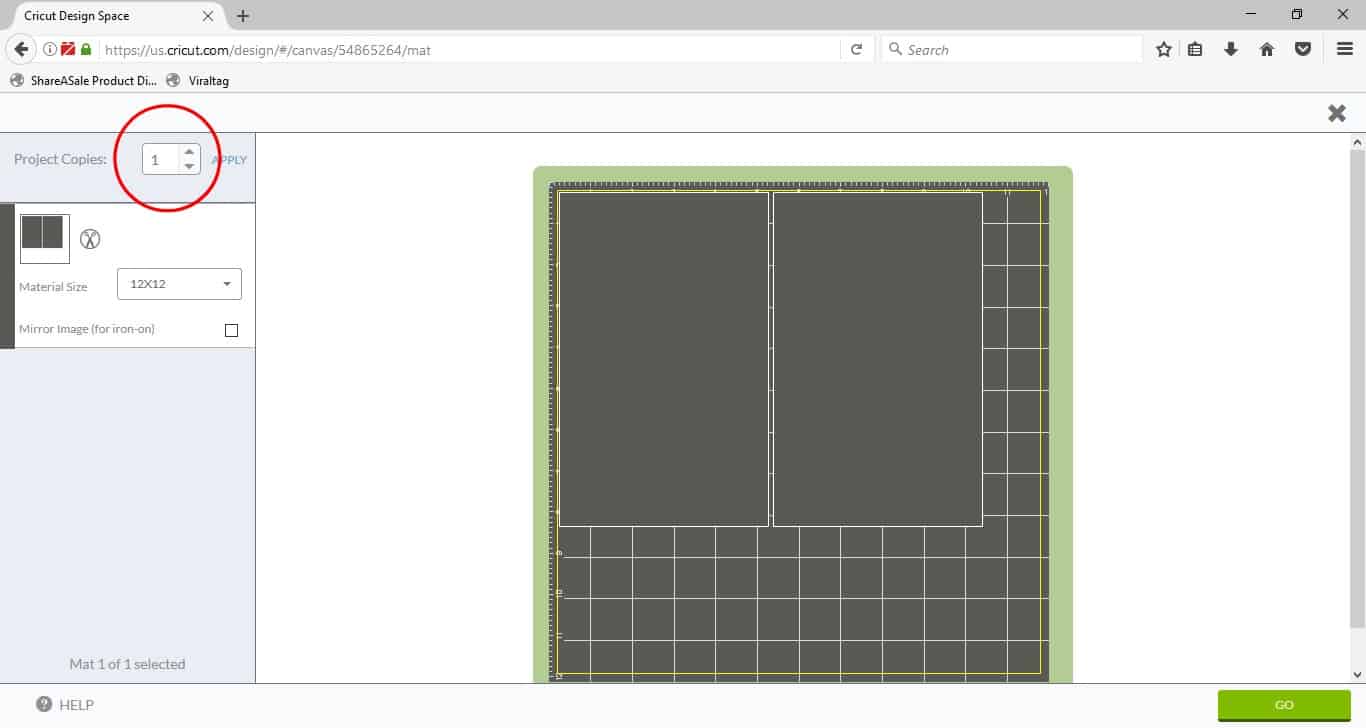
Now that you have your invitations made what are you going to work on next? Tune in tomorrow for more wedding projects you can make with your Cricut and next Monday for 50 ways you can use mason jars in your wedding!
This is a sponsored conversation written by me on behalf of Cricut. The opinions and text are all mine.


Lauren says
Do you print the invitations via the Cricut machine or a regular at home printer?
Sydney says
Hi Lauren! I printed them on my home computer because the Explore Air 2 can not read the print and cut on colored paper/cardstock BUT if you have the Maker you can do the whole thing in design space. I hope this helps.