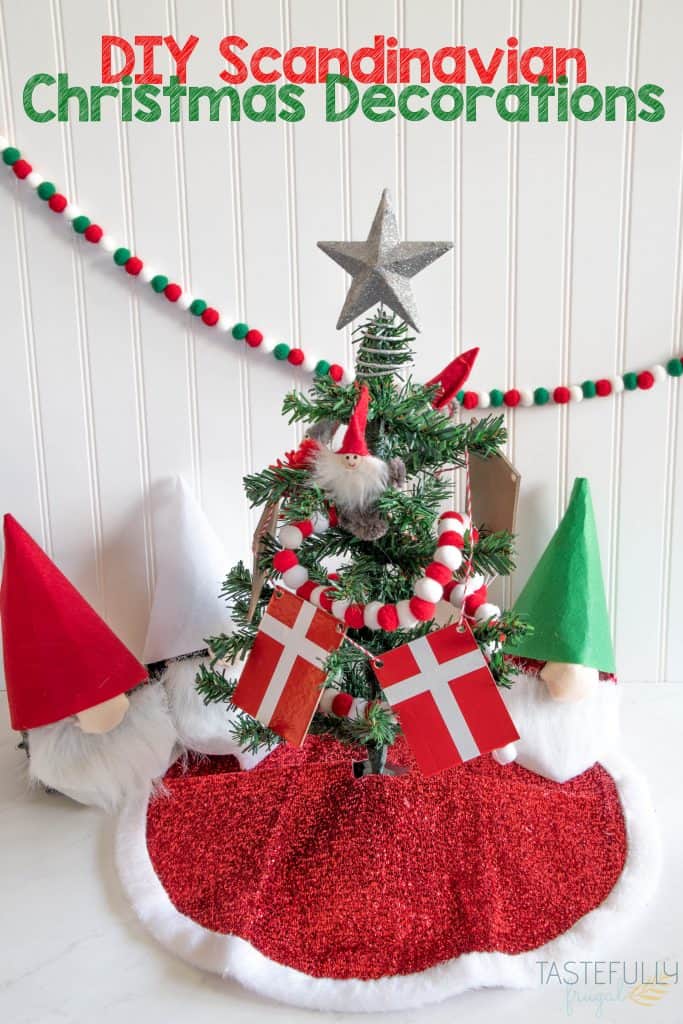
Add some Scandinavian culture to your holiday decorations with this DIY flag banner and candle.
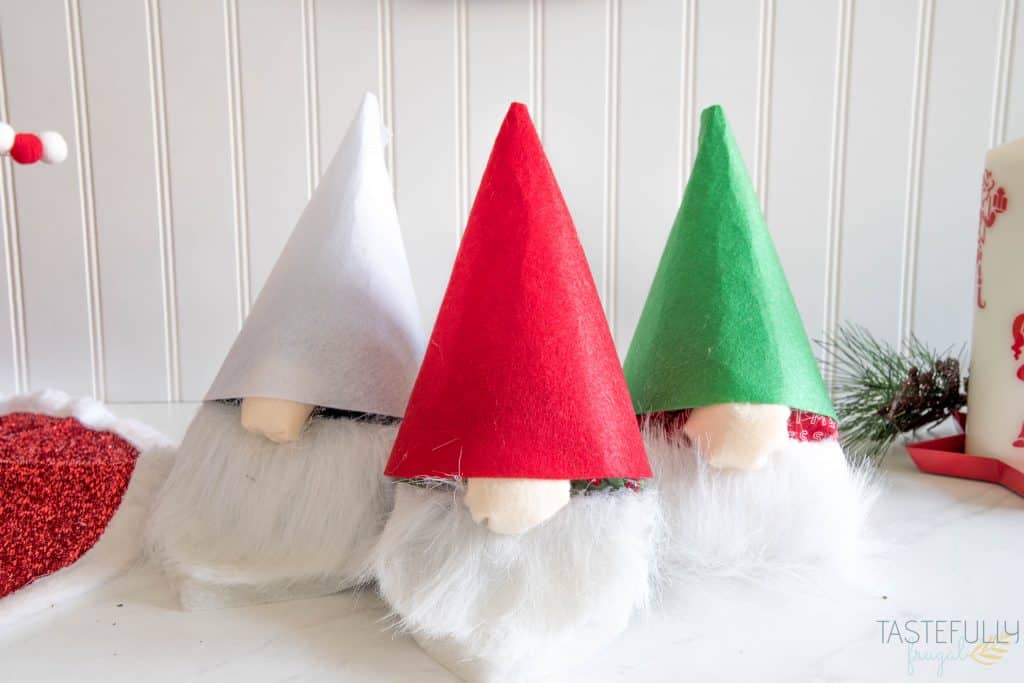
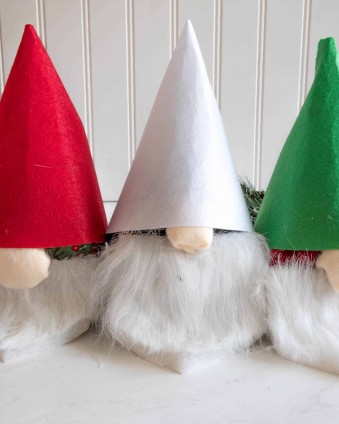
A few weeks ago I shared these little Scandinavian Elves I made out of fabric and felt with my Maker. We recently learned that my husband’s ancestry was almost entirely Scandinavian so we decided to add some traditional decorations into our holidays this year. As I’ve done research I learned that most Scandinavian Christmas decorations, while they can be extravagant, don’t involve a whole lot of glitz and glamour.
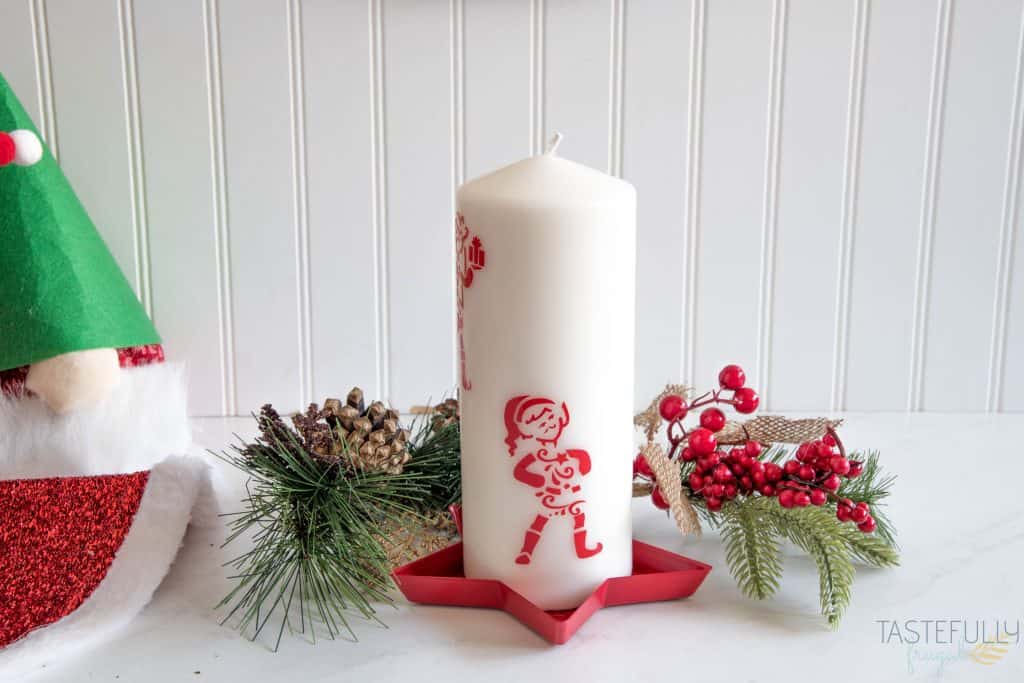
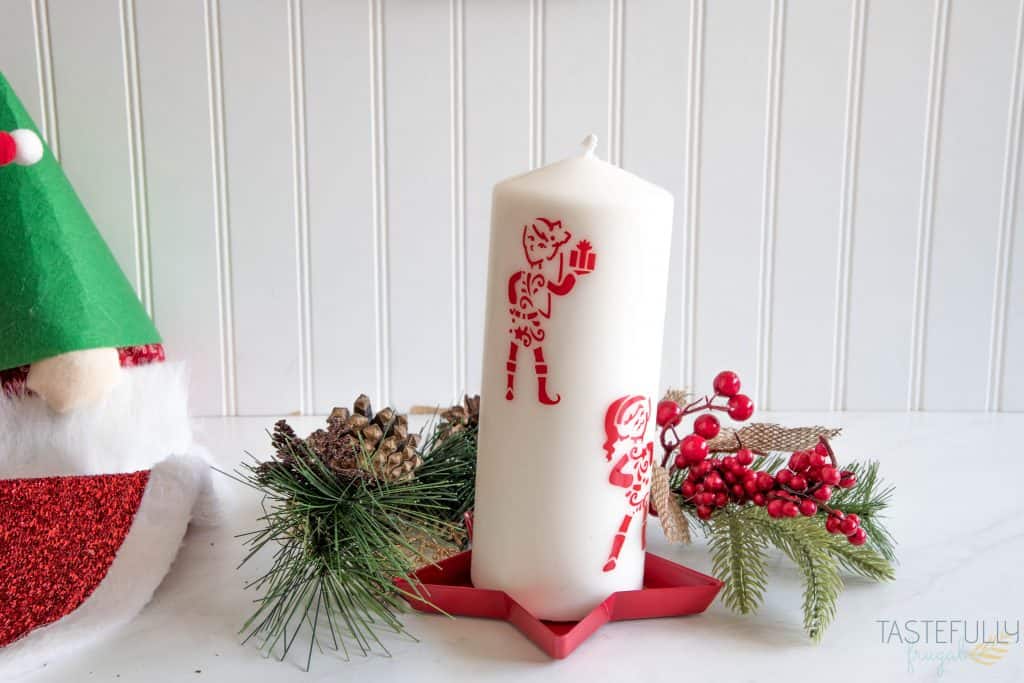
Most decorations include showing pride for your country, basic Christmas colors and real candles. In fact, traditional Christmas trees are lit entirely by candles, no string lights. With 3 young kids (and my clumsy hands) that definitely wasn’t an option so I made my own candle using Design Space images and a pillar candle from IKEA.
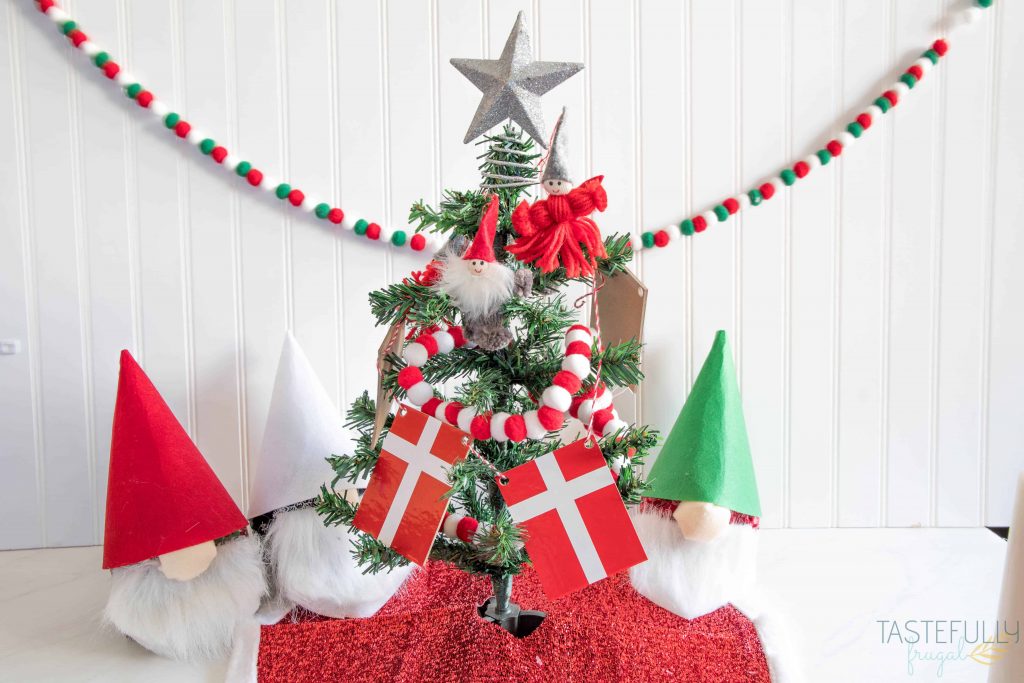
I also bought a small tree from Dollar Tree and decorated it with this DIY flag banner, cute little elf ornaments I got from IKEA and a small felt pom pom garland. The great thing about all of these decorations is I spent less than $10 on everything! Let me show you how EASY the candle and flag banner are to make!
DIY FLAG BANNER
SUPPLIES:
Permanent Vinyl (Red & White)
Bakers Twine or string for hanging
When ordering from Cricut.com make sure to use promo code TFRUGAL to get 10% off and score FREE shipping on orders over $50!
DIRECTIONS:
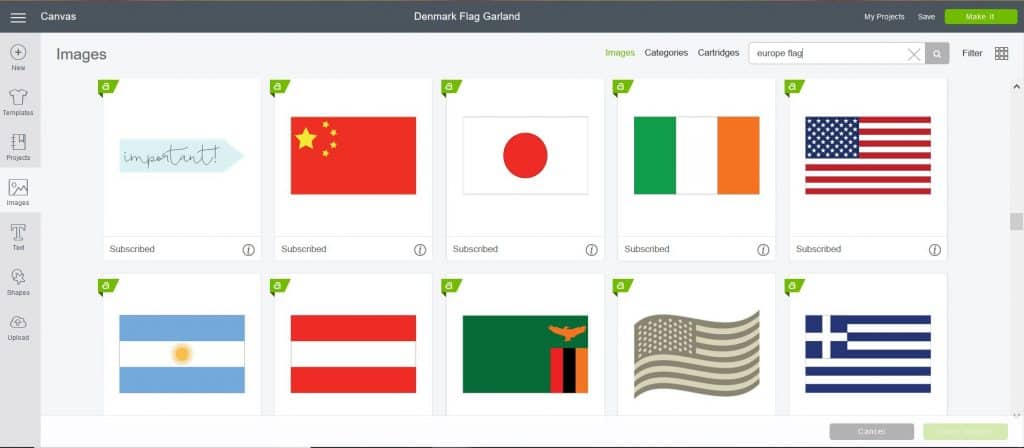
Open up this canvas in Design Space and hit make (if you want to change the flag from Denmark to another country you can click customize and check the red and white rectangles and search for your country’s flag under Images in Design Space).
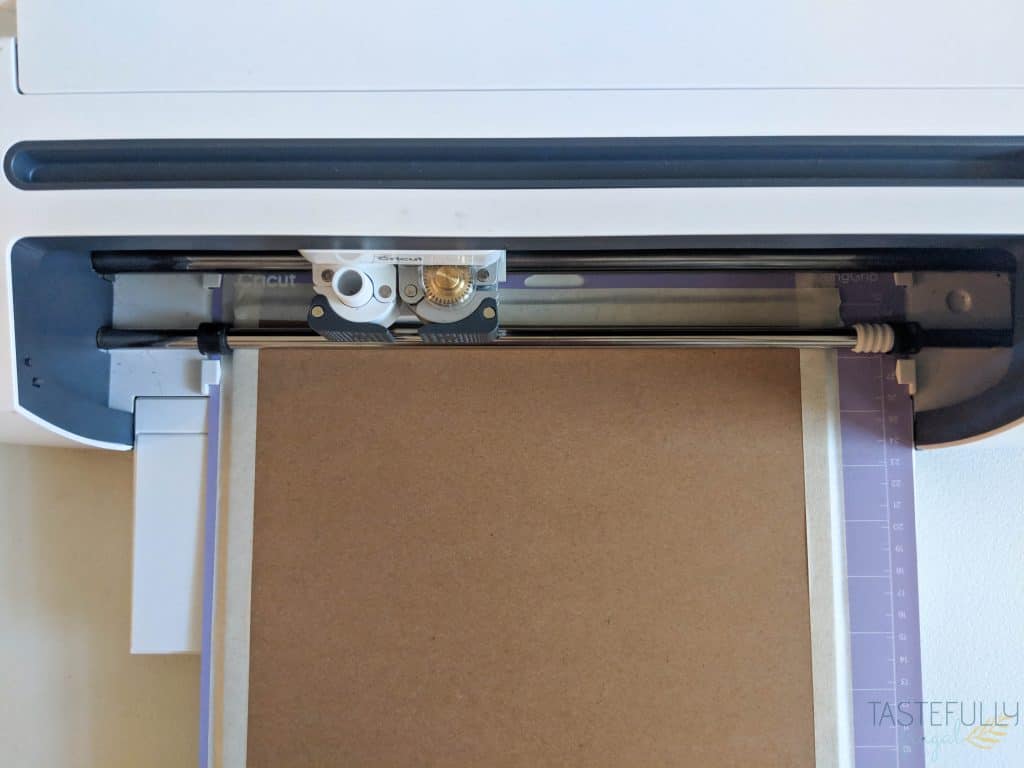
Once you have your design ready to cut, put your chipboard on the StrongGrip mat and use masking tape to attach it to the mat. You want to do this because the knife blade will go over the design 18-20 times and this keeps the chipboard from moving.
Select 2MM Chipboard from the list of materials.
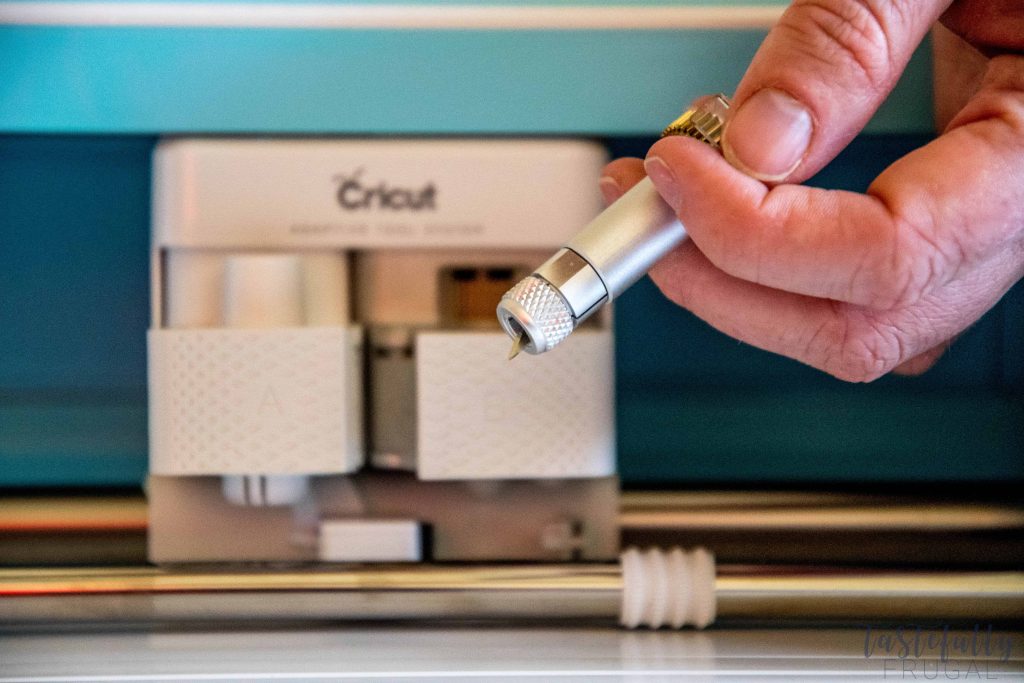
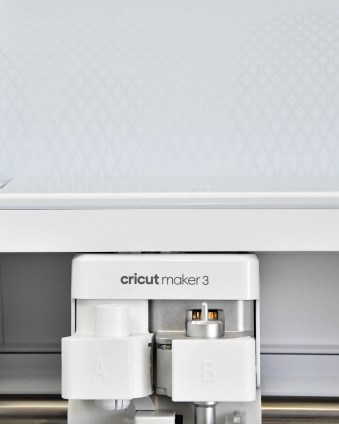
Insert knife blade into the B clamp and move the star wheels all the way to the right.
Cut the banner.
Change material to Permanent Vinyl from the drop down menu and insert the fine point blade into the B clamp.
Place your vinyl on the StandardGrip mat with the color side facing up and cut the large part of the flag out of the red permanent vinyl. Repeat this with the white to cut the cross.
Line up the red flag onto the chipboard and starting at the top slowly press on to chipboard. Line up the white cross on top of the red and press down.
String bakers twine through and hang on the tree.
DIY Elves Candle
SUPPLIES:
Pillar Candle (Mine is 7″ tall and I got it from IKEA for $2.99)
Red Permanent Vinyl – I love using the Cricut brand for all projects but especially these ones that have small pieces to weed because it is super forgiving and really easy to weed.
DIRECTIONS:
Open this design in Design Space and hit make.
Change material to Permanent Vinyl from the drop down menu.
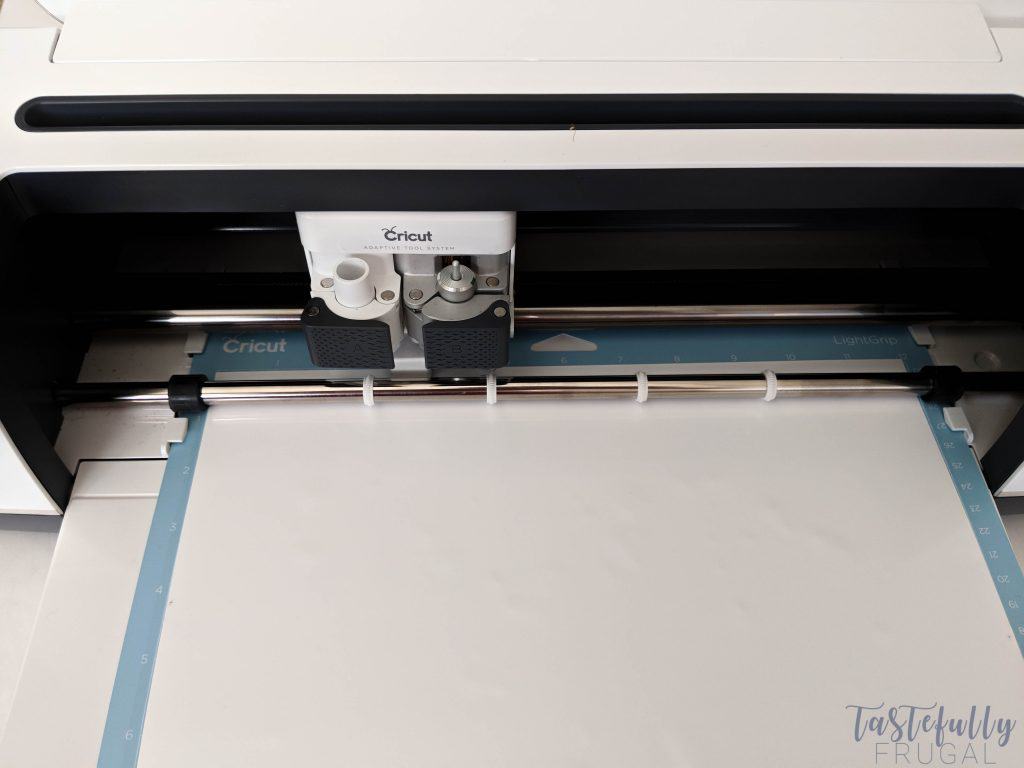
Place your vinyl on the StandardGrip mat with the color side facing up.
Weed excess vinyl. You’ll want to do this slowly and from a 90° angle starting in the bottom left corner.
Apply transfer tape to the elves and line up on candle. When you have your design where you want it, start at the top and slowly press down on candle. Use scraper tool to make sure the design is attached.
Slowly peel away transfer tape at a 90° angle starting in the bottom left corner.
These decorations go perfectly with our little elves and it’s added a little bit more fun and education to our holiday celebrations this year. What family traditions do you have for the holidays? Let me know in the comments!
If you’d like to check out more ways you can use your Cricut check out these posts! Need help with your Cricut? Join our Cricut Support Facebook Group!


Leave a Reply