If you’re stumped on what to get your kids’ teachers for Christmas check out this quick, easy and fun DIY gift box and tag with a fun spin on a classic holiday song. Also, don’t miss your opportunity at the end of this post to win the NEW Cricut Maker!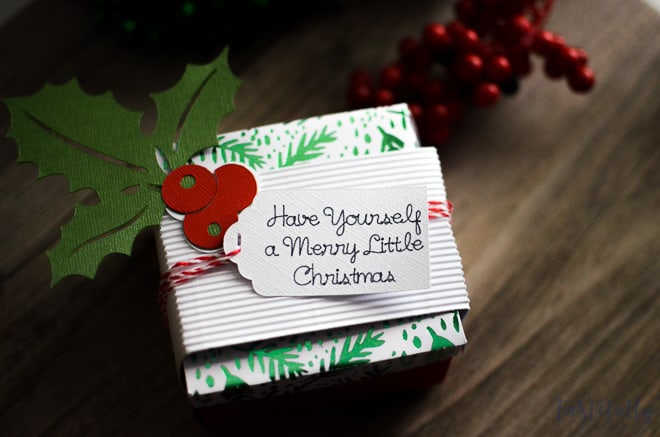
This is our first year of doing teacher gifts and I’m so excited! Excited and a little overwhelmed. My son has two teachers at school, plus he’s told me he wants to get something for his Spanish, art and music teacher too. Plus we’ve got our boys’ primary teachers so that’s almost 10 teachers to buy gifts for. I don’t know about you but I don’t have the money (or the time) to buy/make gifts for 10 teachers. That was until I found this super cute gift box in the Ready To Make Projects on Cricut Design Space.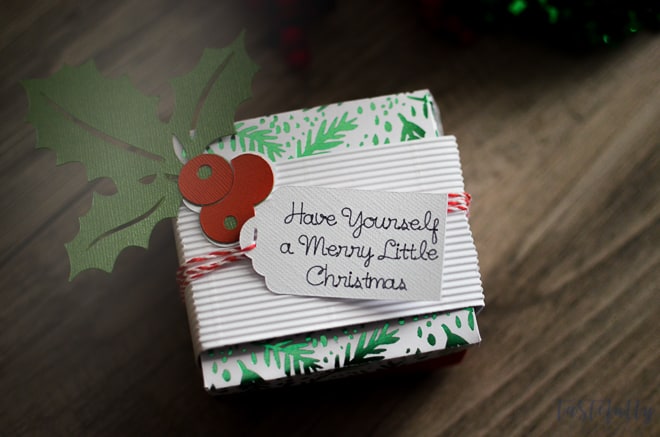
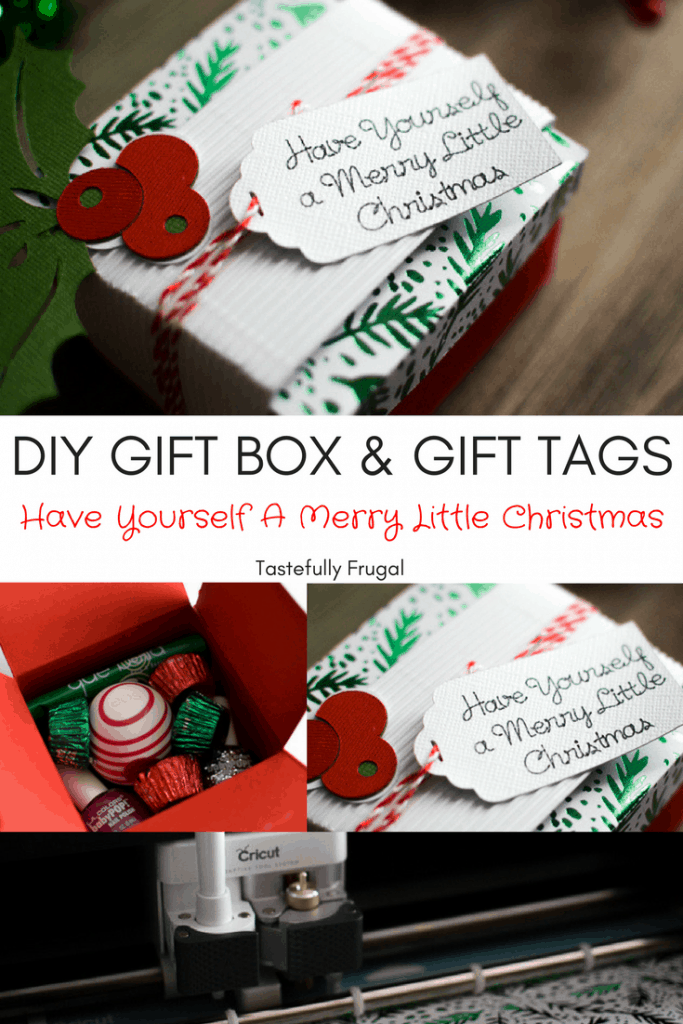
This box was SO easy to make (like less than 5 minutes) and I already had everything I needed on hand. I’ll show you how to put them together in just a minute but first… what would I put in it?! I love giving holiday gifts that go with Christmas songs or carols and since this was such a cute little box I decided on “Have Yourself A Merry Little Christmas”. So inside the boxes I put an EOS Lip Balm because they’re so little and cute, a mini face mask from Target, 2 mini nail polishes from the dollar store (they were 2 for $1) and a few mini Reese’s Peanut Butter Cups. All “little” gifts that we are hoping bring a big smile to the teachers’ face.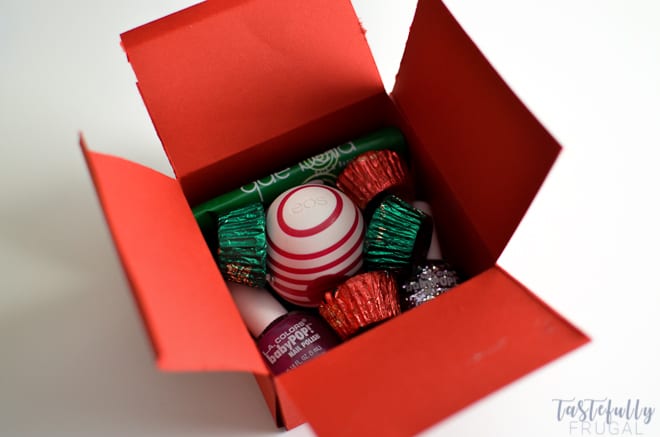
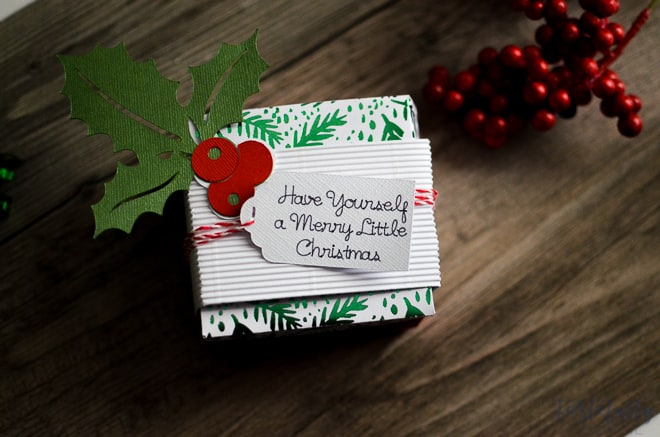
For the tag I found this cute Holly Berry Gift Tag in the Ready To Make Projects and just changed the wording to say “Have Yourself A Merry Little Christmas”. Let me show you how easy this gift tag AND the box were to make!
Supplies:
Cricut Red, Green and White Cardstock (1 sheet each)
1 sheet Patterned Cardstock (I got the green foil leaves from this Mambisheets Pad I had already)
Cricut White Corrugated Cardboard
Cricut Black Pen
Cricut Scoring Stylus – if you have the Essential Tool Kit I mention below this is included.
Light Grip Mat – You need to use the Light Blue Mat for Cardstock. The green mat is too strong and will ruin your cardstock.
Bakers Twine
Tombow Adhesive Roller (or glue)
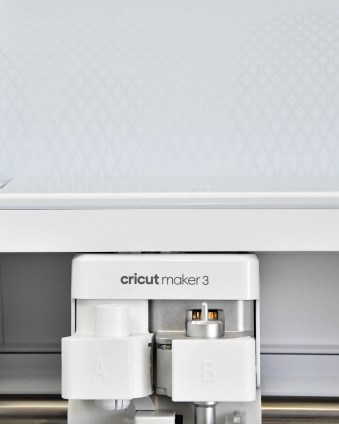
Cricut Maker (or Explore Air)
Cricut Essential Tool Kit (you can do the project without the kit but the scraper tool makes getting the cardstock off the mat SO much easier)
Directions:
GIFT BOX:
Open up this gift box project in the Design Space.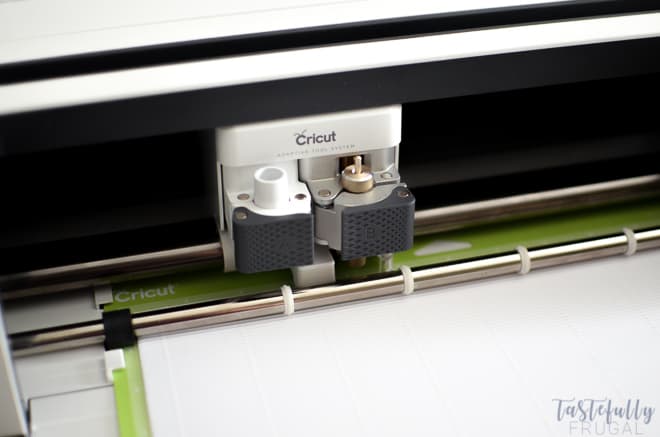
On Mat 1 you’ll want to put your corrugated cardboard, bumpy side up.
You won’t be cutting the rose so skip Mats 2 and 3.
Mats 4 and 5 are the bottom of your box so you’ll want to do those red (or whatever color you want the bottom of your box to be)
Mat 6 is the lid to your box. This one you’ll want to do with patterned cardstock.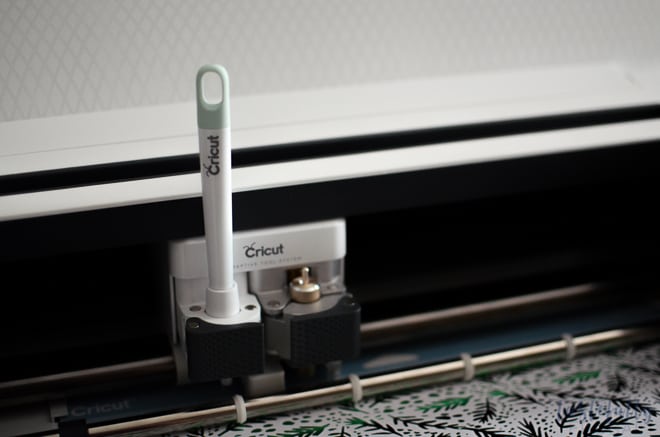
On Mats 4-6 you’ll want to put the scoring tool into slot A. The scoring tool puts little indents in the cardstock where you need to fold it making it WAY easier to fold when you’re putting everything together.
To assemble your box start by folding all the pieces on the score line.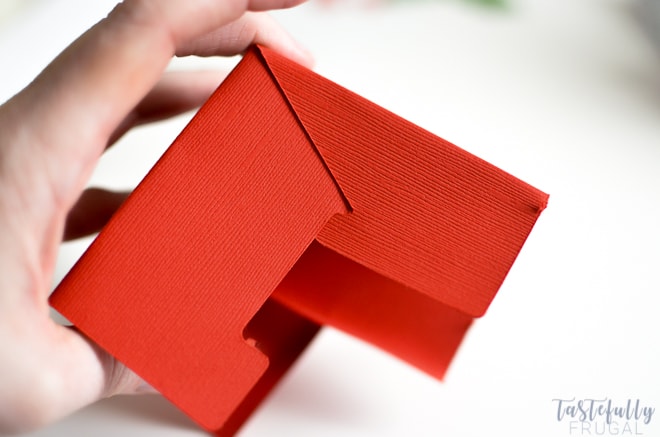
Next, fold the small latch into the side that has the space in the middle.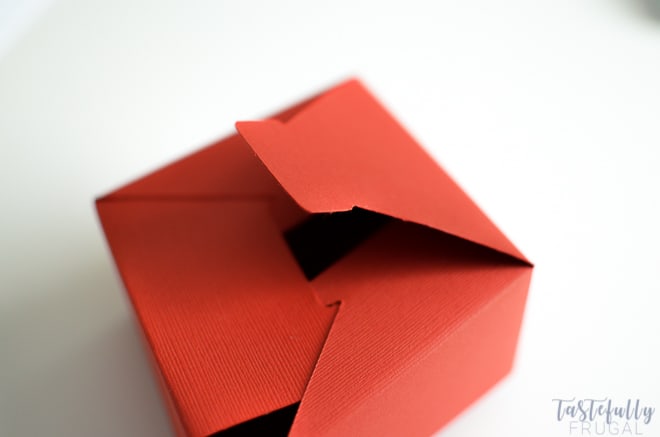
Do the same with the second piece of cardstock and combine the two.
Use the Tombow adhesive roller (or glue) to glue the corner pieces to each other.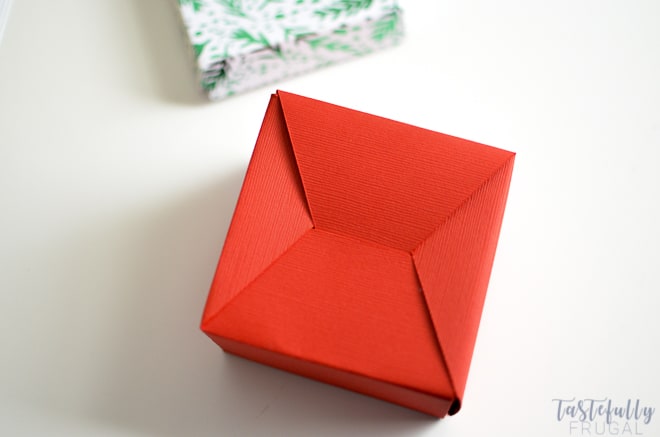
Press the bottom tab of the box through the middle gently.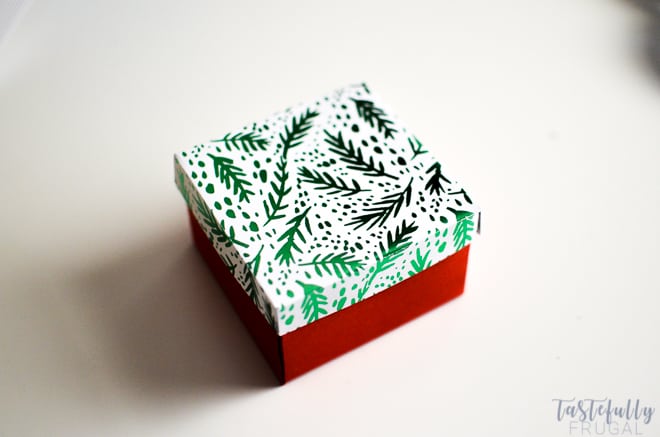
For the lid, use the adhesive roller to glue the corner pieces to each other and place lid on top of box (once your goodies are inside).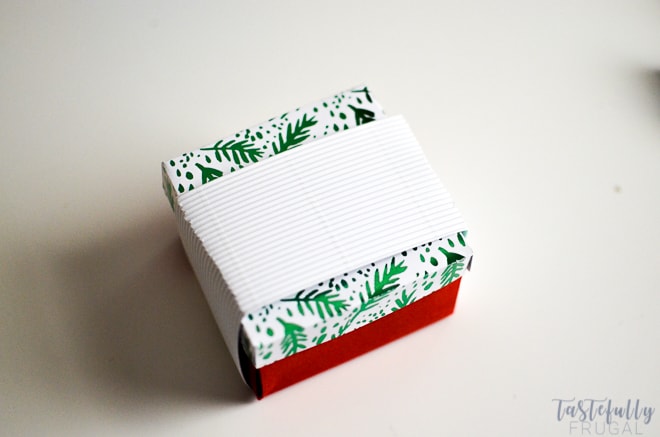
Fold the corrugated cardboard around the box and use the adhesive roller to attach the overlapping pieces together.
GIFT TAG:
Open this project in Design Space (I’ve already made the changes in the words for you).
Mat 1 will be white cardstock for the tag.
Mat 2 will be white cardstock for the back of the holly berries.
Mat 3 will be green cardstock for the leaves.
Mat 4 will be red cardstock for the berries.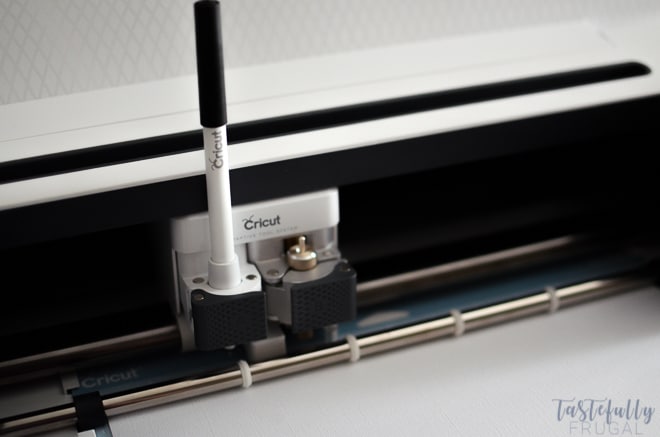
On Mat 1 you’ll want to load the black Cricut pen into slot A.
Cut your pieces.
Use Tombow adhesive roller (or glue) to attach holly berry pieces together.
Wrap bakers twine around gift box three times and attach gift tag to bakers twine.
Use adhesive roller to attach holly berries and leaves to gift box.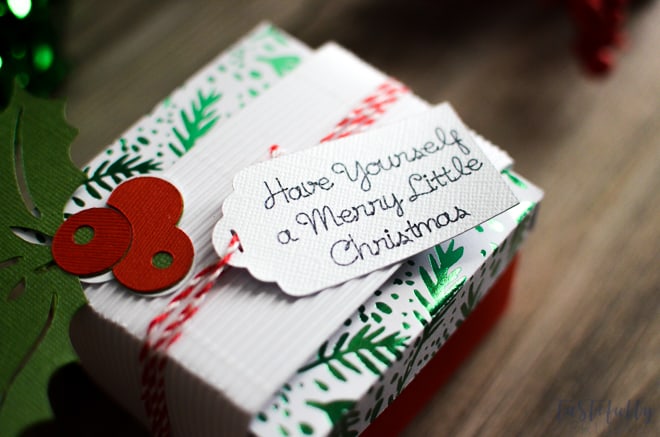
And there you have it. A fun little gift box perfect for school teachers, primary teachers, or even girlfriends. I love the Ready To Make Projects Cricut has because they literally are ready to make, and so easy. BUT they are customizable too which is nice when you want to add your own little spin on things. Have you made any of the Ready To Make Projects before? Which ones have you tried?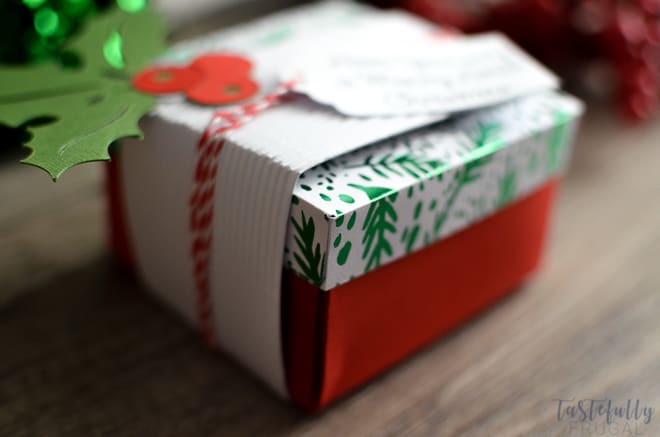
Since it’s the season of giving we want to give one of you a BRAND NEW CRICUT MAKER! It’s super easy to enter to win. Just enter through the Rafflecopter Widget below. Good Luck!
a Rafflecopter giveaway
This is a sponsored conversation written by me on behalf of Cricut. The opinions and text are all mine.


Leave a Reply