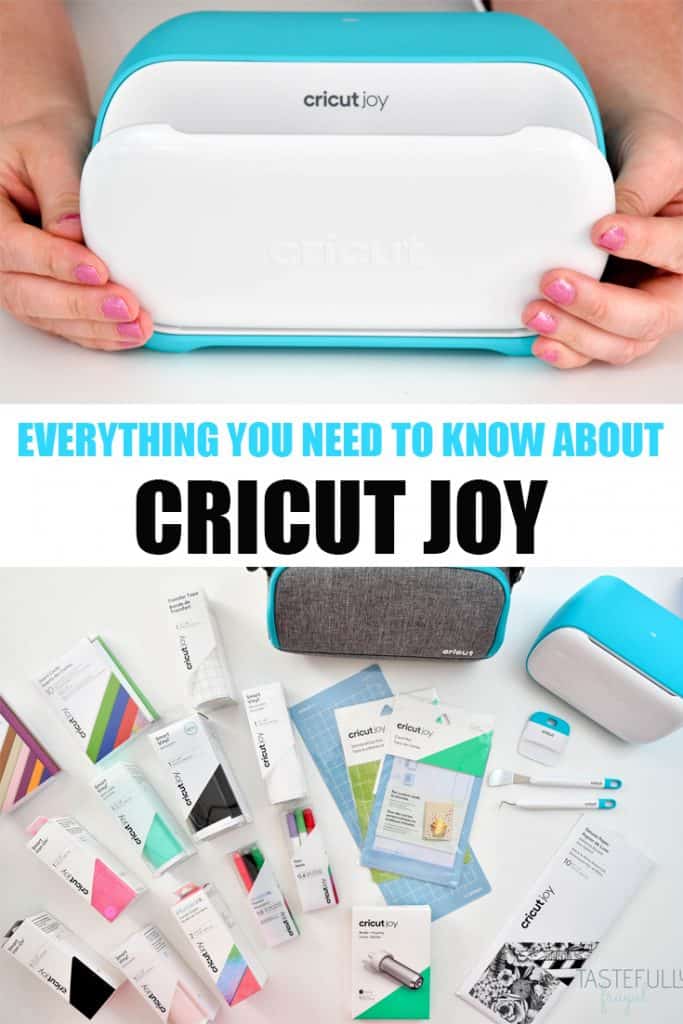
Learn everything you need to know about Cricut Joy, Cricut’s compact cutting machine!
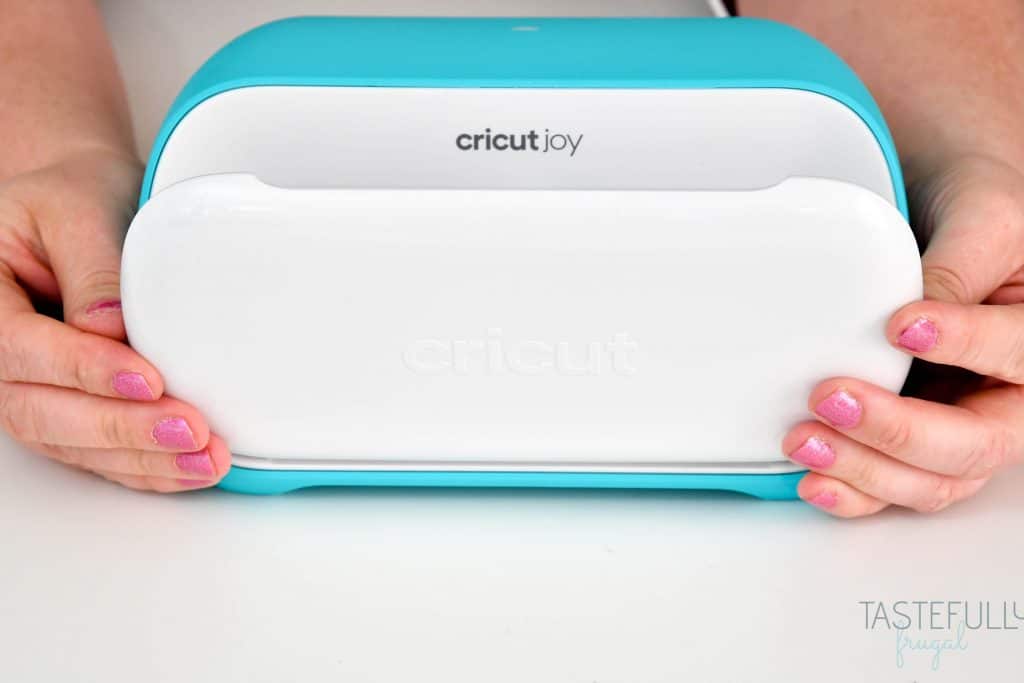
Earlier this morning Cricut announced the newest member of the Cricut family, Cricut Joy! I had the chance to get a sneak peek of her a few weeks ago and have been using it for the past few weeks and I have fallen head over heels for this cutie! Not only is the design sleek and flawless but there are a ton of really neat new features (I’m talking about you matless cutting) and new accessories too! Let’s take a look!
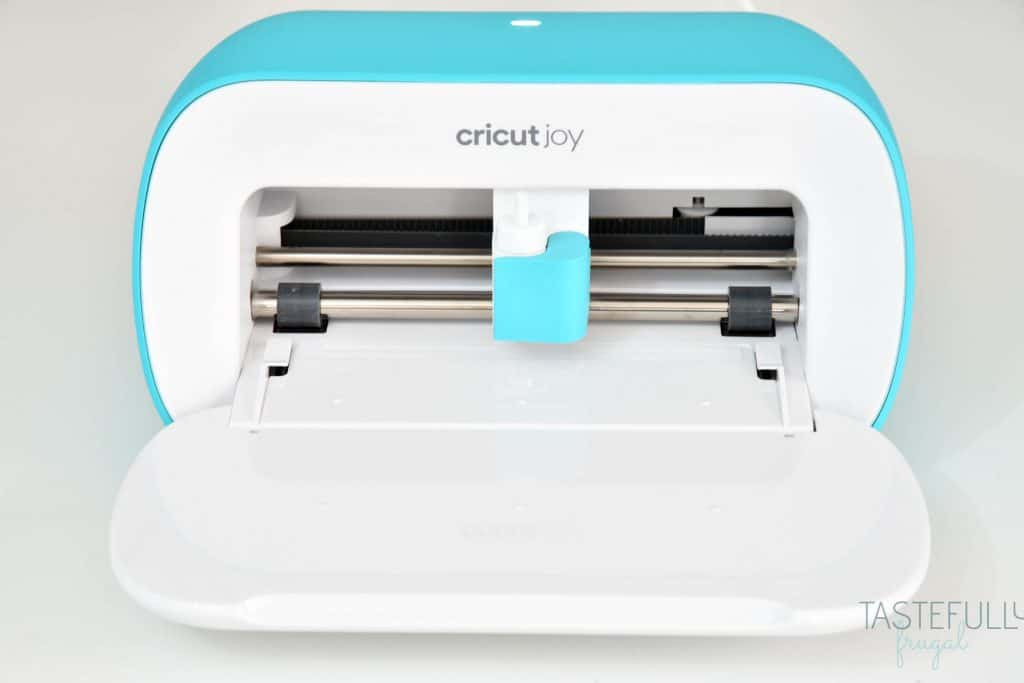
What Is Cricut Joy?
Cricut Joy is the latest cutting machine from Cricut. It allows you to craft just about anywhere and is made for anyone and everyone! Both new Cricut users as well as seasoned crafters who have an Explore Air 2 or Maker will love how easy and fun this machine is to use. I have both an Air 2 and Maker and have absolutely loved how easy it is to create with this machine! And at a price tag under $200 ($179 to be exact), it makes Joy the most affordable cutting machine on the market!
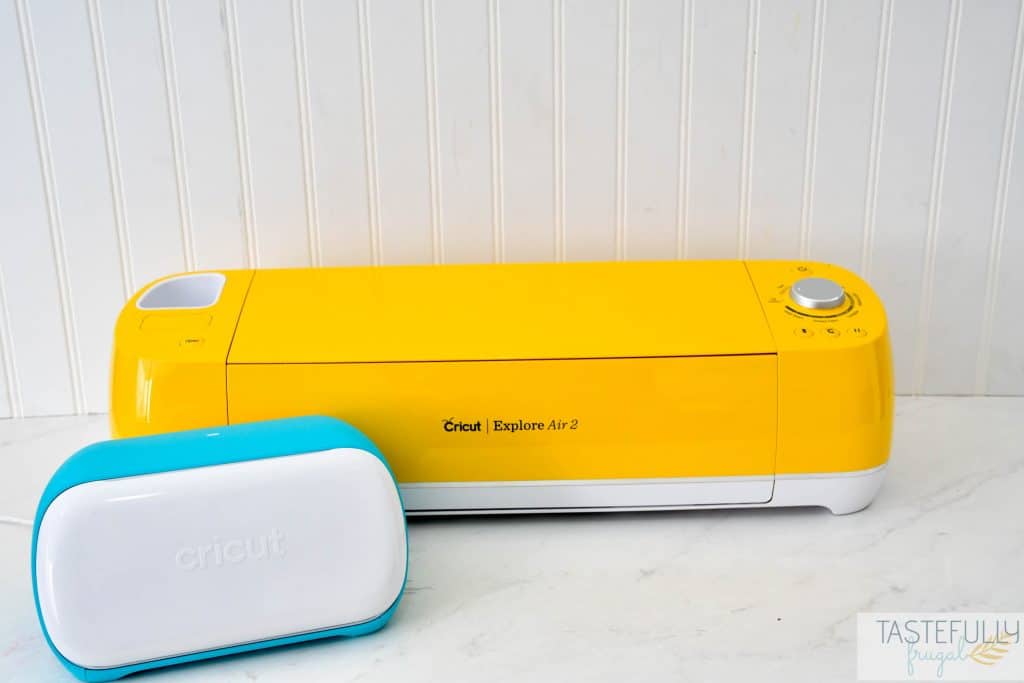
What Makes Cricut Joy Different Than Other Cricut Machines?
While you may think that the size is the biggest difference between Joy and other Cricut machines, you may be surprised to learn there are quite a few other details that set this machine apart from other machines.
- Matless Cutting – Cricut Joy (and accompanying Smart Materials) allow you to easily and flawlessly cut vinyl, iron on and labels without the need for a mat.
- Cricut Joy Card Mat – This is a game changer for making cards! This allows you to make beautiful cards for any occasion within minutes.
- No Buttons or Dials – The seamless design of Joy allows you to select your material, start, stop and pause cuts all from Design Space.
- One clamp – Unlike the Air 2 and Maker machines, there is only one clamp in this machine. You’ll be prompted in Design Space to put the correct tool in the clamp.
- One Cord – With Cricut Joy all you need is a power cord! You’ll be able to connect to your computer or mobile device via Bluetooth and start crafting right away!
These features, and how compact and easy it is to use makes this the perfect companion to your Explore Air 2 or Maker. I can’t tell you how many times in the past two weeks I’ve used my Cricut Joy for last minute projects like labeling my son’s lunch box, birthday cards and a fun wood sign gift. It’s also really nice to use in my living room or kitchen when I’m holding a baby and only have one hand to craft!
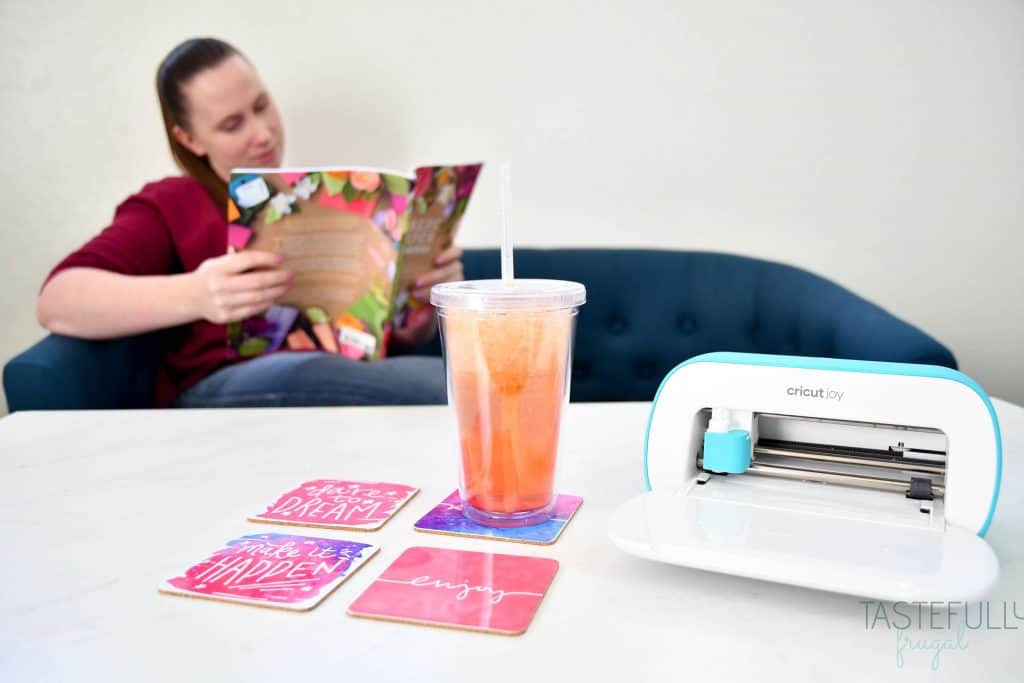
How Big Is Cricut Joy?
Cricut Joy is 8”x4”x4”. It has a maximum cutting width of 4.5” wide and maximum cut length of 20’. That’s right, you can cut for TWENTY FEET! The maximum design length is 48”.
What Materials Can Cricut Joy Cut?
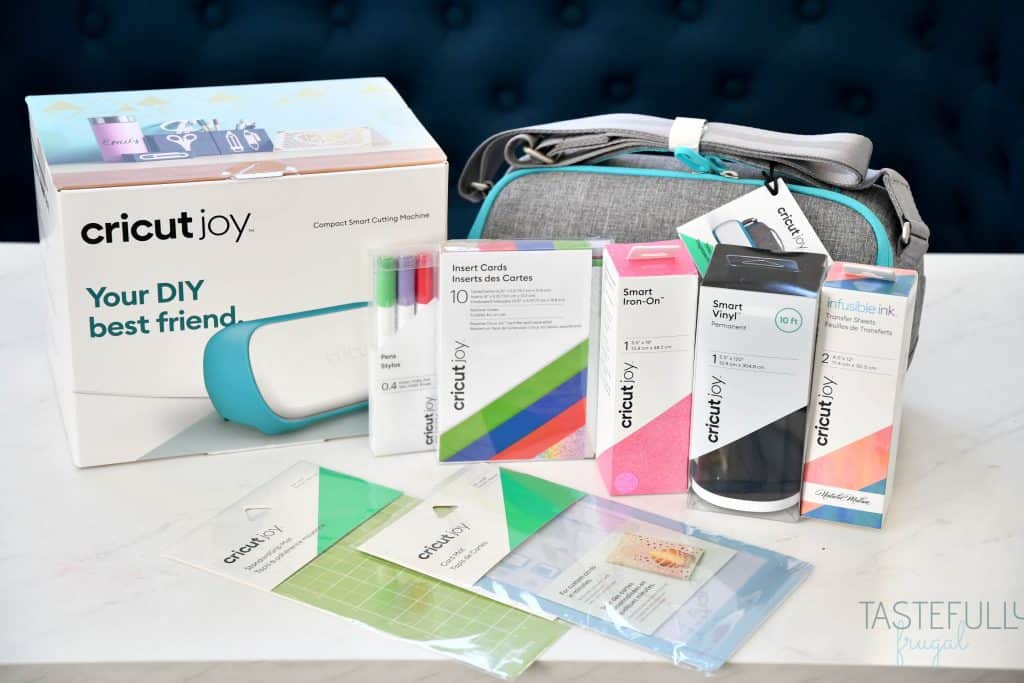
The new line of Smart Materials allows you to cut without a mat! These materials include:
- Smart Vinyl (both permanent and removable) – These rolls range in length from 4’ all the way up to 20’ (in select colors) and have over 70 color options.
- Smart Iron-On (both Everyday, Glitter, Holographic and Patterned) – These rolls are 19”-24” long and have 0ver 40 color options.
- Smart Labels – Writable labels perfect for organizing every room of your house. Rolls are 48” long and have 2 color options.
Materials that require a mat include:
- Infusible Ink
- Deluxe Adhesive Backed Paper
- Cricut Joy Insert Card Sets (Cricut Joy Card Mat required)
- You can also use any materials you have for your Air 2 on Cricut Joy mats too!
What Accessories Are Available For Cricut Joy?
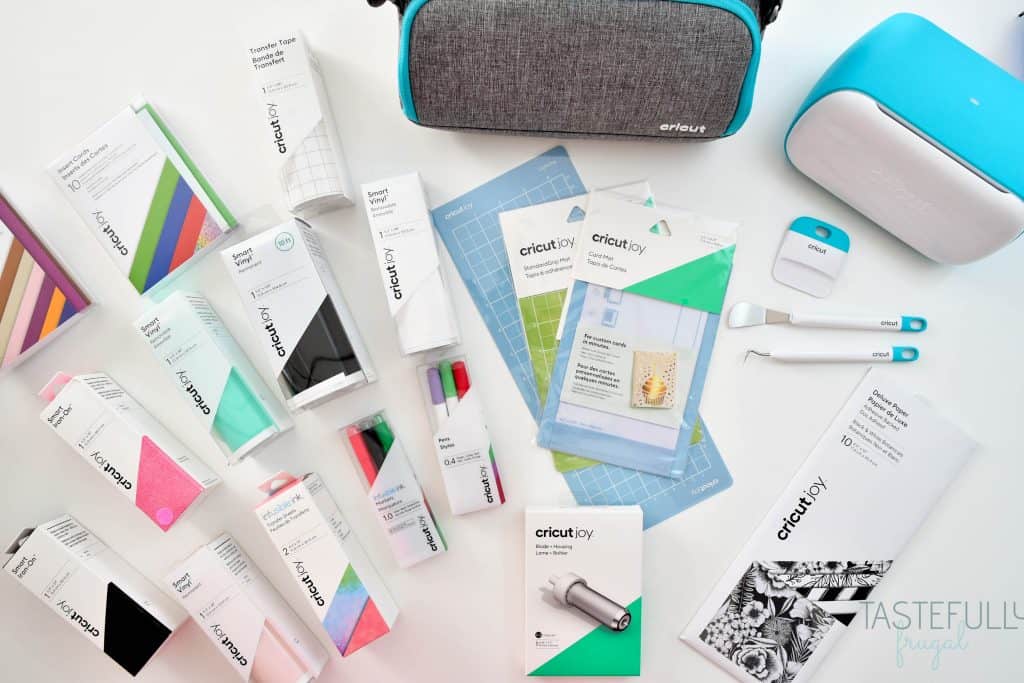
There are so many fun new accessories available for Cricut Joy! From new pens and carrying case to the revolutionary Cricut Joy card mat, your crafting will only be limited by your imagination!
- New Pens – While the draw feature is the same in Design Space when you’re designing, you will NEED to use Cricut Joy specific writing pens and Infusible Ink Pens. Also, unlike the larger Cricut machines, you don’t need to push your pen in to the click, just lightly place it in the clamp and close it.
- Cutting Mats – You will still need to use a cutting mat for certain materials (Infusible Ink, Paper). Mats come in two sizes (6” long and 12” long) and are available in both LightGrip (not available in 6”) and StandardGrip.
- Carrying Case – The smaller size of this machine makes crafting on the go a breeze! The Joy Tote allows you to carry your Cricut Joy and accessories easily whether you’re going across town or across the country.
- Cricut Joy Card Insert Sets and Cricut Joy Card Mat – I mentioned the new mat earlier that allows you to easily create cards in minutes. To go with the card mat are several card insert sets in lots of fun colors! Kits range in size from 10 – 12 cards and have everything you need to make cards including inserts and envelopes.
- Starter Tool Set – This kit has every tool you’ll need for crafting with Cricut Joy including a weeding tool, spatula and scraper.
- Fine Point Blade and Housing – Your Cricut Joy comes with a fine point blade and housing but replacements are available to purchase as well.
What Can I Make With Cricut Joy?
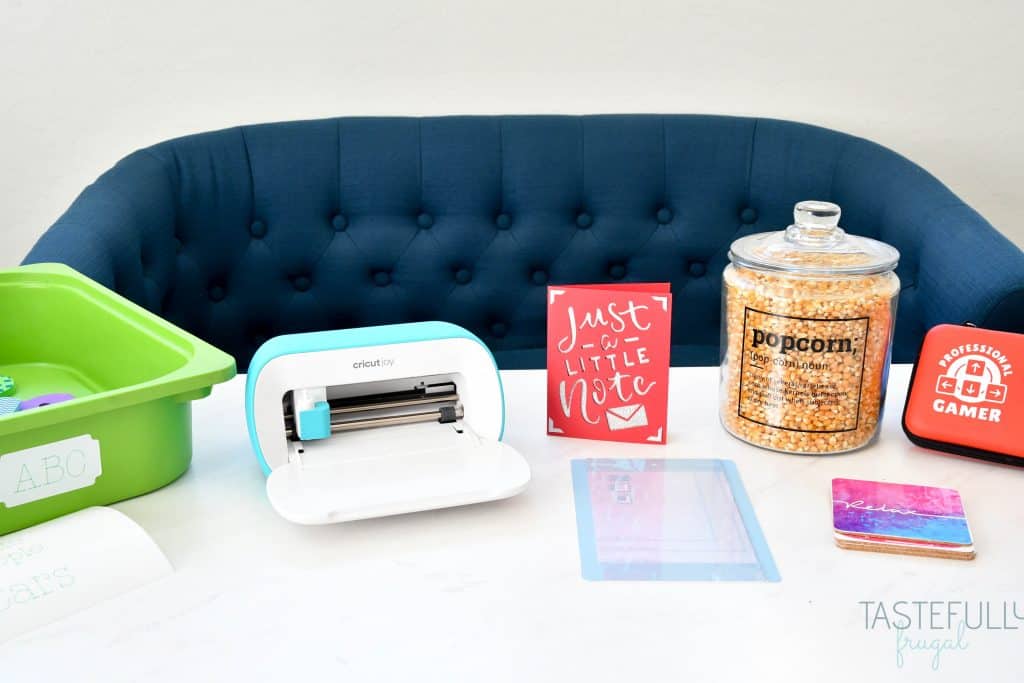
I’ve had this mighty machine for a little over two weeks and I have made over a dozen projects already! From labels for jars in my kitchen (tutorial at the end of this post), to stickers for my kids’ Nintendos, to onesies, coasters, toy organizers and a whole lot more!
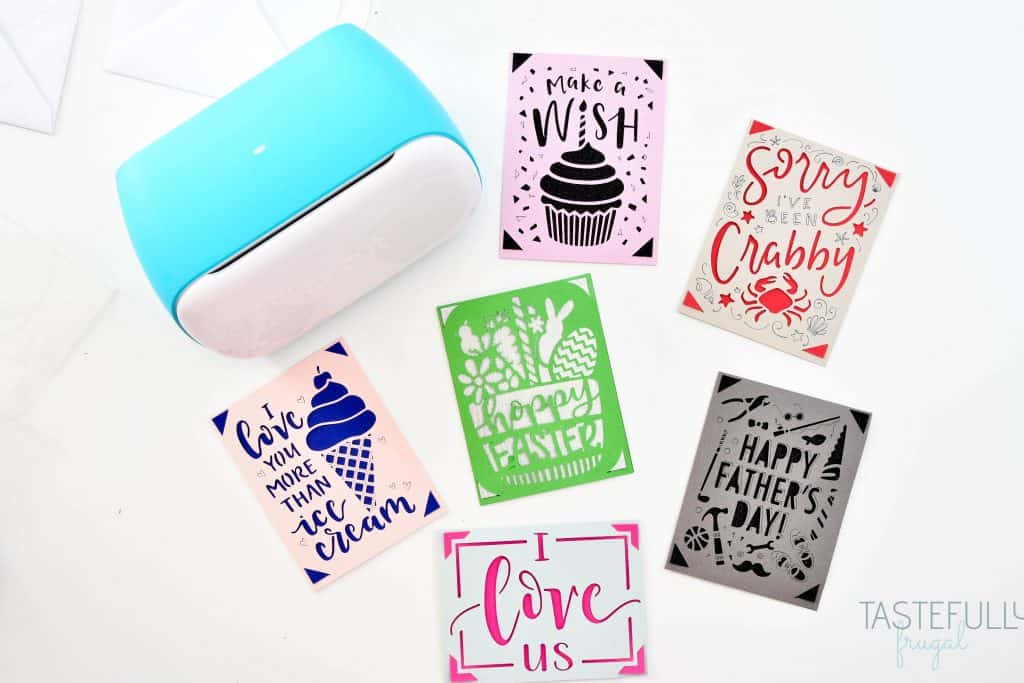
And don’t get me started on the dozens of cards I’ve made for birthdays, a wedding, new baby, new house and holidays! With the wide variety of supplies and accessories available for this machine the design possibilities are endless!
Where Can I Buy Cricut Joy?
Cricut Joy will be available to purchase on March 1st on Cricut.com as well as Amazon, Michaels, JOANN, Walmart and anywhere Cricut machines are sold. If you’re a Cricut Access member and shopping on Cricut.com, you can save 10% on your Cricut Joy purchase (and any other purchase). PLUS, if you buy anything else (like some new Smart Materials), you can use code FRUGAL to save an additional 10% on those materials and supplies and get FREE shipping on your entire order!
How Do I Use It?
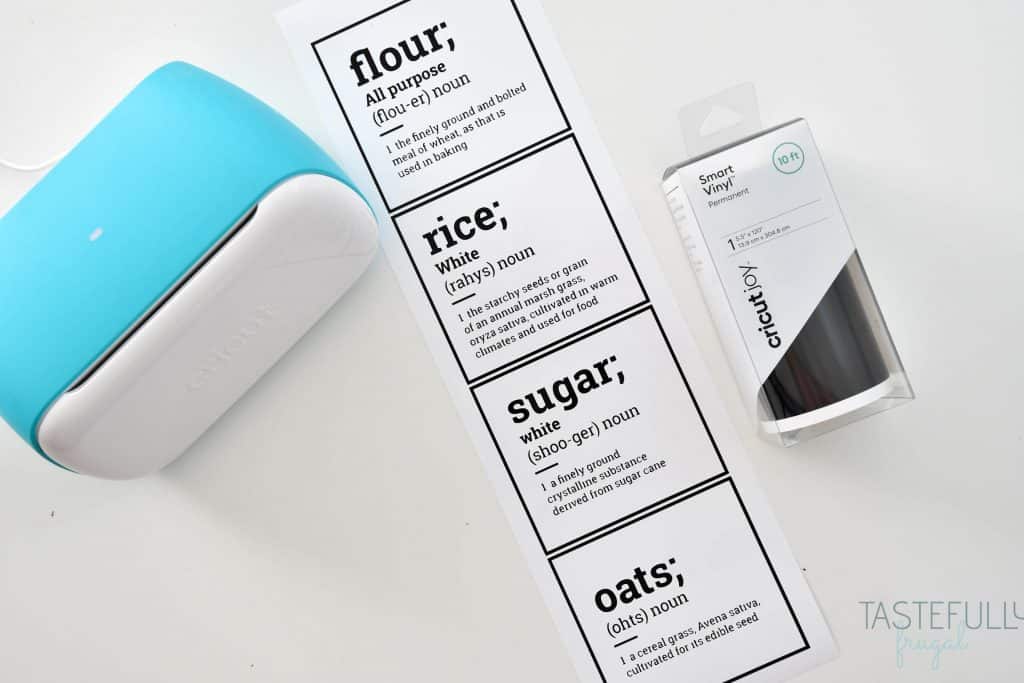
Today I’m going to share with you how to use the new Smart Vinyl with Joy. Stay tuned the rest of this week and next for tutorials on how to use the card mat, Smart Labels, Infusible Ink and more!
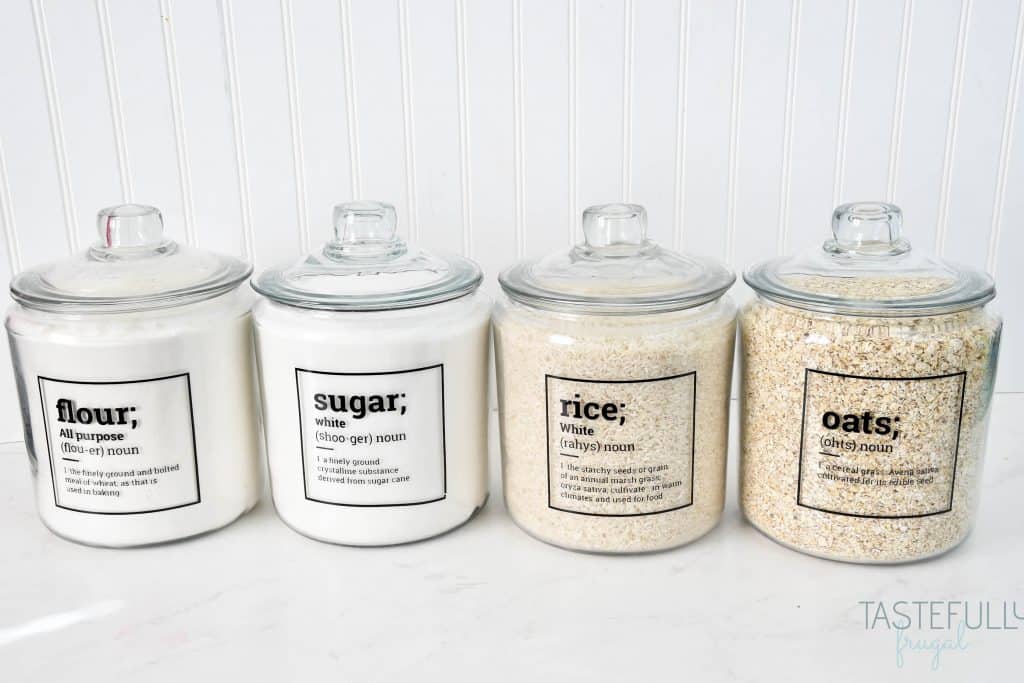
I’ve had these jars on my kitchen counter to hold flour, sugar, rice and oatmeal for at least two years. I’ve wanted to put labels on them but just haven’t had the time (or found a design I liked). While I was looking for label designs to use with the Smart Label Vinyl, I happened upon this fun cartridge in Design Space and knew it was PERFECT for these jars. There are 25 designs available for just about anything you have in your pantry!
SUPPLIES:
Smart Vinyl (I used black)
Jars
Rubbing Alcohol and cloth (or paper towel)
Blow Dryer (optional but this makes it SO much easier to get the vinyl to stick to your transfer tape)
DIRECTIONS:
Open up this design in Design Space
Click Make It

Select Smart Vinyl – Permanent from the Materials Menu
Open your Cricut Joy and lightly push your vinyl under the slats in the front of the machine. The Cricut Joy will roll the vinyl through and measure it to make sure you have enough length.
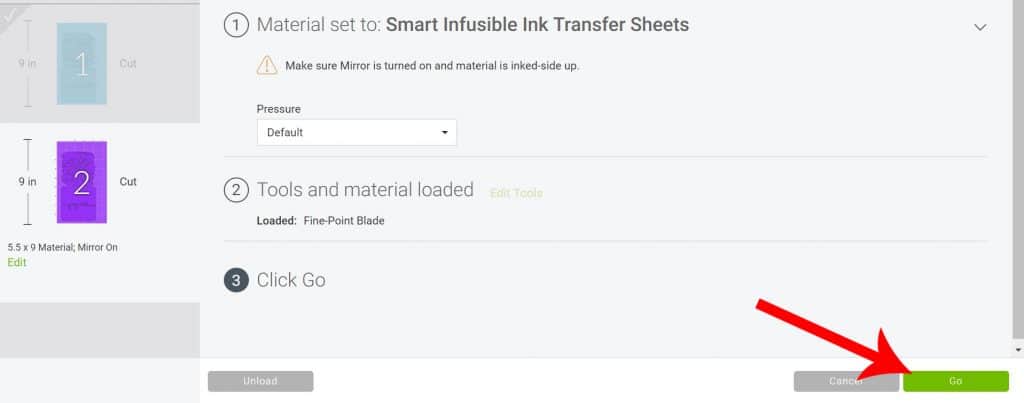
Select Go in Design Space.
Cricut Joy will cut your design.
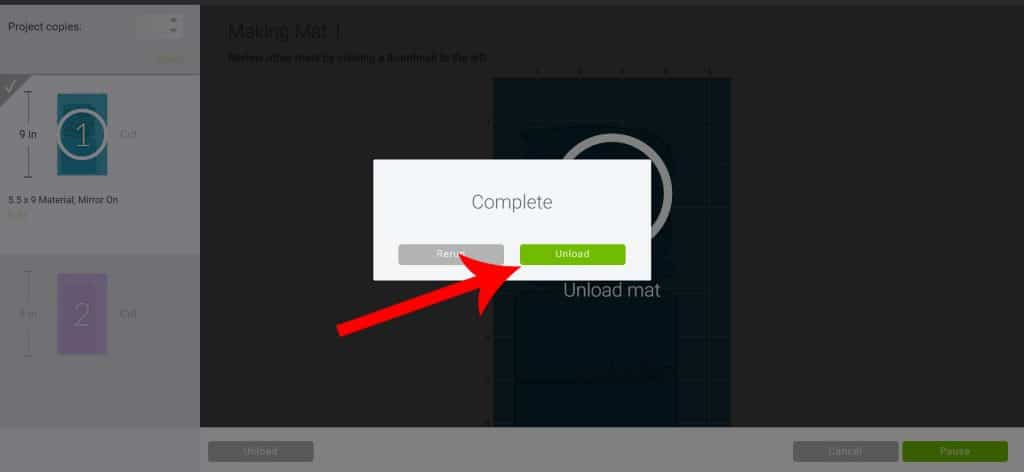
Click unload in Design Space when the Joy is done cutting.
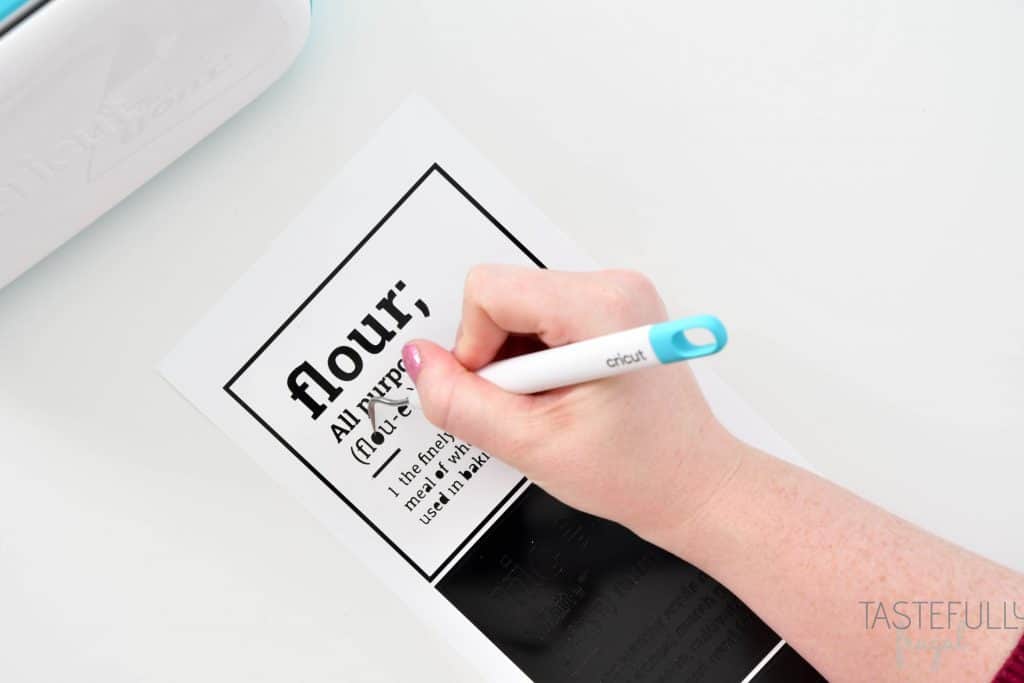
Weed excess vinyl. The Smart Vinyl is SO easy to weed!!
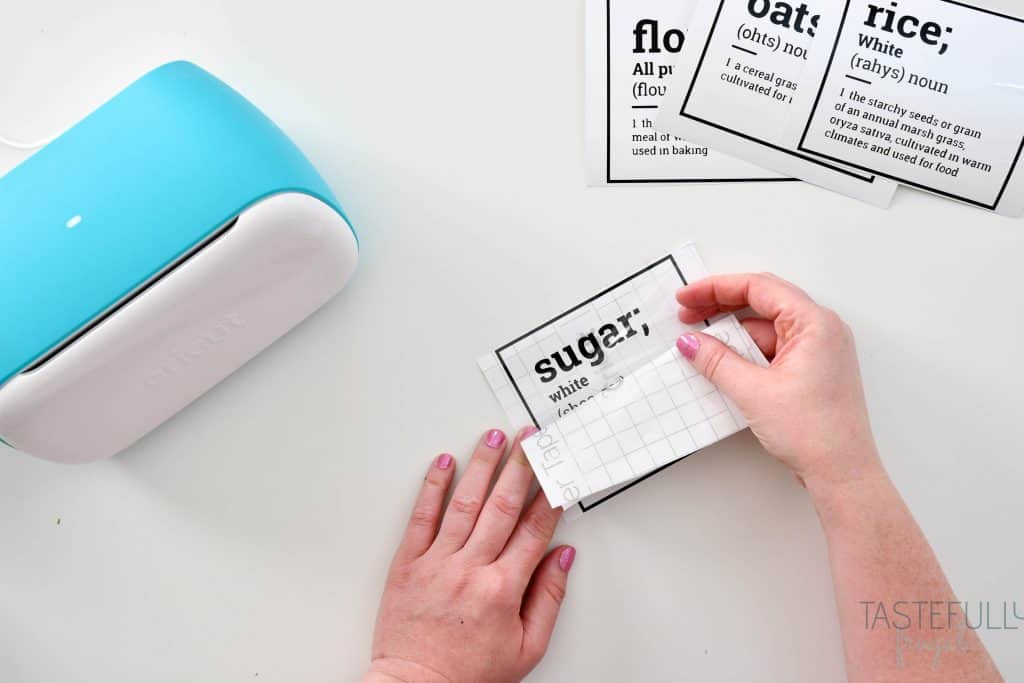
Attach transfer tape to design.
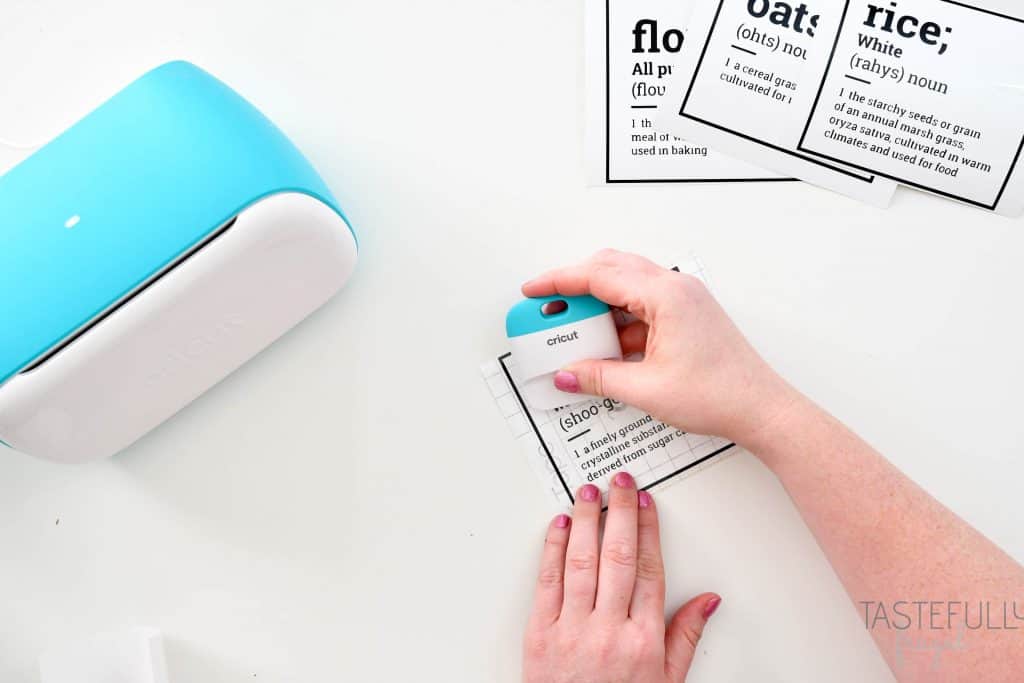
Use scraper to press down design into transfer tape. Press on the back of the design to press it into transfer tape as well.
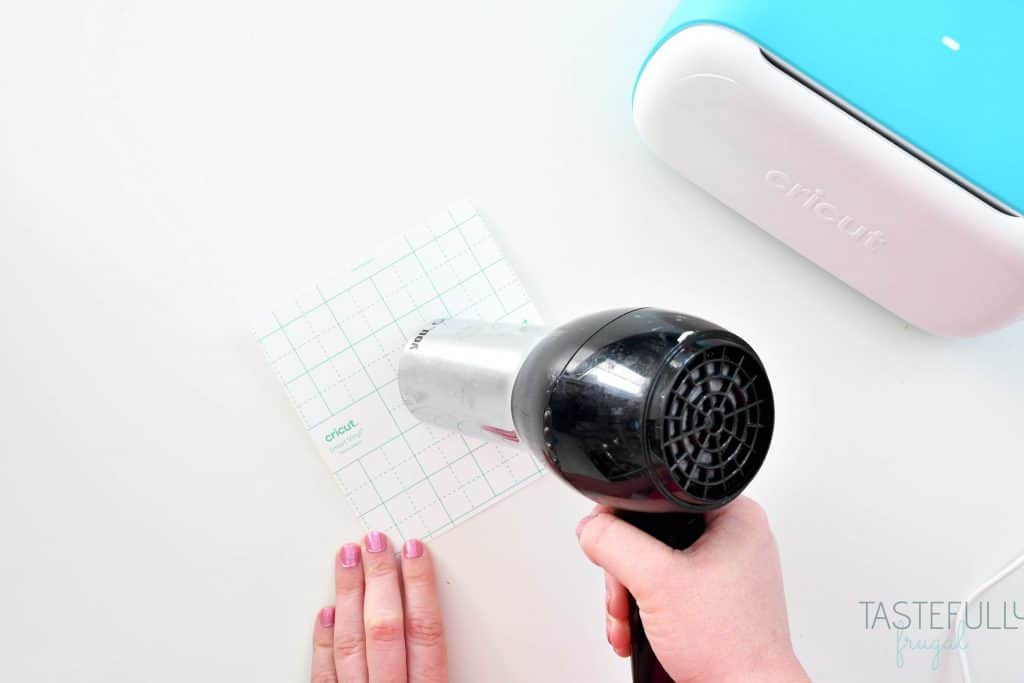
To make it easier to remove design from backing, use your blow dryer on low for 20 seconds on the back of the design to heat up vinyl. Use scraper again on the backing to press design into transfer tape and then use blow dryer again for 20 seconds. I have done 10 or so projects with the Smart Vinyl and this is the fastest and easiest way to get the vinyl to stick to your transfer tape. NOTE this is a little trick I learned through lots of trial and error, it’s not something I learned from Cricut.
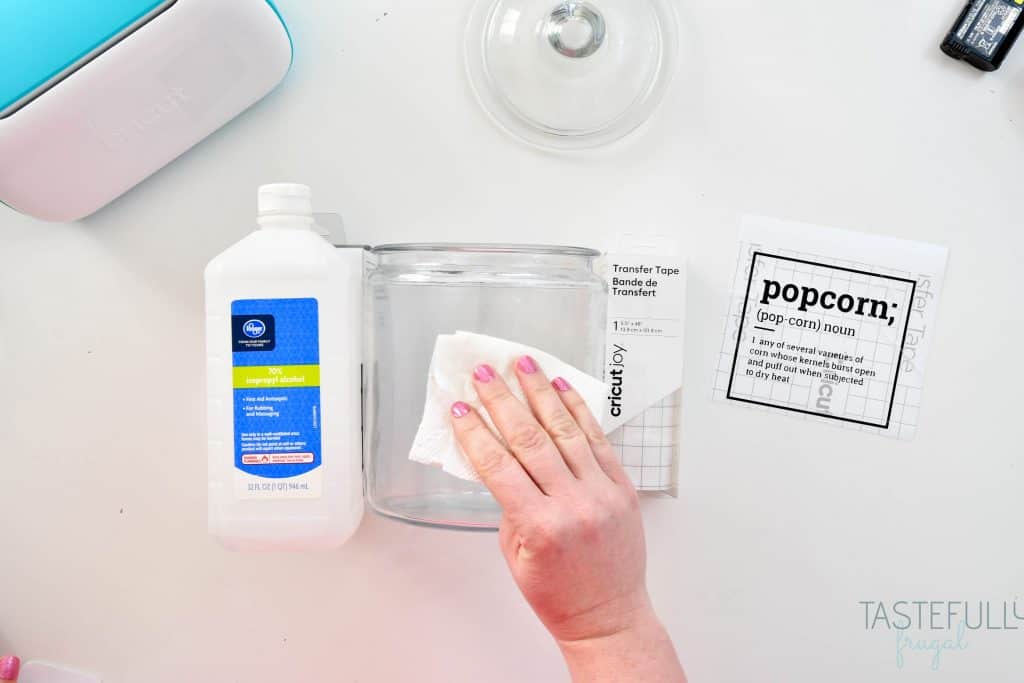
Clean your jar with rubbing alcohol. This makes it easier for the vinyl to adhere to you jar.
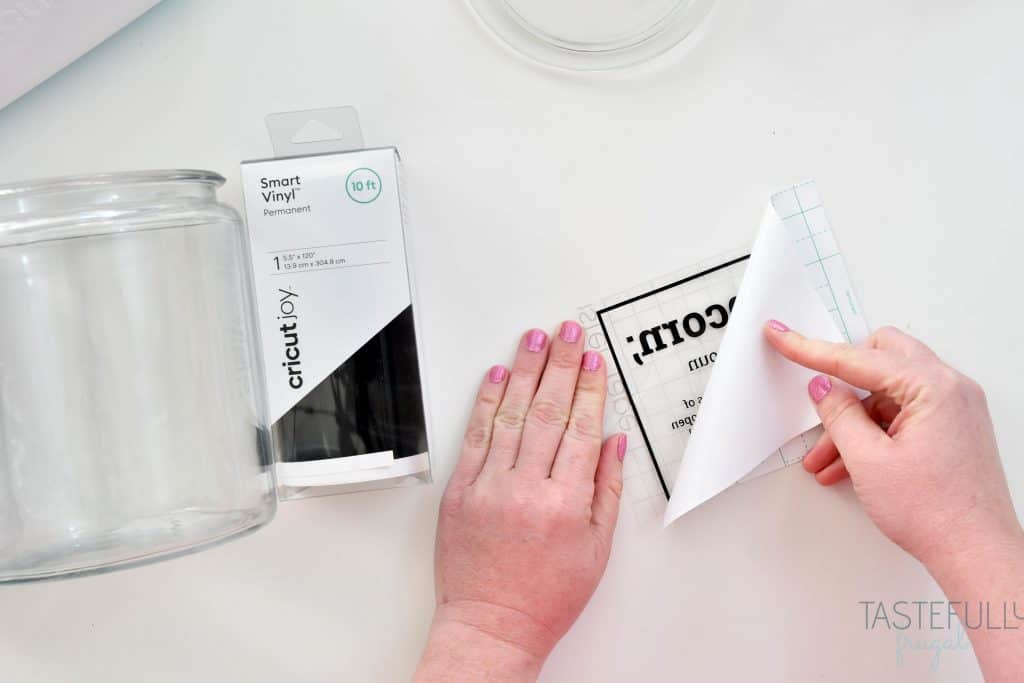
Slowly peel backing away from transfer tape and place design on jar.
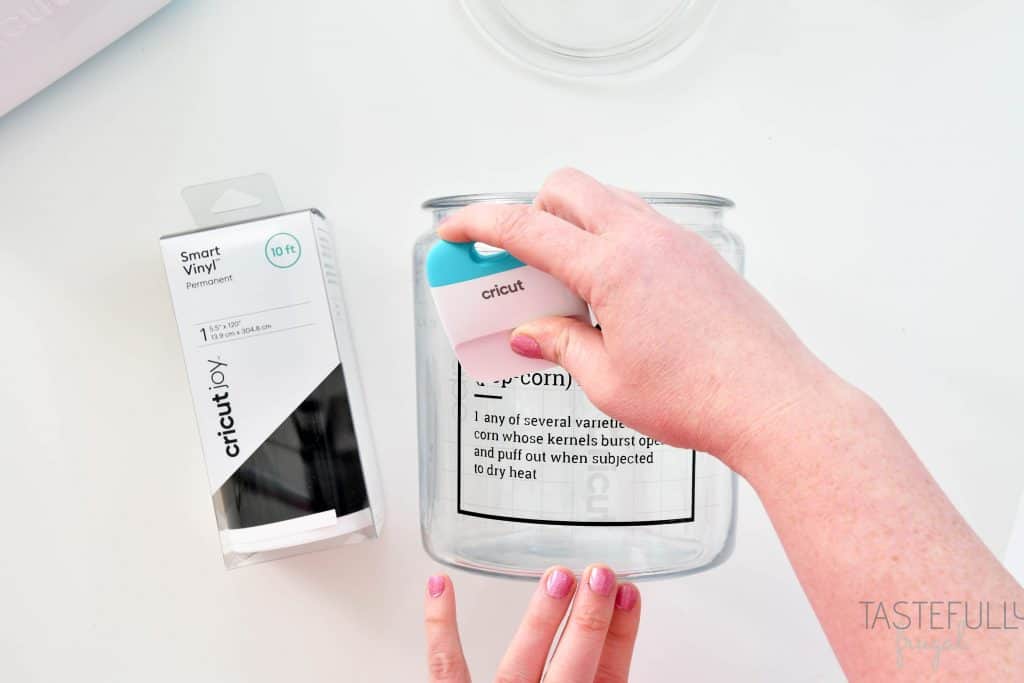
Use scraper tool to press design on to glass.
Slowly peel transfer tape off at an angle starting in the top left corner.
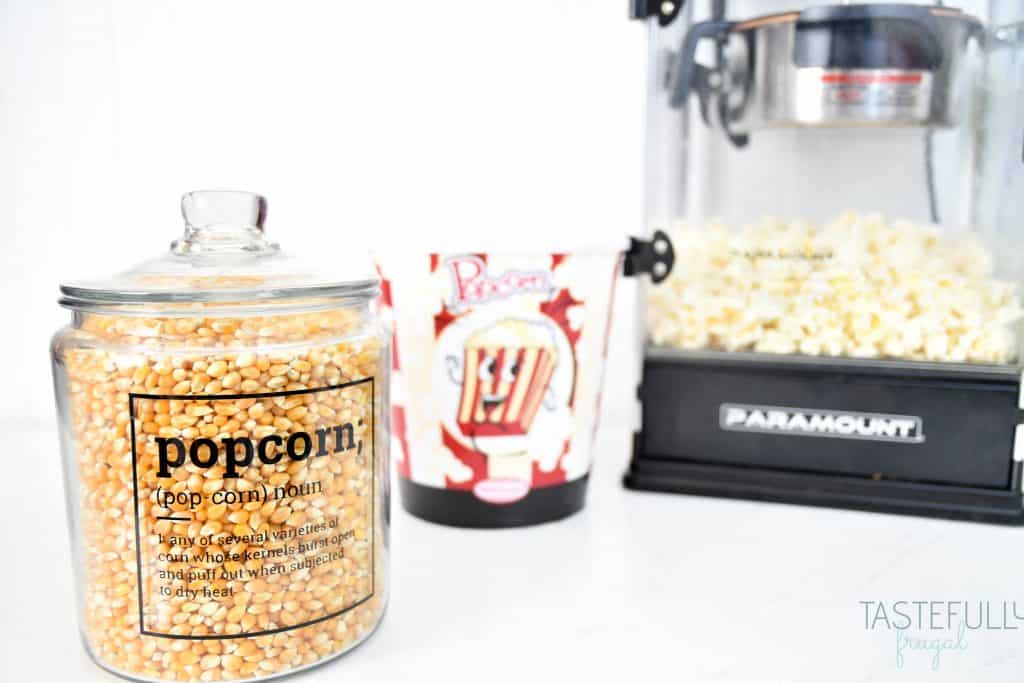
I’m so SO excited to share all of the project possibilities with this new machine! Make sure to subscribe to my YouTube channel to check out all the video tutorials. For more Cricut projects and tutorials, check out these posts. For tips, tricks and immediate help, be sure to join our FREE Cricut Support Group.


Hannah says
What is Smart Vinyl? What makes it different than other vinyl?
Sydney says
That is a great question! Smart Vinyl allows you to cut without a mat. The backing is a little bit thicker so that it stays straight as Cricut Joy is cutting it. It also comes in longer lengths than regular Cricut vinyl. The standard roll is 4ft and then there are also 10ft and 20ft rolls.
Tiffany says
Wow that looks like so much fun , I’m sitting here looking at plastic dressers were all in a small space at the moment i’m living with my daughter , to help with my first grandchild and i see so many things i can do, would you say its worth the investment for someone on a budget ? or would we do better saving our money and can we do the same with our old machines example i have air2 can i just get the smart vinyl and use my air 2 , & maybe in the future i can get the JOY, or is it really a game changer that much that we should really invest , like for me i just started and with my air2 i feel like i have invested so much and unless you are established there are so many that do the same and i know if i had been started id prob have more ppl that are interested but i have not been able to 100% make things like i want anyway i am learning thanks to all the great videos lol
Sydney says
Hey Tiffany! Thanks so much for the comment! I definitely think that Cricut Joy is worth the investment, especially being limited on space. Unfortunately the Smart Vinyl and other Smart materials will not work with the Air 2 or Maker machines. If you are wanting to make projects to sell you can still definitely do this with Cricut Joy and the design possibilities are amazing!
I hope that answered your questions. Let me know if there is anything else I can help with.
Wendy says
This looks fantastic. Wondering if you can use the Joy smart cards with an explorer air?
Sydney says
Yes you totally can! You would just need to attach the card mat to one of the larger cutting mats. Make sure to secure the card mat down with tape so it doesn’t move during cutting.
Megan says
Does that hair dryer trick really work? Why have I never seen that before! Brilliant!
Sydney says
Yes it totally does! My hubby worked in a sign shop when he was younger and they had industrial heat guns they used to get the vinyl off the backs for big projects. I’ve used a hair dryer on dozens of projects since he told me about it and it totally helps!
Tatyanna says
How did you find the label you used?
Sydney says
Hey Tatyanna! You can find the design labels here: https://design.cricut.com/landing/project-detail/5e43a9bb4f6a9b06b1c09cb6
Pat Schlegel says
Can I cut the larger size sheets of infusible ink transfer sheets to use in the Joy?
Sydney says
Yes you definitely can! You would need to cut them to fit one of the Joy cutting mats.
Lilly says
Can I use this to make design to put on tshirts? Wanting to do a project for work with something saying on it about covid and healthcare workers.
Sydney says
Yes you totally can!!
stephanie says
Can you make large stencils with cricut joy? I want to try to make designs to create customized door mats or do you think i need the larger cricut
Sydney says
Yes you totally can! You would have to do a few different layers but it’s doable. I would cut them out with freezer paper and then iron the paper onto the doormat to make sure no paint goes through. I will work on a tutorial for this idea!
Morgan Sterns says
Can i make things for t-shirts and sweat pants with the joy? If not which one would be best?
Sydney says
Hi Morgan! You definitely can with the Joy! You can cut designs up to 4.5″ wide and up to 5ft long which is perfect for sweatpants! For shirts you may have to do a few different cuts depending on the size of your design but you can definitely do it with the Joy!