Get to know the Cricut Hat Press and how to use it. In this post we’ll go over everything you need to know before you buy your Hat Press and how to register and use it once you get it home! And a big thank you to Cricut for sponsoring this post. While they sent me the Hat Press to try out, all thoughts and opinions are mine alone.
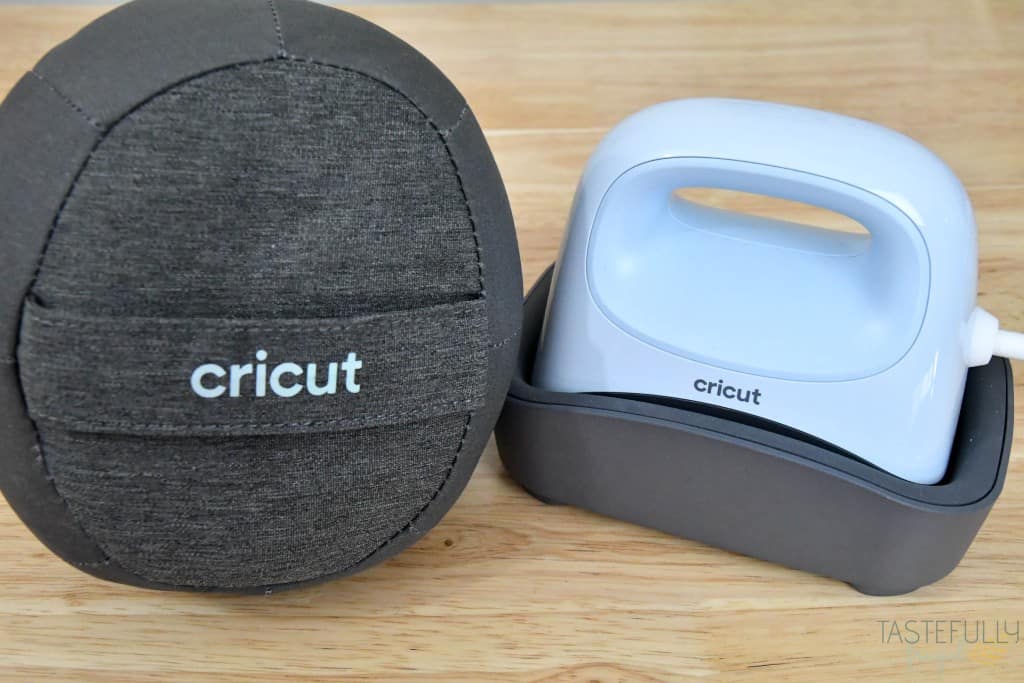
A few years ago I had a friend come over so I could help her add numbers to her sons’ baseball team hats. I has a heat press with an attachment for hats and we thought it was going to be a quick 30 minute project. Boy were we wrong! It took us that long just to get the attachment on the press and then we had to wait for it to get up to temperature. After that it took a good 3 or 4 minutes per hat to get it lined up straight on the base. I remember thinking there has got to be an easier way to customize hats.
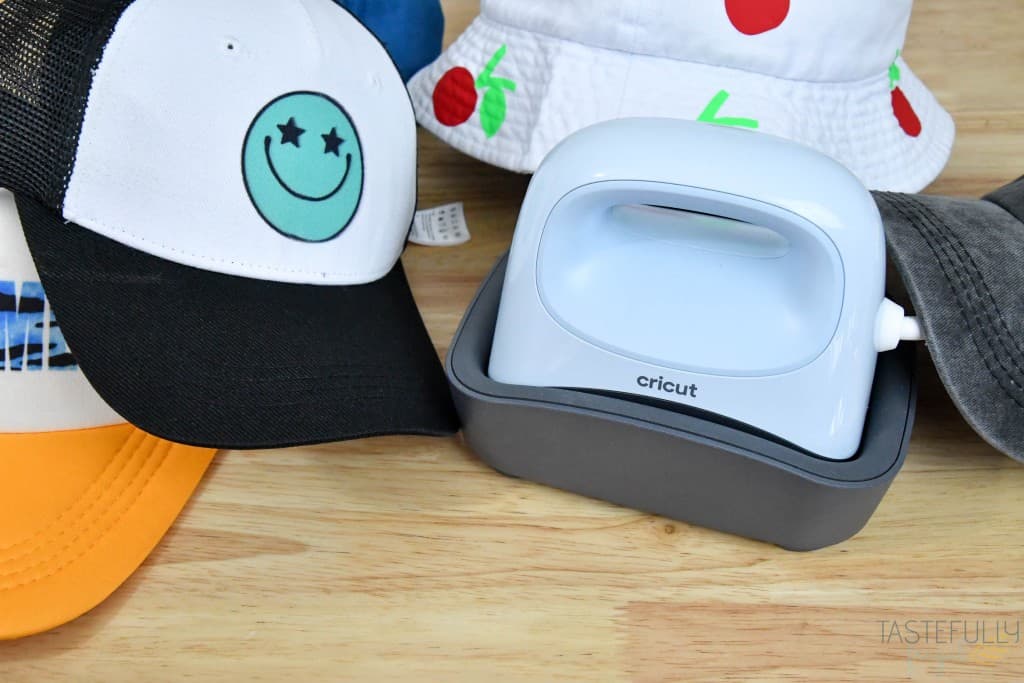
So imagine how excited I was when I found out about the new Cricut Hat Press! All you have to do to use it is plug it in and turn it on. It takes just a few minutes to heat up and the pressing form takes all the guess work out of getting your designs lined up on your hat correctly.

I’ve been using the Hat Press for a little over a month and made dozens of hats! I’ve also been keeping track of questions I get via email, YouTube and Facebook groups and this post will answer all of those questions. We’ll go over:
- What comes with the Cricut Hat Press
- How to register your Hat Press
- How to use your Hat Press
- What hats work with the Cricut Hat Press
- Extra supplies that make customizing hats easier
- FAQ about the Hat Press
If you’re shopping for your Hat Press or other supplies on Cricut.com, use code SYDNEY10 to save 10% and get FREE shipping on all $50+ orders. That’s on top of the 10% discount Cricut Access members get automatically! Learn more about Cricut Access here.
Check out my full YouTube Review below.
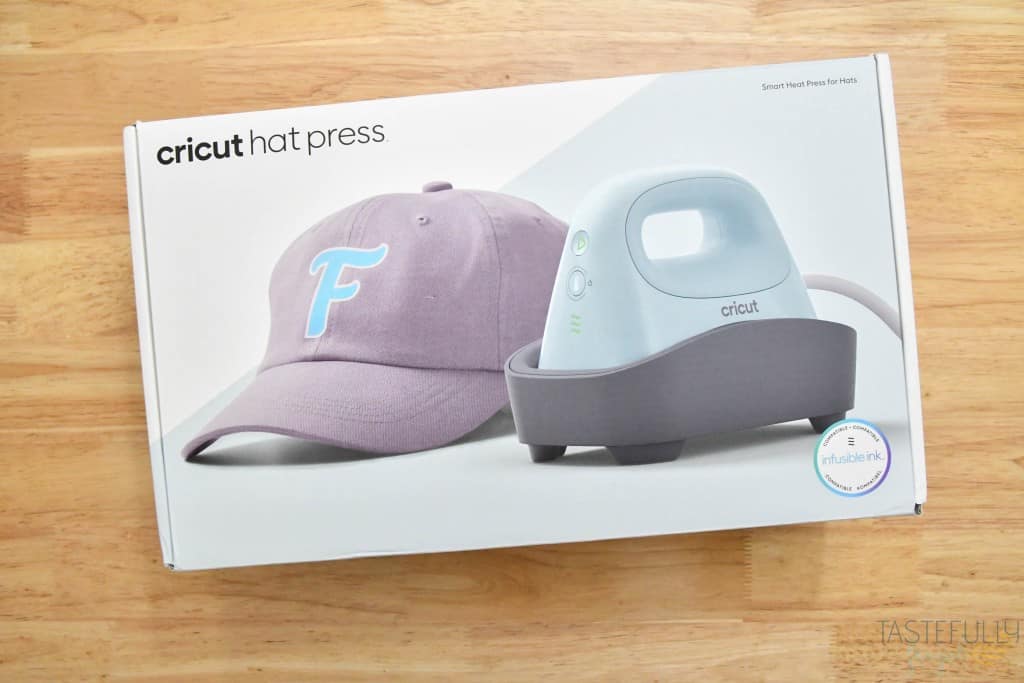
What Comes with Cricut Hat Press
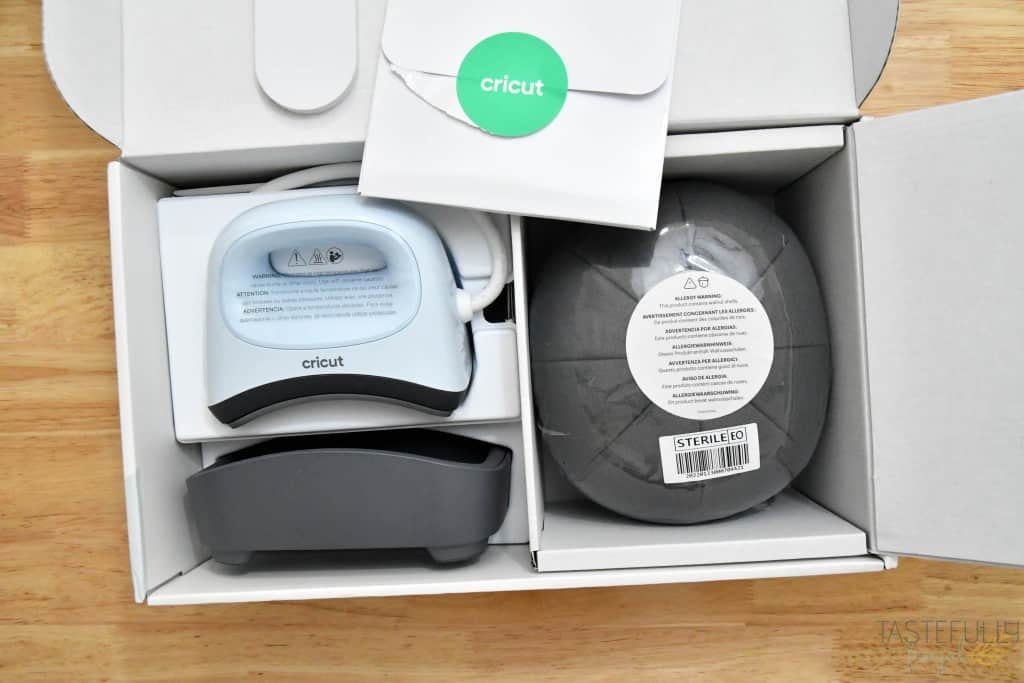
When you open the Hat Press box the first thing you’ll find is an envelope that includes the warranty information, quick start guide and an iron-on vinyl sample for a first project.
Underneath that you’ll find the Hat Press, the base to store the Hat Press, a sample of StrongGrip Heat Resistant Tape to use with the Hat Press and the hat pressing form. ***NOTE the pressing form does have walnut shells inside.*** There are allergy warnings on the website when you order, on the side of the box and on top of the wrapper for the hat press form. The shells are used to help keep the heat inside your hat when you’re pressing it and to keep the form of the hat. The shells are in the center of the form covered by other protective layers but if you have a nut allergy, or will be making hats for someone with a nut allergy it’s best to let them now. I know there are different levels of food allergies so it may affect some but not others.
How To Register Your Hat Press
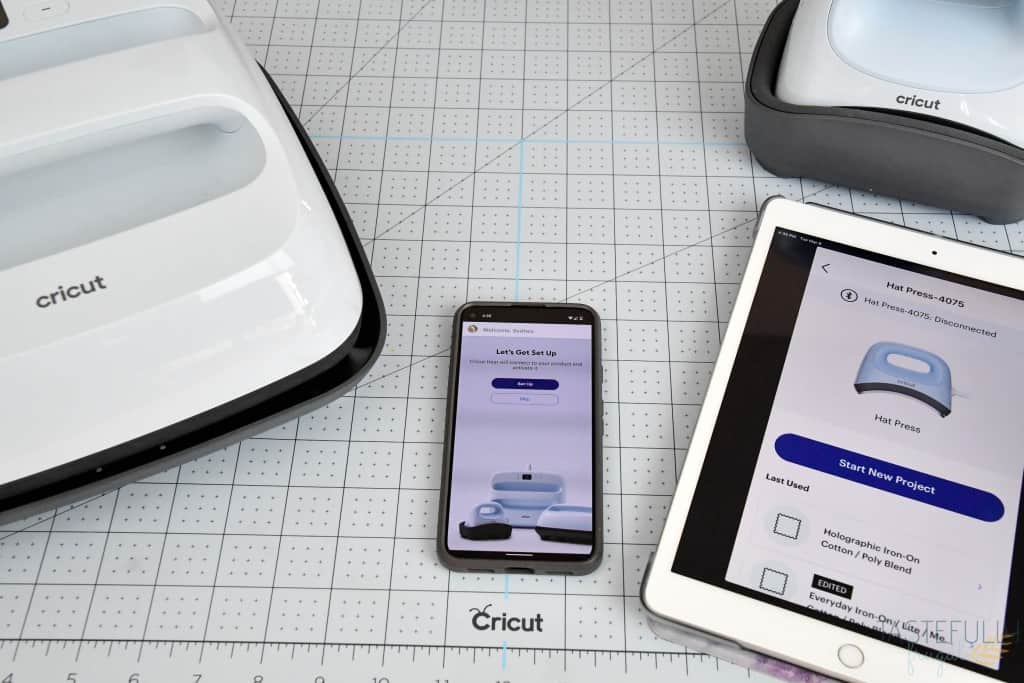
Once you’ve unboxed your Hat Press you’ll need to register it on the Cricut Heat App before you use it. Cricut Heat app is available for Android smart devices here and iOS devices here. Once it’s registered you can use the Cricut Heat App with your Hat Press to set time and temperature settings or you can just manually set time and temperature settings when you’re pressing. Learn more about the Cricut Heat App and how to use it in this video.
To register your Hat Press:
- Turn Hat Press on and open the Heat App
- Connect Heat App to your Cricut account. If you’re already logged into Design Space on your phone or tablet it will automatically sync with your account.
- Click the SET UP button in the middle of the screen.
- Follow on screen prompts to connect your Hat Press to your Cricut Account. If there are firmware updates for your Hat Press they will be downloaded here.
- Once your Hat Press is connected to your Cricut account and the firmware has been updated, if necessary, you’re ready to start crafting!
How To Use Cricut Hat Press
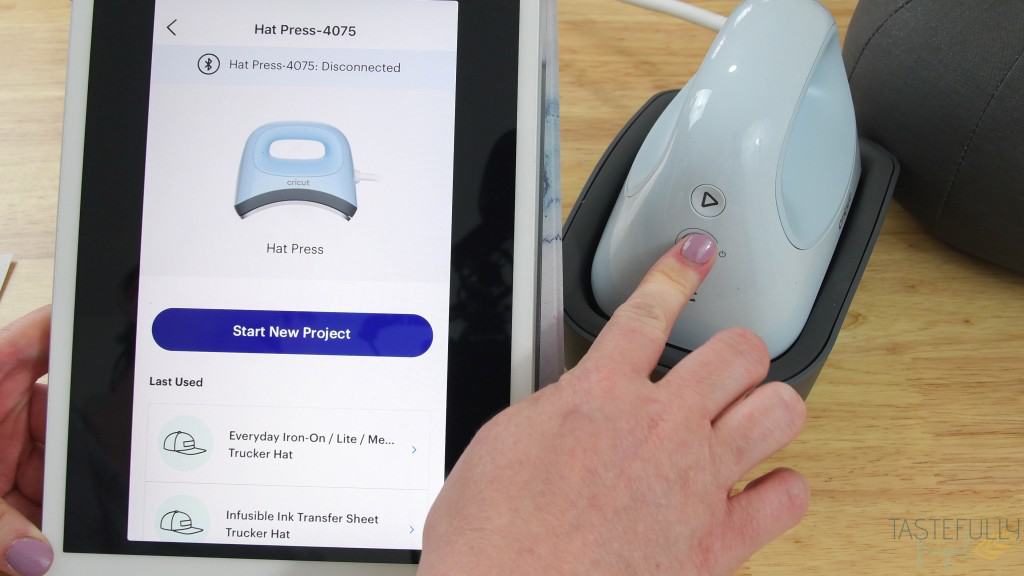
Now that we’ve got the Hat Press unboxed and registered let’s get crafting! You can use the Cricut Heat app to select your HTV/Infusible Ink/Sublimation material as well as the material of your hat blank. You can then send those settings directly to your Hat Press or manually input your settings.
Best Time and Temperature Settings
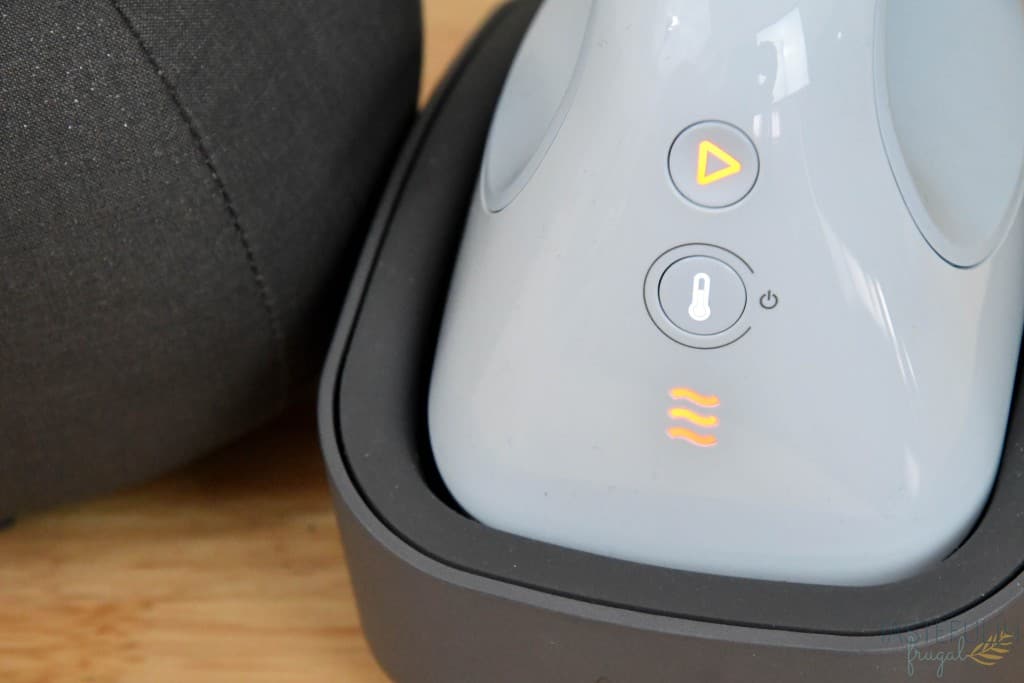
The Hat Press is a lot like the Cricut EasyPress Mini in terms of heat settings. There are three different settings to choose from:
- Low (one line) – 255F-295F. Use this setting with sensitive base materials like the brim of hats AND/OR HTV that has a recommended pressing temperature between 255-295F. This setting has a built in timer of 60 seconds.
- Medium (two lines) – 300F-355F. Use this setting for most hats and any HTV has a recommended pressing temperature between 300F-355F. This setting has a built in timer of 60 seconds.
- High (three lines) – 360F-400F. Use this setting for heavy duty materials, like denim AND/OR pressing materials that have a recommended pressing temperature between 360F-400F like Infusible Ink and sublimation. This setting has a built in timer of 90 seconds.
Once your Hat Press has reached temperature the line(s) will change from orange to green and beep once letting you know it’s ready to use.
How Big of Designs Should I Use?
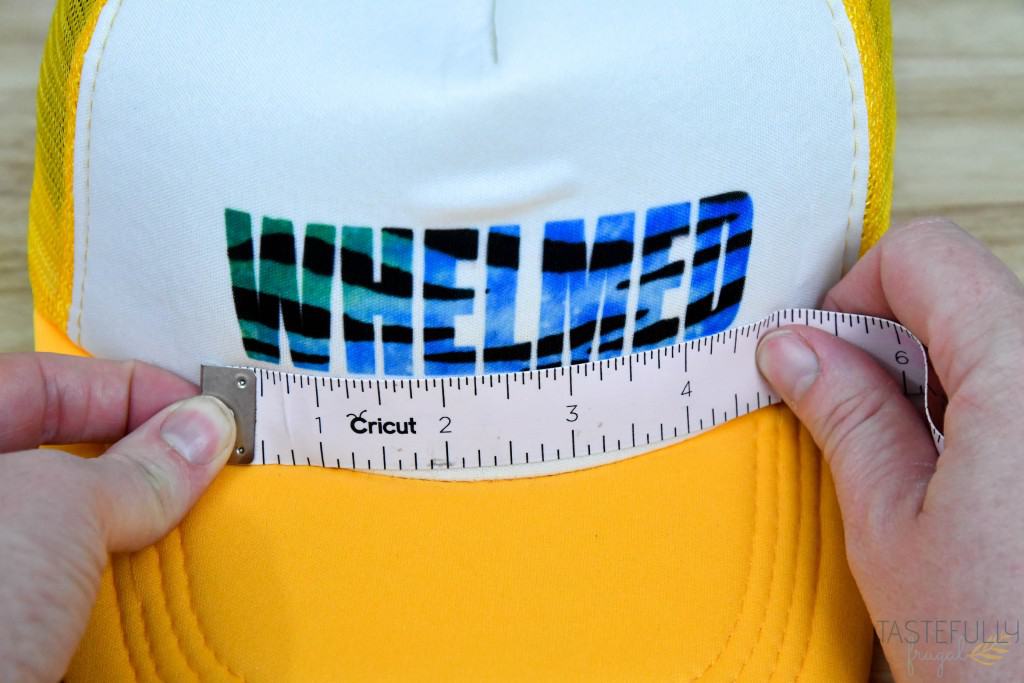
The largest design size you’ll want to make to have the best results with the Hat Press is 4.25″ W x 2.25″ H. If you’re creating a design to go on the side or the bill of your hat, just make sure it’s not taller than 2.25″. This will ensure that the Hat Press can completely cover the design. ***When you’re cutting or printing your design, make sure to MIRROR it.***
How To Prep Hat Before Pressing
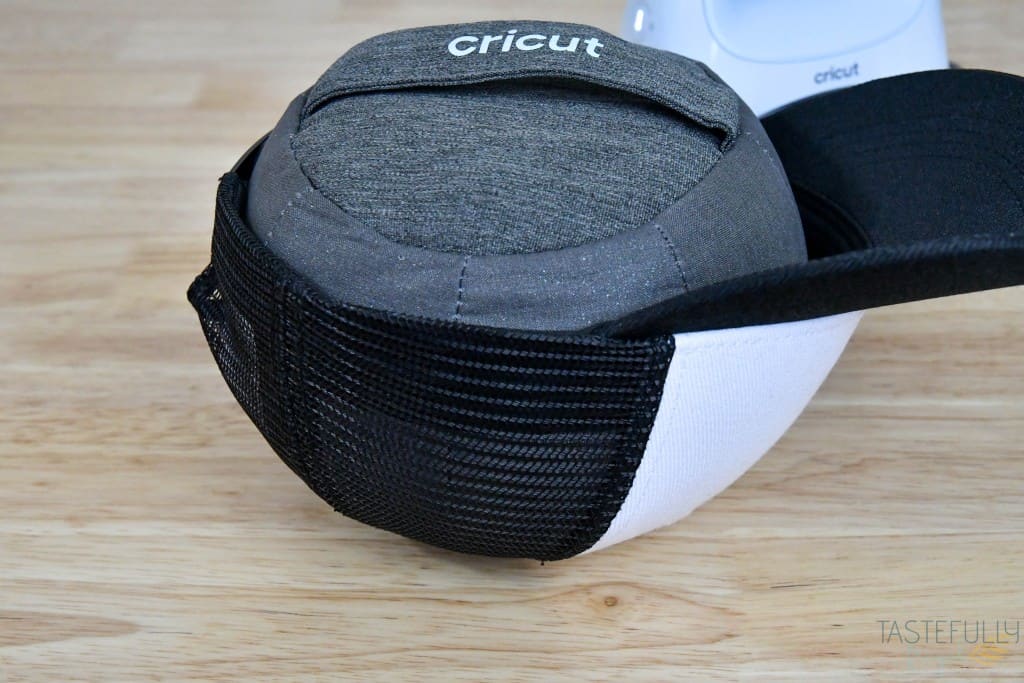
The first thing you want to do is get your hat on the pressing form. You can just turn your hat upside down and press the form in. If your hat is adjustable, you may need to unbutton the back and loosen it to get the form to fit snugly in the hat. Make sure your hat is fitting snug on the form before cleaning and preheating.
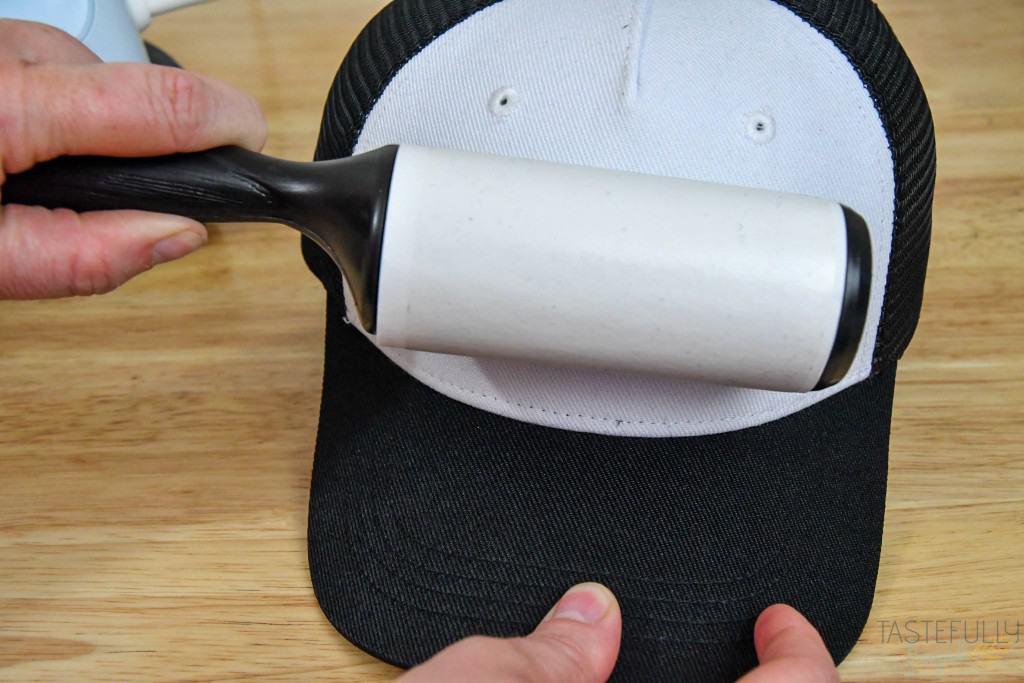
Next, you’ll want to give it a good wipe down with a lint roller. This will remove any dirt or debris that is on it that could affect your HTV (or Infusible Ink or sublimation design) from sticking.
Lastly, preheat your hat for 5 seconds.
How To Attach Design To Your Hat
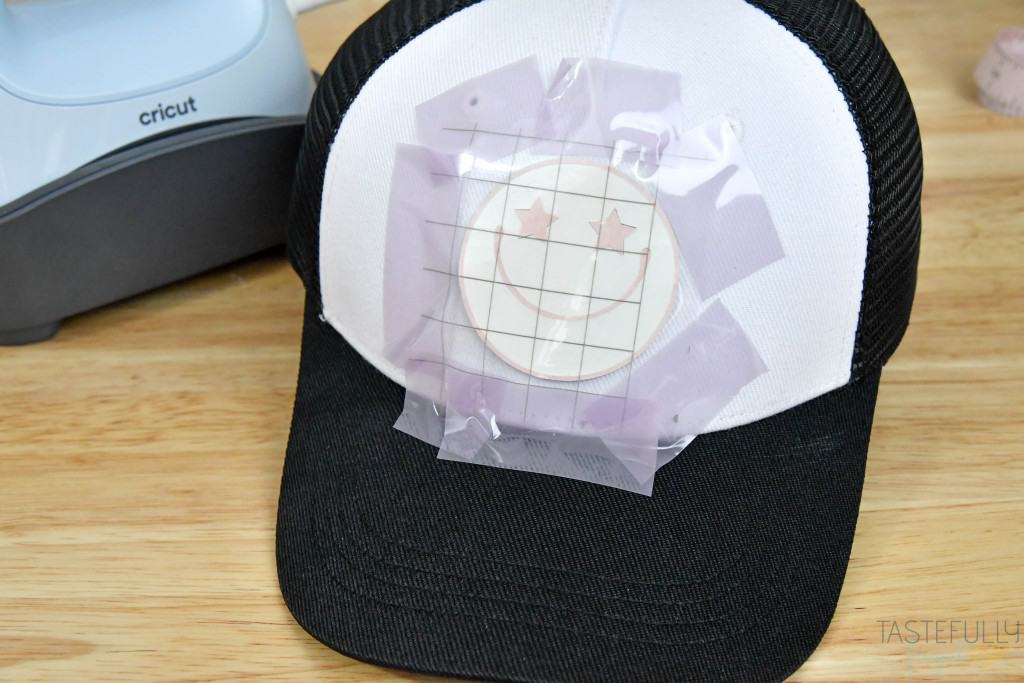
Once your hat has been preheated you’ll want to use the StrongGrip Heat Resistant Tape to tape it to your hat. Because you are going to be moving the Hat Press continually throughout pressing, the StrongGrip tape makes it so your design doesn’t shift while you’re pressing. Make sure you have all corners and sides taped down to prevent any movement during pressing.
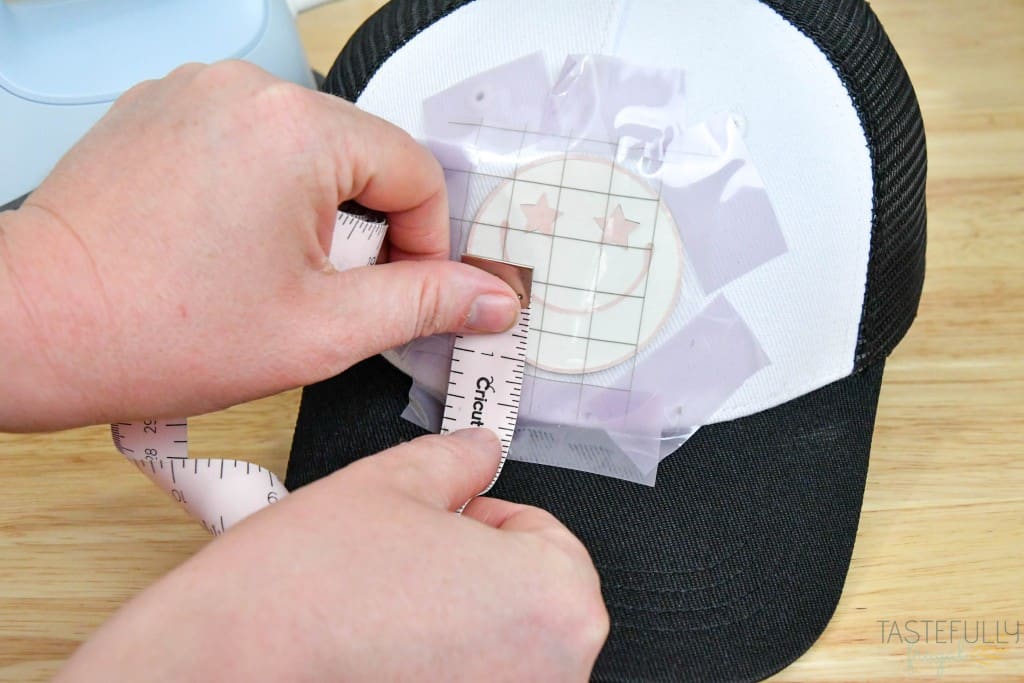
When you’re deciding on placement for your design, have it be at least 1/2″ above the brim so that the Hat Press can get full contact with your design.
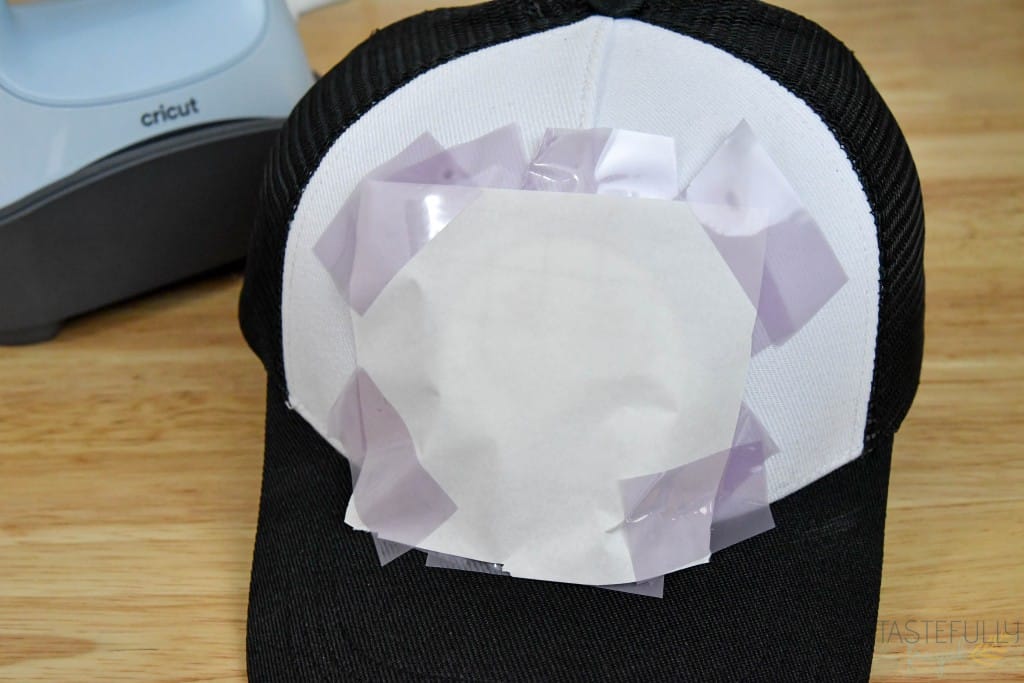
If you’re using Infusible Ink or a sublimation design, make sure to also tape down a piece of butcher paper on top of your design to prevent any blow off from getting on the Hat Press.
Tips For Best Results When Pressing
After you have your design taped down you’re ready to press! Make sure you have your hat sitting the design is facing up towards you.
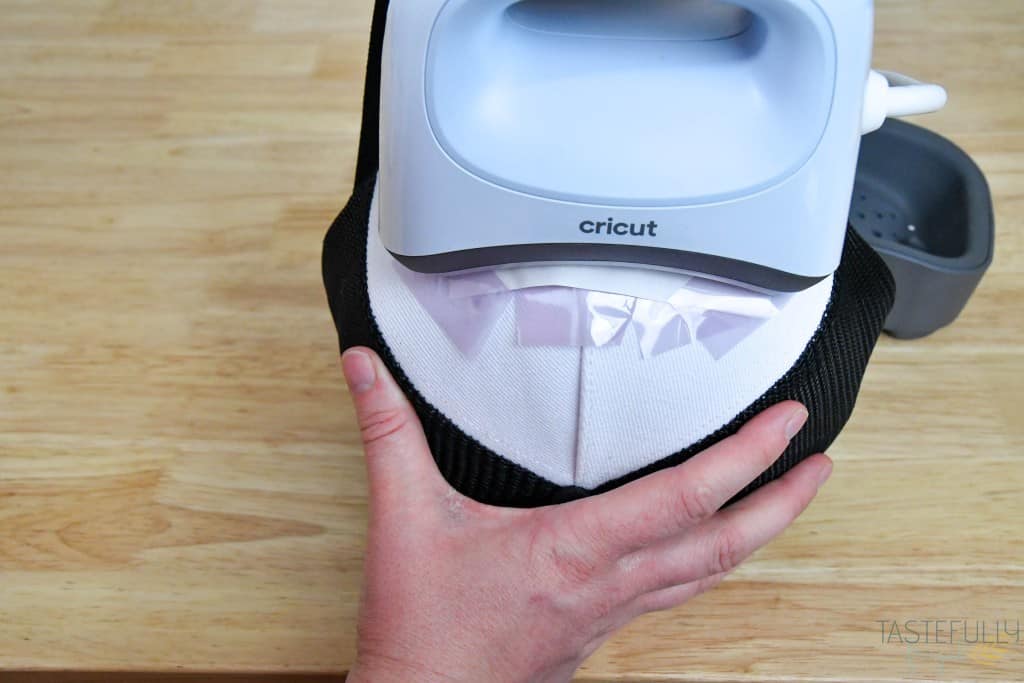
Press the play button on your Hat Press and use firm pressure to move it back and forth over your design. You’ll want to move at about the same speed you would move a computer mouse.
To make sure your design is getting the most heat make sure you move it far enough so the C and T in the Cricut logo are touching the edge of the designs as you move it back and forth.
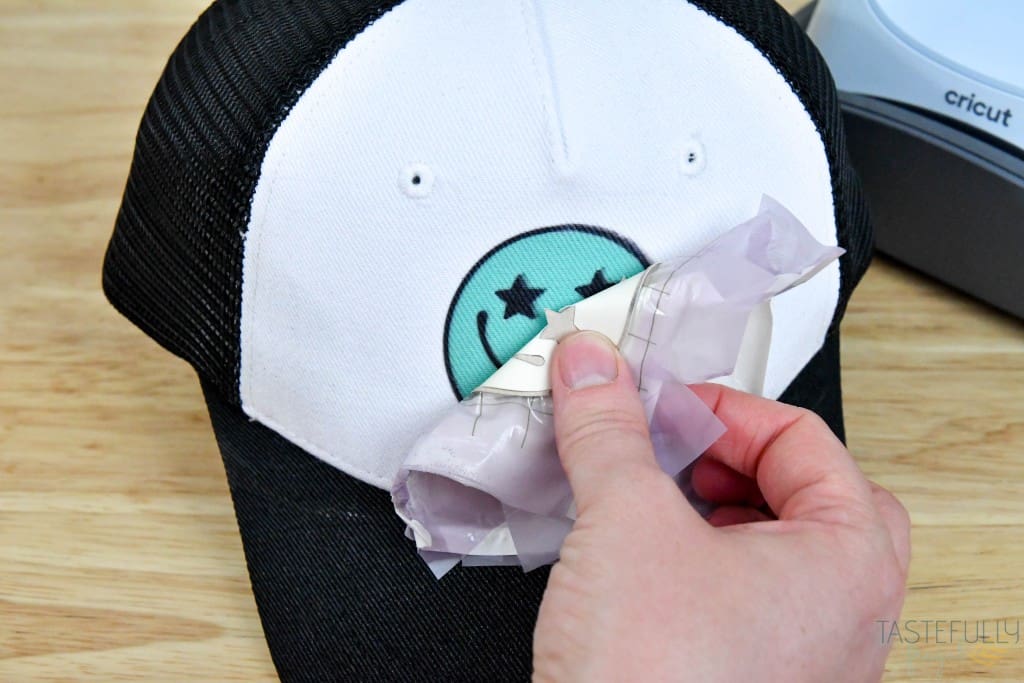
Your Hat Press will flash beep twice when the timer is done. Depending on the materials you’re using you may want to let the backer completely cool before removing it. Some materials that require a cool peel:
- Everyday Iron-On
- Foil Iron-On
- Patterned Iron-On
- Metallic HTV
- StripFlock HTV
- Holographic HTV
What Hats Work With the Hat Press
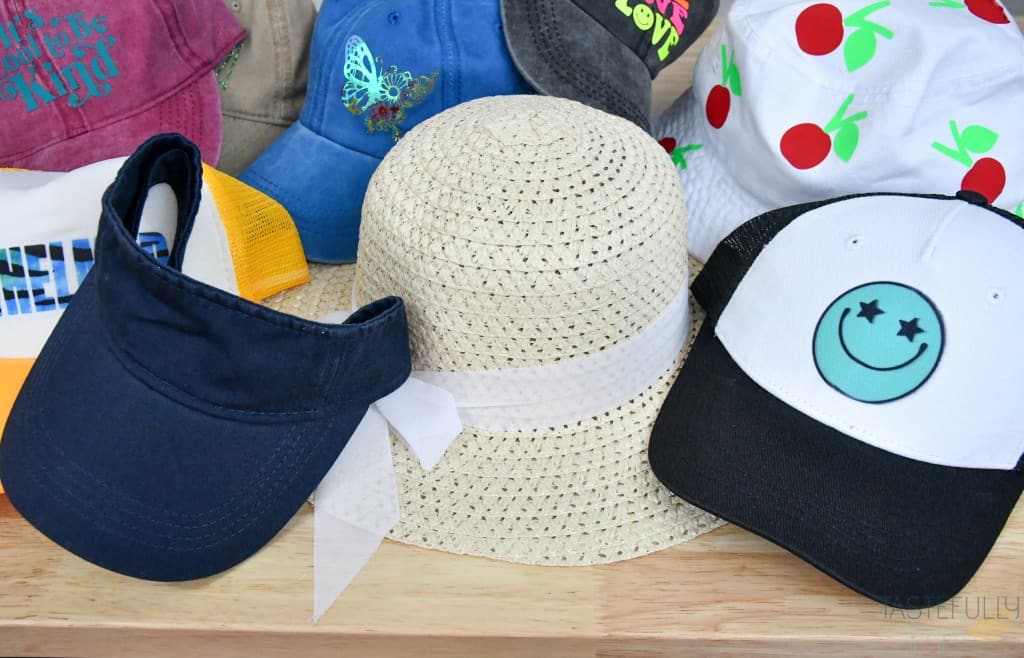
The Cricut Hat Press and pressing form are made to fit in a variety of different styles of hats. Cricut has added a line of baseball and trucker hats that work with both HTV and Infusible Ink/sublimation that you can get at this link. Other styles of hats that work include:
- Bucket Hats
- Visors
- Trucker Hats
- Baseball Hats
- Sublimation Hats
- Beanies
- Sun Hats
I created an Amazon shop with hats I’ve tried that work with the Hat Press you can check out here.
Extra Supplies to Make Customizing Hats Easier
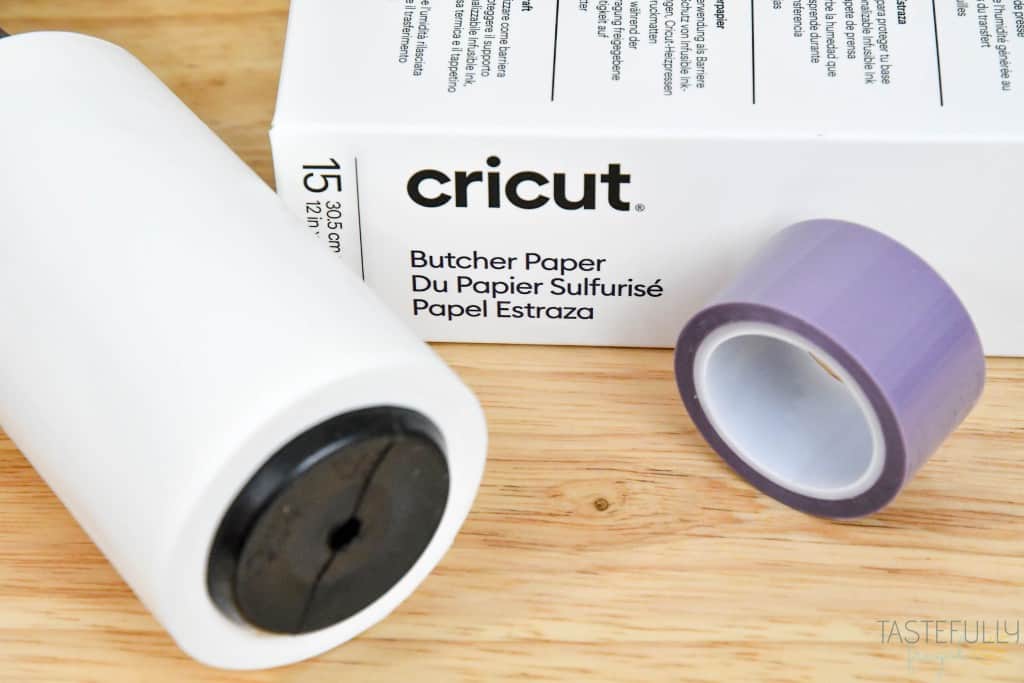
One of the things I love about the Hat Press is that it’s ready to go right out of the box. You don’t need a lot of extra supplies to start crafting with it. There are only three other things I suggest having handy that you may want to use (one even comes in the box).
- StrongGrip Heat Resistant Tape – As I mentioned above this keeps your design from shifting when the Hat Press is moving. You can get 5-6 hats worth out of the sample that comes in the box. You can buy more rolls here.
- Lint Roller – To clean hat prior to preheating.
- Butcher Paper – You only need this if you’re using Infusible Ink or sublimation designs. I have been using this butcher paper from Cricut lately and it’s been great.
FAQ about the Hat Press
We’ve answered a lot of the questions I’ve seen through the tutorial part of this post but let’s answer a few more.
Q: Where can I buy one and how much does it cost? A: You can buy them online directly from Cricut or from Michaels, or JOANN. They will be available to buy in-store on May 1st. The retail price is $149. ***If you’re a Cricut Access member you can save 10-20% off when buying directly from Cricut.
Q: Are there any bundles that come with hats? A: Yes, Cricut has bundles available with anywhere form 6-30 hats! Check out all the Cricut Hat Press Bundles here.
Q: Why do you have to move the Hat Press when pressing? A: By moving the Hat Press you’re giving even pressure to the whole hat and preventing press marks in your hat.
Q: Can I put designs on the bill of the hat? A: Yes, but make sure you use iron-on vinyl for theses designs. The heat required for Infusible Ink or sublimation will melt the bill.
Q: Can I use iron-on and Infusible Ink on the same hat? A: Yes, make sure to layer the iron-on vinyl on top of the Infusible Ink
Q: Is there an auto-off feature on the Hat Press? A: Yes, the Hat Press will automatically turn off after 13 minutes.
Now it’s your turn to get crafting!
I hope this gives you a better idea of how to use the Cricut Hat Press and how truly easy it is to use! I’d love to see your Hat Press projects too! Tag me @tastefullyfrugal on social media so I can see your designs. Be sure to subscribe to my YouTube channel to check out all my video tutorials including projects and how to’s. For more Cricut projects and tutorials, check out these posts. For tips, tricks and immediate help, be sure to join our FREE Cricut Support Group.


Leave a Reply