Learn all about Cricut EasyPress 3 including what makes it different from the EasyPress 2, how to use it and if you need it! Thanks to Cricut for sending me the EasyPress 3 to try out and sponsoring this post.
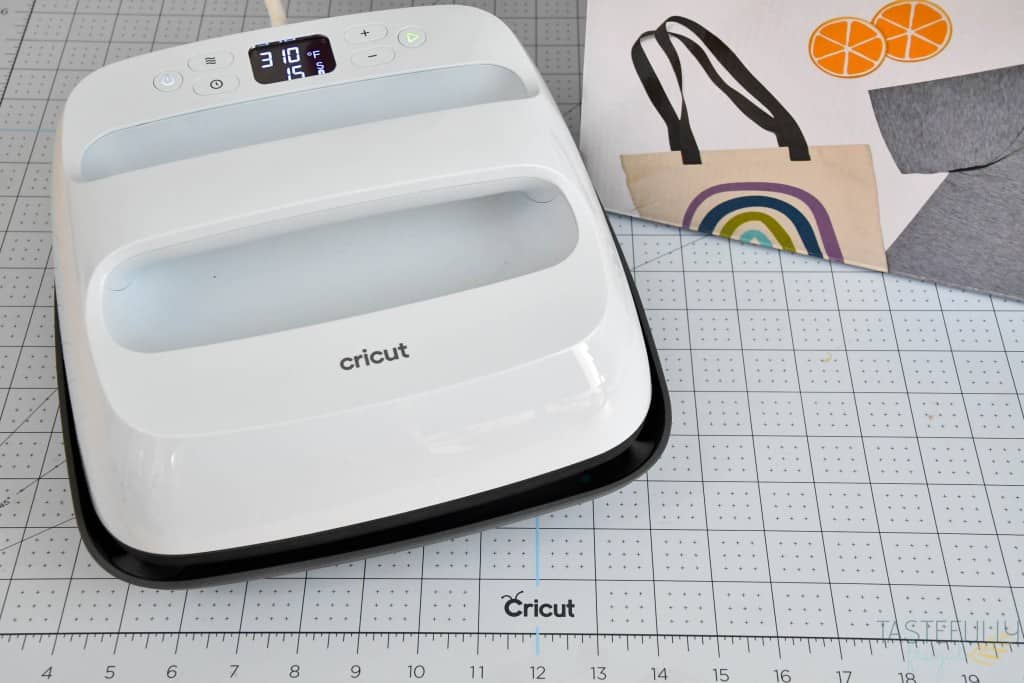
One of the things I love about Cricut is that they are always looking for ways to make crafting easier. Whether it’s being able to cut 300+ materials with the Maker, the ease of crafting anywhere with the Joy, or the evolving lines of heat press machines; Cricut makes creating works of art something anyone can do. If customizing t-shirts, tote bags, towels, canvases, or any other material with HTV is something you want to do but you’re not sure how, or how you can afford it, the EasyPress 3 may be just what you’re looking for.
I’ve had a chance to use the EasyPress 3 for the past month and I have to say I like it WAY more than I initially thought I would! The few differences from the EasyPress 2 are some things I’ve been wishing were available for years! Plus the Cricut Heat app is such a great tool to make crafting a whole lot easier.
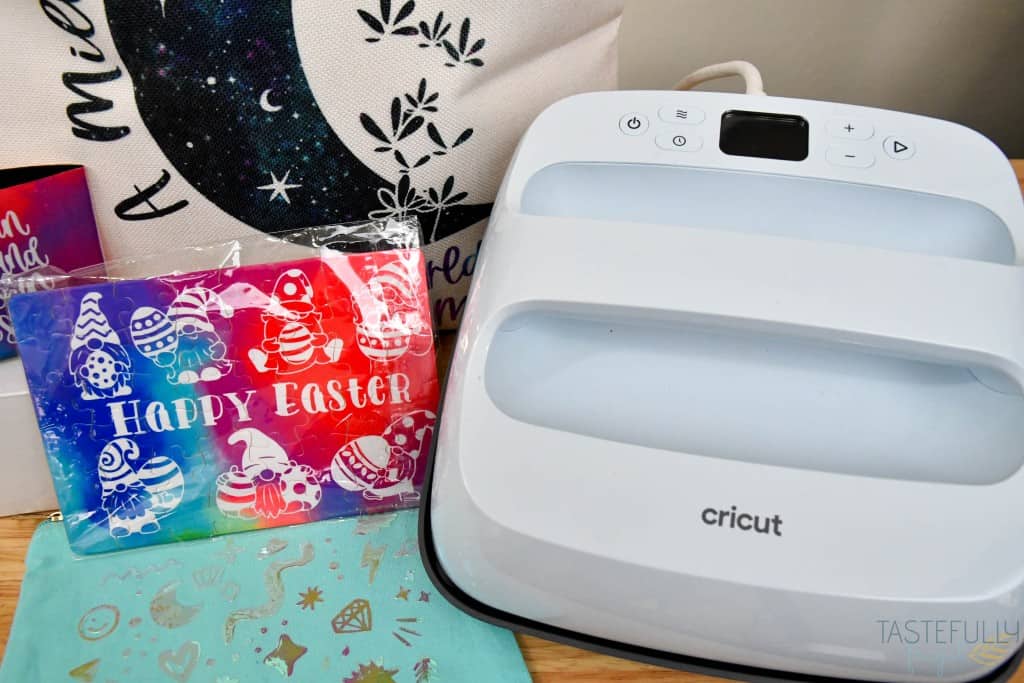
So in this post I’ll go over everything you need to now about the Cricut EasyPress 3 to help you decide if it’s the right machine for you! We’ll cover:
- What makes the EasyPress 3 different from EasyPress 2
- Where and when to buy
- What is the Cricut Heat app and do I have to use it?
- What comes in the box
- How to use EasyPress 3
If you prefer videos, you can check out my full YouTube review here:
What Makes Cricut EasyPress 3 Different From EasyPress 2
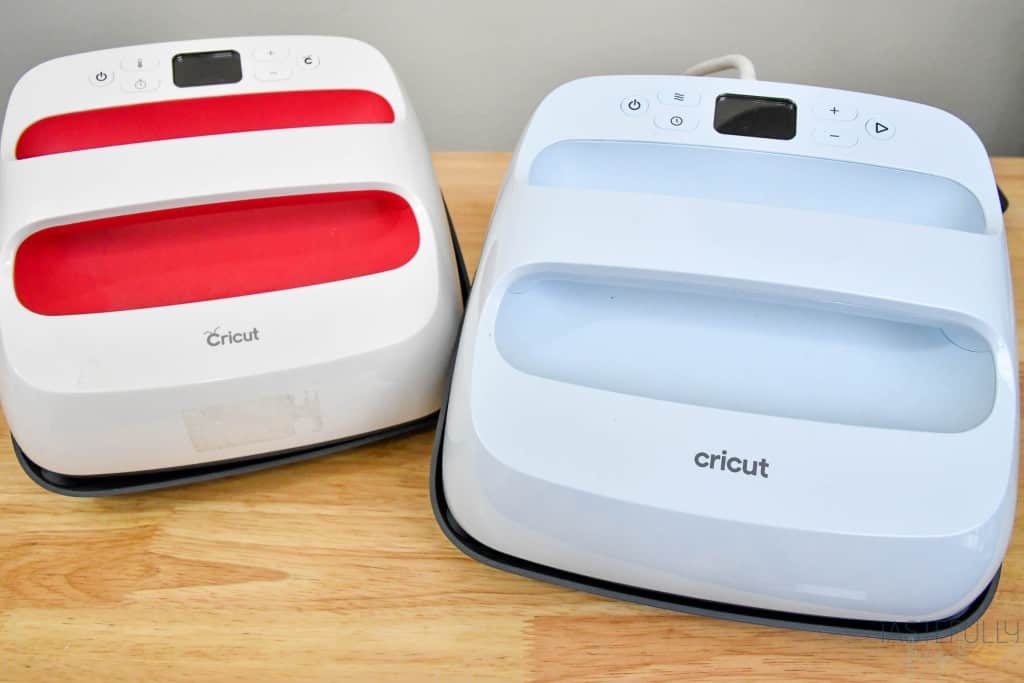
This by far is the most commonly asked question I get when asked about the EasyPress 3. The two machines share a lot of similarities including:
- Even heating
- Easy to program time and temperature controls
- High temperature of 400F perfect for Infusible Ink and sublimation projects
- Safe plastic surrounds and bases (this is a big yes for me when I’m crafting with my kids)
- Same sizes available (9×9 and 12×10)
Some of the main differences between the two are:
- EasyPress 3 has Bluetooth technology that allows it to connect to the Cricut Heat App
- EasyPress 3 holds temperature better. With the EasyPress 2 I would often times have the temperature drop 10-15 degrees after about 10 seconds. In all the projects I’ve done with the EasyPress 3 the temperature hasn’t dropped once!
If I have an EasyPress 2, Should I Upgrade To The EasyPress 3?
Honestly, I wouldn’t worry about upgrading if you have the EasyPress 2 already. While the features of the 3 are super nice and convenient, I would rather use the money I would spend on a new EasyPress 3 and get the Hat Press, or more craft blanks! If you’re not familiar with the Hat Press, you can learn more about it in this post.
When and Where To Buy EasyPress 3
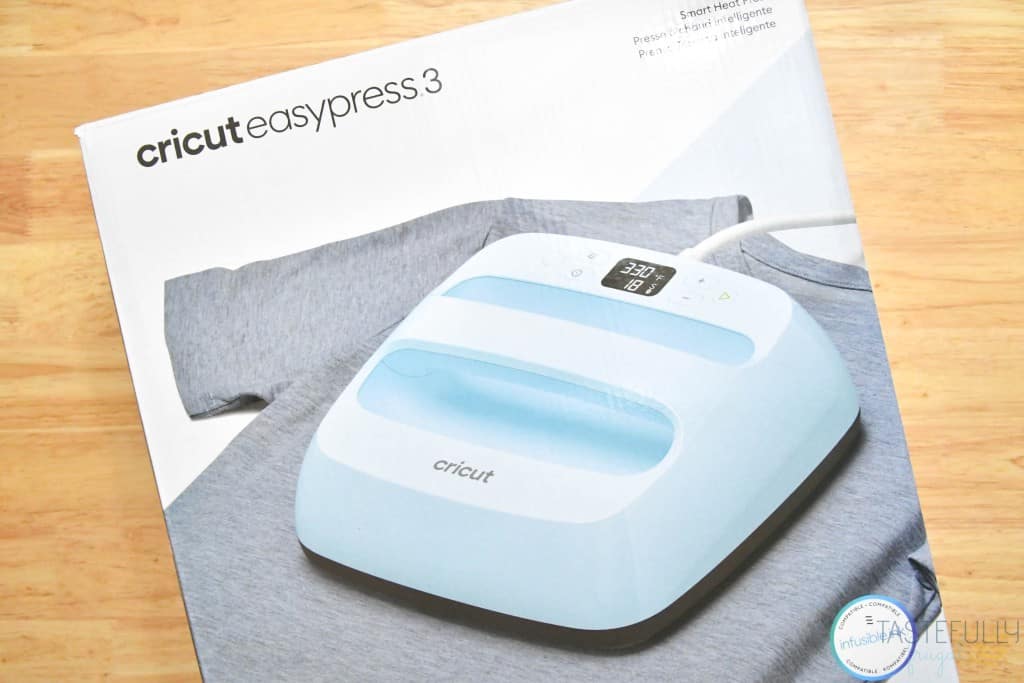
Cricut EasyPress 3 is available to buy now online directly from Cricut and at Michaels and JOANN. If you want to buy it in store, they will be available May 1st. The 9×9 Easypress 3 retails for $199. The 12×10 EasyPress 3 retails for $249.
If you’re shopping for your EasyPress 3 or other supplies on Cricut.com, use code SYDNEY10 to save 10% and get FREE shipping on all $50+ orders. That’s on top of the 10% discount Cricut Access members get automatically! Learn more about Cricut Access here.
What Is The Cricut Heat App and Do I Have To Use It?
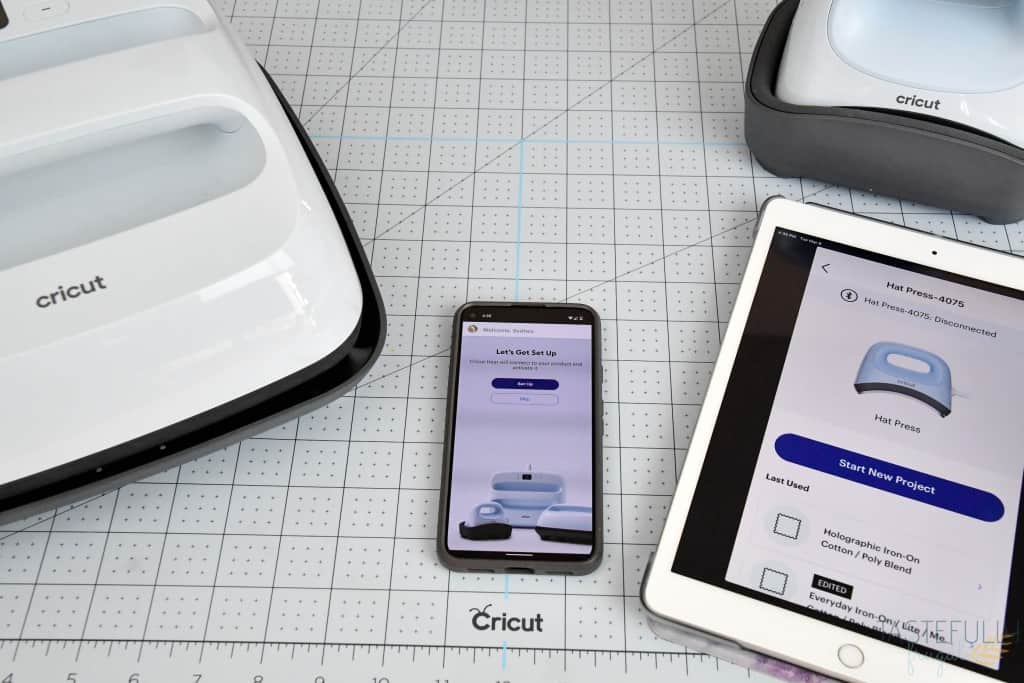
This is the next commonly asked question I get. And rightly so. If it’s a benefit to the EasyPress 3, what is it and what makes it so special! The Cricut Heat App is a completely free app for Android and iOS users that allows you to connect your EasyPress 3, Hat Press and/or Auto Press to make crafting easier.
Once you activate your machine (I’ll show you how to do that in just a bit), you can select the time and temperature settings based on the materials you’re using and have them sent directly to your heat press. There are step by step photos and tutorials showing how to use each heat press. There’s also helpful resources for using different types of heat transfer materials. You can learn more about the Cricut Heat app in this video. You can download Cricut Heat app for Android smart devices here here and iOS devices here.
Do I Have To Use The Cricut Heat App with EasyPress 3?
You do need to use the Cricut Heat App initially to activate and register your machine but after that you don’t have to use it with your EasyPress 3. You can set the time and temperature settings right on your EasyPress 3; just like with the earlier EasyPress models.
I didn’t think I would use the Heat App after I activated my machines but I’ve used it for almost all the projects I’ve made with the EasyPress 3 and Hat Press because it’s been so helpful. Aside from being able to send the correct time and temperature settings to your EasyPress 3 it also adjusts the timer for preheating and reminds you to do the back press as well (two things I often forget).
Can I Use Cricut Heat App If I Don’t Have One of The New Heat Presses?
Unfortunately not at this time. You can download the app and access the resources for working with iron-on vinyl and Infusible Ink. But to get the time and temperature settings and the ability to have them sent to your heat press, you do have to have a registered heat press on the app.
What Comes In The Cricut EasyPress 3 Box
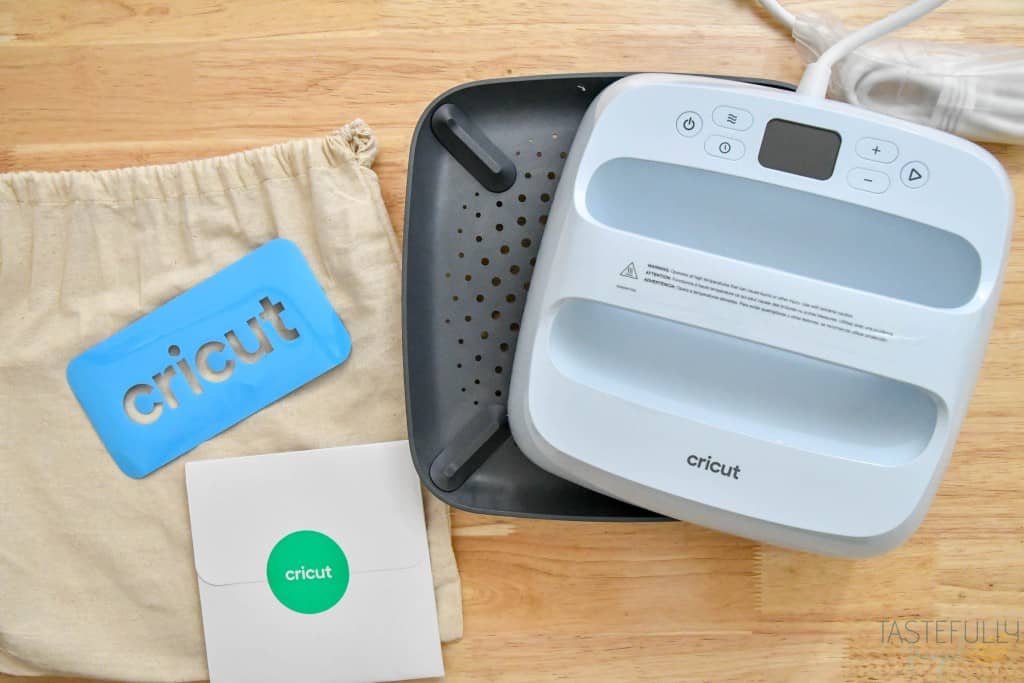
Let’s take a look at what all comes with the EasyPress 3! When you open the box you’ll first find an envelope with a quick start guide, warranty information and an iron-on vinyl sample that you can use for a test project.
You’ll also have the EasyPress 3 machine in a canvas carrying case (this makes a great blank for the test project) and the base for storing your EasyPress 3.
How To Use EasyPress 3
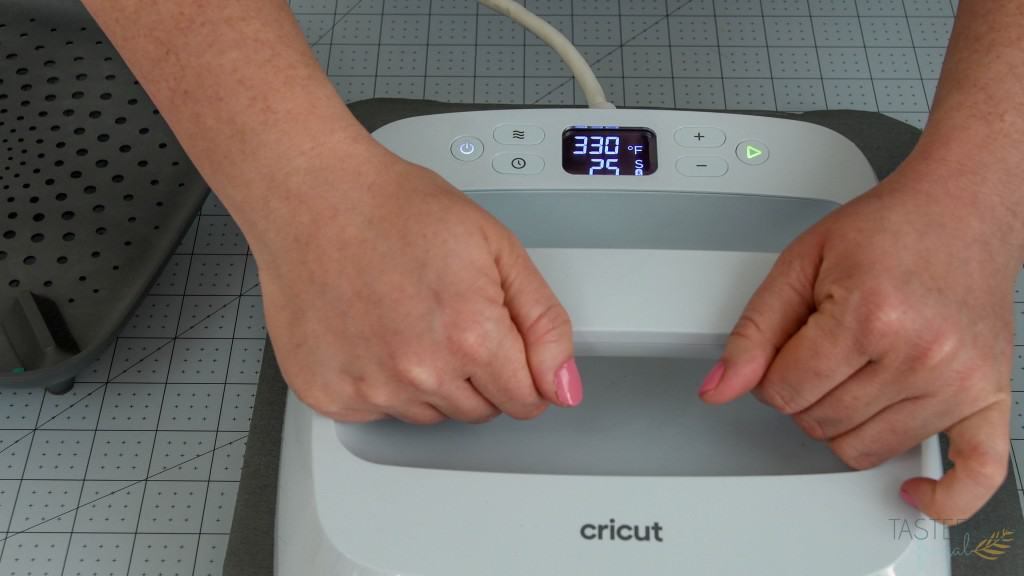
If you have used an EasyPress before, the project making part is pretty much the exact same with the EasyPress 3. I know there are a lot of new users out there who haven’t used an EasyPress before so I’ll walk you through the whole process here including how to use the EasyPress 3 with the Heat App.
How To Activate Your EasyPress 3 on the Cricut Heat App
Activating and registering your EasyPress 3 will take you less than two minutes. If you haven’t already download the apps on your smart device. You can download Cricut Heat app for Android smart devices here here and iOS devices here.
- Turn on your EasyPress 3
- Connect Heat App to your Cricut account. If you’re already logged into Design Space on your phone or tablet it will automatically sync with your account.
- Click the SET UP button in the middle of the screen.
- Follow on screen prompts to connect your EasyPress 3 to your Cricut Account. If there are firmware updates for your EasyPress 3 they will be downloaded here.
- Once your EasyPress 3 is connected to your Cricut account and the firmware has been updated, if necessary, you’re ready to start crafting!
Project Supplies
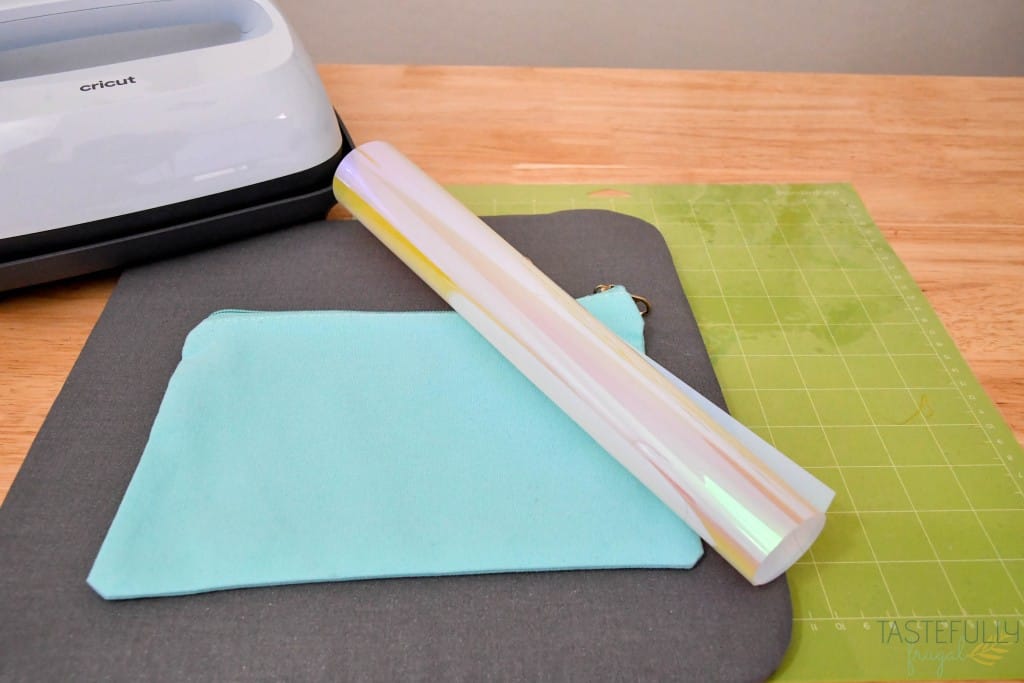
For this tutorial we’ll be customizing a makeup bag. I’m using an image I found in Design Space and a makeup bag I got from Amazon. Here is a list of supplies you’ll need in addition to your EasyPress 3:
Cut and Weed Your Design
The first thing you’ll want to do is cut your design with your Cricut machine. Make sure you mirror your design before cutting.
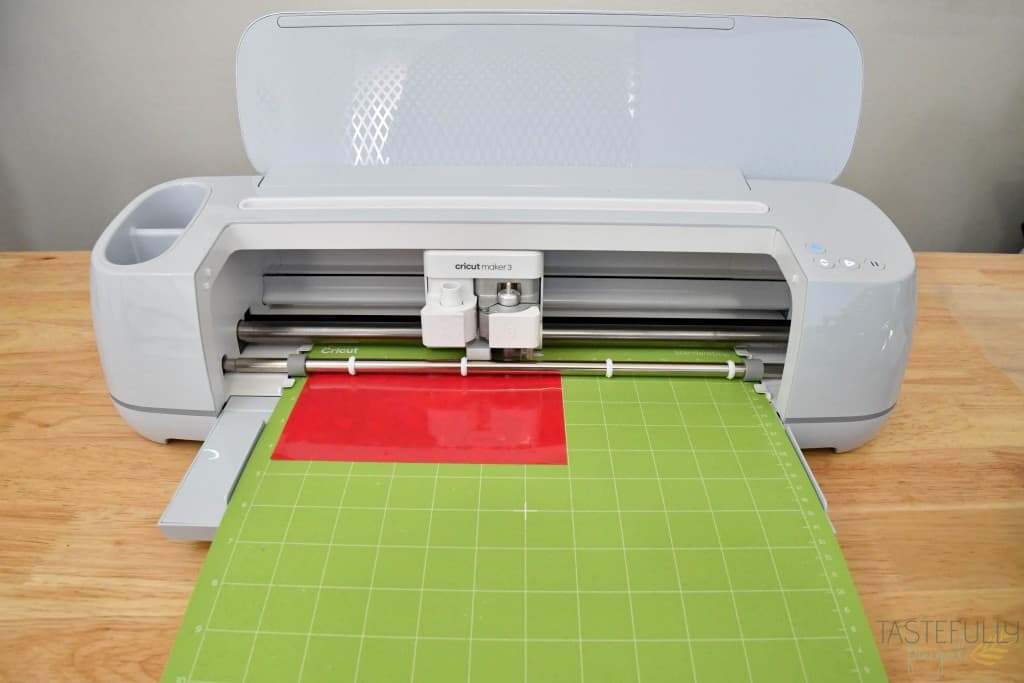
Place your iron-on vinyl shiny side down on the StandardGrip (green) mat and have your Cricut cut your design.
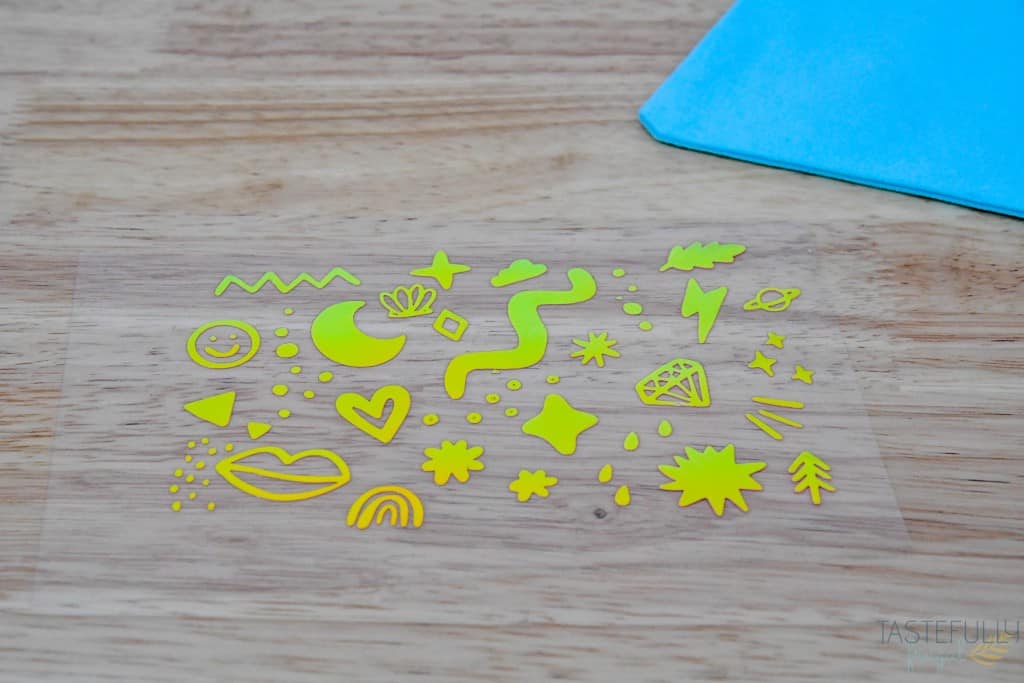
After your design is cut, use your weeding tool to remove the excess vinyl (weed) around your design.
Using Heat App to Select Time and Temperature Settings
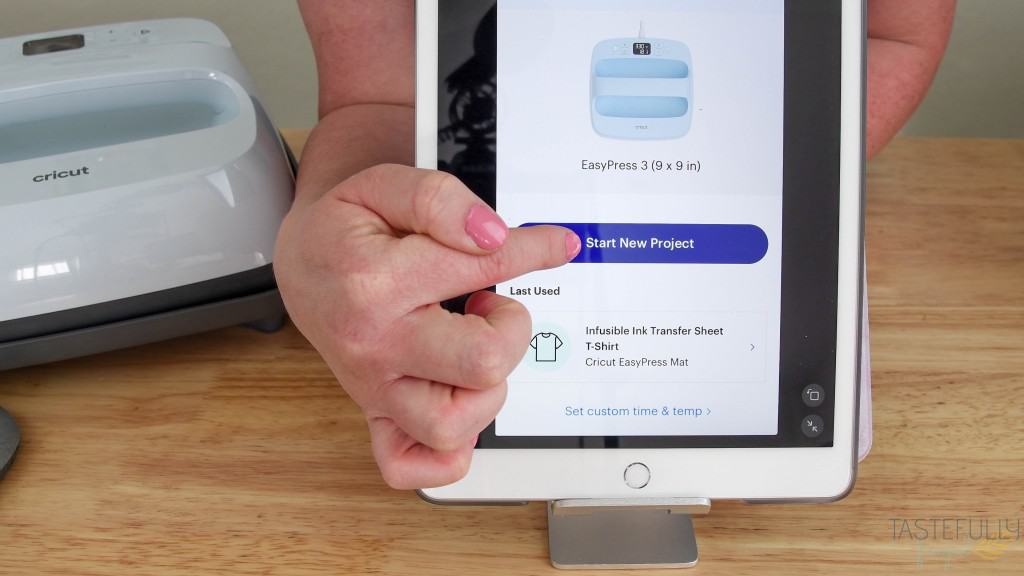
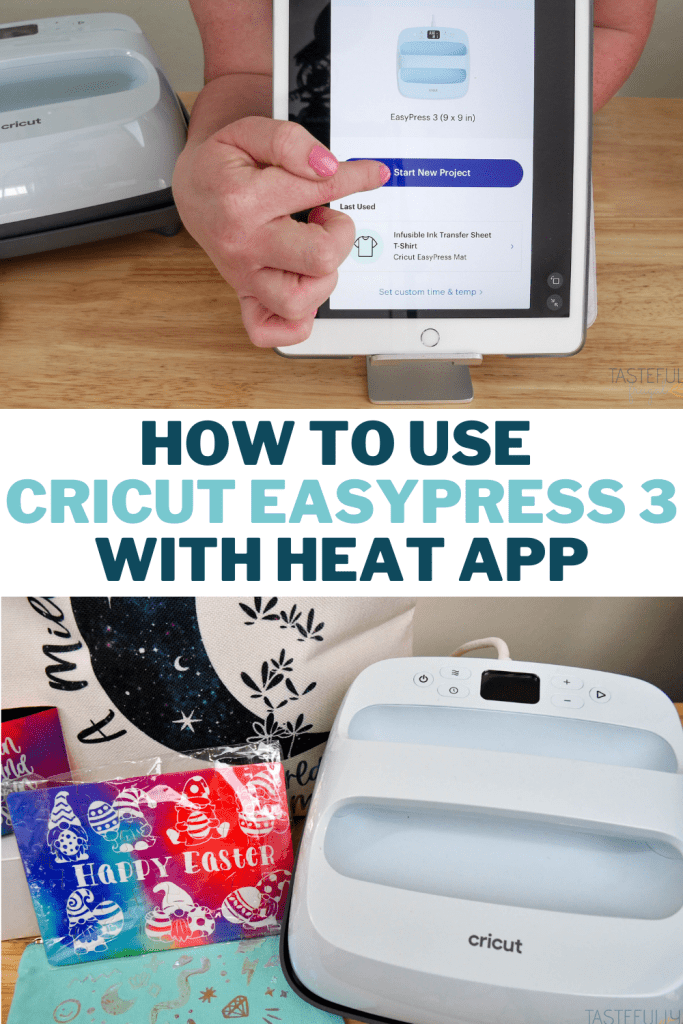
Open up the Cricut Heat App if it’s not already open and click START NEW PROJECT.
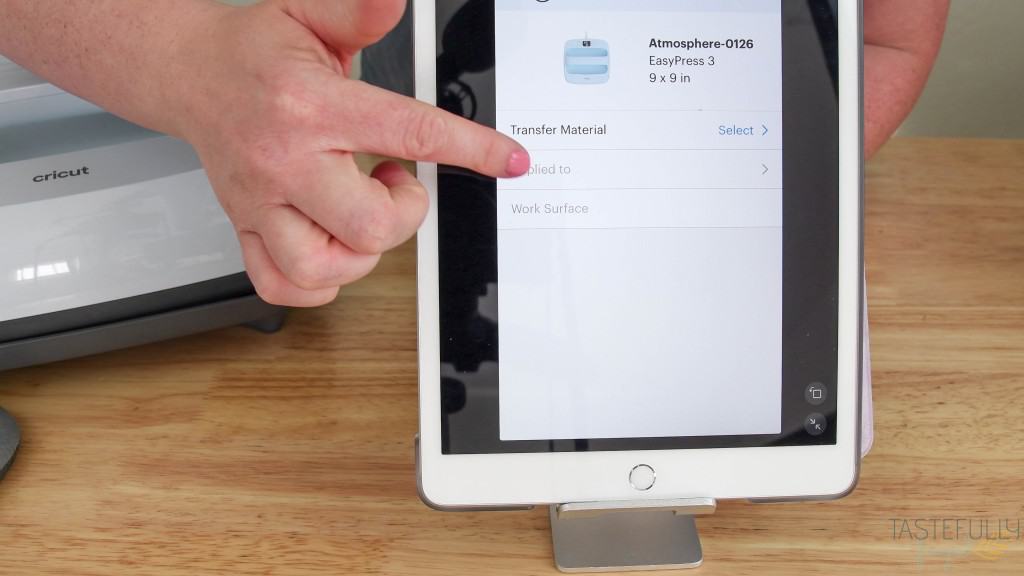
Select TRANSFER MATERIAL and select the material you’re using from the menu that pops up. I selected HOLOGRAPHIC IRON-ON VINYL for this project.
On the next screen you’ll select the material for what you’re pressing your design on. This makeup bag is a cotton/poly blend so we selected that.
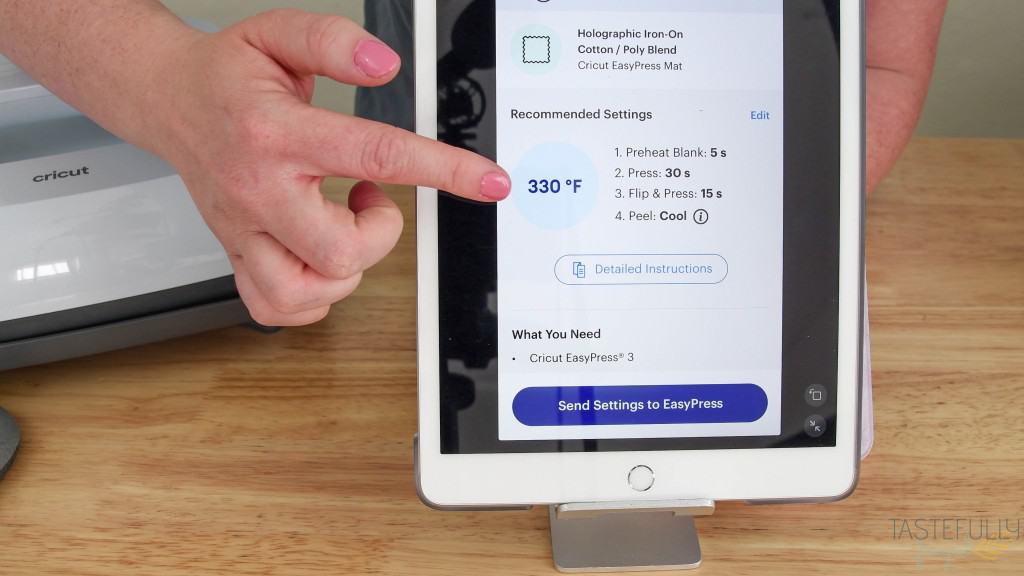
Once you’re transfer material and base material are selected click NEXT in the top right corner. This screen will give you the time and temperature settings as well as how long to preheat and if you’re project is a warm or cool peel. This refers to when you take the backer off your project. Warm peel means you can take it off right after you press it. Cool peel means you need to let the project completely cool before removing the backer.
At this point you can click SEND SETTINGS TO EASYPRESS 3 and your phone will connect to your EasyPress 3 and start preheating your machine to the correct temperature. Make sure you have your phone or tablet within 7 feet of your machine to keep it connected.
Tips for Applying Iron-on Vinyl
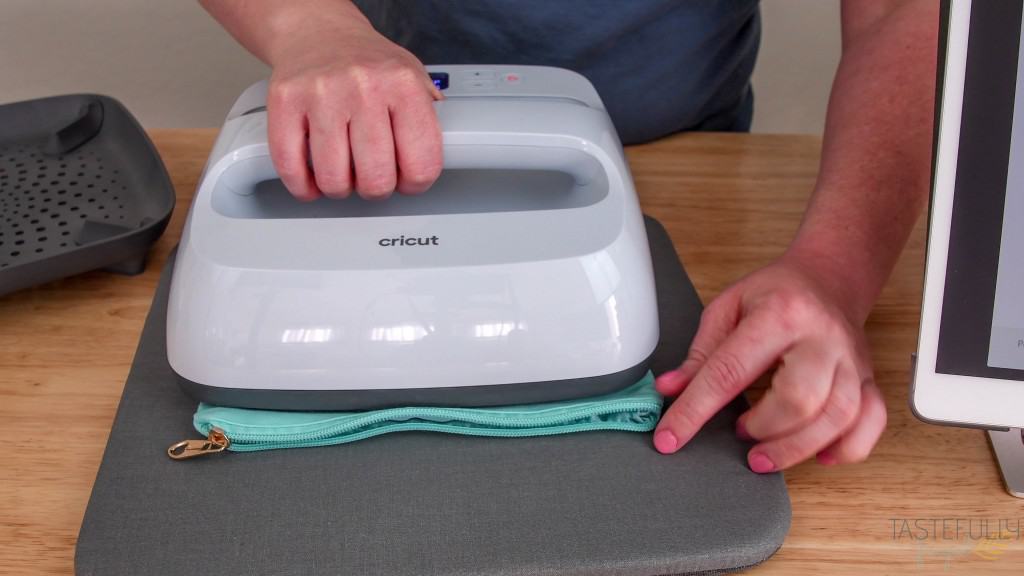
Once your EasyPress 3 has reached temperature you’ll want to preheat your blank. Put your bag on the EasyPress mat (if you don’t have an EasyPress mat you can fold up a bath towel and use it). Preheat your bag for 5-15 seconds depending on material. If you’ve connected your EasyPress 3 to the Heat app when you hit the play button the correct preheat timer will start.
Once your bag is preheated line up your design on your bag with the iron-on vinyl touching the bag and the plastic backer facing up. Put your EasyPress 3 on top of the design (make sure you aren’t pressing on the zipper or any seams for shirts) and press the play button. This will start the countdown for the press.

Use firm pressure (two hands and about 15lbs of pressure) to press the EasyPress 3 on your design. You don’t want to move the EasyPress 3 because this can cause wrinkling of your iron-on vinyl.
Once the timer goes off turn the bag over and press on the back for another 15 seconds. Return EasyPress 3 to the safety base.
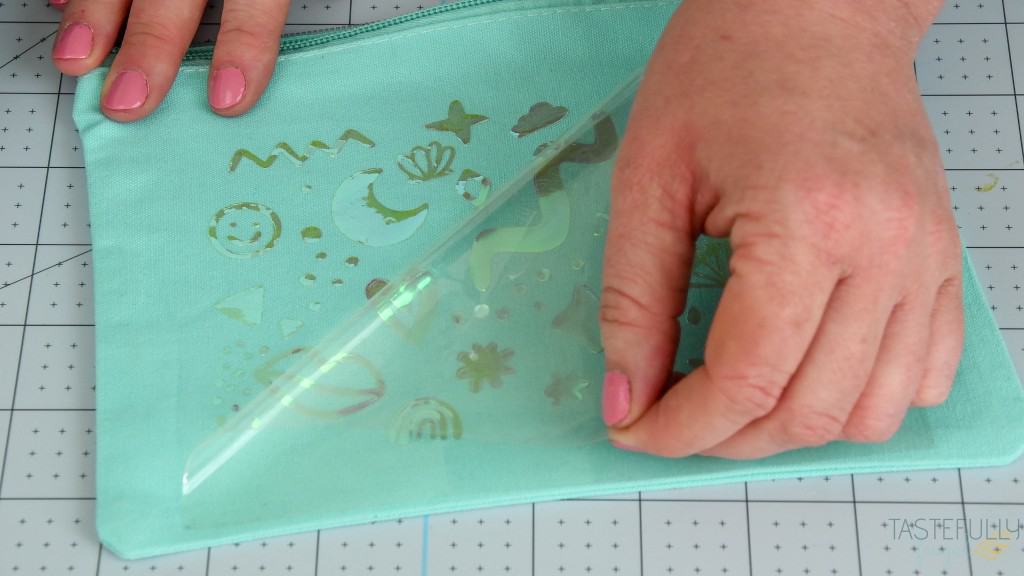
Let the project completely cool and then remove the backer.
I hope this gives you a better idea of what makes the Cricut EasyPress 3 so unique and how to use it! If you have any questions I didn’t answer, leave them in the comments below and I’ll answer them as soon as I can.
Be sure to subscribe to my YouTube channel to check out all my video tutorials including projects and how to’s. For more Cricut projects and tutorials, check out these posts. For tips, tricks and immediate help, be sure to join our FREE Cricut Support Group.


Leave a Reply