Make DIY Trick Or Treat Bag with Glow In The Dark Vinyl and LED Bags with your Cricut!
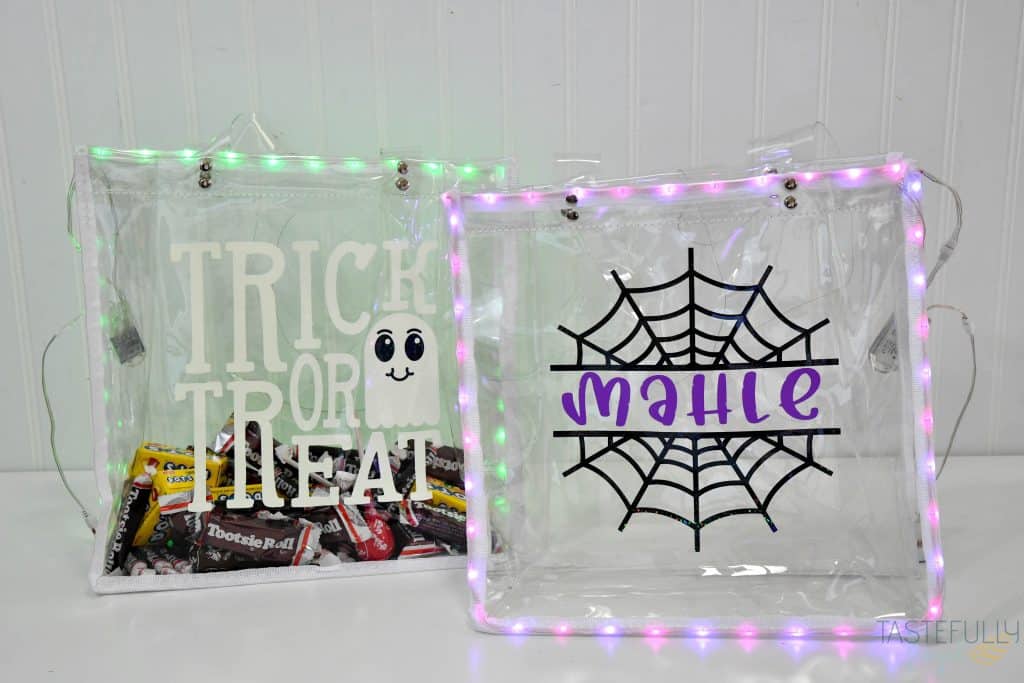
I don’t know about your kids, but my kids spend almost as much time picking out their trick or treat bags for Halloween as they do picking out their costumes!! When they were younger we used the plastic pumpkins but as they have gotten older they have wanted more room for candy. This year I decided to make our own trick or treat bags since they won’t have all the time in the store like they did in the past to pick out their bags.
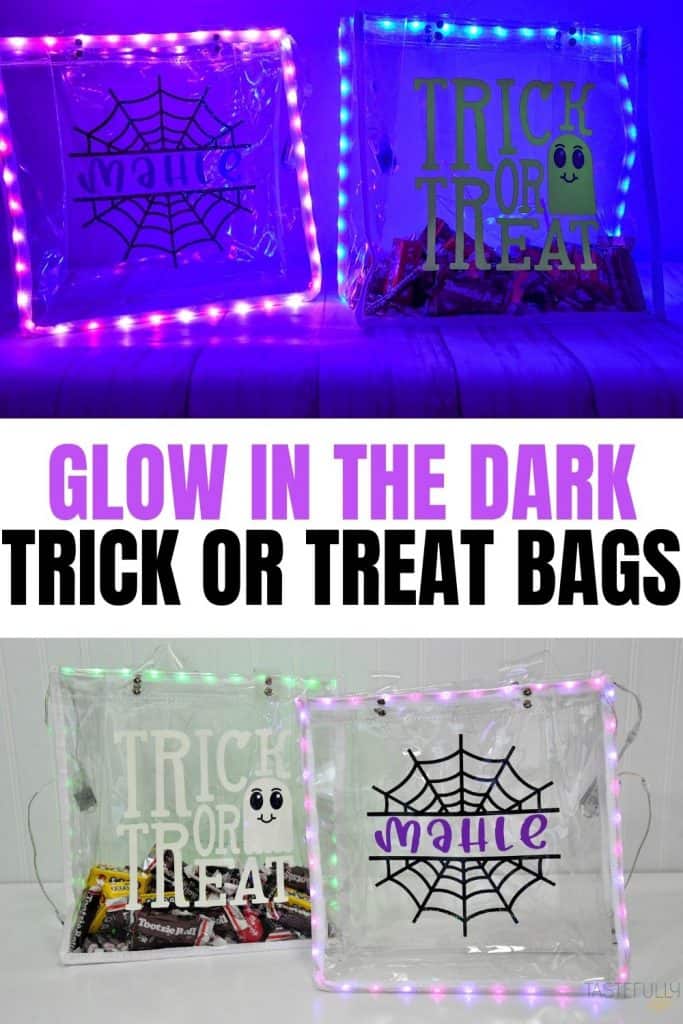
And they are SO happy I did these DIY trick or treat bags! They loved being to pick out their designs and loved even more that their bags light up! If you have a small shop you sell your crafts in, these are HUGE sellers during September and October and they always sell out! If you want to get these LED Bags, you can get them at 143Vinyl.
How To Use LED Bags
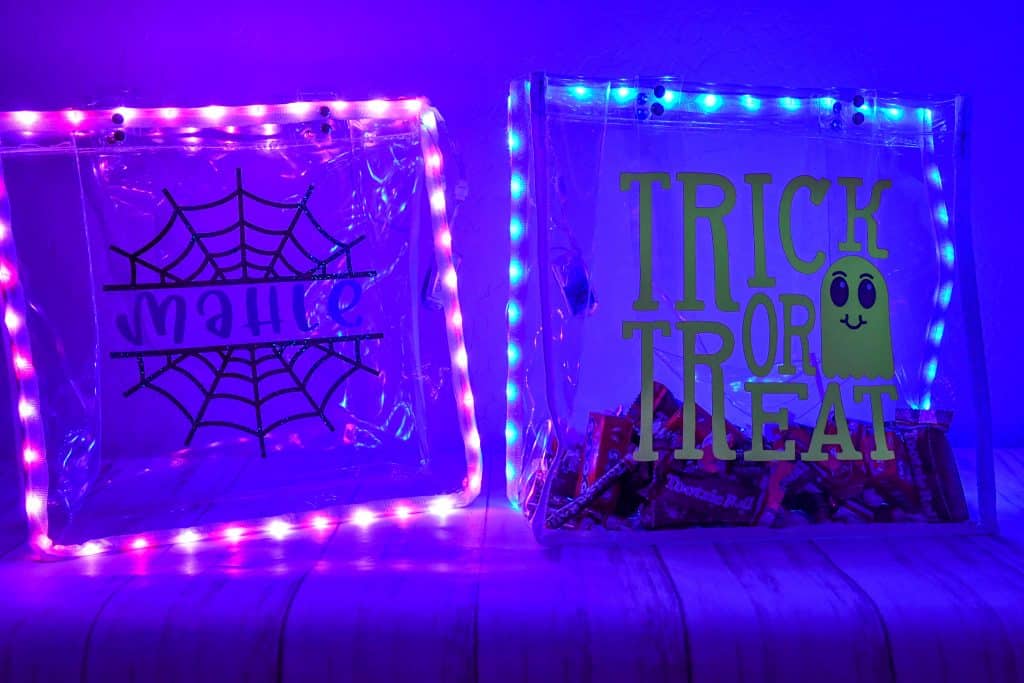
A few things with the LED Bags before we get started on the tutorial for these trick or treat bags. First, they come with EVERYTHING you need to make them light up. There is a battery pack that you connect to the bag and also a charging cable for the battery. You can use the charger cable with any USB wall outlet OR if you already have a USB to USB-C cable you can use that to charge these batteries too. My kids’ kindle chargers work great.
To get your bags to light up, connect all the prongs to the battery and press the button on the little white remote attached to the battery.
The LED Bags are made of vinyl plastic so you want to use ADHESIVE VINYL on the bags. If you use HTV or iron-on vinyl on them it will ruin the bags.
Where To Find Halloween Designs
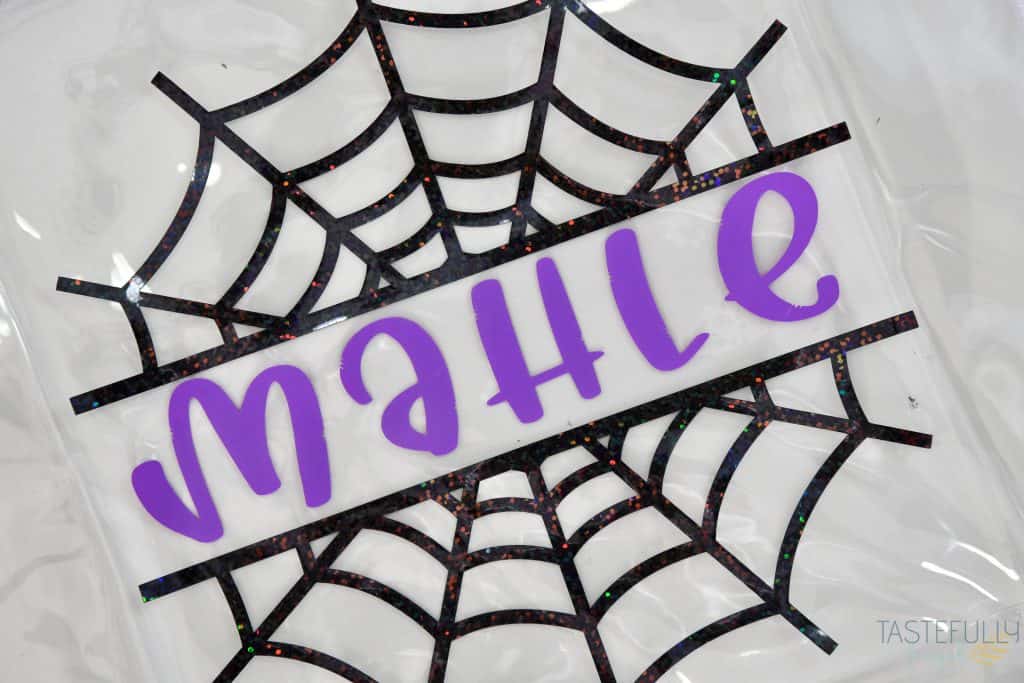
There are a ton of really fun Halloween designs in Design Space already. If you can’t find any you like in there, my favorite place to get SVG files and fonts is DesignBundles. They offer really great designs in bundles where you can get hundreds of designs for just a few dollars. Both of these designs are part of the Fall Craft Bundle Volume 4.
DIY Trick or Treat Bag Supplies
Not only is this a super fun project but it’s super easy too with very few supplies needed. You can use ANY adhesive vinyl on these bags. I chose to use Glow In The Dark Vinyl for the Trick Or Treat design and this StarCraft Magic for the Spiderweb bag. If you’re ordering from 143Vinyl use code GET5 to save 5% off your order. Other supplies used:
- LED Bag
- Transfer Tape (This is my FAVORITE transfer tape)
- Squeegee
- Weeding Tool
- Cricut Maker or Explore Air 2
- StandardGrip Mat
If you need to order Cricut supplies and you’re shopping on Cricut.com, use code SAVE10 to save 10% and get FREE shipping on all $50+ orders. That’s on top of the 10% discount Cricut Access members get automatically! Learn more about Cricut Access here.
DIRECTIONS
Upload images to Design Space. You can find the designs we used here.
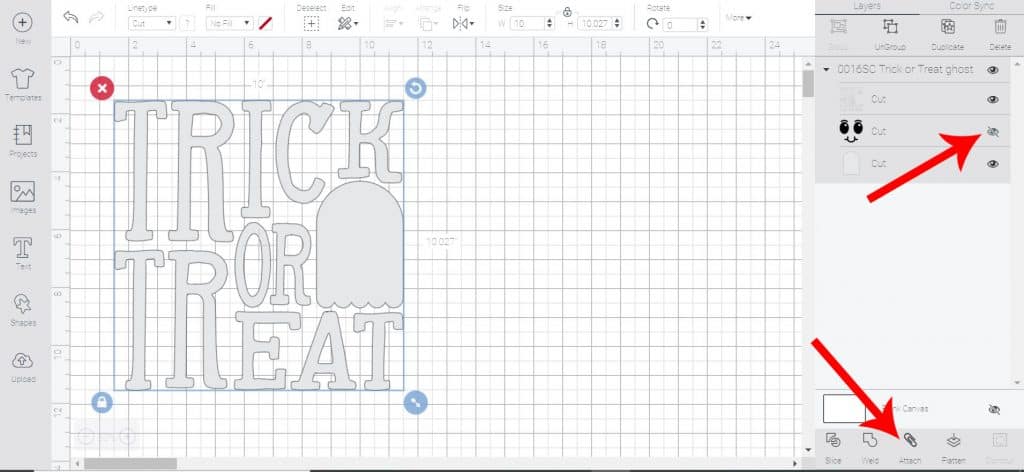
Once your designs are in Design Space, attach like colors so they are all cut together. In this case we are attaching the TRICK OR TREAT and the GHOST.
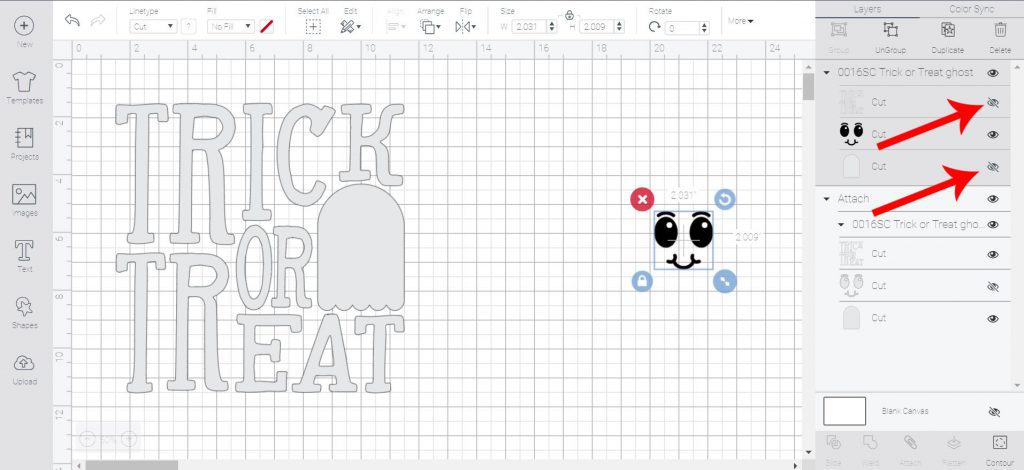
Add a second Trick or Treat Design and change the visibility of the trick or treat and ghost so only the eyes are showing. Move eyes over to the original ghost and trick or treat.
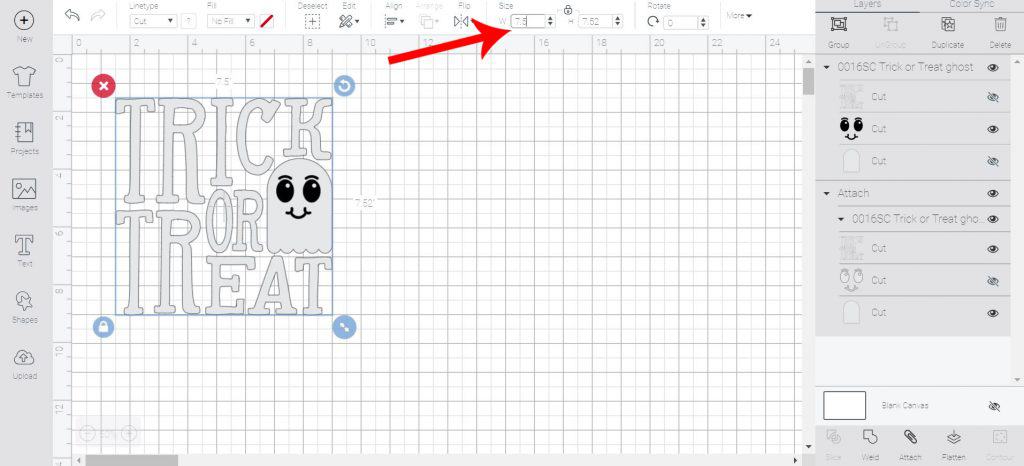
Resize designs. I have found 7.5″ wide is the perfect width for these bags. Click the MAKE IT button.
On the preview screen you’ll want to select your materials. You can’t use vinyl for the Magic or the Glow in the Dark vinyl. Use the following settings to get the BEST cuts:
- Glow In The Dark Vinyl – Premium Outdoor Vinyl MORE pressure
- Black StarCraft Magic – Holographic Vinyl DEFAULT pressure
- Purple Vinyl – Premium Vinyl DEFAULT pressure
Load your vinyl on your StandardGrip mat shiny side UP and load into machine. Press the flashing C light to begin cut.
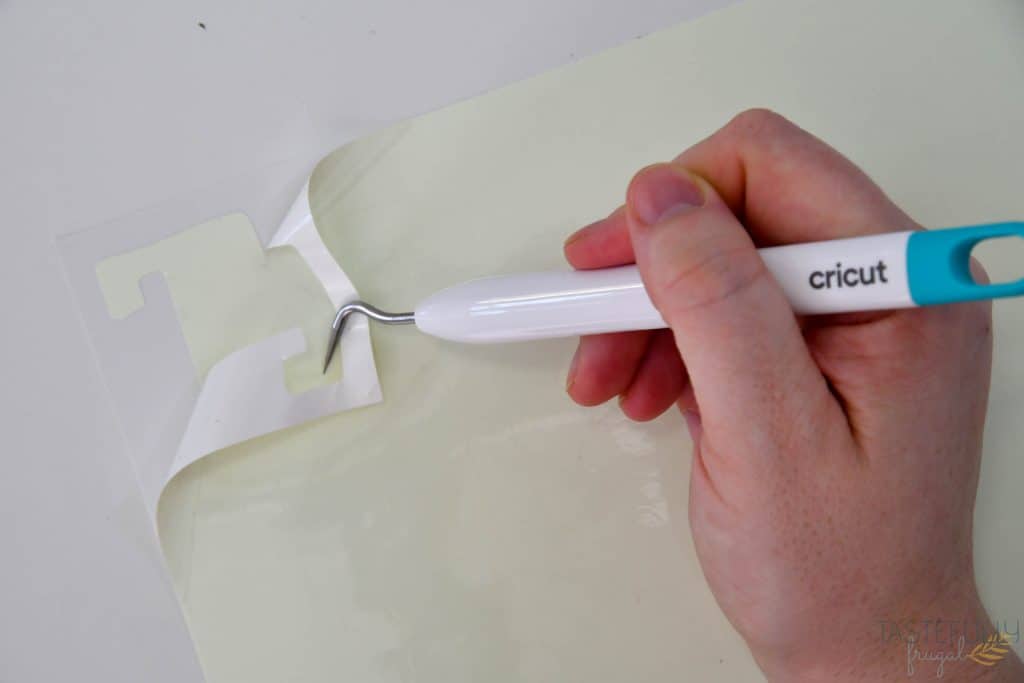
Weed excess vinyl.
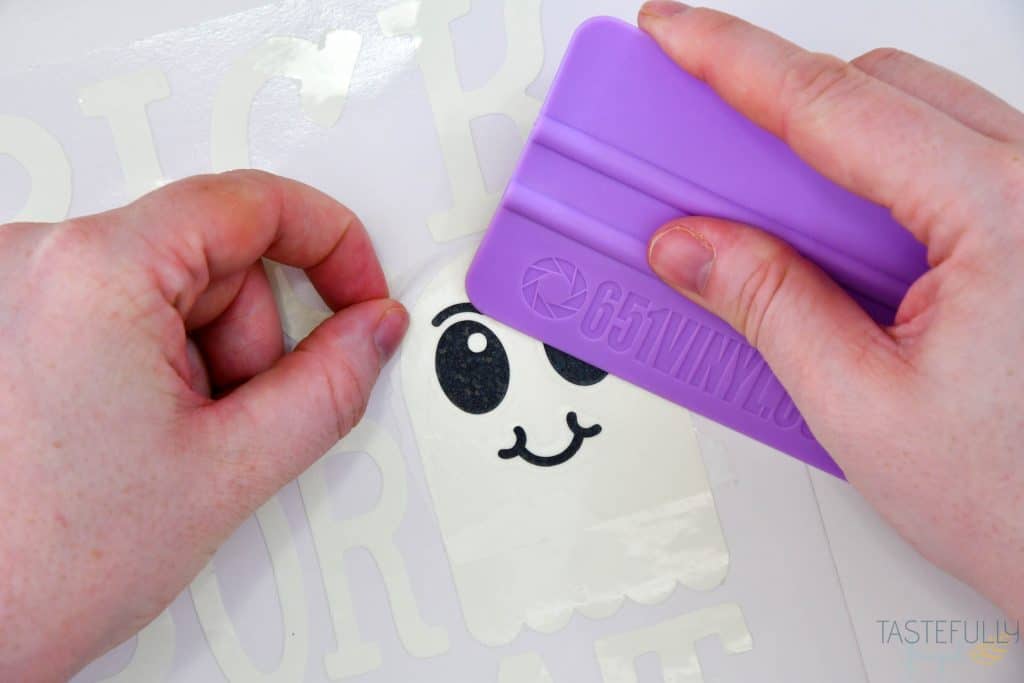
Use squeegee to apply transfer tape on to designs.
Have a little extra transfer tape on top of the backing of your design and use this as a hinge on your bag.
Line your design up on your bag measuring all 4 sides.
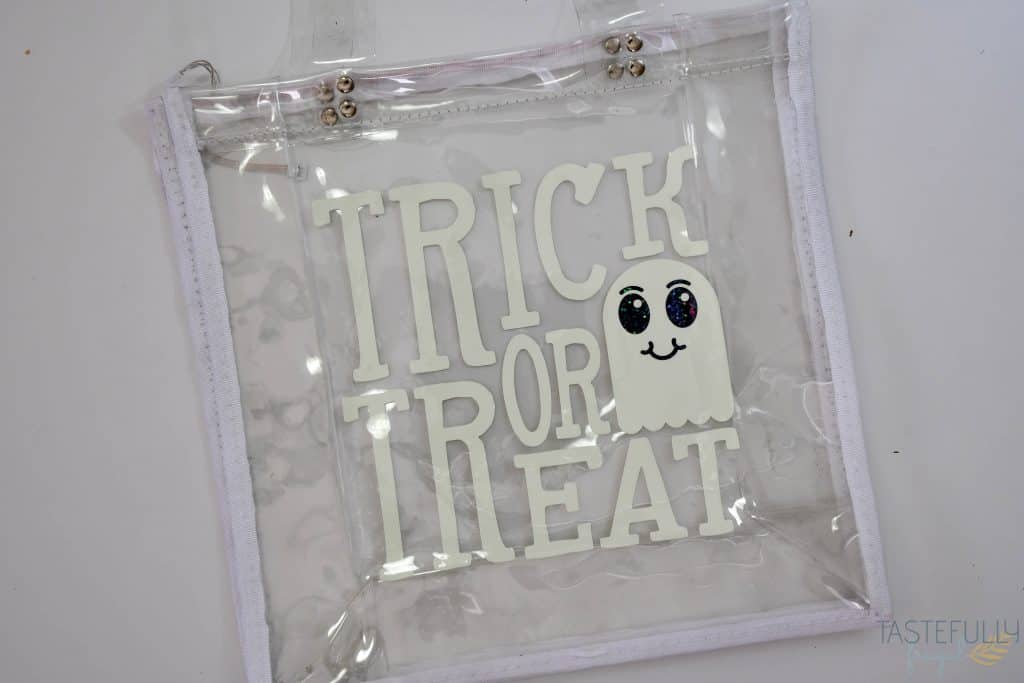
Lift up design and use squeegee on the back of the design backing. Peel off backing and slowly lay design on transfer tape on to bag.
Use squeegee to press design on bag and slowly peel away transfer tape starting at the top left corner.
DIY Trick or Treat Bag – Two Ways
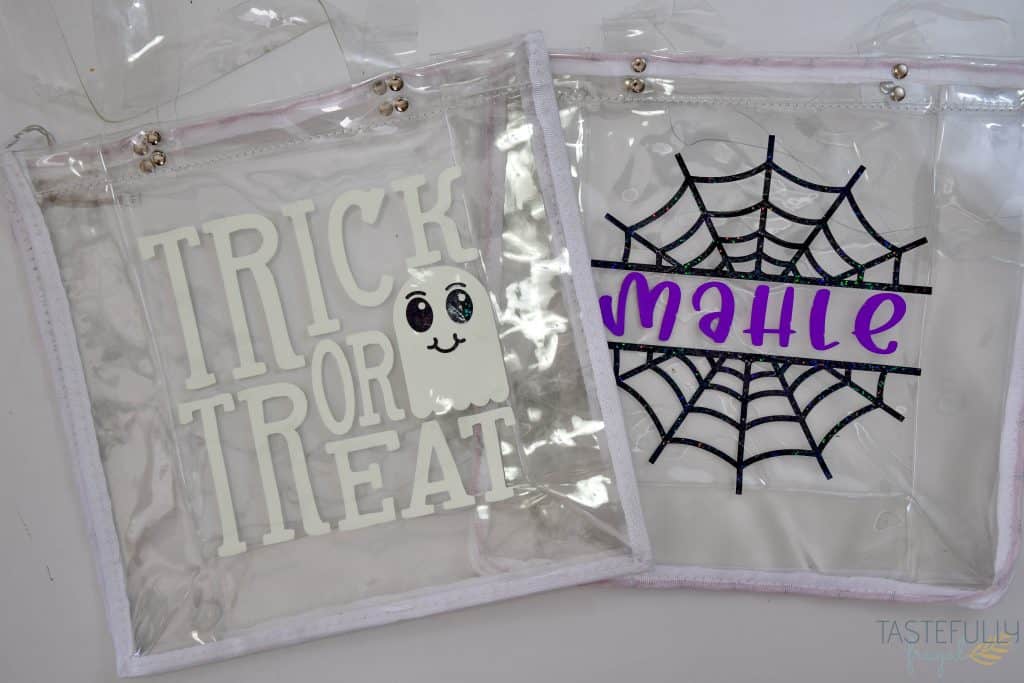
This is a quick and easy project perfect for both beginner and advanced crafters! These bags are are also great items to sell if you have, or thinking about starting, a custom shop. To learn more about how to make money with you Cricut, check out this post.
Make sure to subscribe to my YouTube channel to check out all the video tutorials. For more Cricut projects and tutorials, check out these posts. For tips, tricks and immediate help, be sure to join our FREE Cricut Support Group.


Leave a Reply