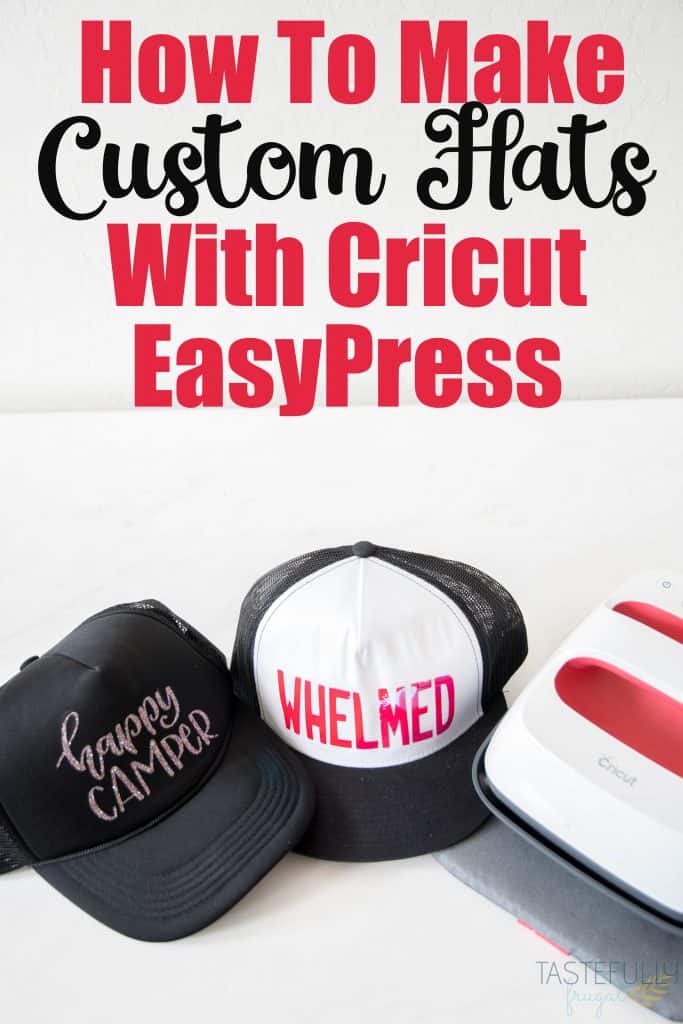
Make custom hats quickly and easily with the Cricut EasyPress 2.
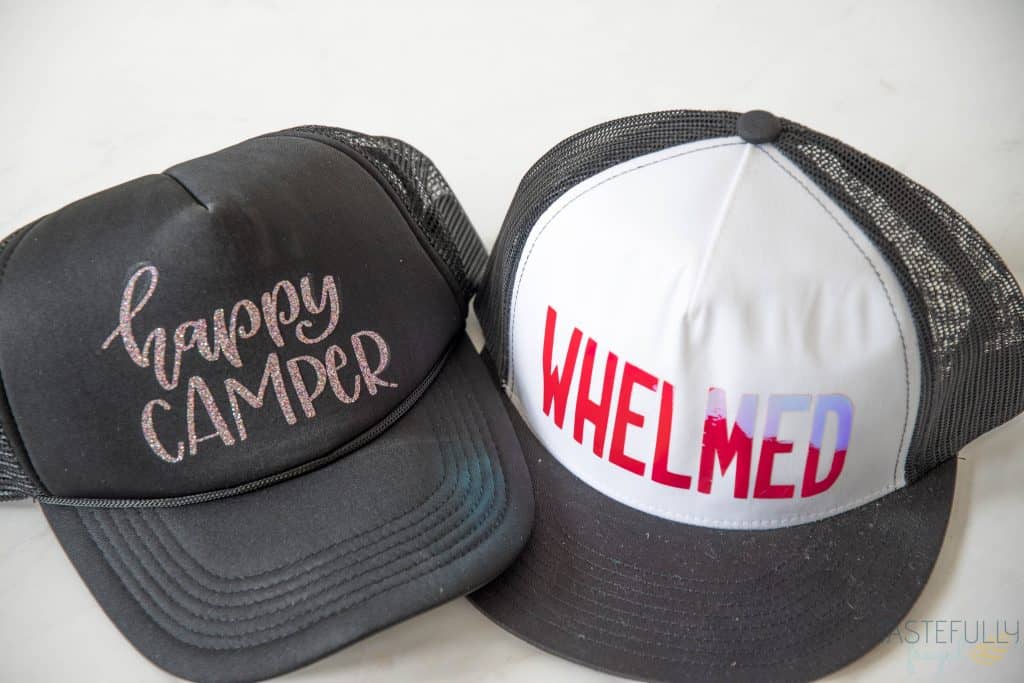
Last week we moved down to Arizona and we are loving it! The heat (high 90s) haven’t bothered us one bit but everyone keeps warning us about the heat that is too come. To be honest though, I will gladly take the 100+ days over snow ANY day! To be prepared for the hot summer days and inevitable laziness that is going to come on my part I decided to make some custom hats I can wear to hide that 3 (or 4 or 5) day old hair!
With my old heat press I had a hat attachment that was really easy to use. BUT I sold my heat press last year because I just didn’t use it anymore now that I have my EasyPress and EasyPress 2. I knew the 6″x7″ EasyPress 2 would make it easy to make hats again but I didn’t know how easy it would be! Thanks to the EasyPress mat I was able to make these hats in less than 5 minutes for all 3.
How To Store Your EasyPress 2
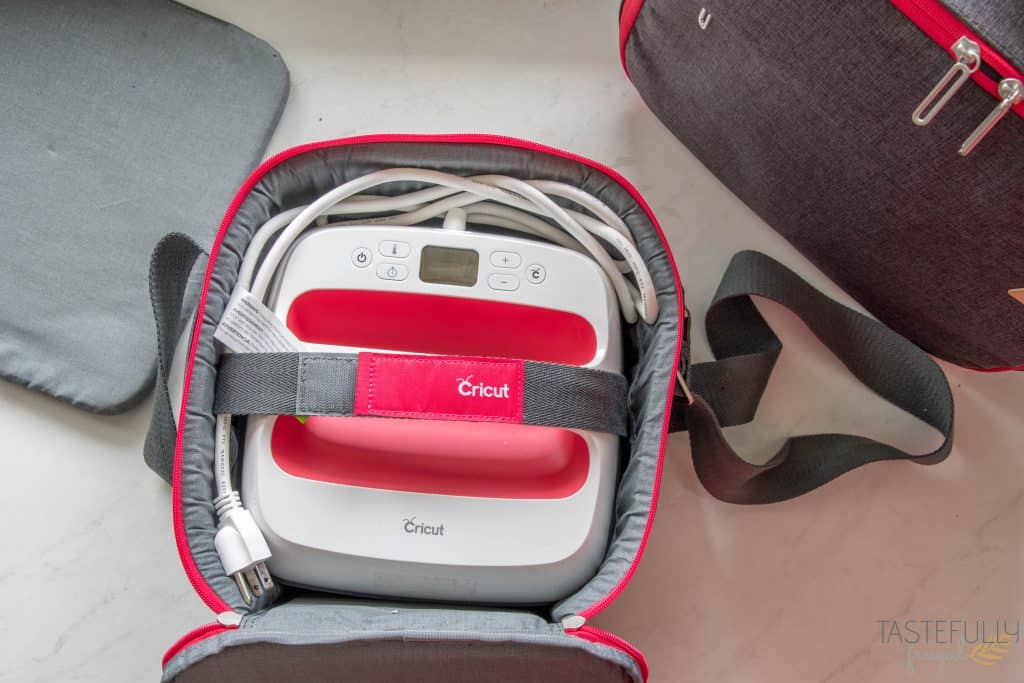
Two weeks ago I talked about the EasyPress Totes and how they are super helpful for not only storing your EasyPress machines but also how they store your most used iron-on vinyl supplies too. You can read more about it here. What I didn’t think about was how nice the totes were for moving your EasyPress machines too! I was able to fit all 4 of my machines (and their totes) in a moving box. They were easy to find once we moved (unlike the majority of my crafting supplies which are still in boxes) and even easier to setup in their new home.
How To Make Custom Hats With Your EasyPress
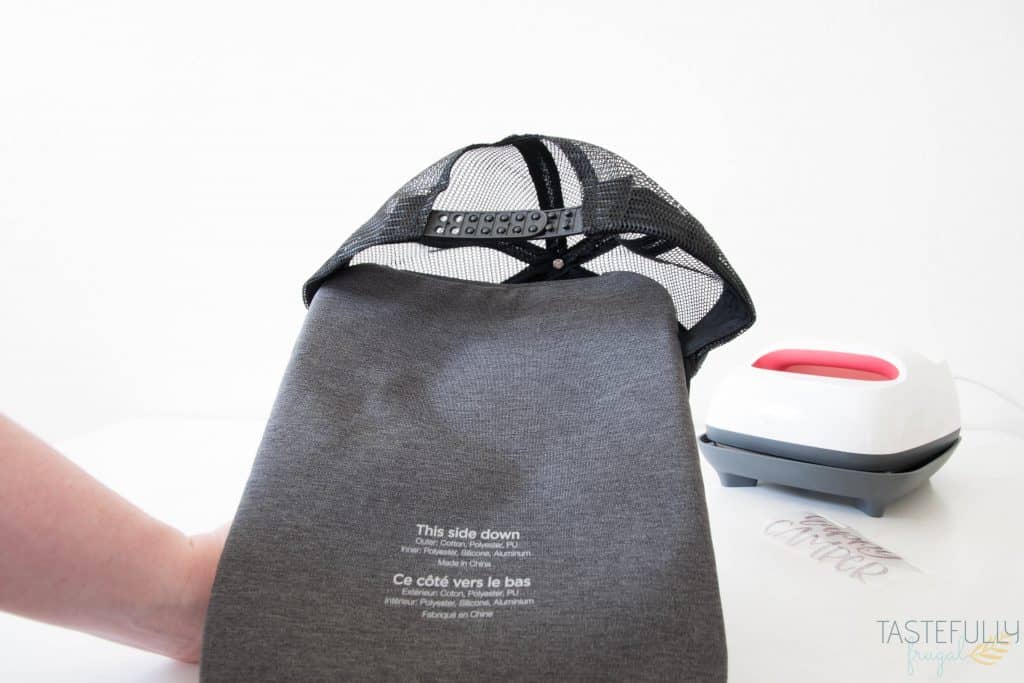
The key to making the hat making process quick and easy (and safe) is the EasyPress Mat. You use the EasyPress Mat on the back of the hat to not only protect your hand from the heat of the EasyPress 2 but also to keep the heat on the hat. This makes sure your iron-on vinyl sticks to your hat and doesn’t fall off.
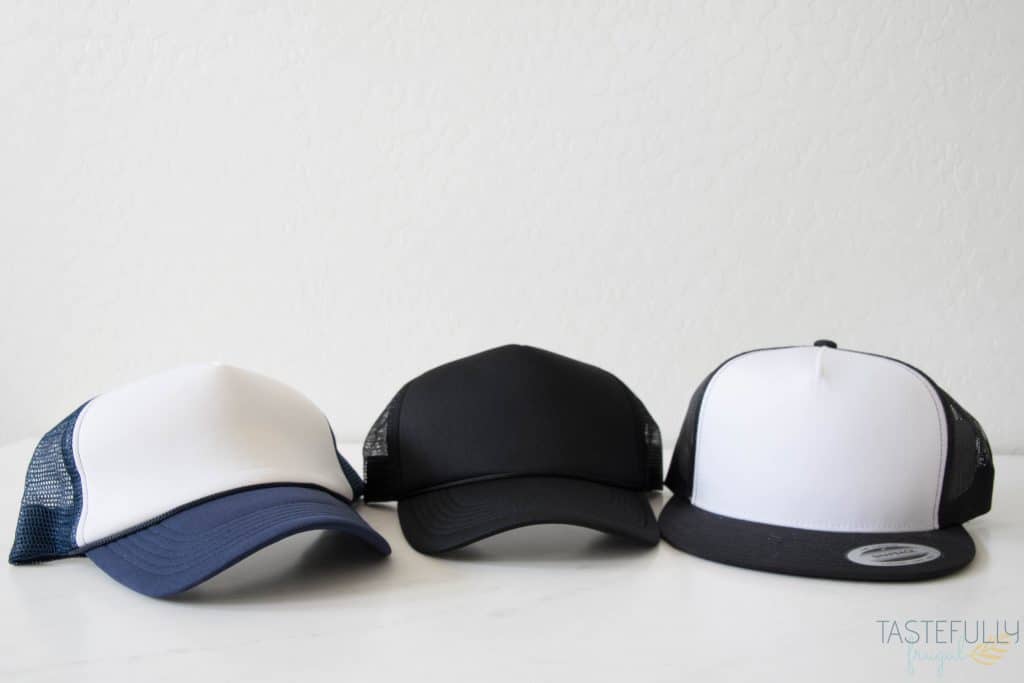
You also want to make sure you have a hat that has a flat front where you are pressing. If you use a hat that has a seam down the middle, the EasyPress (or any iron or heat press) might not be able to press down completely on your design.
You can find all three designs in Cricut Design Space HERE.
SUPPLIES:
Hats (these are the hats I used. I have used them in the past and love them)
Cricut Maker (or Explore Air machine)
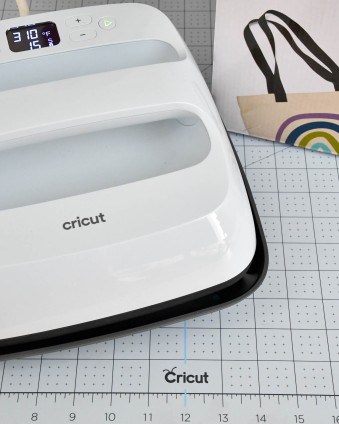
EasyPress 2 – The 6″x7″ is the perfect size for hats
EasyPress 2 Mat – I used the 8″x10″
If you are wanting to order from Cricut.com make sure to use promo code TF10 to get 10% off and score FREE shipping on orders over $50!
DIRECTIONS:
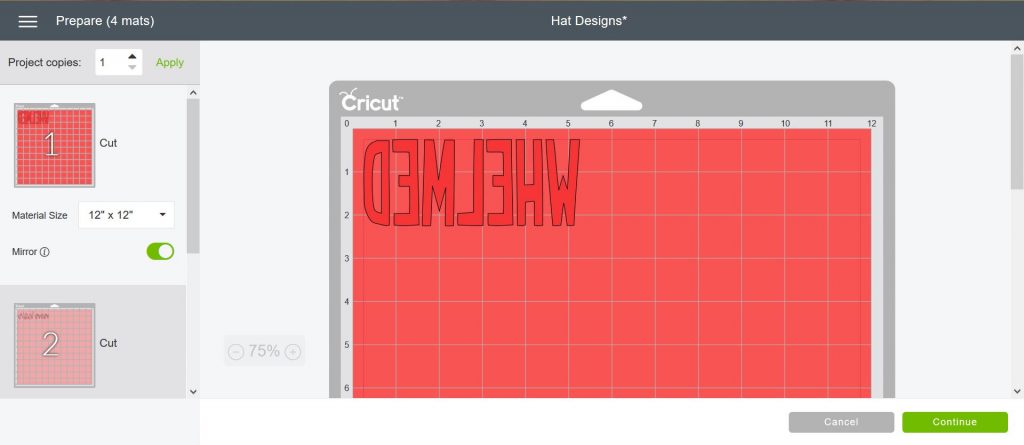
Open up design in Design Space and send to mat. ***MAKE SURE TO MIRROR YOUR IMAGE BEFORE CUTTING***
Load your iron-on vinyl on your mat shiny side up. Cut your design(s).
Weed excess vinyl.
Turn on your EasyPress 2 and set your time and temperature according to this chart. I set my EasyPress 2 to 330°F for all three of my hats and that temperature worked great on all of them.
Preheat your hat front for 5 seconds with EasyPress 2.
Line up your design in the center of your hat.
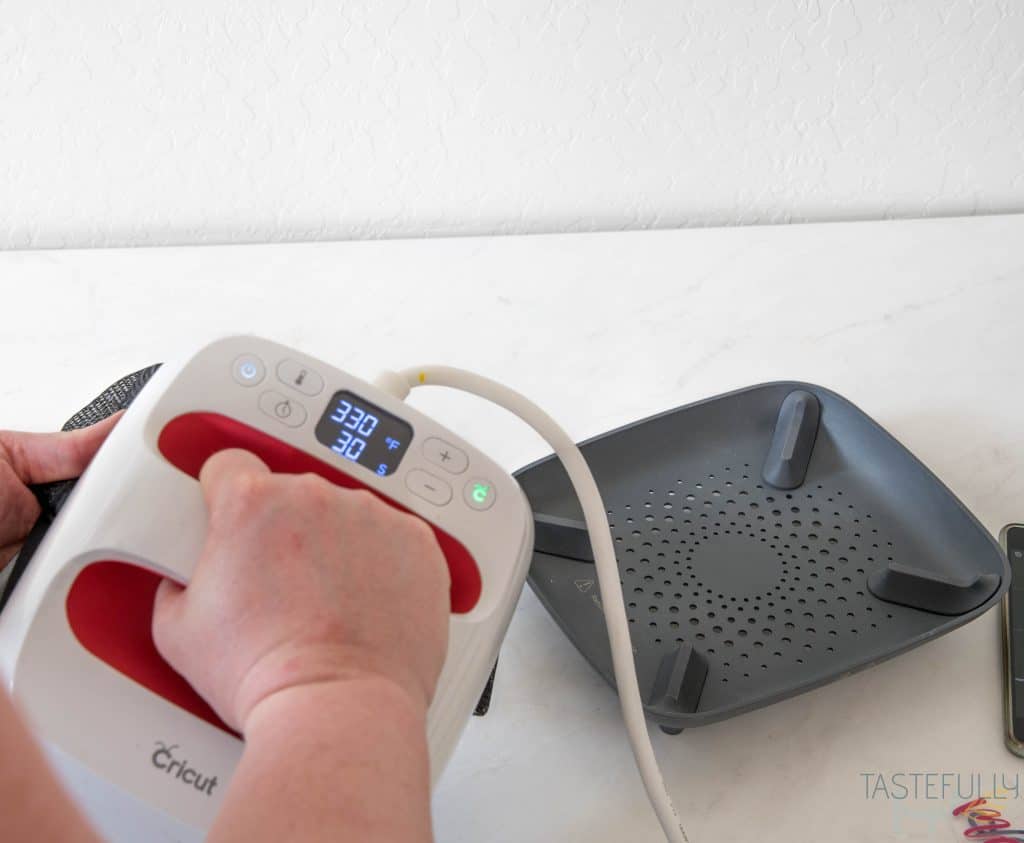
Press your EasyPress mat on the inside of your hat with your hand and use firm pressure to press your EasyPress 2 on the design on the front of your hat for 30 seconds.
Turn hat inside out, put EasyPress mat on the front of your hat on top of your design and press from the back with your EasyPress 2 for 15 seconds.
Turn hat back right side and slowly peel from an angle. ***NOTE if you are using foil, holographic or SportFlex Iron-On you may need to do a cold peel. You can see what the recommended peeling times are here.***
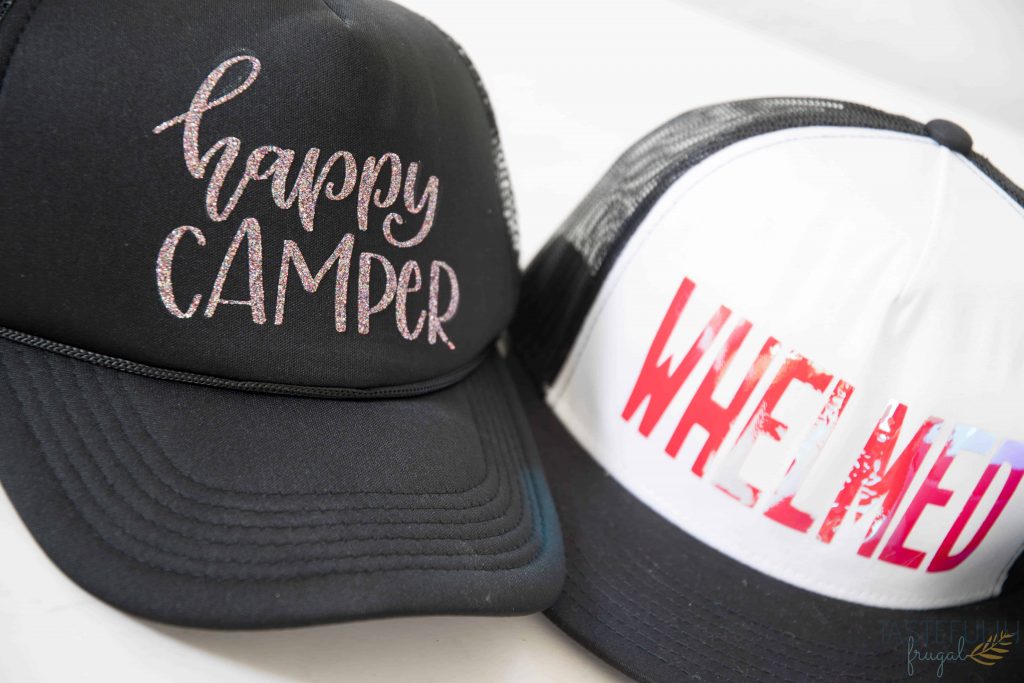
Have you ever put iron-on vinyl on hats before? If you have what designs have you done? If you haven’t what designs do you WANT to do?!
Want to check out more ways you can use your Cricut check out these posts! Need help with your Cricut? Join our Cricut Support Facebook Group!
This is a sponsored conversation written by me on behalf of Cricut. The opinions and text are all mine.


Courtney Beatey says
Where can I find the hats you use? It seems your link is missing. Thanks!
Sydney says
Hey Courtney! I’m so sorry. I updated the post with hats I’ve used that I like and this is the exact hat I used for this project https://amzn.to/2TlhN7s
monory says
This article includes a guide also with the product that will be very helpful for you. Thank for sharing