Learn how to make these fun Disney Villain Crafts with your Cricut and Foil Transfer Kit!
This is a sponsored post written by me on behalf of Cricut for Cricut. All opinions are 100% mine.
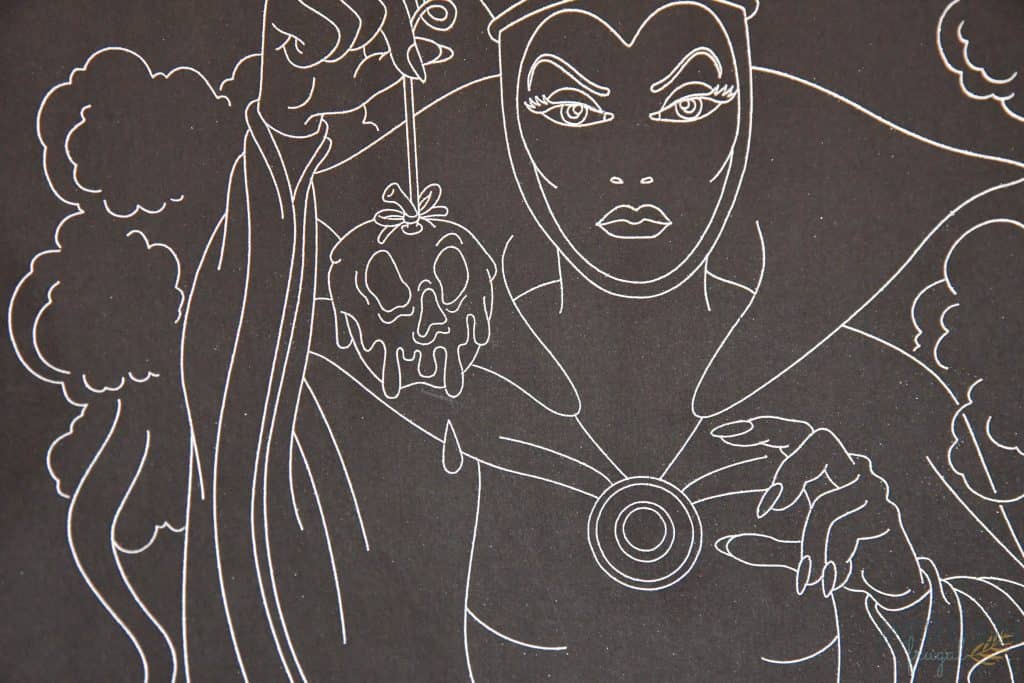
One of my favorite guilty pleasures is anything and everything Disney Villains. It’s a new found love that started when my kids found Descendants on Disney Plus this spring and I may have gone down a rabbit hole watching all the villain movies and spin-offs. So when I found this Disney Villains image set in Cricut Design Space I was so excited and knew they would be the perfect images to use with the new Foil Transfer Kits! And of course to make some Disney Villain crafts!
What is the Cricut Foil Transfer System?
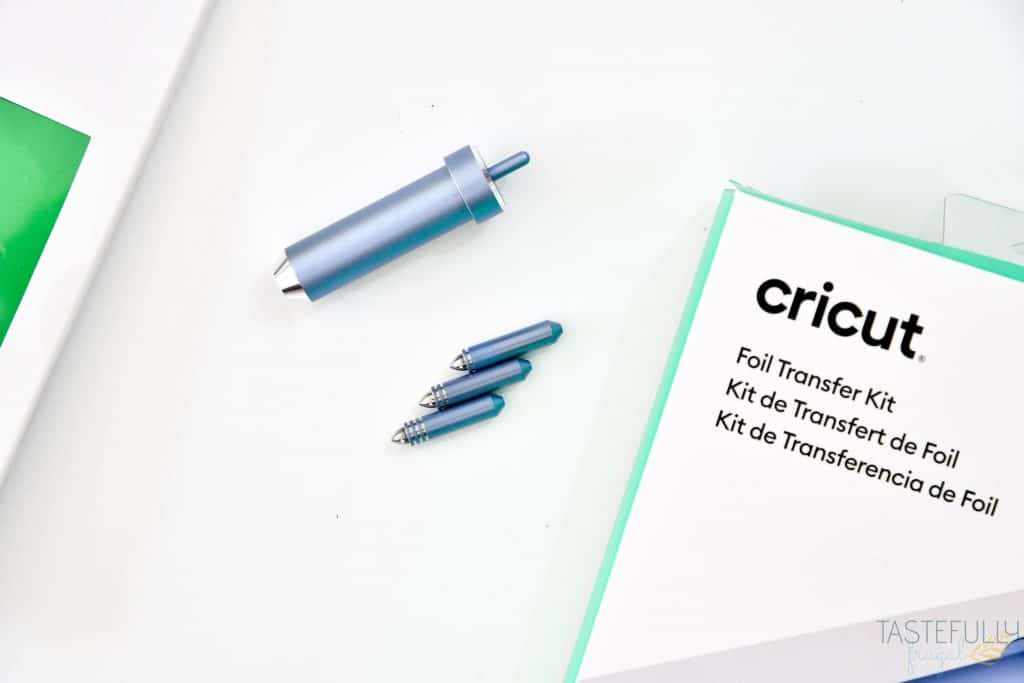
If you missed the announcement, Cricut launched the Foil Transfer System that works on Maker AND Explore machines! It’s 3 tools in 1 that allows you to add foil embellishments quickly and easily to your projects. You can learn more about the Foil Transfer system and tips and tricks for how to use it in this post and YouTube video.
What Can You Use the Foil Transfer Kit on?
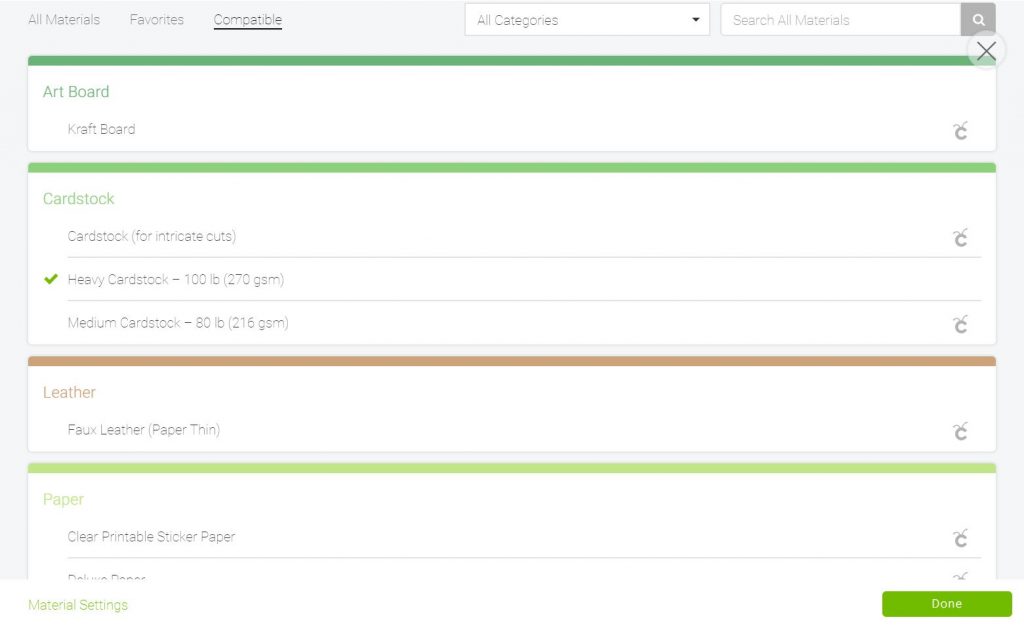
There are currently over a dozen different materials you can use with the foil transfer kit including cardstock, acetate, vellum and even faux leather. For today’s projects I’ll show you how to use the foil sheets on both cardstock and faux leather.
One of my favorite things about the foil transfer system is how easy it is to use and the process doesn’t change much no matter what material you are using it on!
How To Choose the Best Designs to Use with Foil for Disney Villain Crafts?
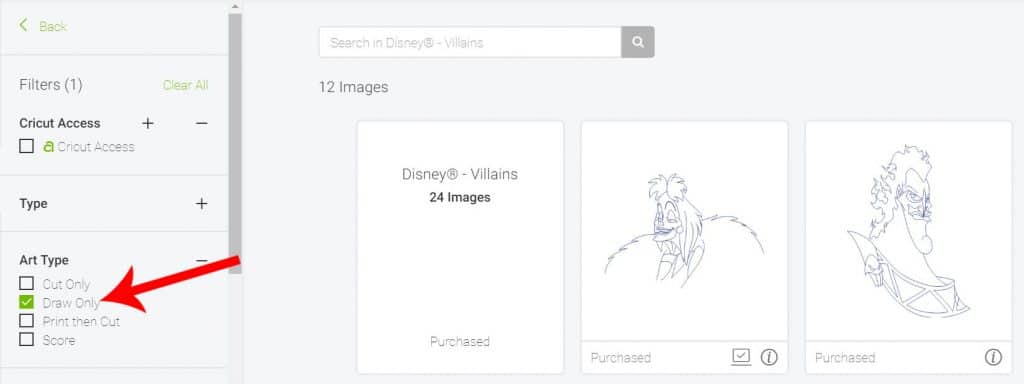
The best designs that work with the foil transfer kit are designs that are single line images. When you’re looking for designs in Design Space, you can filter your designs by DRAW ONLY to see the designs that work best with both the foil kit as well as Cricut pens.
Check out the YouTube video below to see how to make all the Disney Villain Crafts!
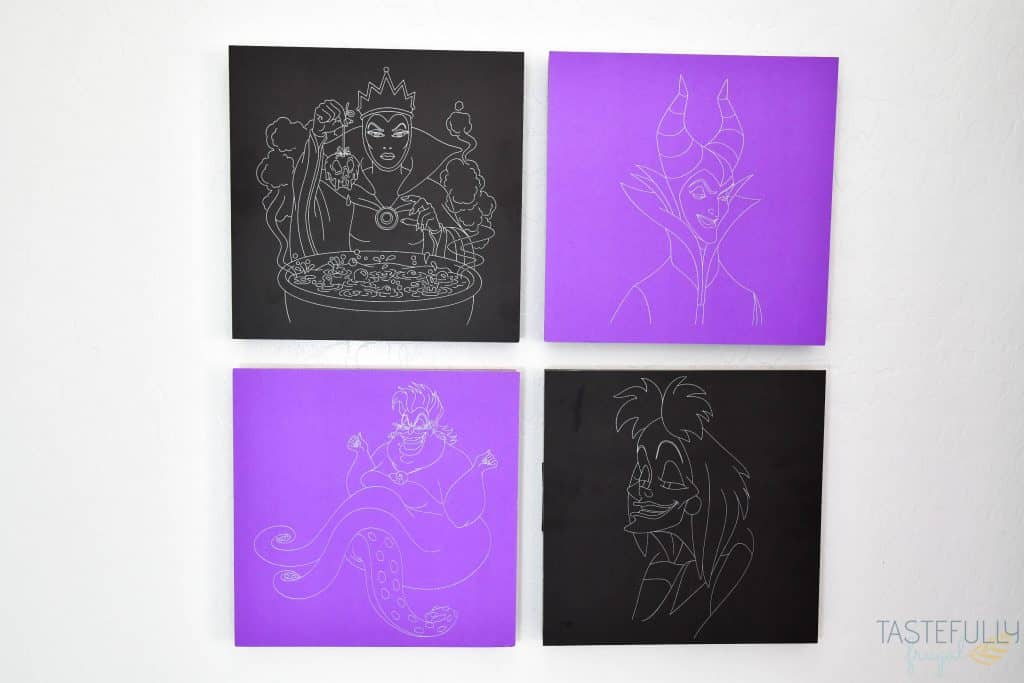
How To Make Disney Villain Art
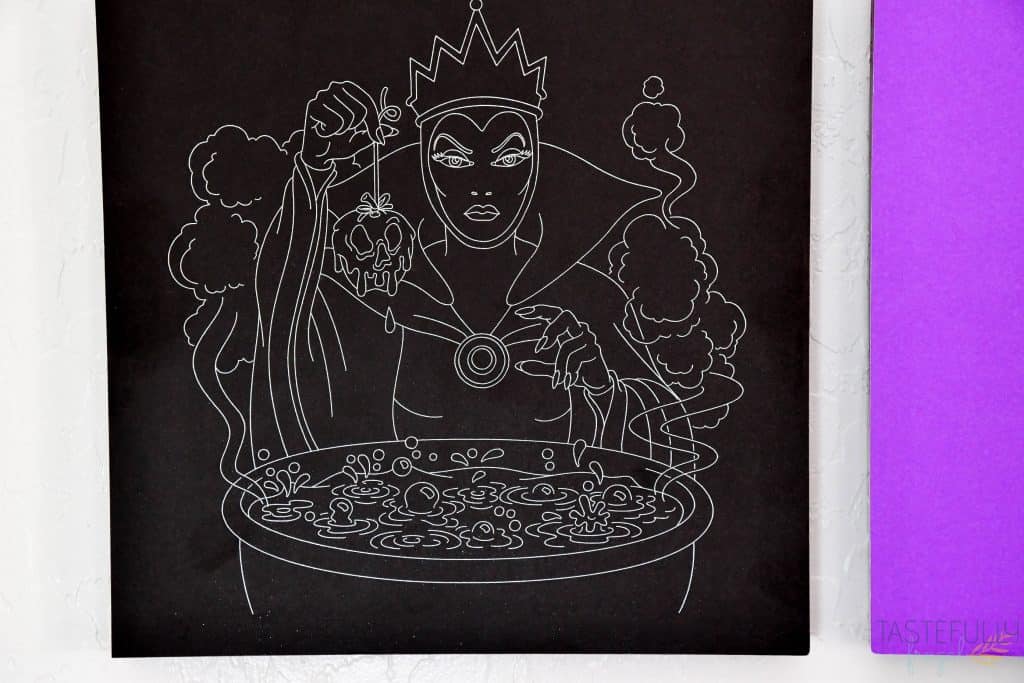
I started my villain craft projects with a super easy wall art collage. They were so easy to make I absolutely love the finished project and how the foil adds the perfect amount of sparkle to the design. And you really only need 5 things to make them:
- Wood plaques (I got mine at Walmart)
- Spray Paint (I love Krylon brand because it goes on smooth and dries quickly. I used a satin finish)
- 12×12 Cardstock
- Foil Transfer Kit and Silver 12×12 Foil Sheets
- Mod Podge
- Cricut Maker or Explore Air 2
- StandardGrip Mat
When you’re shopping on Cricut.com, use code SAVE10 to save 10% and get FREE shipping on all $50+ orders. That’s on top of the 10% discount Cricut Access members get automatically! Learn more about Cricut Access here.
DIRECTIONS:
Paint the edges of your wood plaque and let dry while you make your villain foil designs. Make sure you let your plaques dry for at least 30 minutes before attaching the designs.
If you want to make this exact design, you can open up this design in Cricut Design Space and skip ahead to the cutting/foiling steps.
Search Image Sets for VILLAIN. Select the Villain Designs you want and click insert.
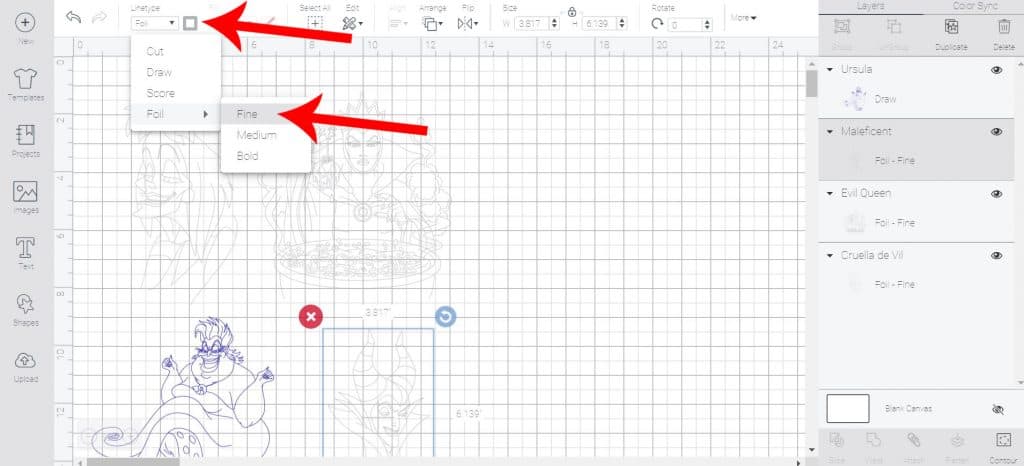
Change the line type from CUT to FOIL. I selected fine point for these designs and I love how it looks. You could totally do medium or bold too with this big of a design. Also, change the color in the box next to Line Type to SILVER.
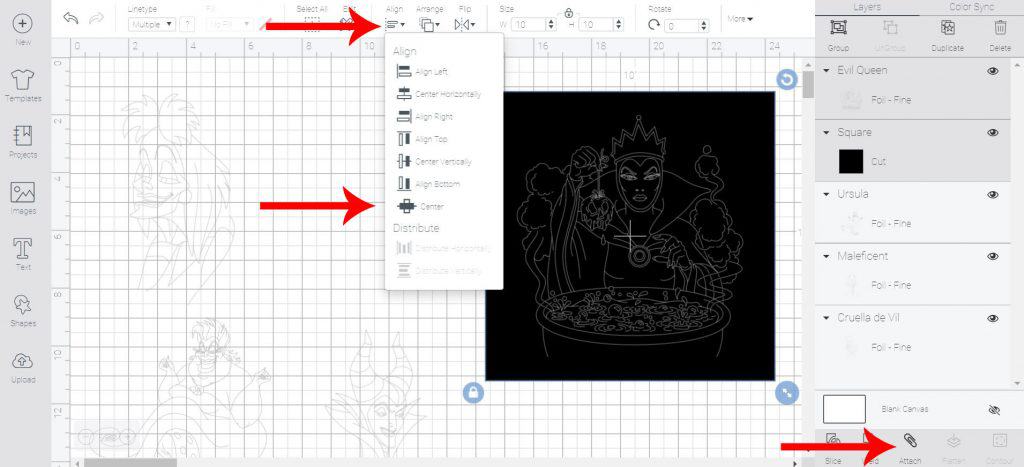
Add a 10×10 square to your canvas and arrange your villain design on top of the square. Select both the villain design and square and click ALIGN CENTER. Once it’s aligned you’ll want to click ATTACH in the bottom right toolbar to attach.
Repeat previous two steps with other villain designs. Click MAKE IT when you’re ready to cut/foil. You don’t need to do anything on the preview screen so just click continue to go to the last screen.

Select your machine and material from the drop down menu. You’ll want to select HEAVY CARDSTOCK.
Directions for setting up and cutting with foil transfer kit
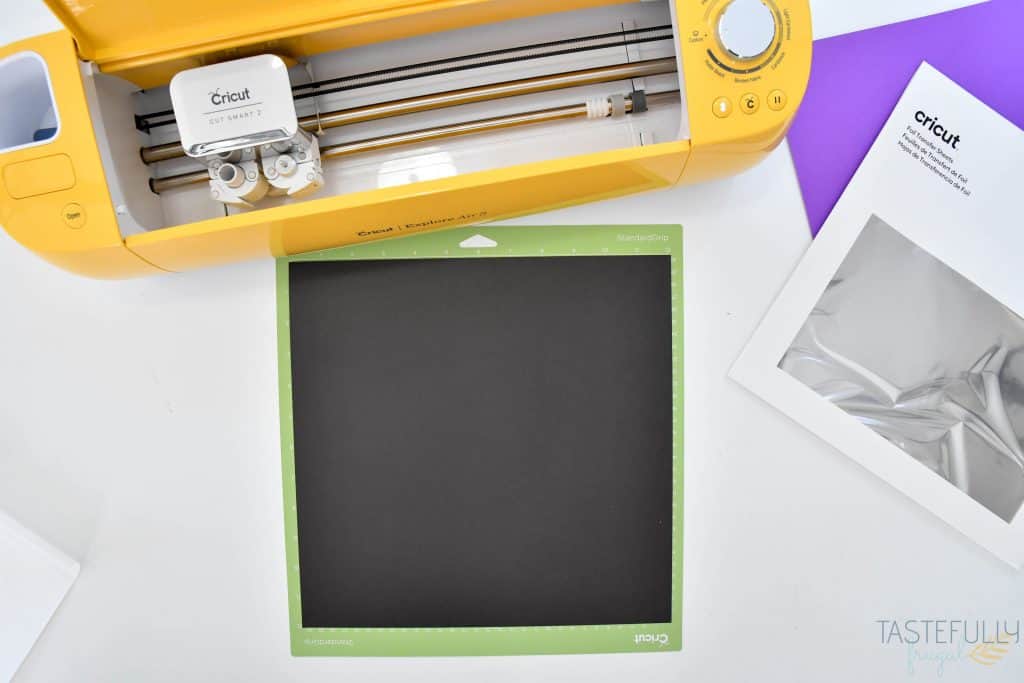
Load your cardstock on to your StandardGrip mat.
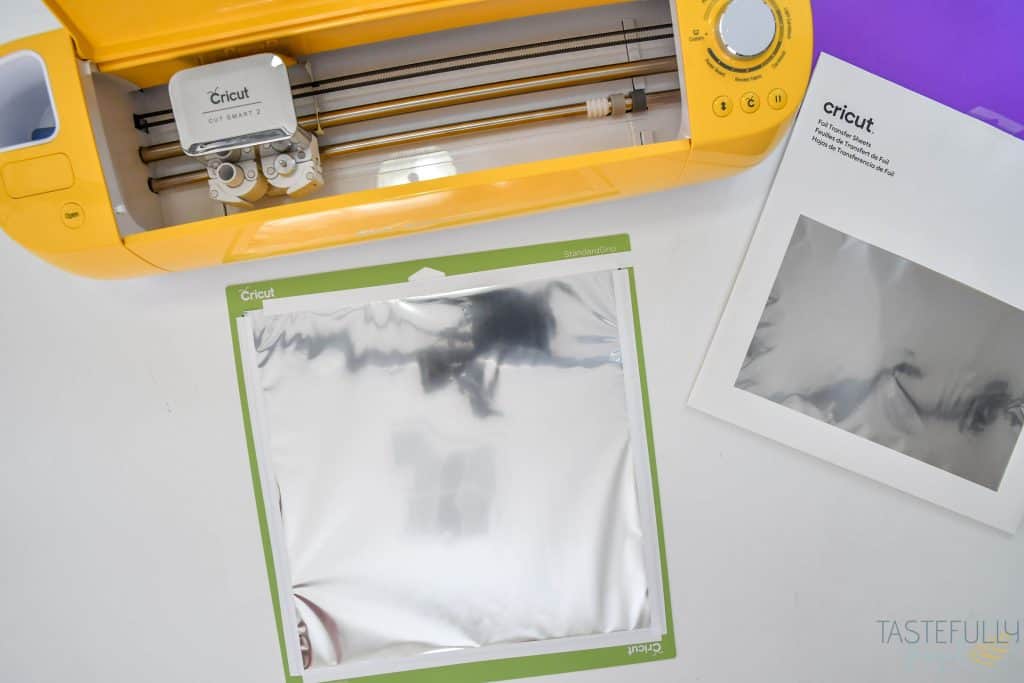
Tape your foil down on top of your cardstock. ***TIP – Make sure your foil is taped as tight as possible to your base so it doesn’t pull the tape off when the foil tip is creating the design. To do this, I found it easiest to fold the tape in half and put it down in the middle of one edge, then press it outwards one side at a time.
Once cardstock and foil are on mat, move your star wheels on your machine all the way to the right so they don’t ruin your design and load your mat into your machine.
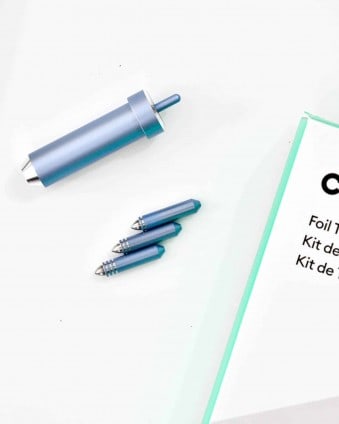
Load the foil tip into the B clamp and click the flashing C button to start the foil process.
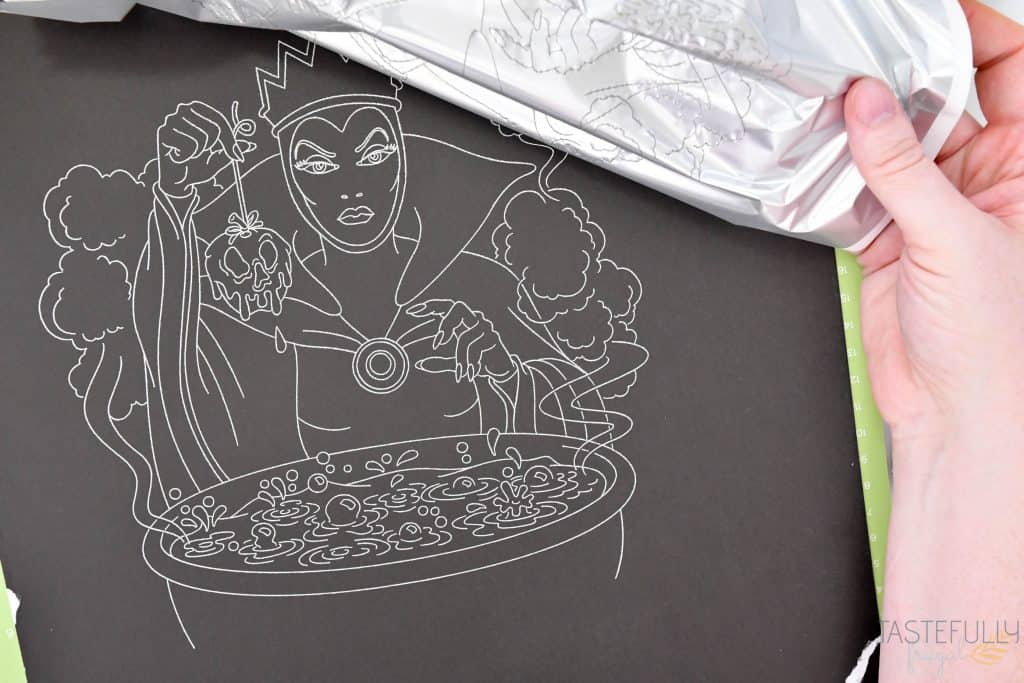
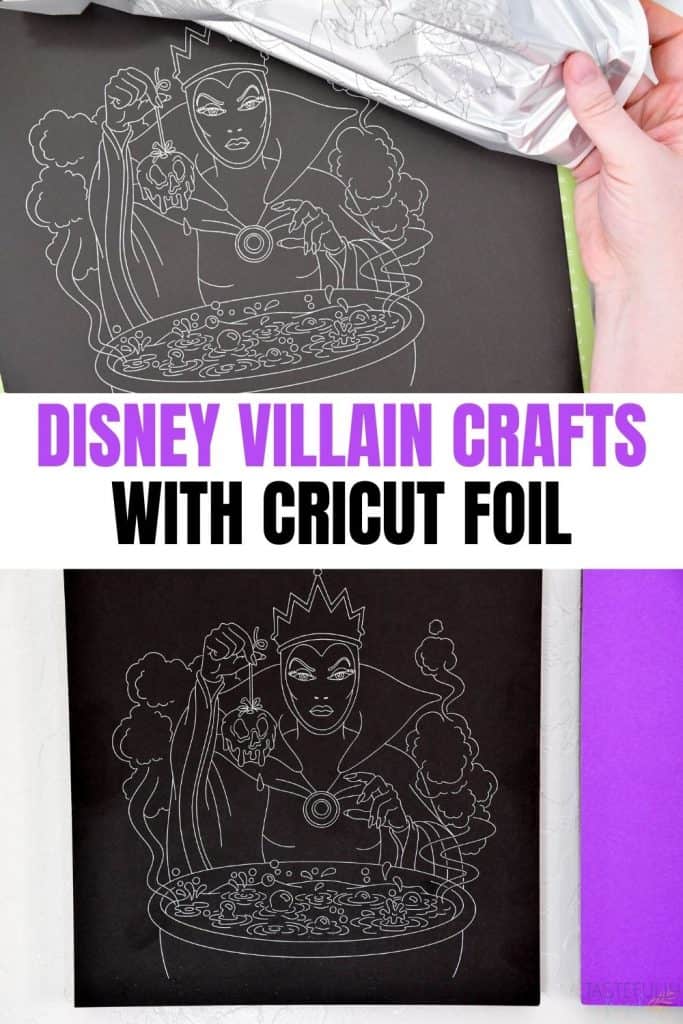
Once the foil process is done you’ll notice the arrow light blinking DON’T UNLOAD YOUR MAT. Peel the foil and tape off of your cardstock, remove the foil tip from the B clamp and load your fine point blade into the B clamp. Press the flashing C button to cut out your design.
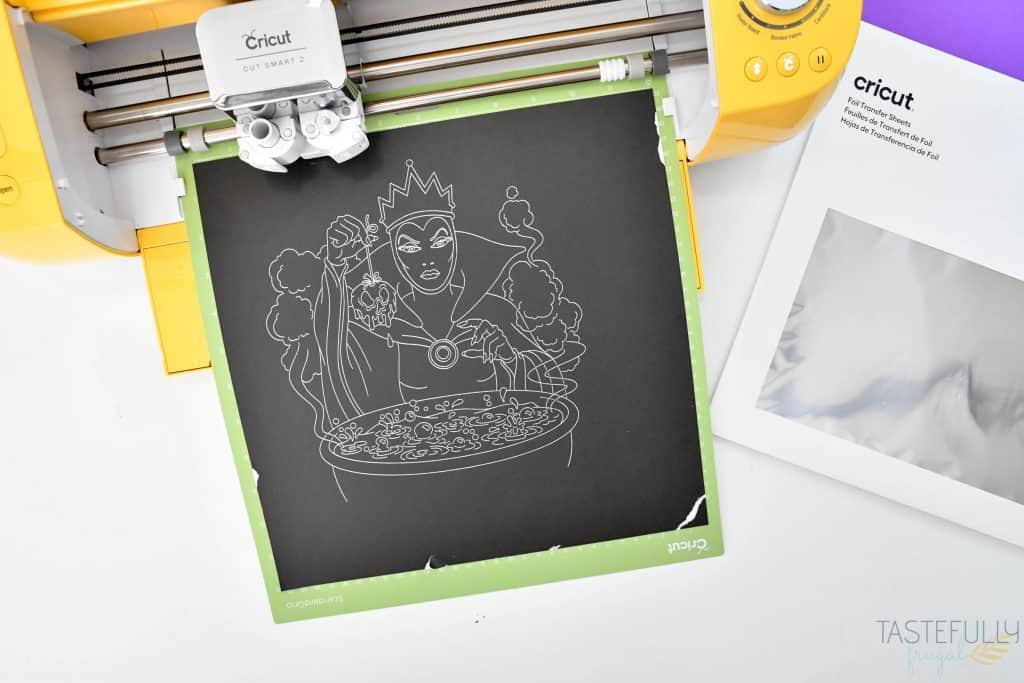
When your Cricut is done cutting, click the flashing arrow button to unload your mat and remove your cardstock foil design from your mat.
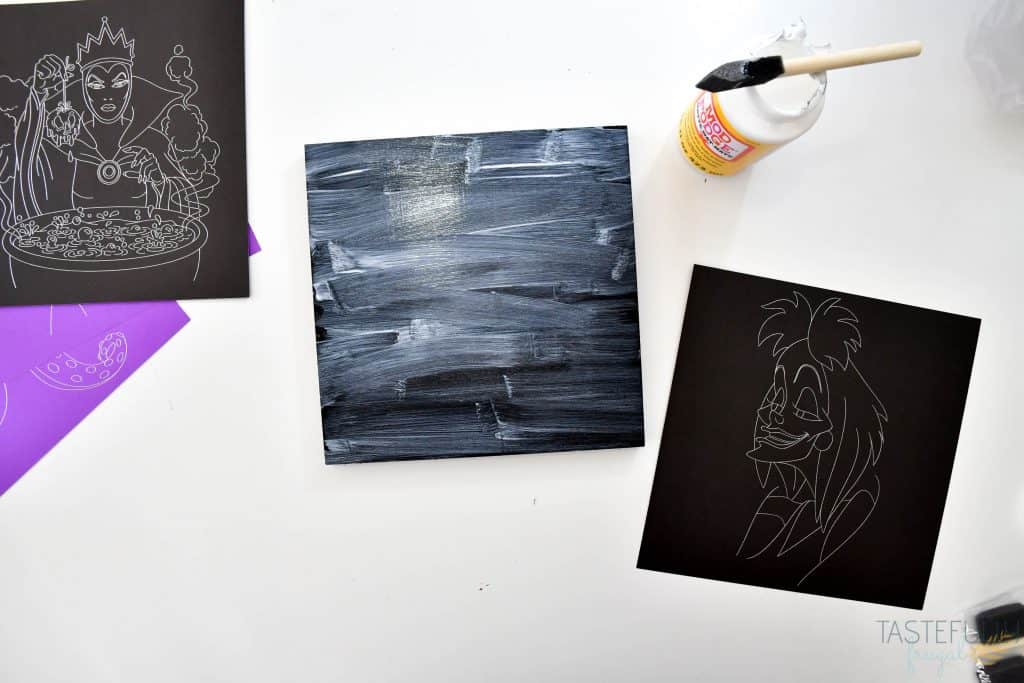
Use a sponge brush to apply a thin layer of mod podge to the top of the wood plaque and attach your cardstock to the plaque. Use a heavy book (or cardstock paper pad) to put pressure on top of cardstock to help it secure to the wood. Let it sit for about 30 minutes.
How To Make Disney Villain Jewelry
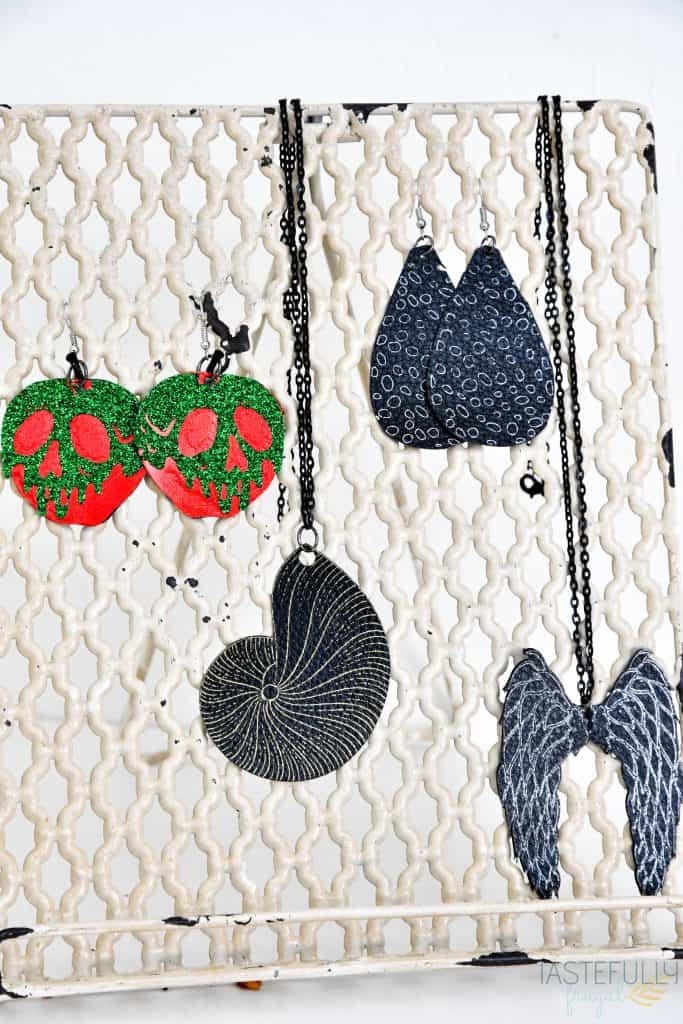
This is another super easy fun project that is perfect for Disney Villain fans! Just like the art project above it doesn’t require a lot of supplies and is something you can make in 30 minutes or less!
- Black Faux Leather
- Jewelry Hardware (you’ll need chain for the necklaces and earring hardware for the earrings)
- Jewelry pliers
- Cricut Foil Transfer Kit – the foil sheets you’ll need for these come with the transfer kit!
- Cricut Maker or Explore Air machine
- StandardGrip Mat
DIRECTIONS:
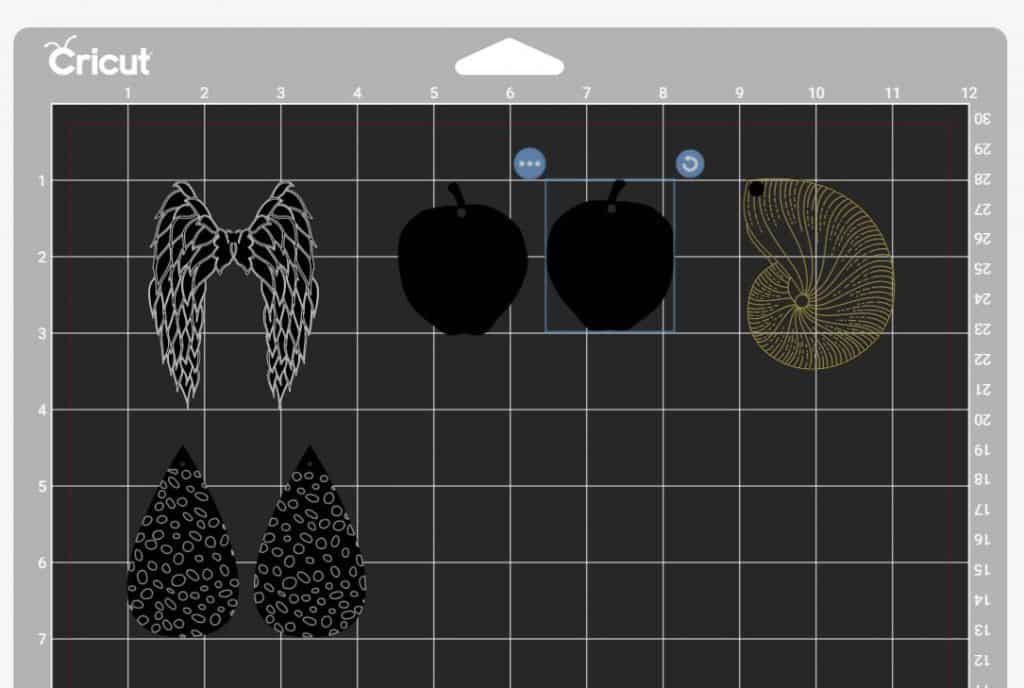
Open up this design in Design Space and click Make It. On preview screen, move the seashell design over to the right corner so you can load both the silver and gold foil sheets at the same time. ***TIP – Make sure your designs are at least one inch from the edge of the mat so that you have room to tape the foil sheets down to your faux leather.
On the next screen you’ll want to select your machine and then select FAUX LEATHER from the materials drop down menu.
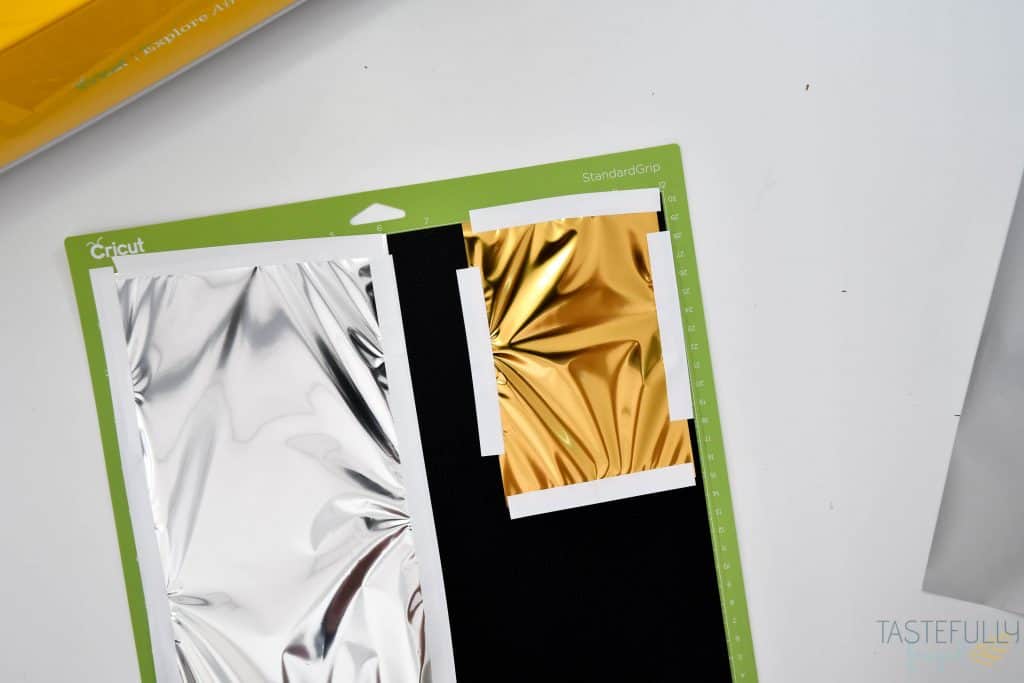
Put your faux leather pebbled side up on your StandardGrip mat. Tape your silver foil sheet to the top left corner and the gold sheet to the bottom right corner. Use the preview screen to make sure you have your foil sheets lined up with where the designs will be pressed with foil.
Once faux leather and foil are on mat, move your star wheels on your machine all the way to the right so they don’t ruin your design and load your mat into your machine.
Load the foil tip into the B clamp and click the flashing C button to start the foil process.
Once the foil process is done you’ll notice the arrow light blinking DON’T UNLOAD YOUR MAT. Peel the foil and tape off of your faux leather, remove the foil tip from the B clamp and load your fine point blade into the B clamp. Press the flashing C button to cut out your design.
When your Cricut is done cutting, click the flashing arrow button to unload your mat and remove your faux leather foil design from your mat.
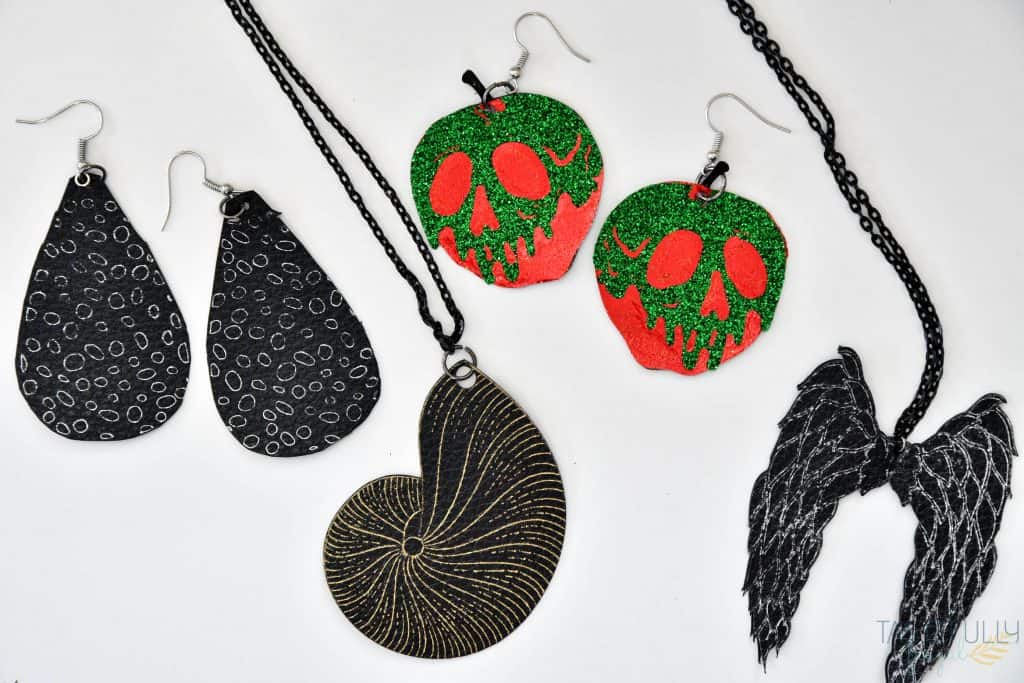
Use jewelry pliers to attach earrings and necklaces to jewelry hardware.
Easy Disney Villain Crafts
Both of these crafts are super easy to make for both beginner crafters and more advanced crafters too! And the perfect craft to make when you’re watching your favorite Villain shows! Who is your favorite Disney Villain? If you’d like to order your foil transfer kit you can buy it here. Remember you can use code SAVE10 on $50+ orders on Cricut.com.
Make sure to subscribe to my YouTube channel to check out all the video tutorials. For more Cricut projects and tutorials, check out these posts. For tips, tricks and immediate help, be sure to join our FREE Cricut Support Group.


Leave a Reply