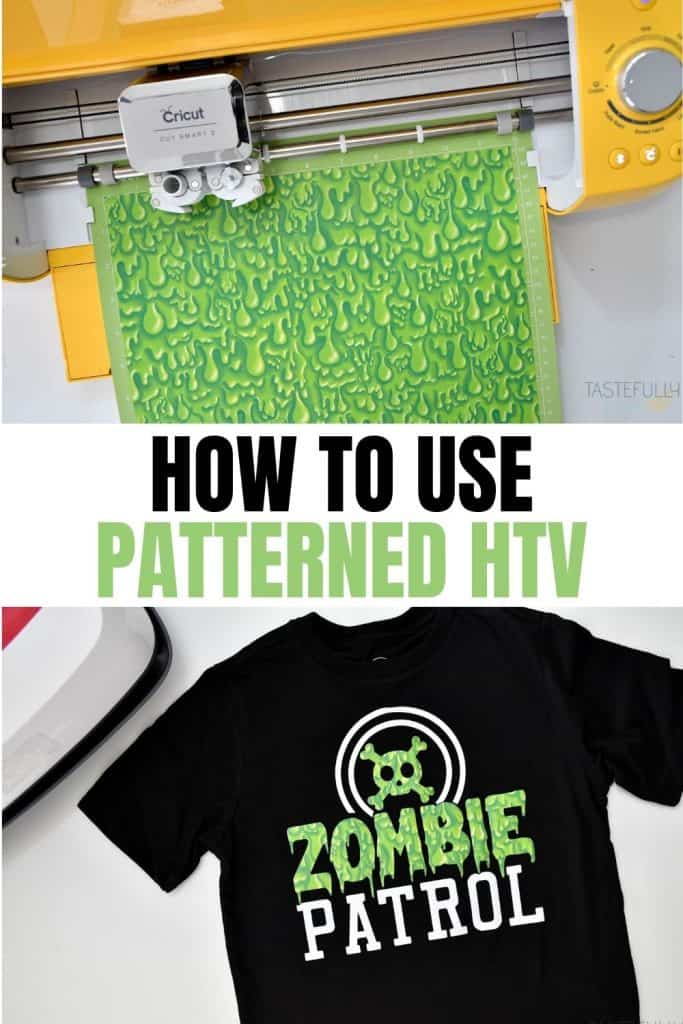
Learn how to use patterned HTV with your Cricut machine to make fun, custom shirts!
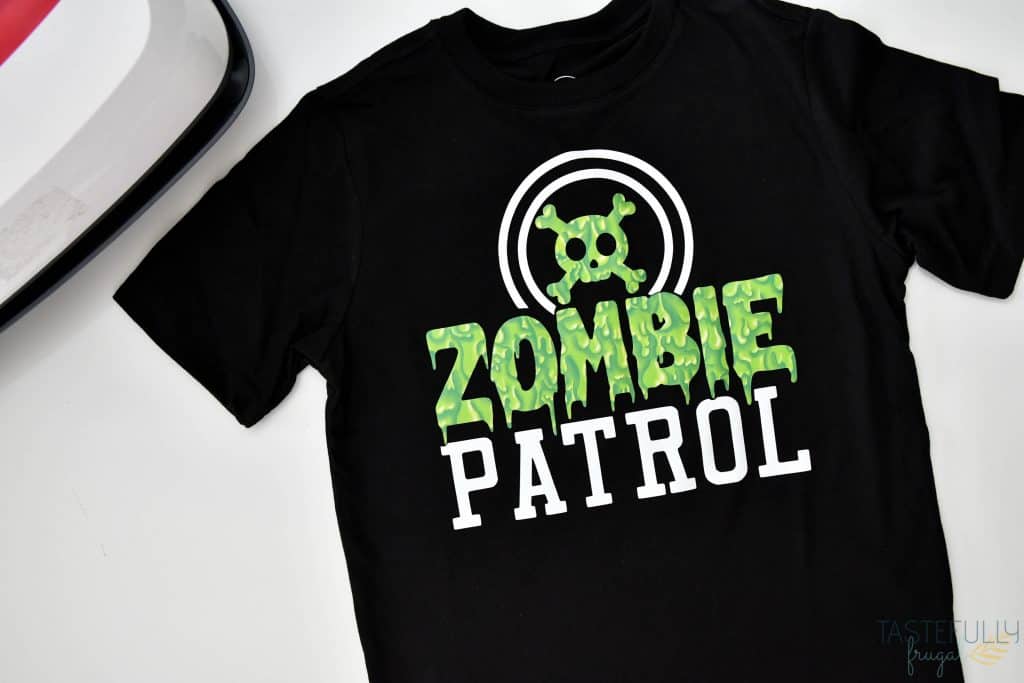
I remember the first time I tried using patterned HTV. I ordered a buffalo check plaid HTV off Amazon and had the PERFECT project to use it on. Well 5 hours later and multiple shirts ruined my perfect project never happened. Little did I know patterned HTV is WAY different to work with than other HTVs and not all patterned HTV is created equal. Today I’ll be sharing tips for how to use patterned HTV including where to buy it from and get the best price, what else you need to make it work and tips for cutting it out with your Cricut machine!
Where to buy patterned HTV?
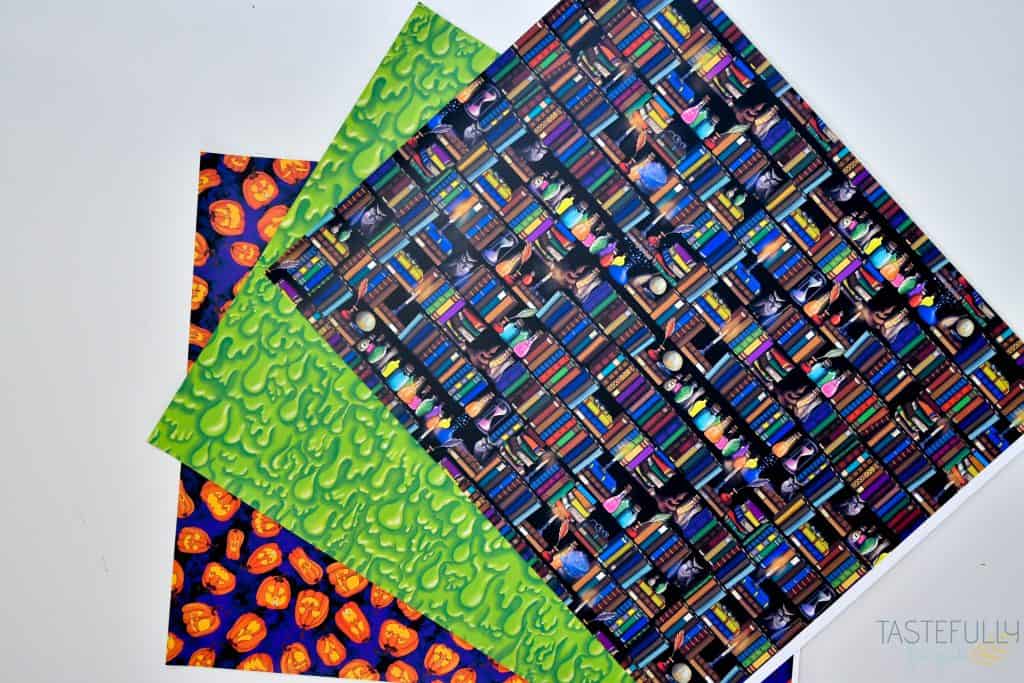
I’ve found the best place in terms of quality of patterned HTV and price is 143Vinyl. They have dozens, if not hundreds of designs available and they really do have the best prices! You can use code GET5 to save 5% on your order too!
What’s the difference between patterned HTV and patterned Iron-On?
Cricut has a really fun line of patterned iron-on as well with dozens of designs available. Cricut’s patterned iron-on vinyl does work quite a bit different that patterned HTV though. You cut and apply Cricut’s patterned iron-on just like you would any of their iron-on vinyls. So if you are using Cricut patterned iron-on vinyl, DON’T FOLLOW THE INSTRUCTIONS IN THIS POST! Check out this post for tips and tricks how to use the Cricut brand patterned iron-on.
What do you need to make Patterned HTV work?
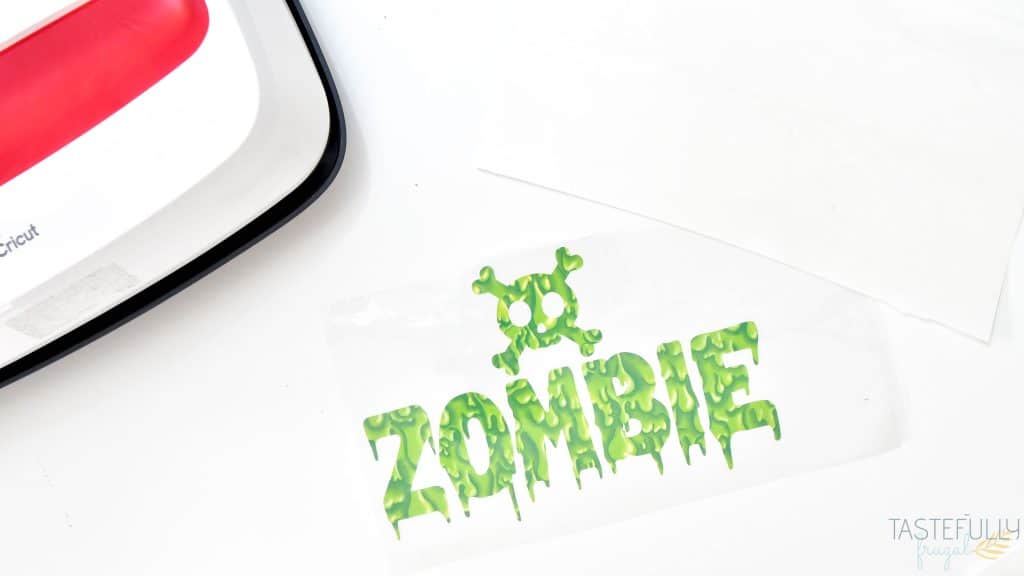
Like I mentioned earlier, patterned HTV is quite a bit different than other HTVs. Honestly it works more like adhesive vinyl. To apply your patterned HTV to your material you need a heat transfer mask that often times is not sold with the patterned HTV. One thing I love about 143Vinyl is that they give you the option to buy the heat transfer mask in bulk BUT not only that they prompt you when you click add to cart, to add a sheet of heat transfer mask to your cart as well if you don’t have it. That was the missing piece when I first tried using patterned HTV from Amazon.
Also like adhesive vinyl, you DON’T mirror your design when working with patterned HTV. You cut it like you would adhesive vinyl, weed away the excess vinyl and then apply the heat transfer mask. Use a squeegee to help the heat transfer mask stick to your patterned HTV and then remove your heat transfer mask and patterned HTV from the backer sheet. Check out the YouTube video tutorial below to see these steps in action.
How to apply Patterned HTV
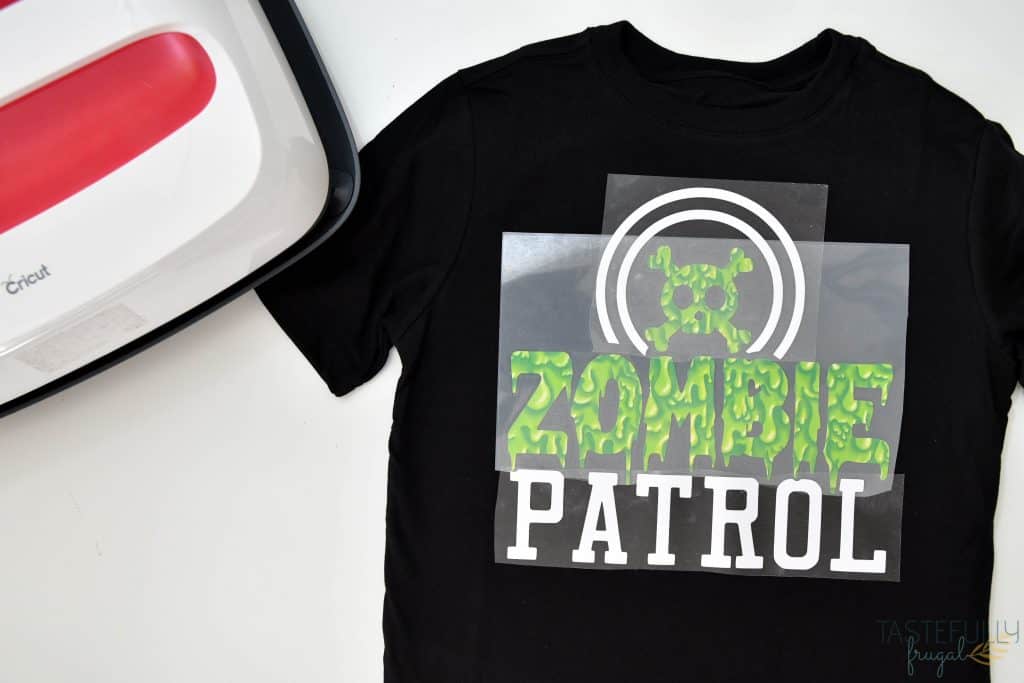
Patterned HTV doesn’t require as much heat as other iron-on vinyls or HTV. I’ve found it applies best at 285F for 15 seconds. So if you’re using patterned HTV with another kind of HTV that requires either a higher temperature or longer press time, make sure your patterned HTV is your last layer or it may get burnt or ruined.
Let’s hop into the tutorial and I can show you how EASY patterned HTV is to use!
SUPPLIES:
Patterned HTV + Heat Transfer Mask
Shirt (or any other blank that you can use with HTV. I am using a shirt for this tutorial).
When ordering from 143Vinyl, use code GET5 to save 5% on your order. If you need to order Cricut supplies and you’re shopping on Cricut.com, use code SAVE10 to save 10% and get FREE shipping on all $50+ orders. That’s on top of the 10% discount Cricut Access members get automatically! Learn more about Cricut Access here.
DIRECTIONS:
If you want to use this same Zombie Patrol image, it’s part of the Fall Craft Bundle on DesignBundes. You can check out everything included here.
In Design Space, upload or create your design and click MAKE IT.
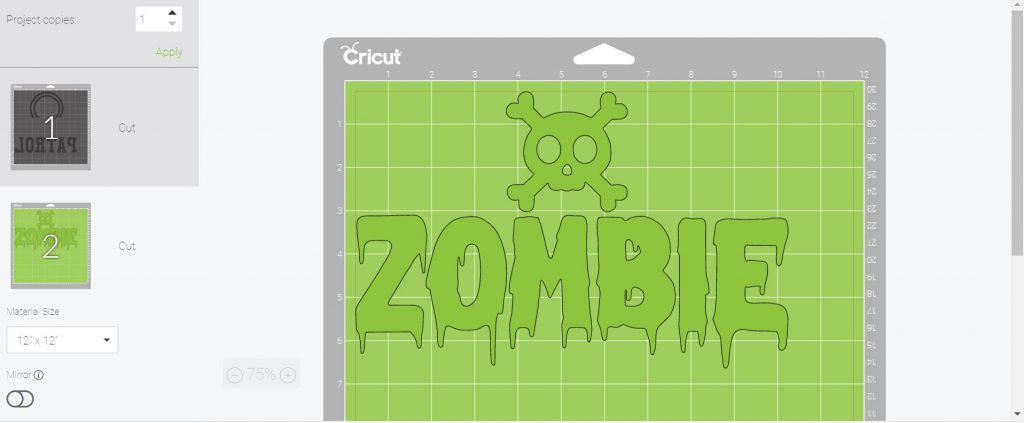
On the preview screen make sure you mirror any HTV that is NOT patterned; so for this project I mirrored the half circle and word patrol. ***DO NOT MIRROR ANY PART OF YOUR PROJECT THAT IS PATTERNED HTV***
On the next screen select Everyday Iron-On from the materials drop down menu.
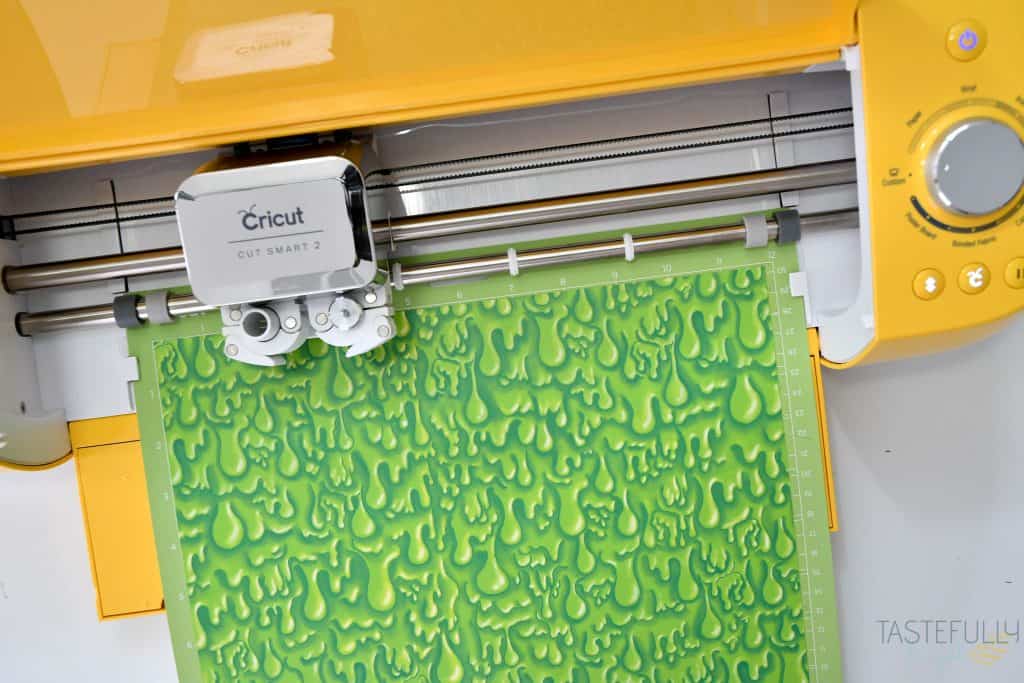
Cut your design on your Cricut.
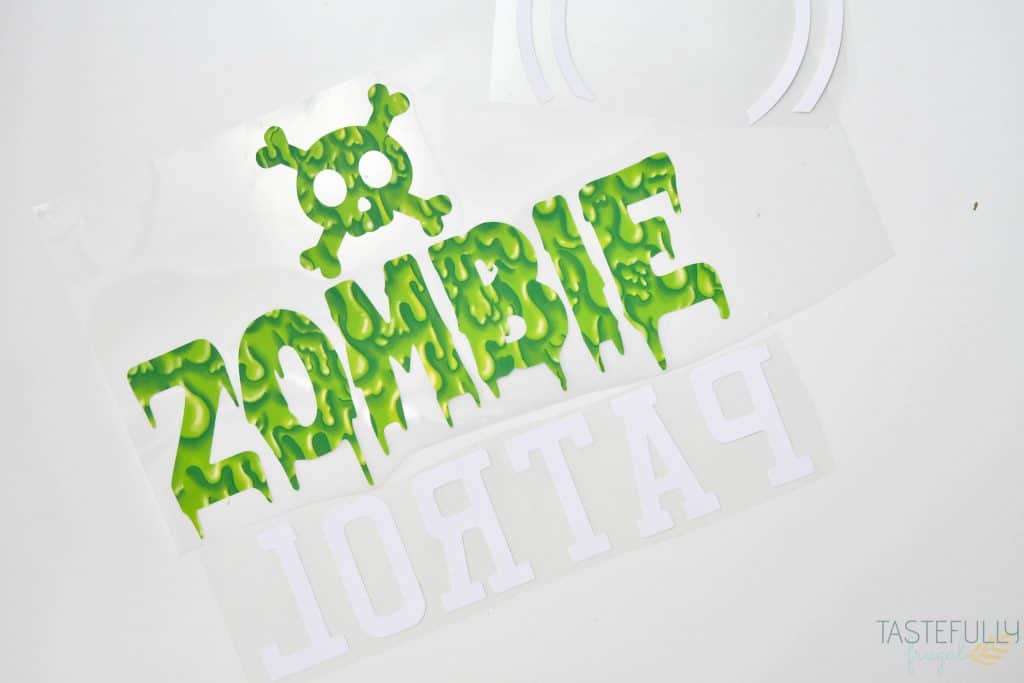
Weed the excess vinyl from your designs.

Cut Heat Transfer Mask down to the same size as your patterned HTV and apply it on top of your patterned HTV. Use a squeegee to press heat transfer mask on to patterned HTV. Remove backer sheet from patterned HTV.
Preheat EasyPress to 285F and 30 sec.
Put your shirt on top of your EasyPress mat and preheat your shirt for 5 seconds.

Line up your design 3 finger widths from the collar and measure from the seams to make sure it’s centered.
Put down your Siser HTV (the white HTV) and press for 30 seconds. Let HTV fully cool before peeling off backer.
Line up patterned HTV on design and press for 15 seconds. Let HTV fully cool before peeling backer off.
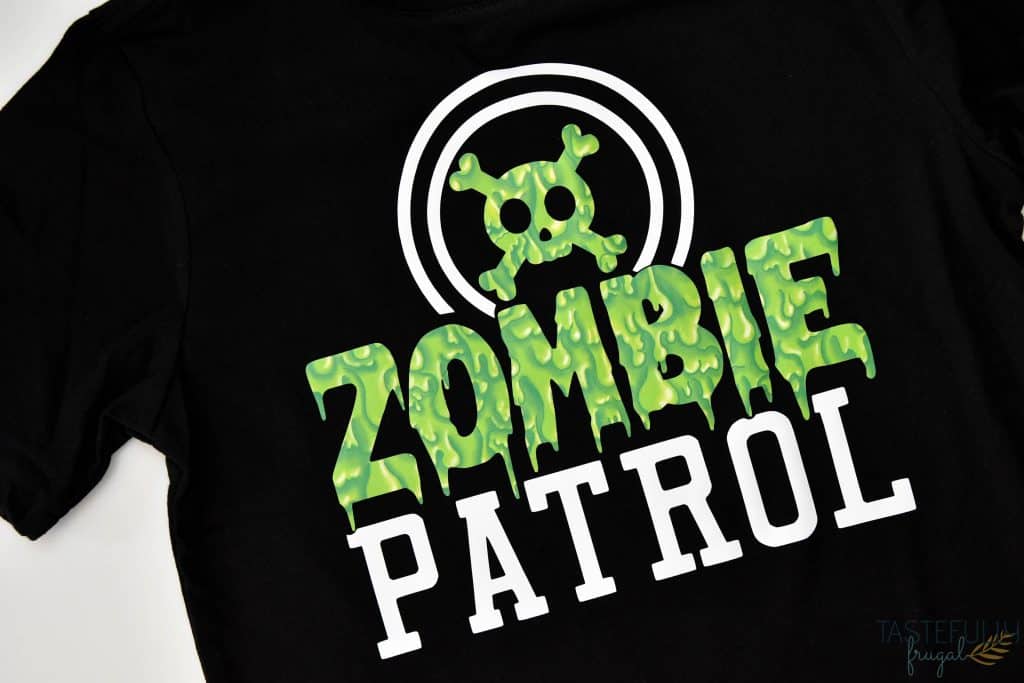
And just like that you have a fun Halloween shirt with a ton of dimension thanks to patterned HTV!
Make sure to subscribe to my YouTube channel to check out all the video tutorials. For more Cricut projects and tutorials, check out these posts. For tips, tricks and immediate help, be sure to join our FREE Cricut Support Group.


Leave a Reply