Learn how to customize kids’ capes with HTV and your Cricut machine!
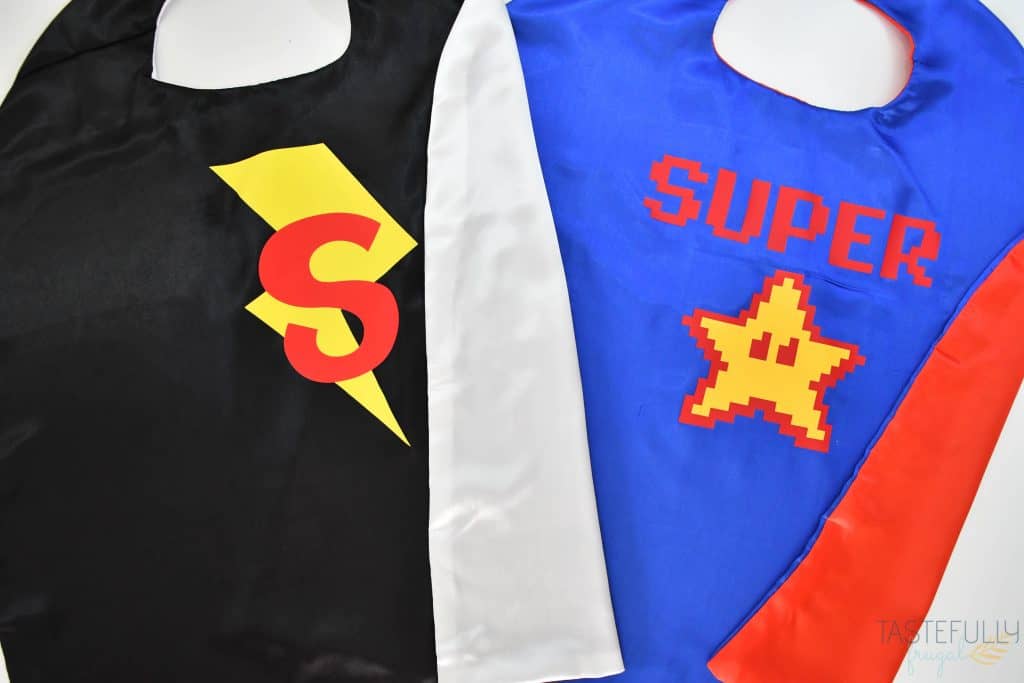
If you have kids, or if you ever were a kid (which is pretty much everyone right?!) you know how fun it is to dress up with a cape! Whether it’s tying a blanket around your neck or wearing a store bought cape, kids have SO much fun and their imaginations grow when they put the cape on! Today I’m going to show you how to customize kids’ cape to really make them one of a kind!
Where do you buy kids capes?
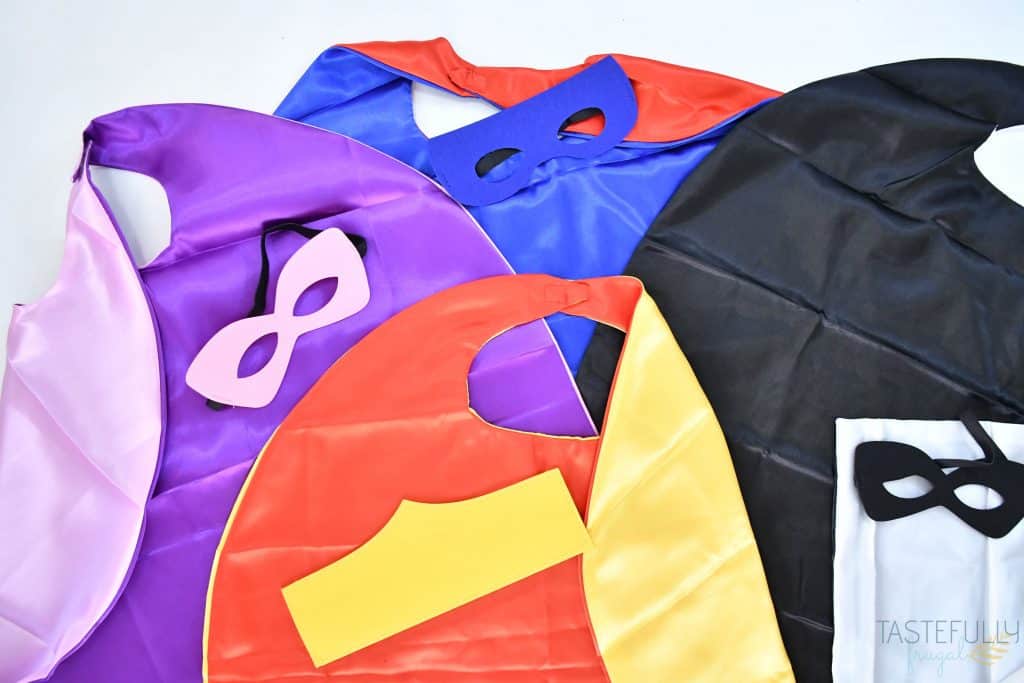
When I had a custom shop a few years ago I got similar capes from a wholesaler in China. They were great sellers in the shop but unfortunately I had to buy A TON of them. That doesn’t really work if you only want one or two right?! Well today, 143Vinyl just added to their shop capes and masks! There are 5 colors to choose from and they are all reversible and really great quality. You can check out all the different options here. You can also use code GET5 to save 5% on everything on their site!
What do you use to customize capes?
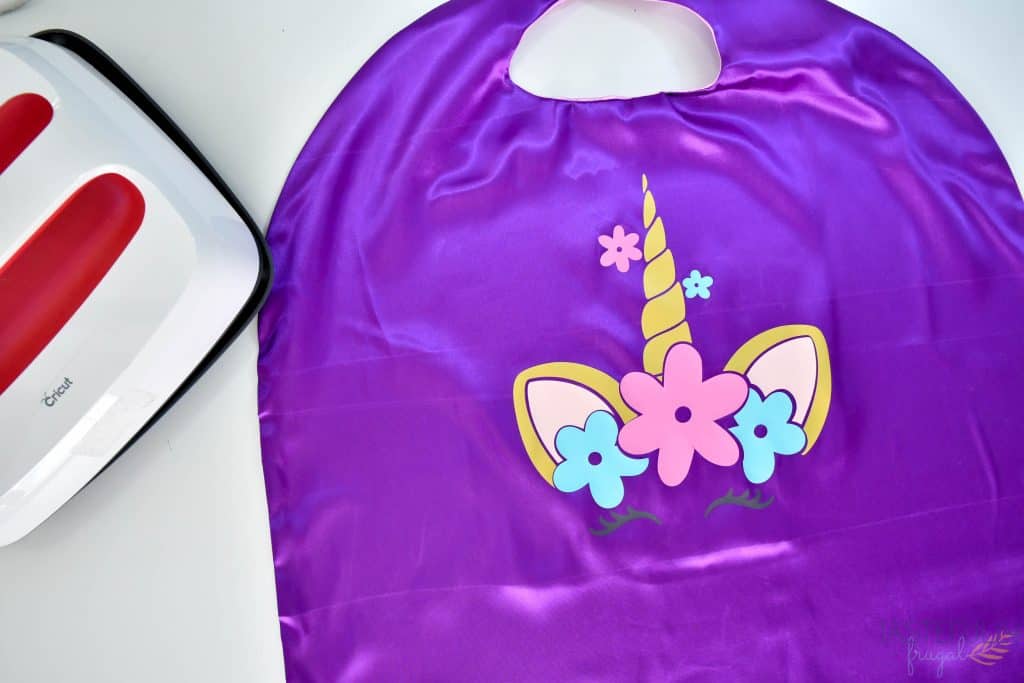
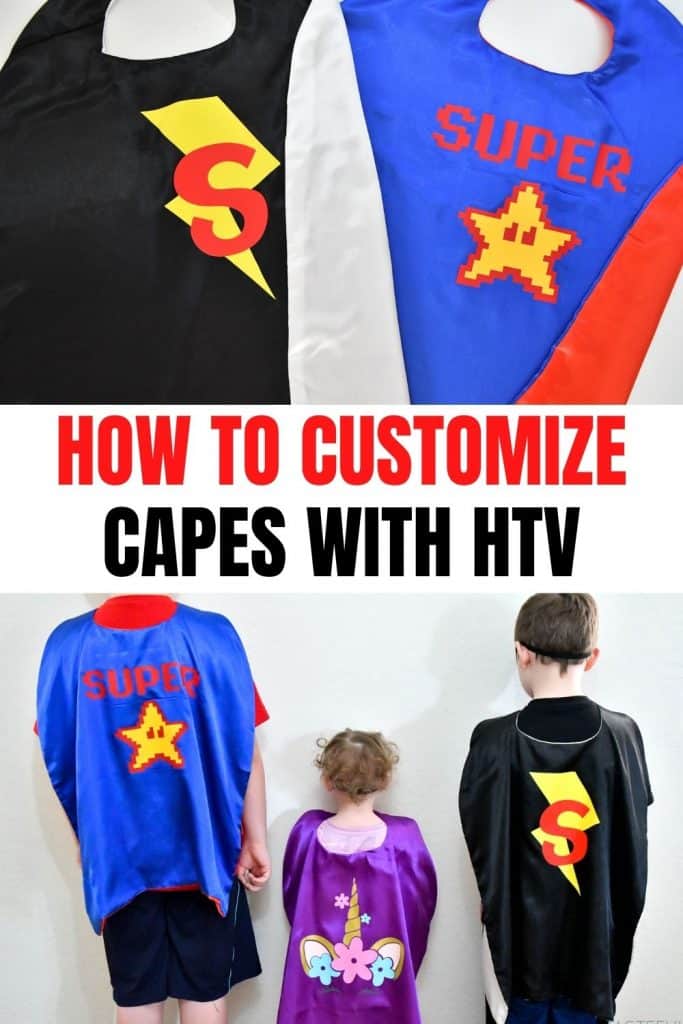
To get the most wear out of your cape you’ll want to use iron-on vinyl or HTV. We still have capes that I made 3 years ago that have been put through the ringer… literally, and are holding strong! For these capes I used Siser EasyWeed and StarCraft SoftFlex HTV. Both are great options for these capes because they are super durable, but even better is they have a low heat press temperature. This is super important when pressing delicate materials, like these satin capes.
What design do you put on capes?
Now this is the fun part! You CAN put superhero logos like Spiderman, Batman, Wonder Woman, however you’ll only want to do this for personal use as they are trademark designs you can get yourself into some trouble if you sell them.

BUT the fun part happens when you let your kids pick their own designs! My oldest son is a huge Mario fan so he picked out a fun pixelated Super Star design. My youngest son literally runs around all day like he is on fast forward so we designed a fun lightening logo for him.

And my daughter is OBSESSED with unicorns so we added a flowery unicorn on her cape and she loves it! She is three and runs around the house in it calling herself “The Magical Unicorn”!
Let your kids imaginations run wild and they will have so much fun designing their own capes.
How To Customize Capes
Ok, now we have our designs picked out, it’s time to make our capes! If you want to use any of the designs we make in this post, you can find them all on this Design Space canvas and they are all included in Cricut Access!
SUPPLIES:
Capes and Masks – Use code GET5 to save 5%
EasyPress 2 and Mat
HTV – Use code GET5 to save 5%. Here are the brands and colors I used for each design:
- Super Star – Siser EasyWeed in Pale Yellow and Red
- Lightning Bolt – Siser EasyWeed in Lemon and Bright Red
- Unicorn – Starcraft SoftFlex in Blush, Bubblegum, Tiffany Blue and Mettalic Gold
DIRECTIONS:
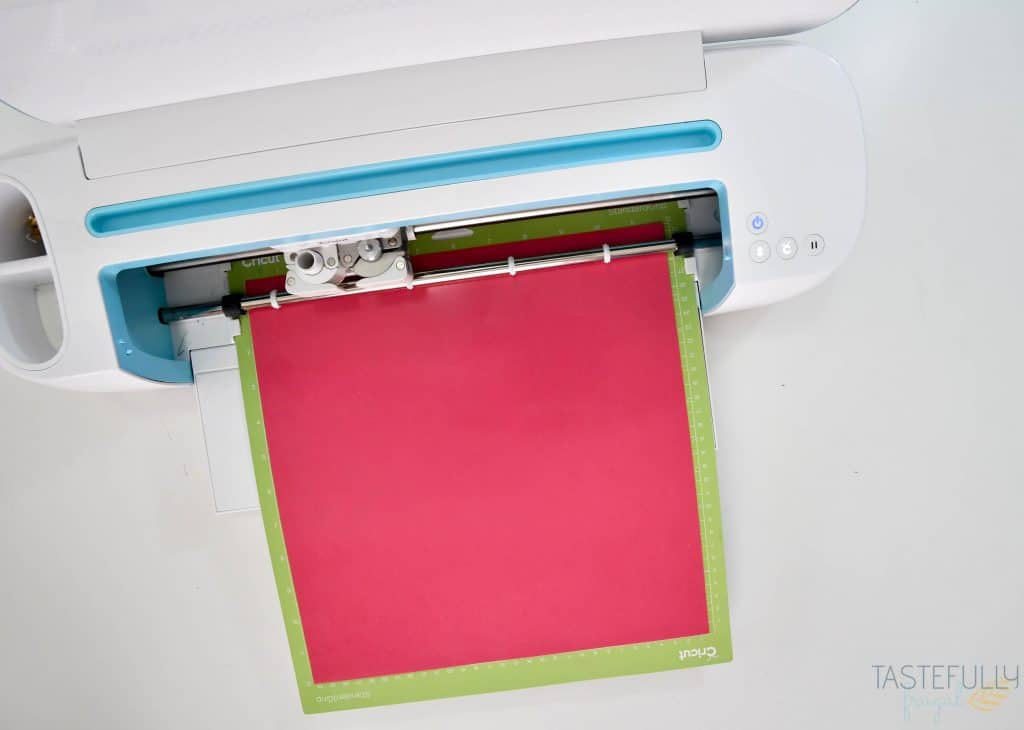
Cut your designs from HTV using your Cricut and a StandardGrip mat. Lay your HTV shiny side DOWN on the mat and select EVERYDAY IRON-ON for your cut setting.
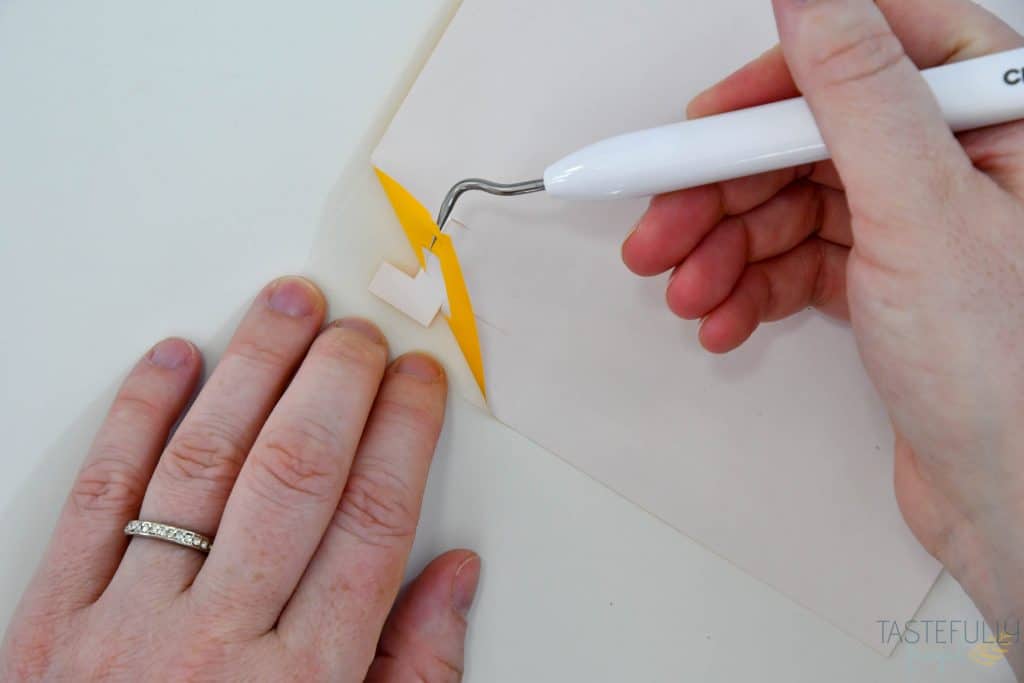
Once your design(s) is cut by your Cricut, use a paper cutter or scissors to cut off extra HTV so you can use it for another project. Weed away excess HTV from design.
Preheat your EasyPress 2 to 305F and 15 seconds. While your EasyPress is heating up, you can use it to get the wrinkles out of your cape. Move in sections and press on the cape for 2-3 seconds to quickly and easily remove all wrinkles.
Once EasyPress is heated place cape on EasyPress mat and preheat your pressing area for 5 seconds. This warms up the material and makes sure their is no moisture in it so your HTV sticks better.
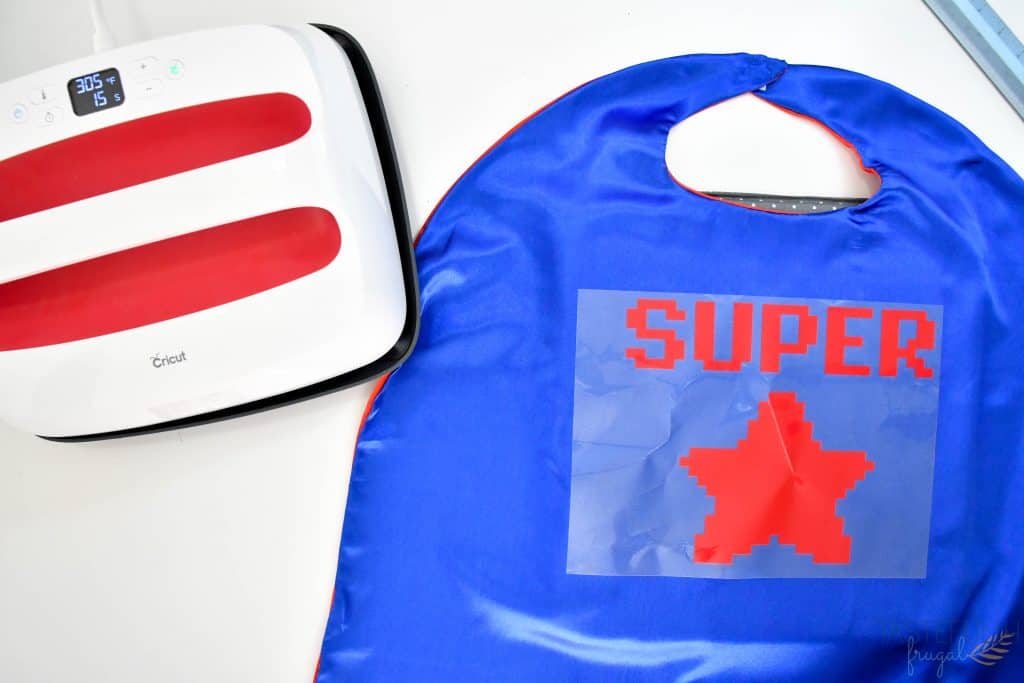
Put your design on your cape and measure to make sure it’s centered. I like to start the design about 4 finger lengths down from the tap of the cape.
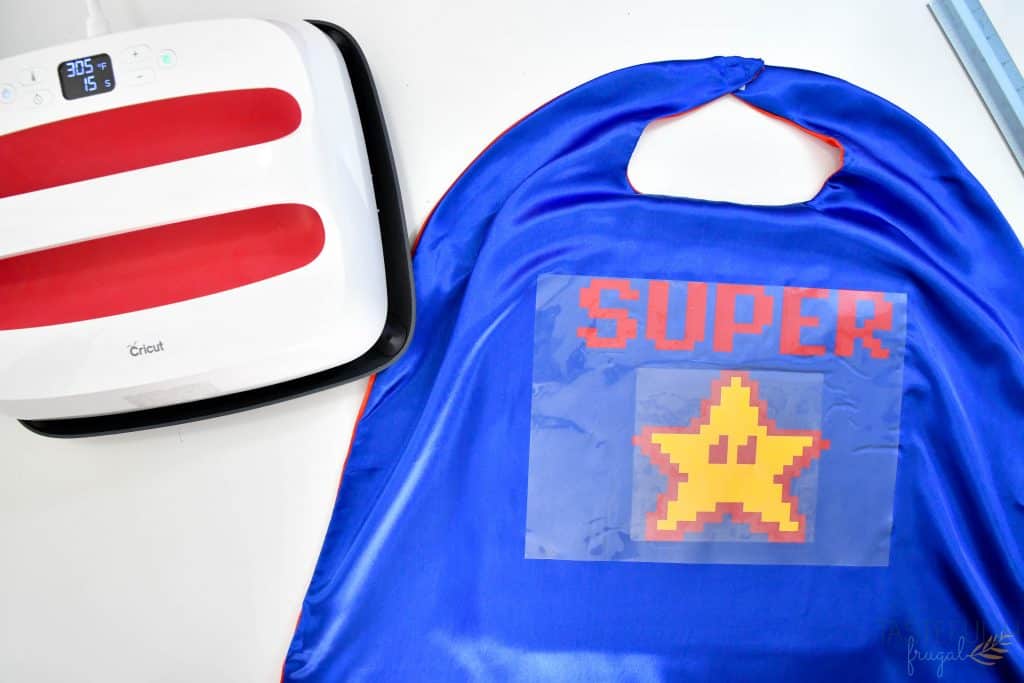
If you’re doing multiple layers, press first layer with EasyPress and firm pressure for 10 seconds. Let HTV cool before peeling backer off.
Once you have peeled the backer off the first layer, line up your second layer and press with your EasyPress for the full 15 seconds. Let HTV fully cool again before peeling backer.

***I’ve made hundreds if not thousands of HTV projects and I have the best results when I ONLY do two layers MAX. Anything more than that and they start to peel. If you are doing a design with more colors than two, I suggest slicing your design so you don’t have to layer the HTV***
Personalized Kids’ Capes
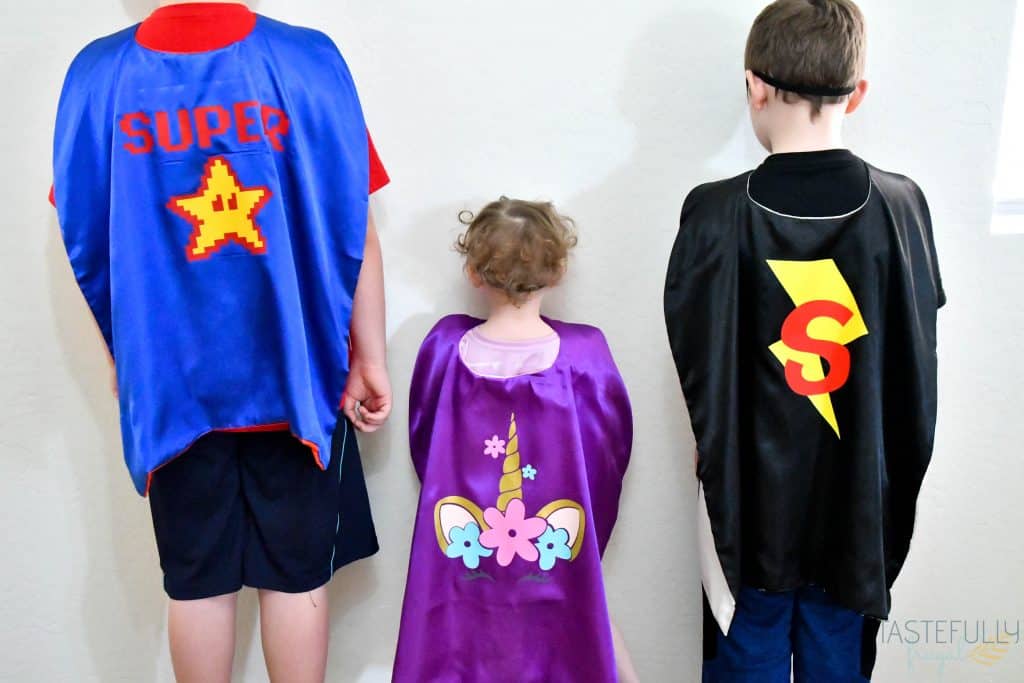
And just like that, in a matter of minutes you have a fully customized cape your kids will love! These are great, budget friendly Halloween costumes and also make great gifts. Like I mentioned earlier, they also are great items to sell if you have, or thinking about starting, a custom shop. To learn more about how to make money with you Cricut, check out this post.
Make sure to subscribe to my YouTube channel to check out all the video tutorials. For more Cricut projects and tutorials, check out these posts. For tips, tricks and immediate help, be sure to join our FREE Cricut Support Group.


Jason says
Hi my name is Jason. Wow those capes took me back in time when I was 3 years old. I remember I used to wear Superman costume. That is so cool!