Learn more about the difference between the Cricut Infusible Ink Pens and Markers and which work best for your projects.
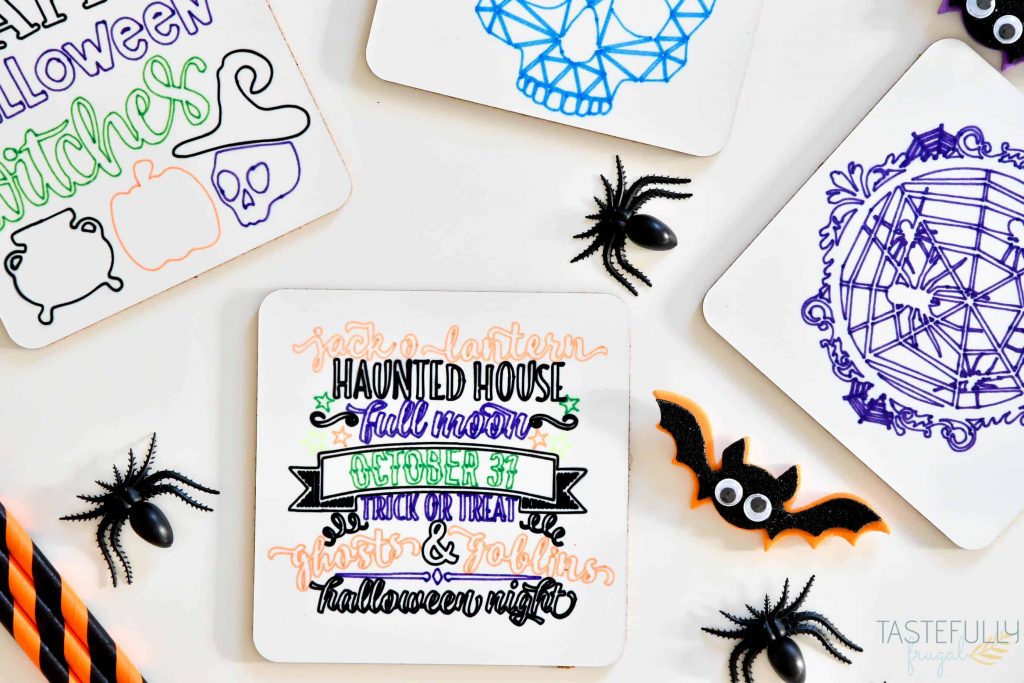
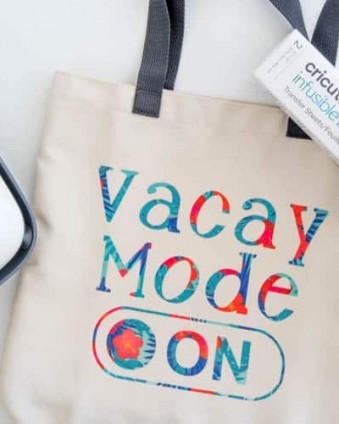
It’s no secret I’m a HUGE fan of Cricut’s new Infusible Ink products! Whether it’s the transfer sheets or pens and markers; I love creating lasting projects with these bright and vibrant products.
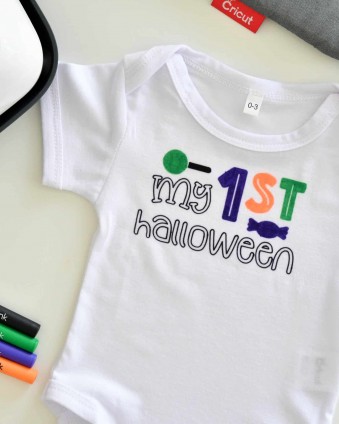
Yesterday I shared a Halloween onesie for our baby with the Infusible Ink pens and I got a few questions on which product I used (pen or marker). Since I was asked more than once I thought it would be best to write up a post about the differences and when you should use Infusible Ink Pens vs Markers.
What Is The Difference Between Infusible Ink Pens and Markers
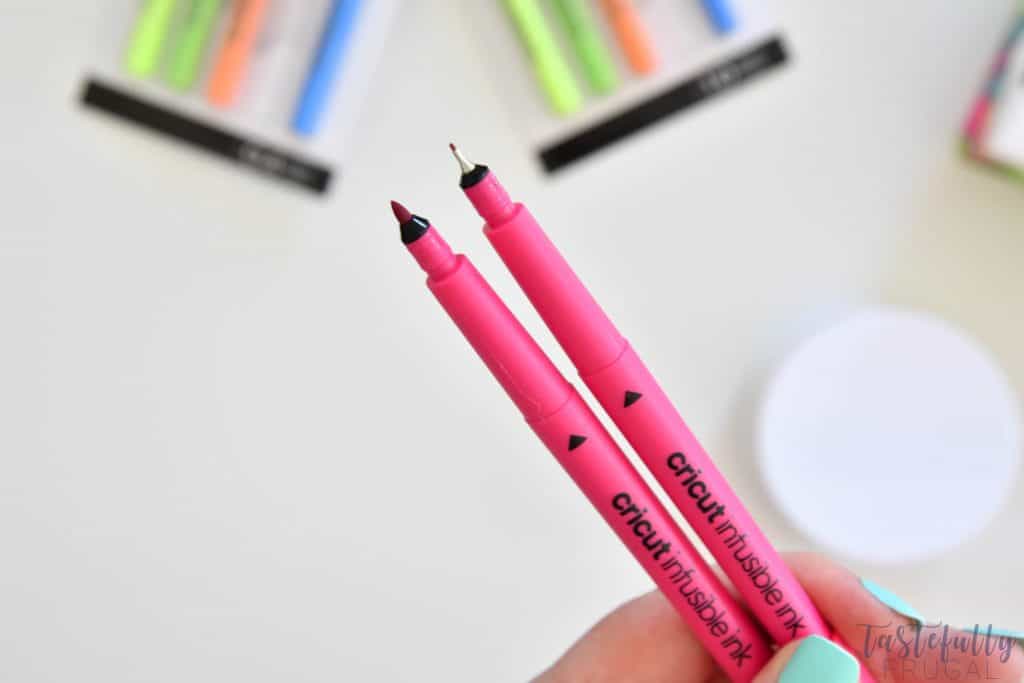
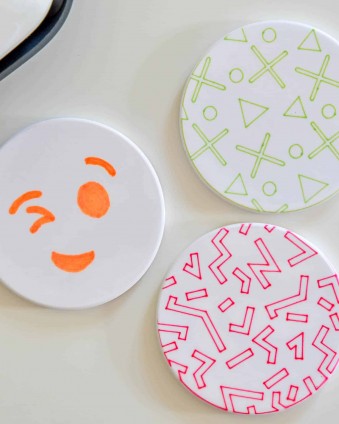
The only difference in the pens and markers is the tip size. Both sets of colors, neons and basic, come in a pen and a marker and you can use them interchangeably. The pens are a .4mm fine point and the markers are 1mm thicker tip. I like to use the pens for outlining words/designs and then use the markers for coloring them in.
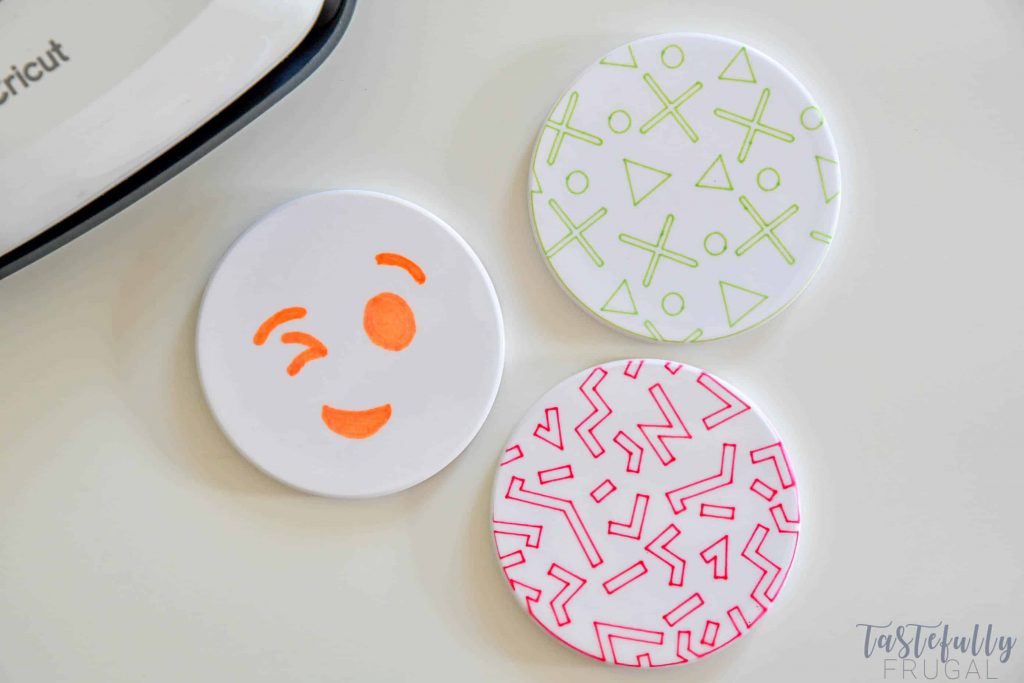
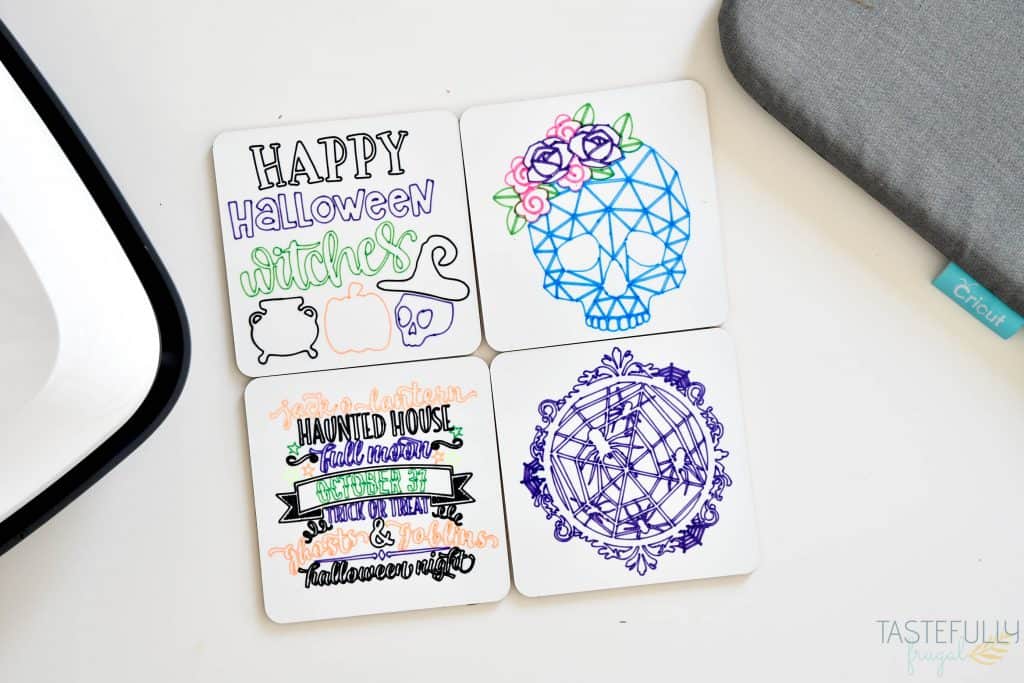
You can check out these fun neon coasters I made with both outline designs and colored in designs to see the difference between the two. I also love these taco coasters that Allison from All For The Memories made too!
When Should I Use Infusible Ink Pens?
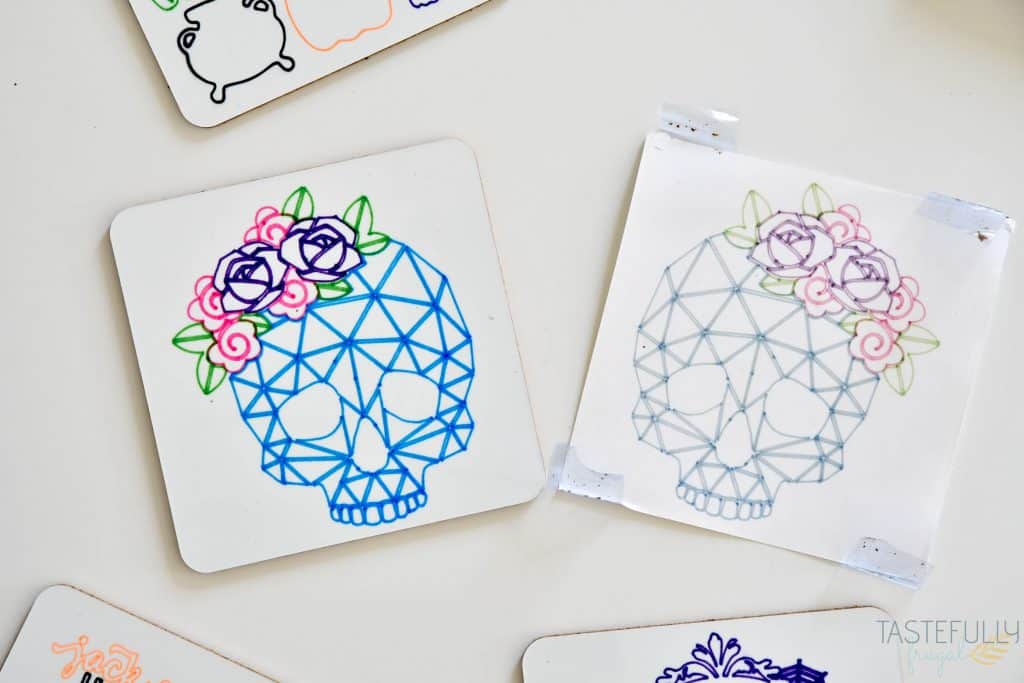
You’ll want to use Infusible Ink Pens for any words that have outlines. As you can see in the picture below, I tried using an Infusible Ink marker on some of the words and it did not turn out well.
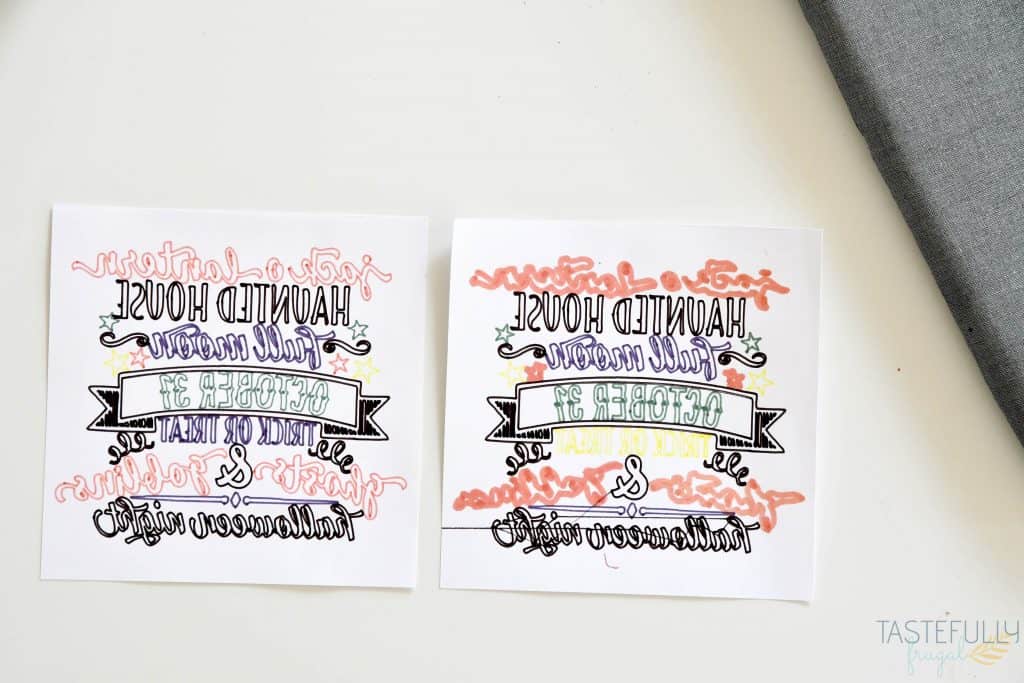
You’ll also want to use Infusible Ink Pens for anything that has small designs and details. The thicker tipped markers will make your designs smear and you won’t get a crisp finished design.
When Should I Use Infusible Ink Markers?
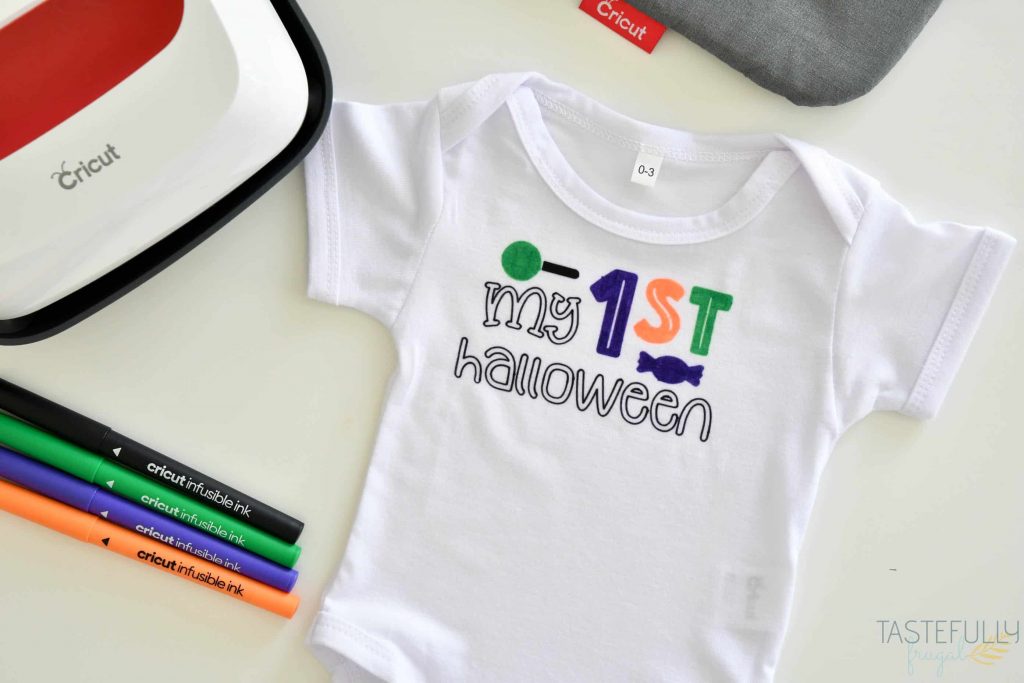
You will want to use Infusible Ink Markers for any wide designs and/or to color in designs once they’ve been drawn with your Cricut machine. You can use Infusible Ink Pens to color in too but it may ruin the tip since they are so thin.
Where Can I Buy Infusible Ink Pens and Markers?
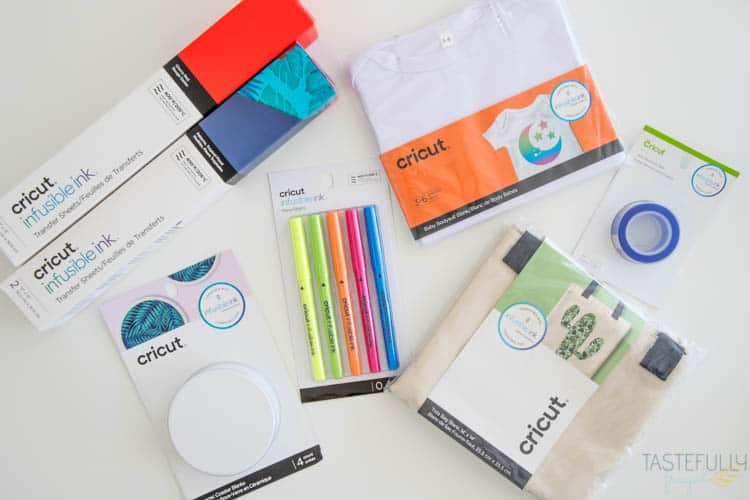
Infusible Ink Products, including the pens, markers, Cricut blanks and accessories, are available at Michaels. They are NOW available on Cricut.com too! If you order directly from Cricut, you can use code FRUGAL10 to save 10% and score FREE shipping on $50+ orders. That’s on top of the 10% discount Cricut Access members get automatically!
Halloween Coasters with Infusible Ink Pens
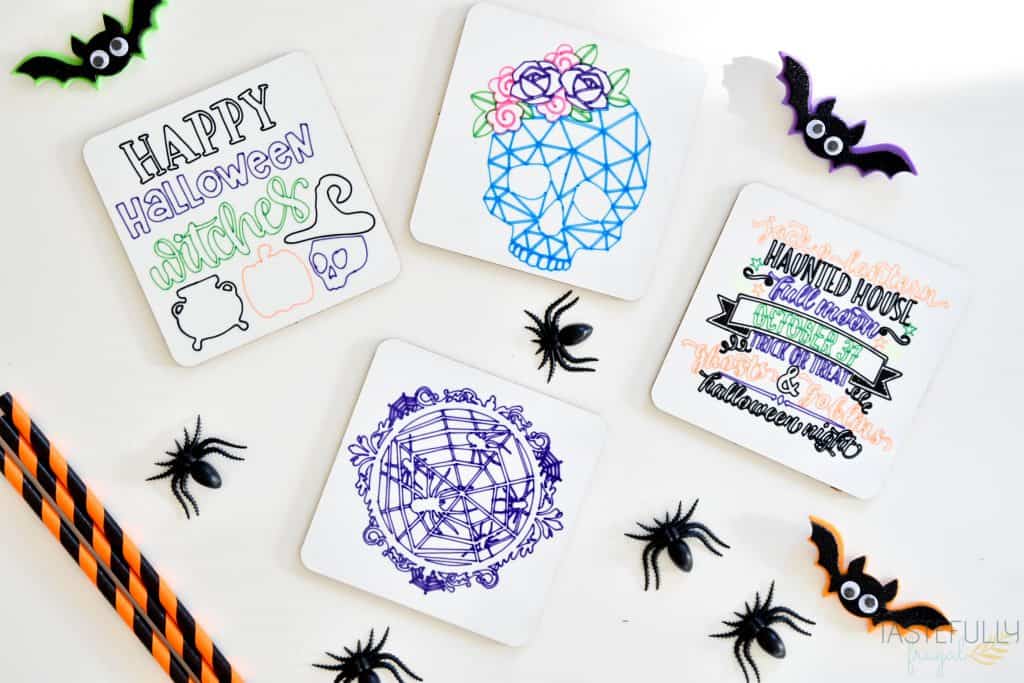
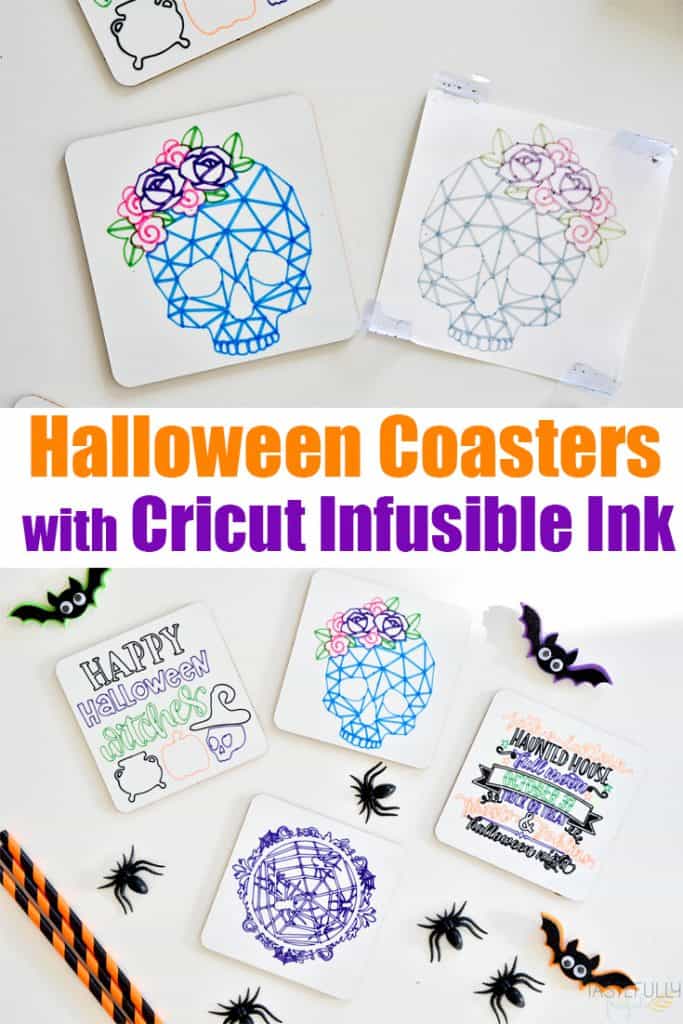
I wanted to show you the difference between Infusible Ink Pens and Markers with this fun Halloween craft. These coasters are perfect for protecting your surfaces from drink rings this time of year. Or even as a hostess gift for any Halloween parties you get invited too.
After seeing the designs drawn out, I opted to just use Infusible Ink Pens for all four coasters. I like the cohesive look of the pen’s thin lines and the outline look for the words vs. colored in. If you want to see what words look like colored in and how to do it, check out this post.
SUPPLIES:
Cricut Maker (or Explore Air machine)
White Cardstock
9″x9″ EasyPress 2 and Mat
When ordering on Cricut.com, use code FRUGAL10 to save 10% and score FREE shipping on $50+ orders. That’s on top of the 10% discount Cricut Access members get automatically!
DIRECTIONS:
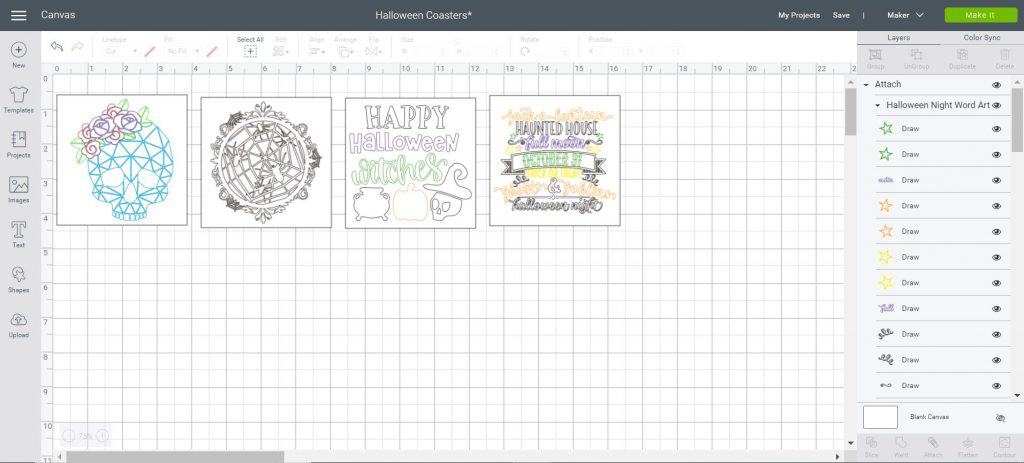
Open up this design in Design Space. Click Make It.
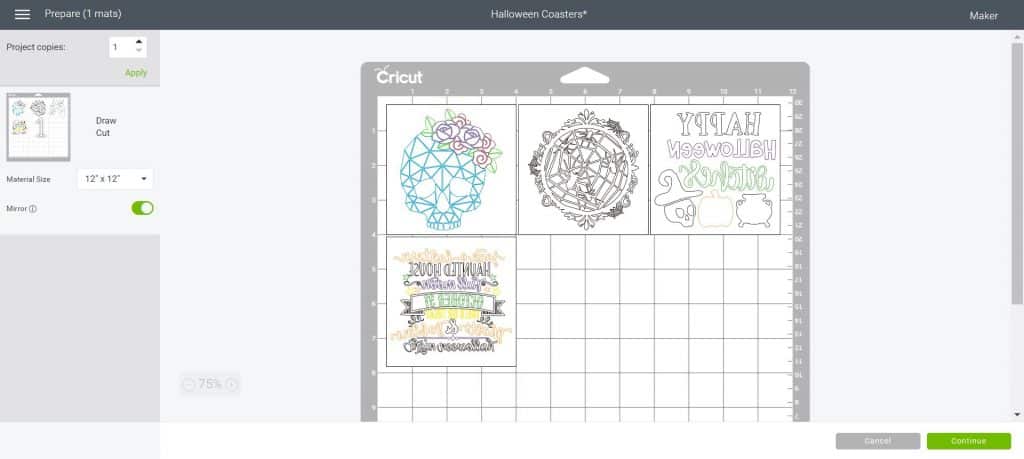
On the preview page, make sure you MIRROR your image!
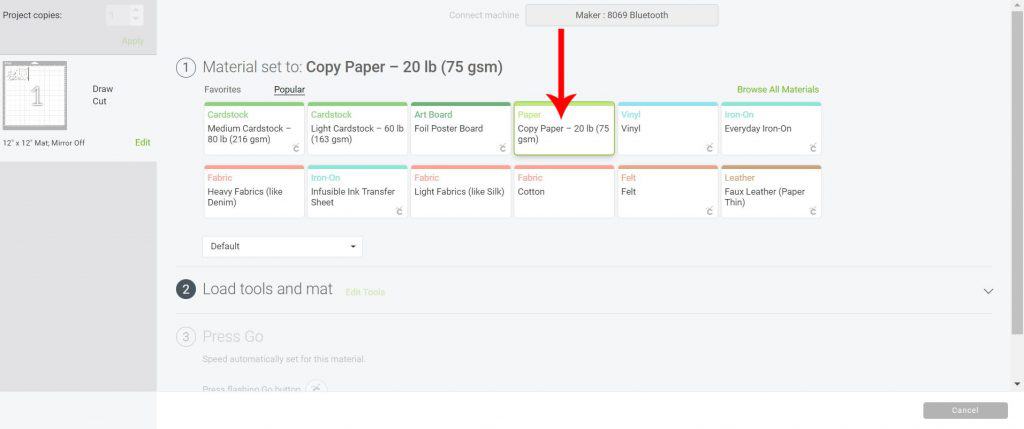
Select your machine from drop down menu on the next screen and select COPY PAPER for the material.
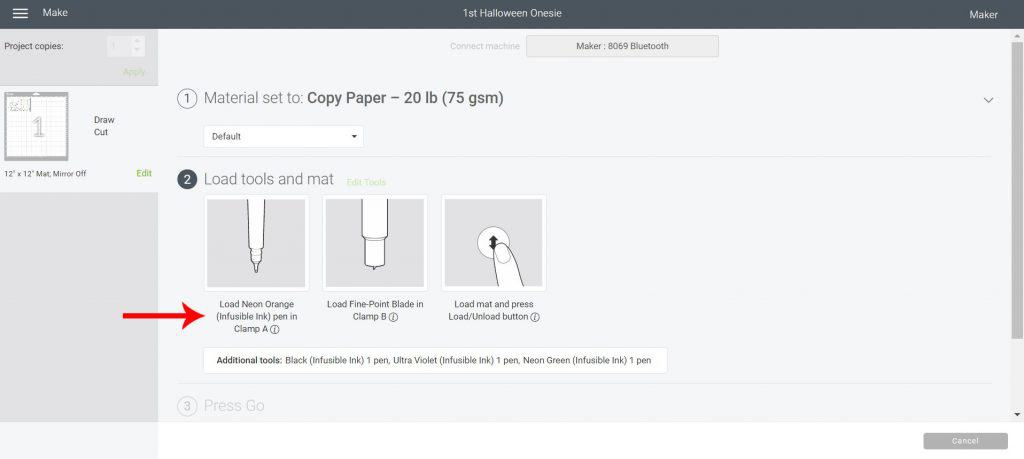
Follow on screen prompts of when to load each pen into CLAMP A on your machine.
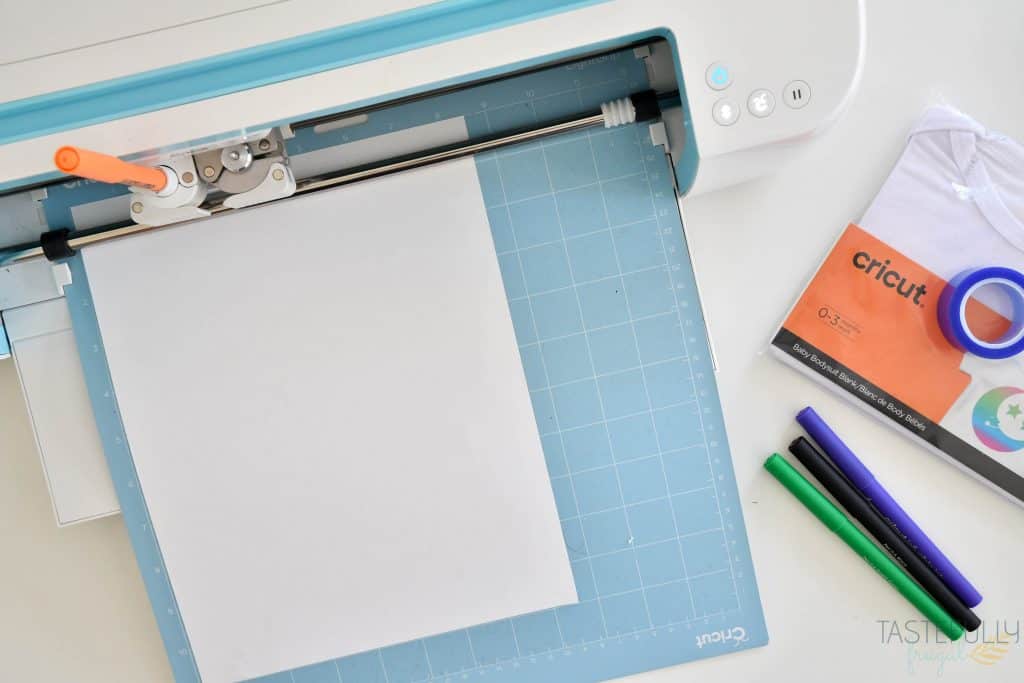
Put a piece of laser copy paper on your LightGrip mat and load into machine.
Let your Cricut write/cut the designs. Remove excess paper from around designs.
Preheat your EasyPress 2 to 400°F and 60 seconds.
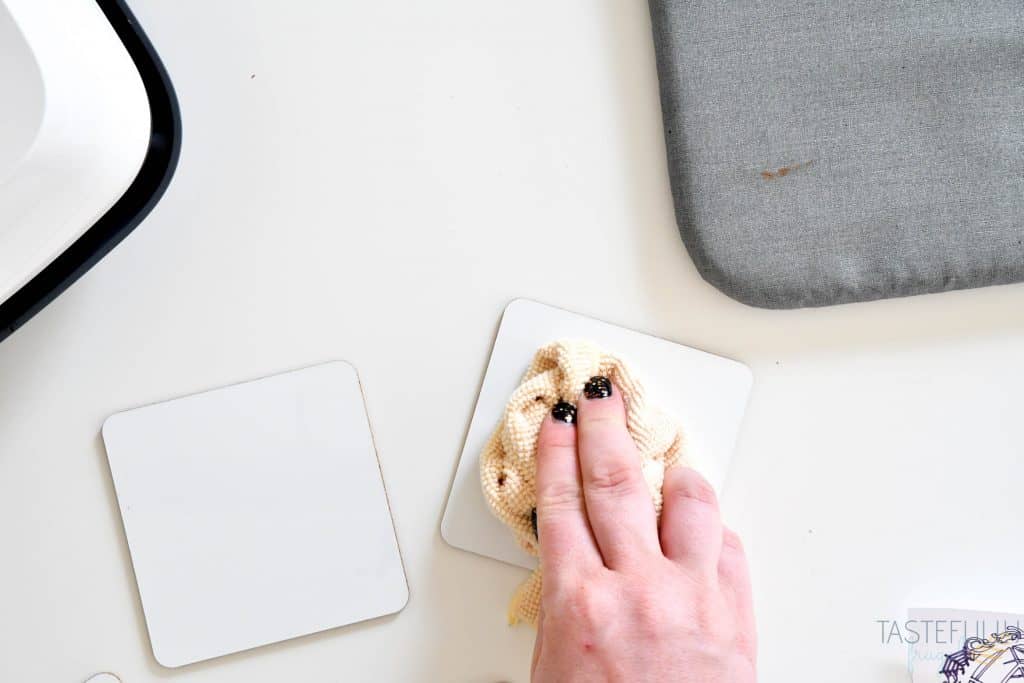
Use a lint free cloth to clean the white tops of the coasters.
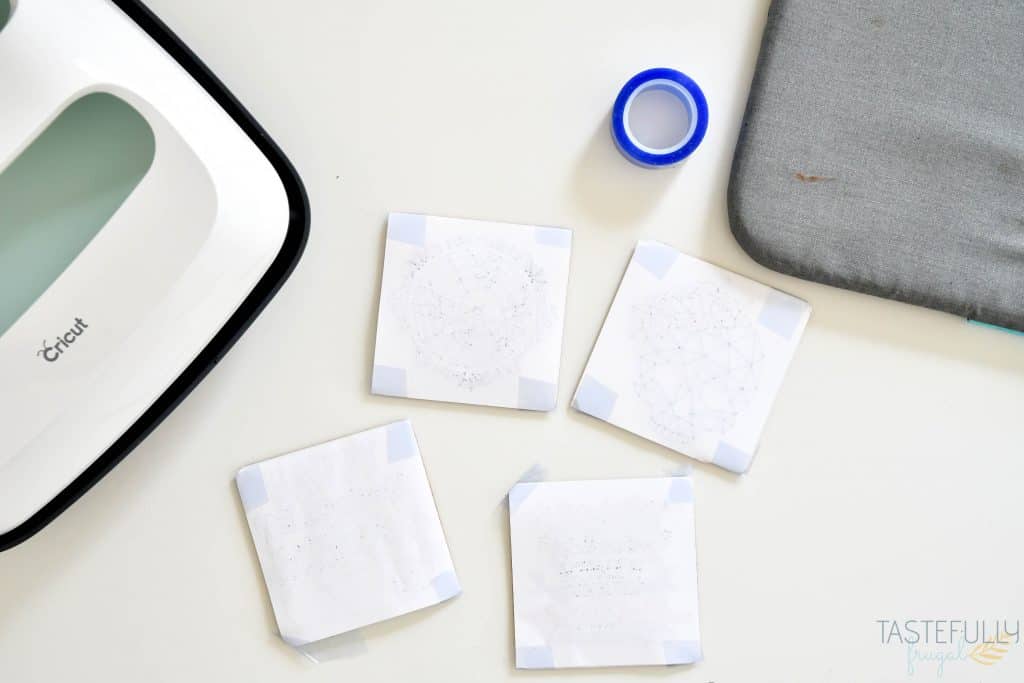
Use the heat resistant tape to tape your designs on your coasters, design side facing the white top.
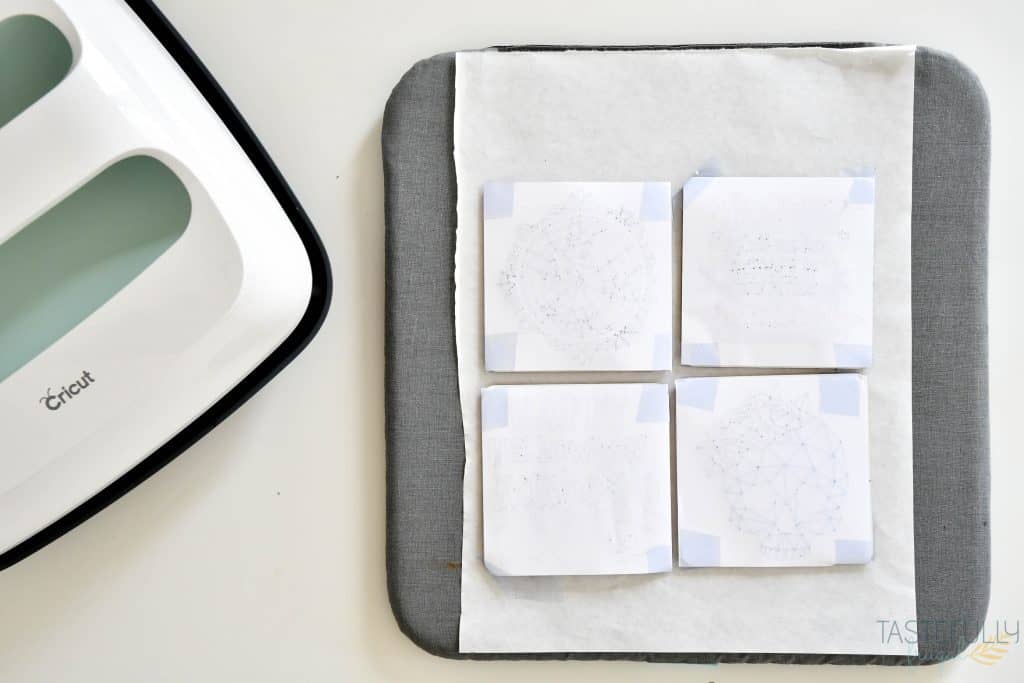
Place a piece of butcher paper over your EasyPress Mat. Put your coasters design side up on your mat.
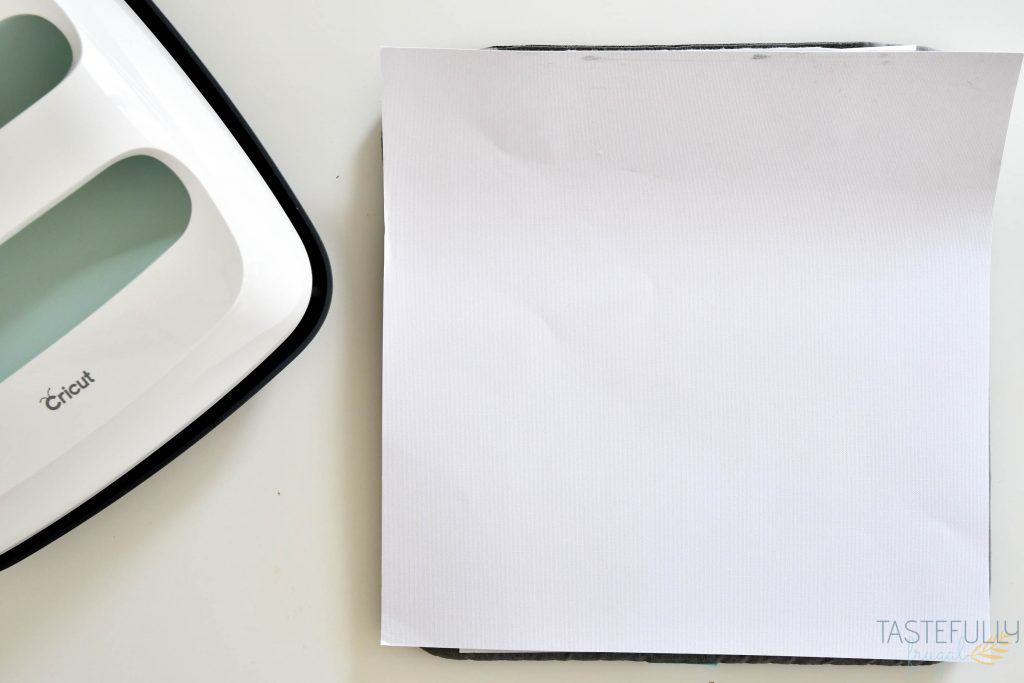
Cover coasters with cardstock and place your EasyPress 2 on top.
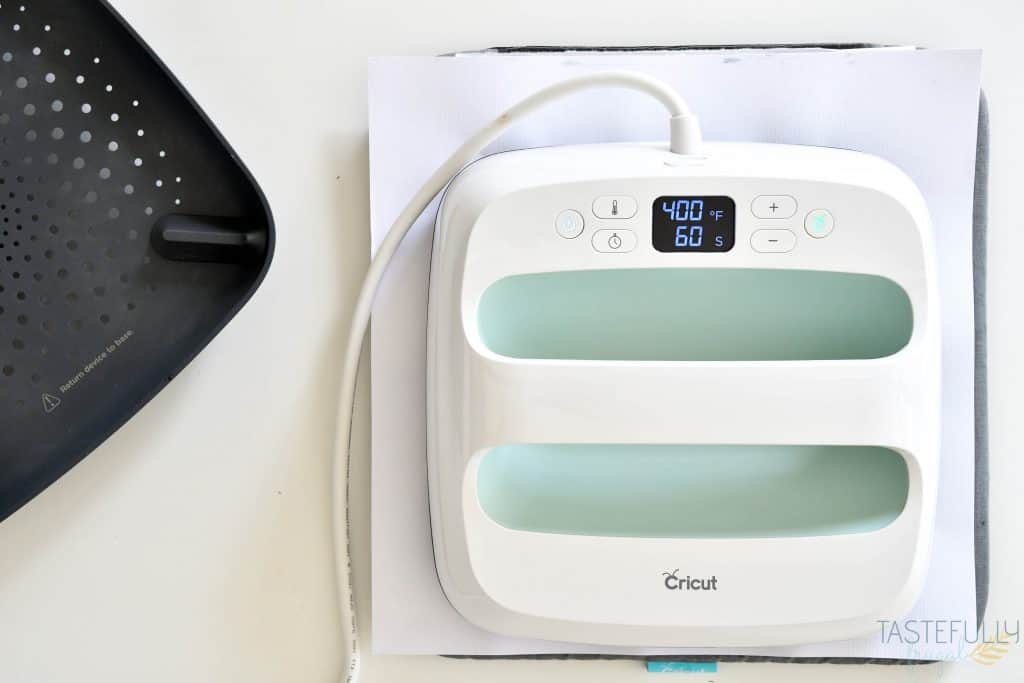
With no pressure, press for 60 seconds.

Take off cardstock and let coasters cool for 1-2 minutes. Carefully remove heat resistant tape and peel paper off of coaster.
Have you made any Halloween projects with Infusible Ink yet? Let me know in the comments! If you’d like to check out more ways you can use your Cricut check out these posts! Need help with your Cricut? Join our Cricut Support Facebook Group!


Jennifer says
I have seen more instructions saying to place the coaster with design down so that it heats through the coaster and also to heat for 240 seconds at 360 (that’s the highest my press goes). What is the difference if you do design side up? Also, do you know if the ink sheets makes a richer color than the pens?
Sydney says
You want to do the coasters side up so that the paper (or transfer sheets) are closest to your heat source (EasyPress or heat press). If you have too much space between the two you won’t get as rich of colors. And you do need to heat your EasyPress or HeatPress to 400 for best results. As far as pens vs transfer sheets, I think it depends on the design you choose. A design with a lot of smaller pieces is going to look better drawn with the pens/markers. A design that is one big piece, or one or two big pieces, looks better with the transfer sheets IMO.
I hope this helps. 🙂