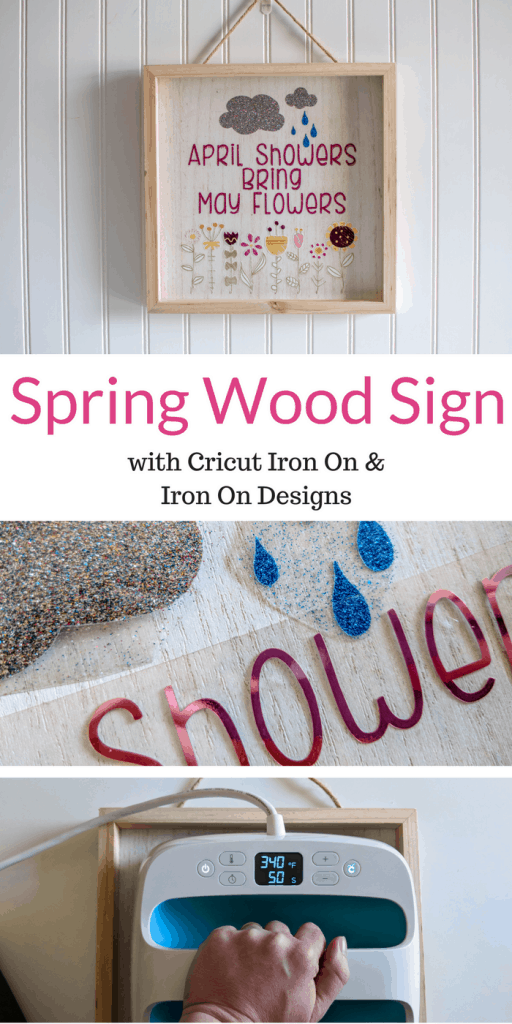
Make this bright and fun spring sign in minutes with iron on vinyl and the new Cricut Iron On Designs.
Doesn’t it drive you crazy that as soon as you wash your car it seems like it rains the next day?! It drives me nuts and the SAME thing happened when I made this sign. When I was working on this project it was 70° outside, sunny and perfect weather. The next day…. it SNOWED! All I have to say is the flowers in May better be extra beautiful for all the rain and snow we’re getting.
That being said, I love spring time. The trees and flowers blooming, birds chirping, warmer weather and of course more light in the day to do crafts! If you’ve been reading the blog for anytime at all you know how much I LOVE working with Cricut Iron On Vinyl. It’s by far my favorite material to craft with because it’s so easy to work with and the results last.
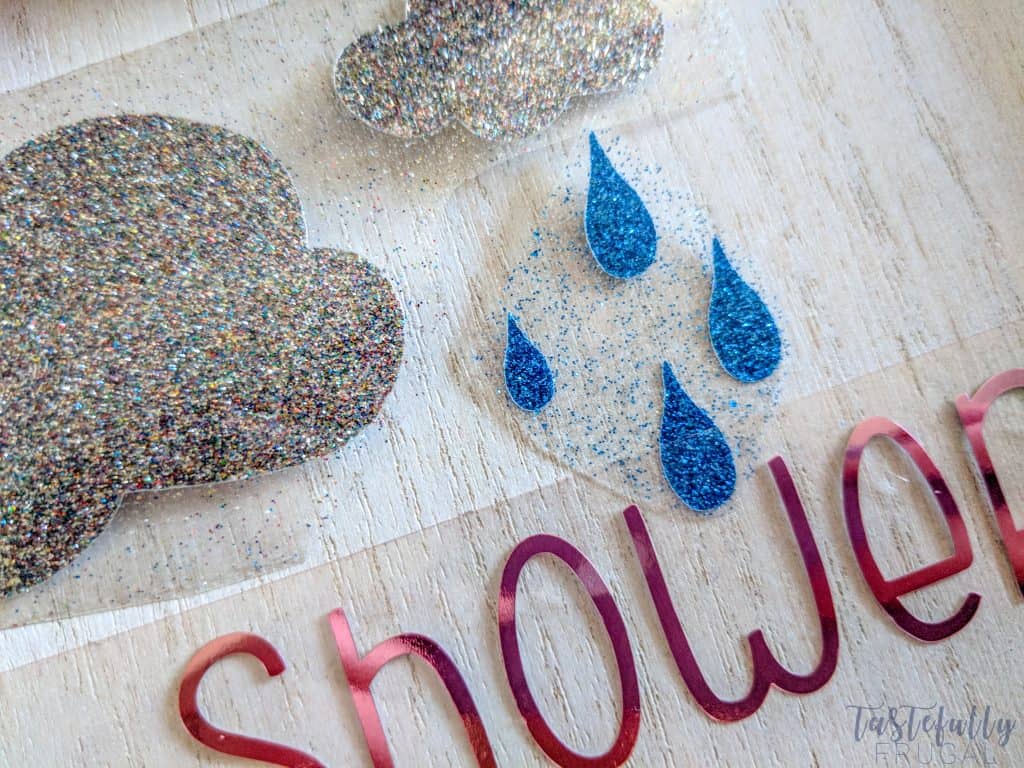
Did you know you can use iron on vinyl on wood?! Yep, you can and it makes it stand up better to the elements outside. I used glitter iron on for this sign. I started with glitter for the clouds and rain drops and then foil for the wording BUT I had a really hard time getting the foil to stick. So I covered it with glitter and it turned out great!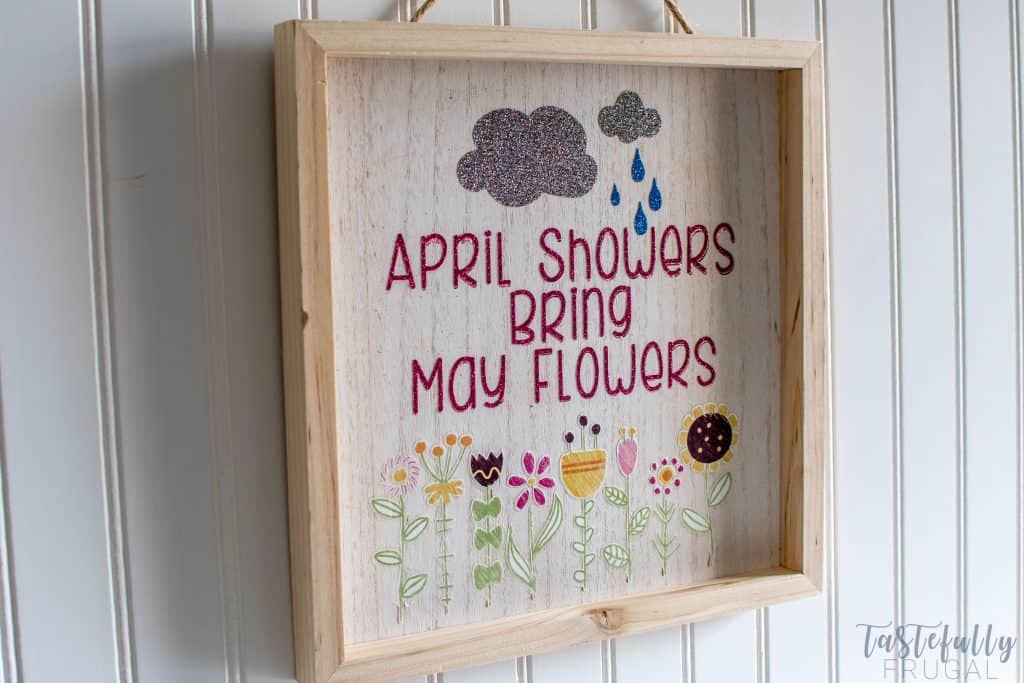
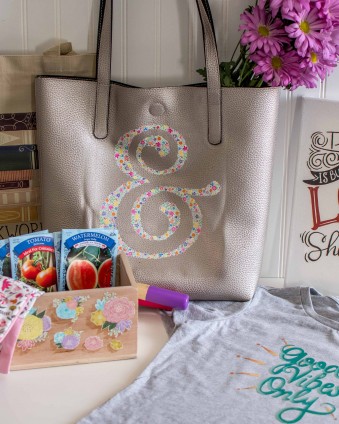
And you see those flowers down at the bottom? Those are one of the NEW Cricut Iron On Designs! You may have saw the teacher tote bag I shared yesterday with another Iron On Design, and these are quickly becoming my favorite way to personalize gifts, home decor and more.
They are SO easy to use. All you have to do is take them out of the package and iron them on – easy peasy right?! You can use them alone or combine them with other iron on like I did hear to create a custom look. Right now there are over 50 designs available with lots more to come! I’ll be sharing a few more crafts with these in the next few weeks. But for now let me show you how to make this sign!
SUPPLIES:
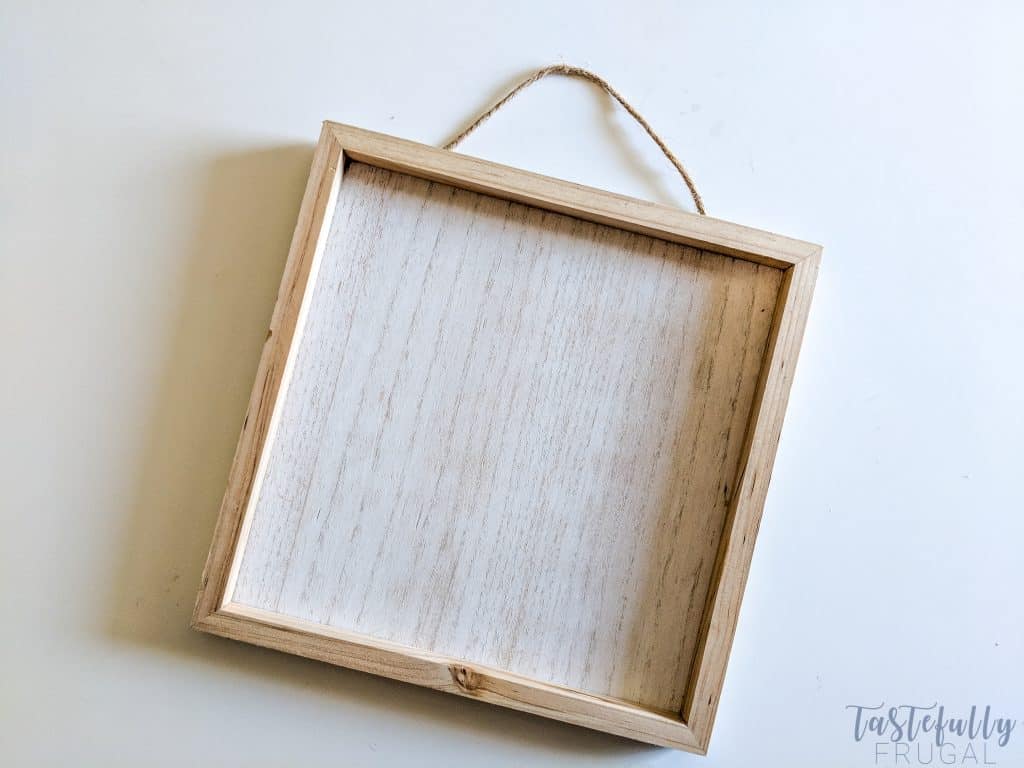
Wood Shadow Box (I got this one from Joann)
Glitter Iron On (I used silver, blue and pink)
https://design.cricut.com/#/design/new/projects?category=My%20ProjectsCricut EasyPress
Cricut Maker or Explore Air Machine
**If you’re ordering supplies from Cricut.com, make sure to use promo code TFRUGAL to get 10% off and score FREE shipping!**
DIRECTIONS:
Open up this design in design space and send it to be cut. Make sure to mirror your image when using iron on vinyl.
Select glitter iron on from the drop down menu of materials.
Load your StandardGrip mat with your iron on vinyl shiny side down.
Cut and weed your designs.
Heat your EasyPress to 340°F.
Line up designs and make sure there is no plastic underneath any of the iron on. You can have plastic touching plastic but if you have iron on vinyl over plastic it will get pressed on to the plastic not the material.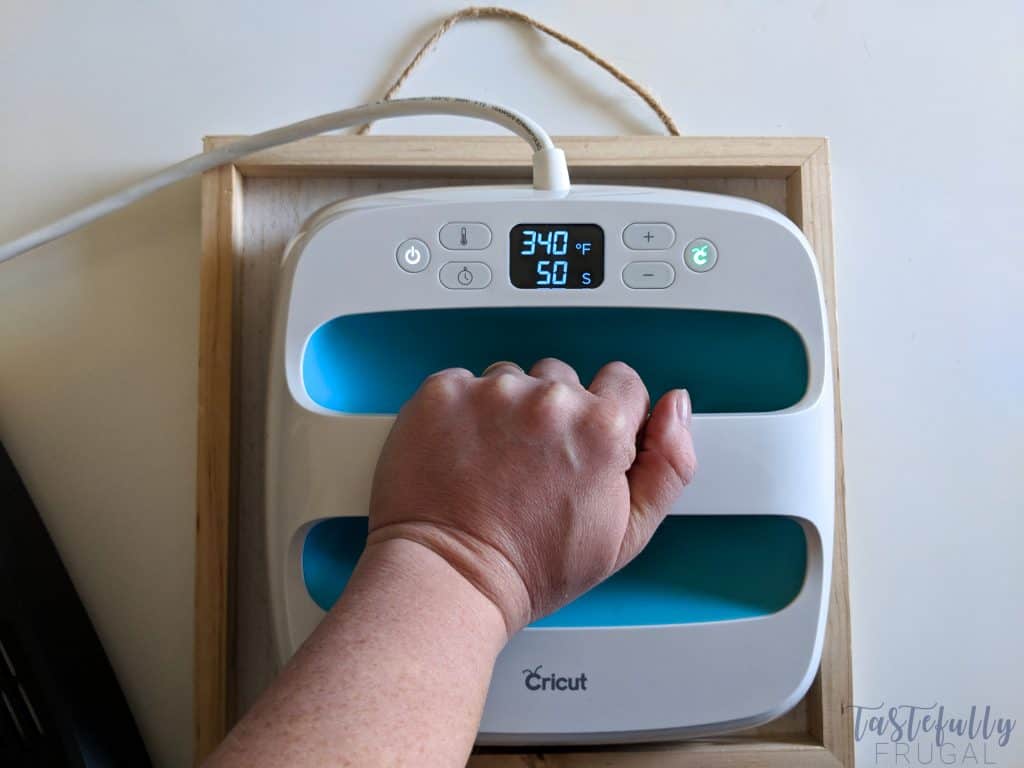
Use EasyPress and press with medium firm pressure for 50 seconds.
Peel glitter iron on right away. Wait 1-2 minutes to peel iron on design.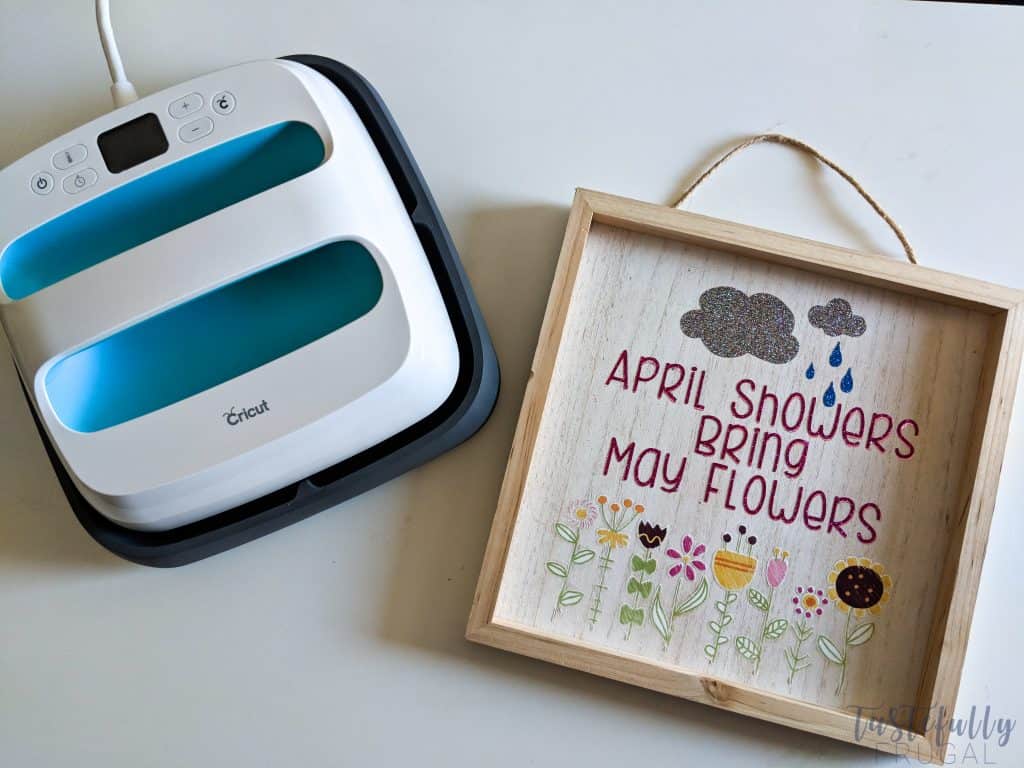
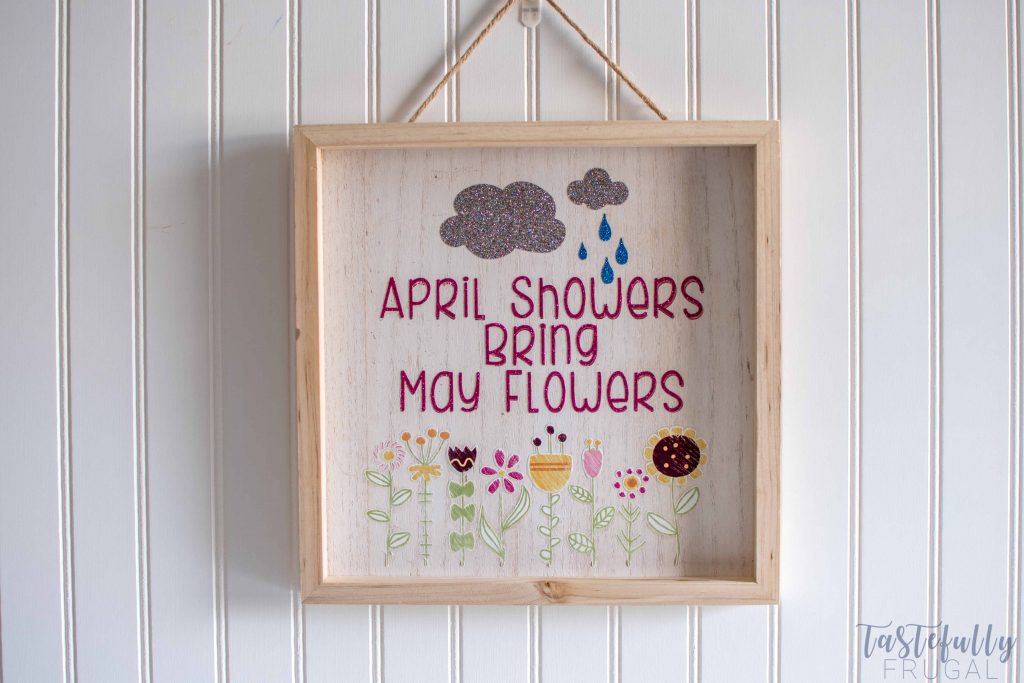
Hang and enjoy! Every time I see this sign as I walk out our front door it makes me smile and patiently wait for warmer weather with lots of flowers.
If you’d like to check out more ways you can use your Cricut check out these posts! Need help with your Cricut? Join our Cricut Support Facebook Group!
I’m excited to join some super talented bloggers today as part of the Inspire My Creativity Link Party! The second Wednesday of every month (I was a few days late this month) we will be posting our projects and you can link your projects up too!
[inlinkz_linkup id=775016 mode=1]



Leave a Reply