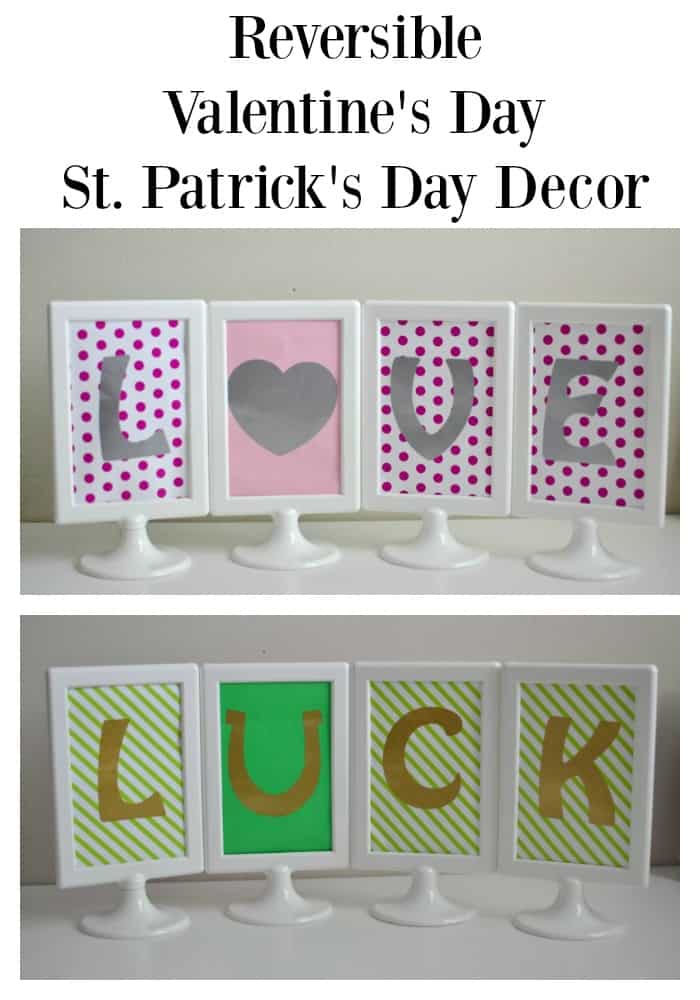
This easy (and affordable) holiday sign serves double duty for both Valentine’s Day AND St. Patrick’s Day.
 I’ve said it before, and a lot recently, I love decorating for the holidays. We just started decorating this year (well last year starting at Halloween) so our decorations supply isn’t too big yet. I like creating our decorations because it’s fun and also it’s way more affordable than going out and buying everything.
 As much as I love crafting and creating I love spending time with my boys even more. That’s where the idea for this sign came from. We were at IKEA (their favorite store ever, behind Toys R Us of course) a few weeks ago and I found these super cute rolls of Valentine’s Day wrapping paper. They were only $4.99 for four rolls so I decided to get them. Then Rohrl, my three year old, say the same set but in green and decided he wanted it. Of course I couldn’t say no to him so in the cart they went. Then, when we were getting ready to leave the boys saw their favorite picture frames, The Tolsby, and wanted to get one of those too.
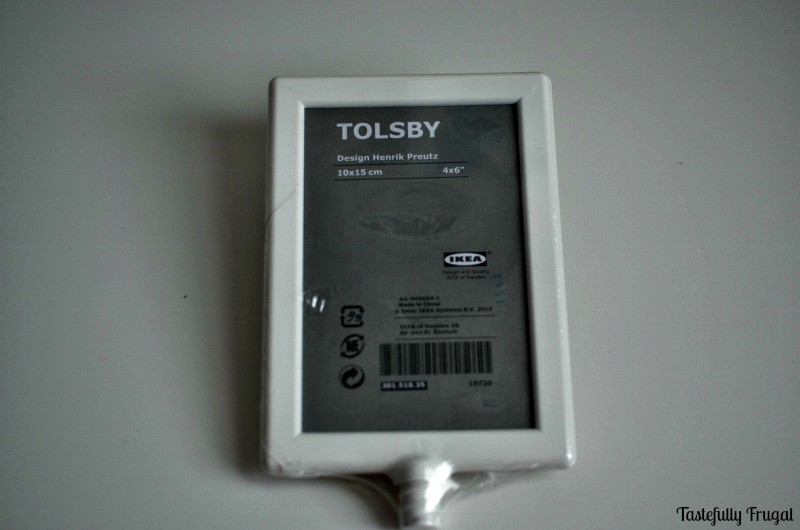
That’s when the idea popped into my head. I could make a Valentine’s Day sign AND a St. Patrick’s Day sign with everything in the cart. So we picked up four frames and headed out to get some ice cream…because you can’t leave IKEA without getting ice cream, right?! By the way, this post isn’t sponsored by IKEA we just love their stuff!
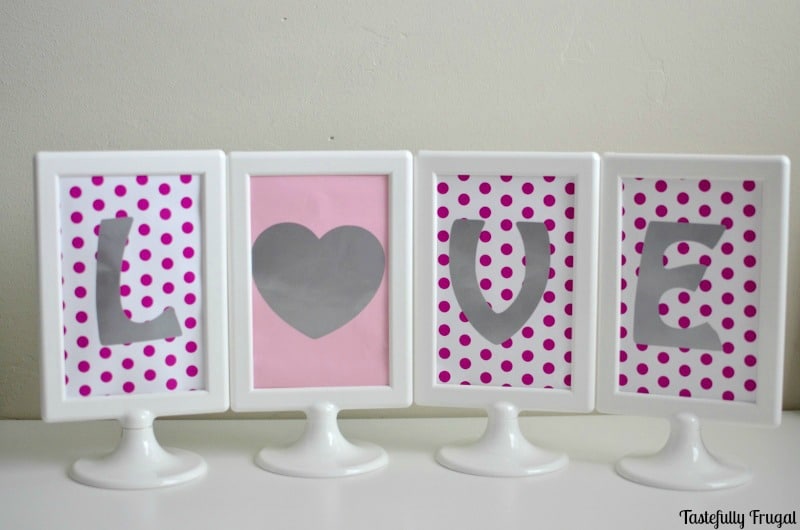 When we got home I started up my Silhouette Cameo and opened the design I used for my Love Mason Jars. I changed the font, made the letters a little bigger then printed them on silver vinyl. I then changed the V and E to C and K and changed the heart to a horseshoe and printed those on gold vinyl.
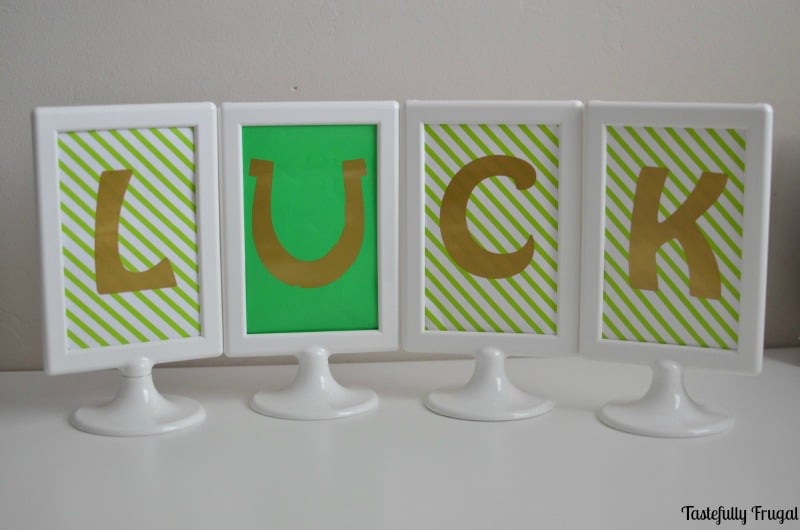 I cut the wrapping paper into 4×6 in. pieces (the size of pictures the frames hold) and stuck the letters on each sheet. Lastly, I paired up each word (The L’s back to back, the heart and horseshoe back to back, the V and C back to back and the E and K back to back) then put them in their frames.
The sign turned out just as cute as I had pictured it and they are making their home in my boys’ play room. Would you love to make this (pun intended) but don’t have a vinyl cutter. No worries…hop on over to my Instagram @sydney_tastefullyfrugal today at 12pm MST and I’ll be giving away a Silhouette Cameo along with a few of my best blog buddies! Check out what projects they created below and don’t forget to enter the giveaway, it ends on 2/11/16!
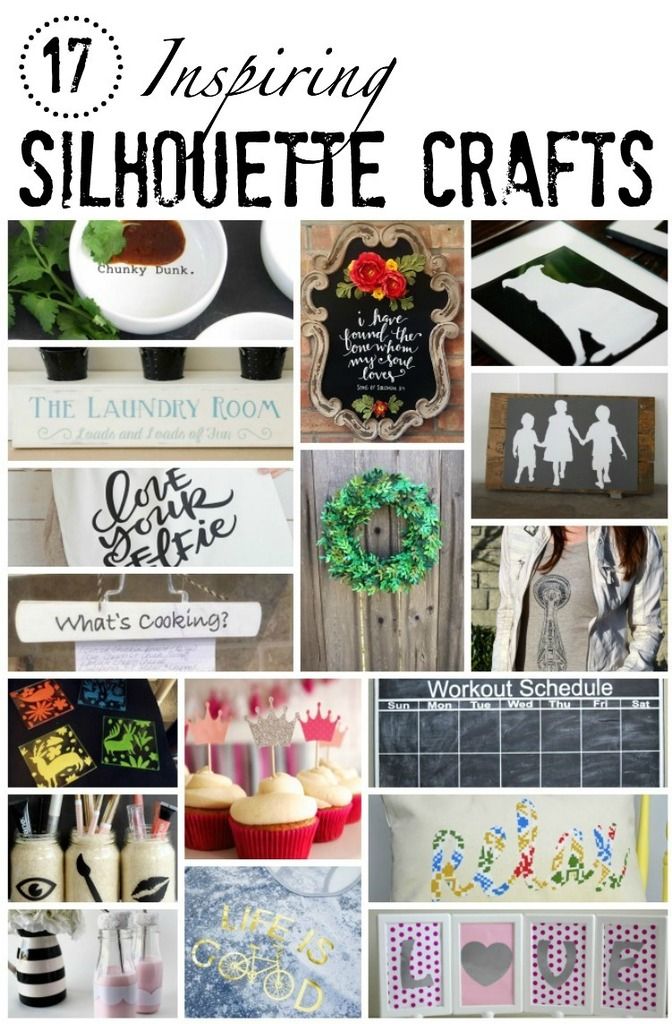
Hobnail House – Silhouette Craft Blog Hop: Cut Vinyl Art Upcycle
In The Loop – How to Create a Silhouette Using the Silhouette Cameo
Craving Some Creativity – Silhouette Project Challenge: Distressed Laundry Room Sign
DIY Passion – Cheeky DIY Tote Bags that will Make You Smile
Domestic Abiliy – Paper Boxwood Wreath
Our House Now A Home – A Silhouette Giveaway and Creating New Aall Art
My Life From Home – Silhouette Challenge: What’s Cooking? Recipe Holder
Holy Craft – How to Use a Photograph to Make a Custom T-Shirt with Your Silhouette
Knock it Off Crafts –
DIY Otomi Coasters using a Silhouette Machine and Silhouette Giveaway!
One Project Closer – DIY Princess Party Decorations
Dream Design DIY – Chalkboard Workout Calendar and Silhouette Giveaway
The Country Chic Cottage – Makeup Organizer
Refresh Living – Custom Word Throw Pillows with Vintage Fabric
The Deans List – Scalloped Milk Glass for Valentine’s Day
Tried & True – “Life Is Good” Bicycle Lover’s Tee
Tastefully Frugal – Valentine’s Day/St. Patrick’s Day Reversible Sign



Kim says
Loving on these! I think I told you this but I’ve been dying to make something similar. I’m all about mutli-use! Great job.
Laurie says
This is such a great idea. I love the various patterns and color and that you can just reverse it for another holiday. Thanks for sharing!
Jenny @ Refresh Living says
What a great idea to have a dual purpose decoration! What an easy transfer from one holiday to the next!
Helen Gullett says
What a creative idea!! 2 holiday decors at once 🙂
Rachel says
What a great idea to make them reversible! Two holidays in one!