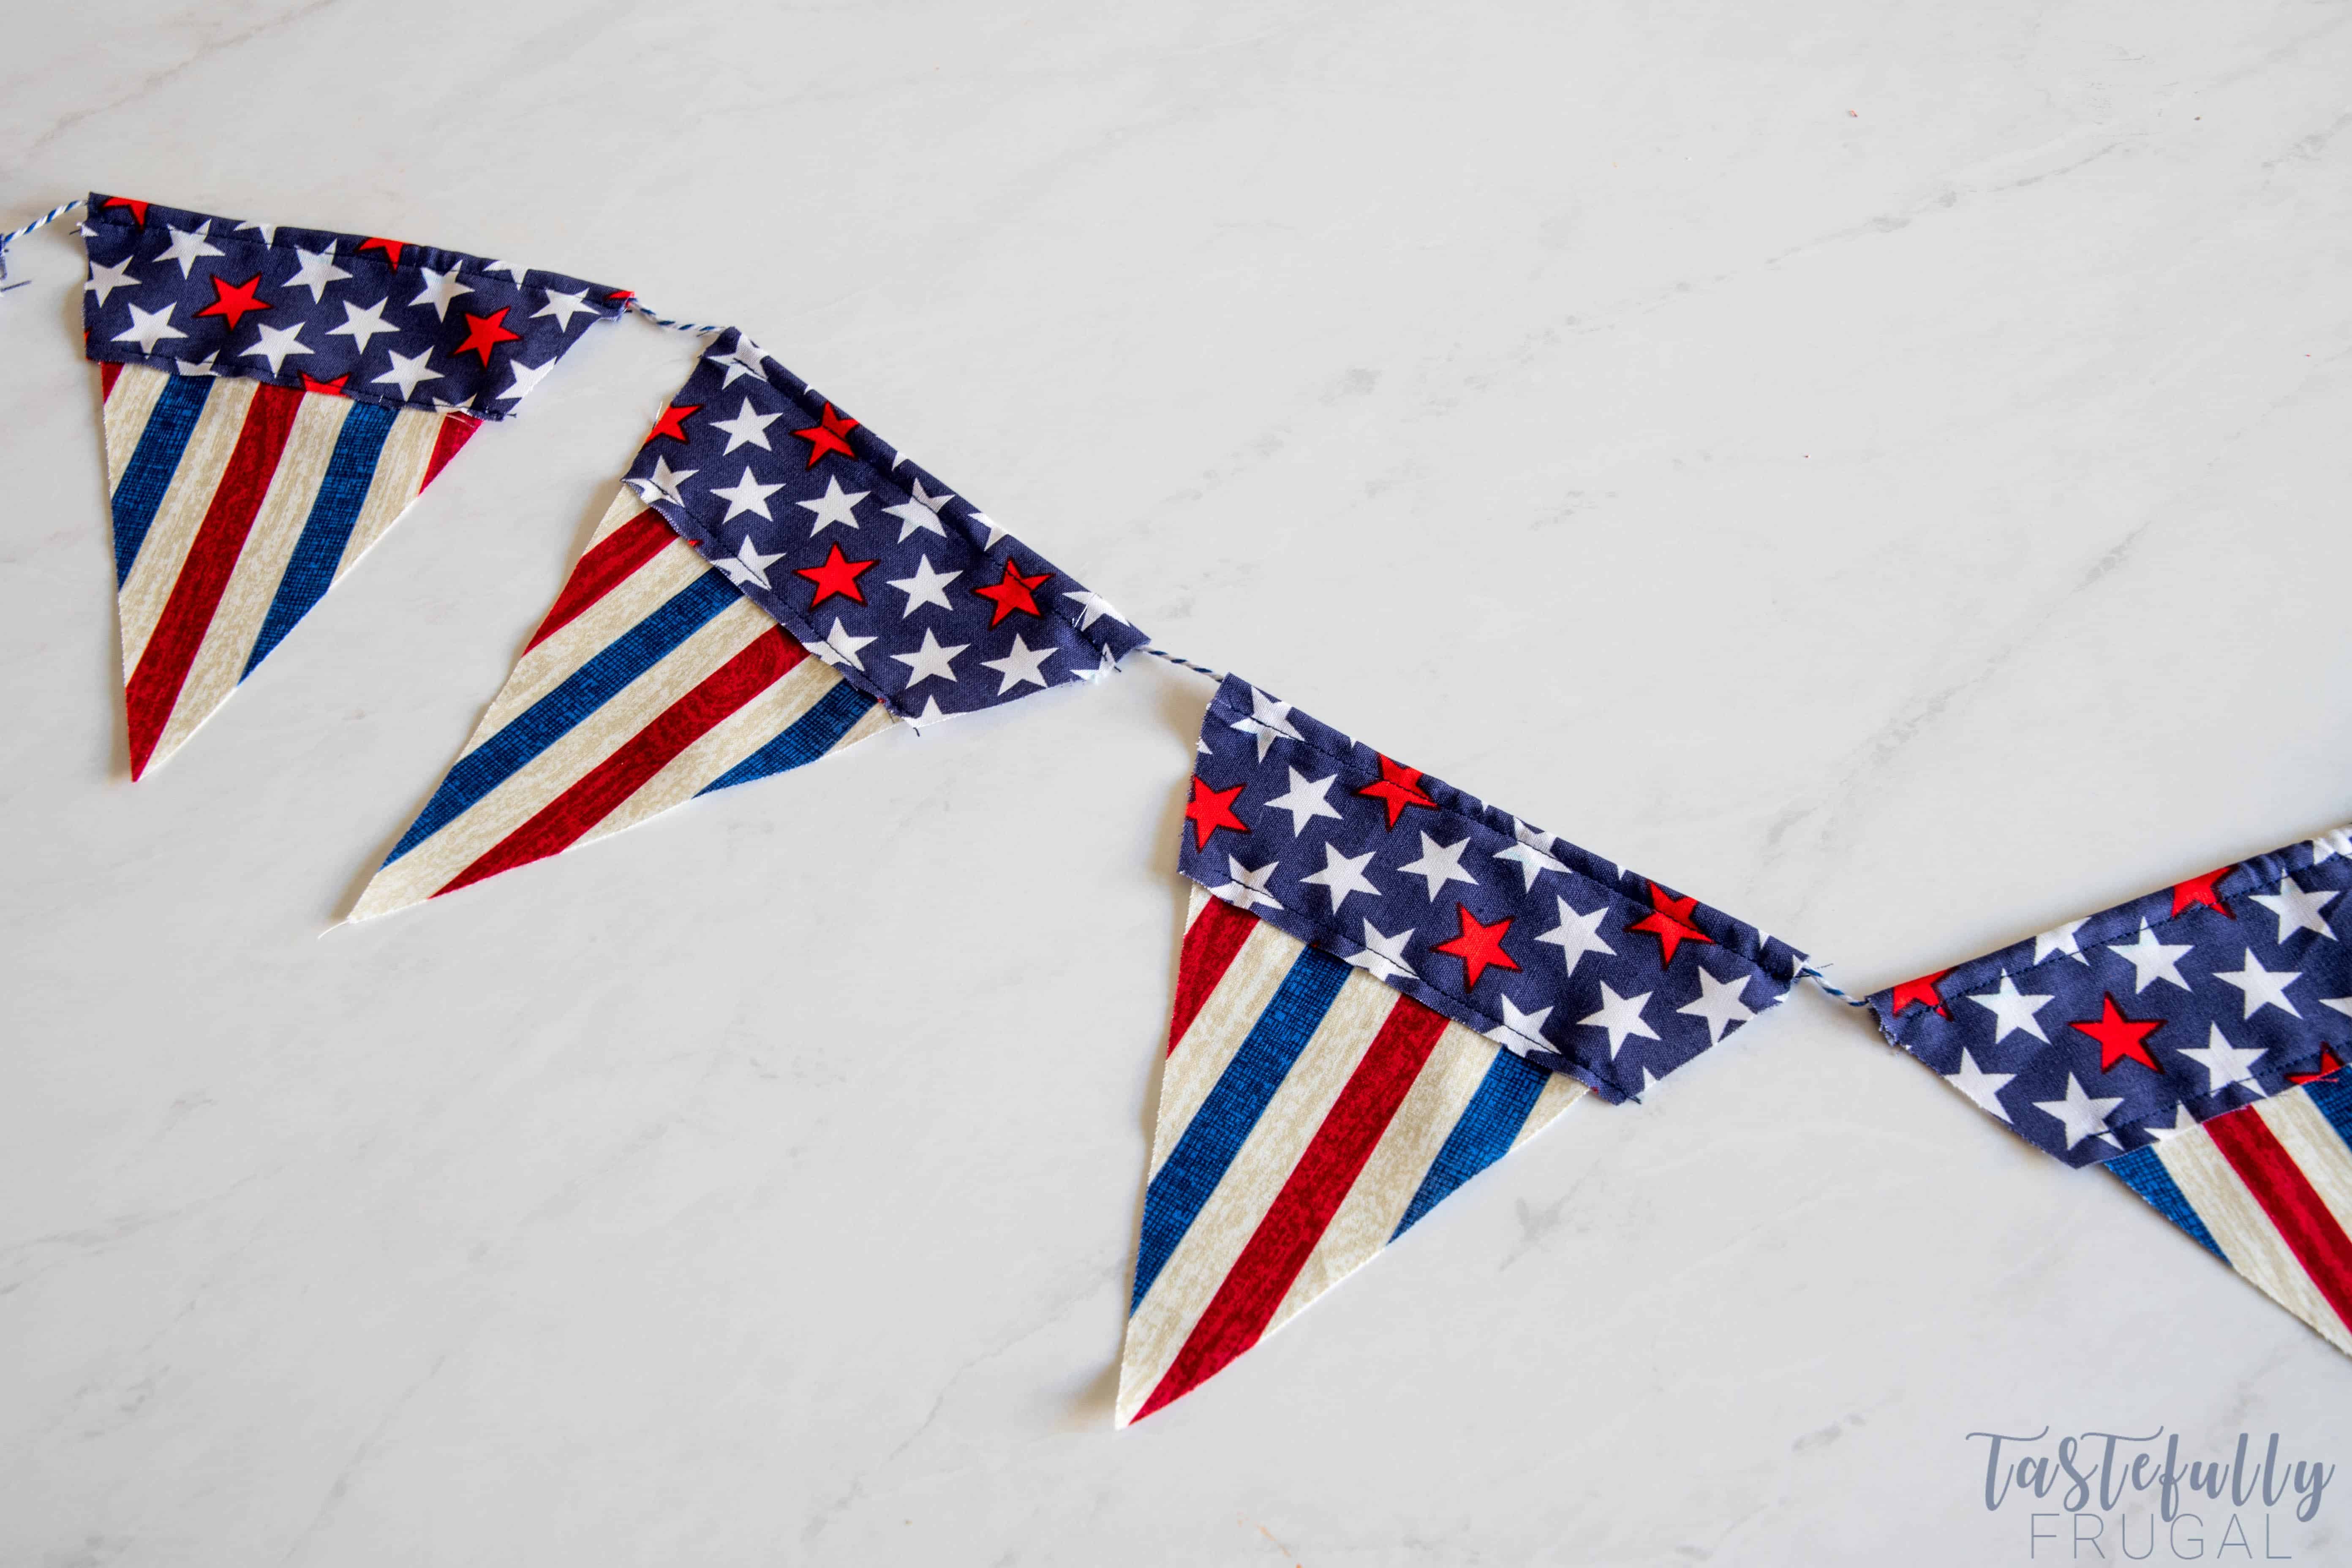
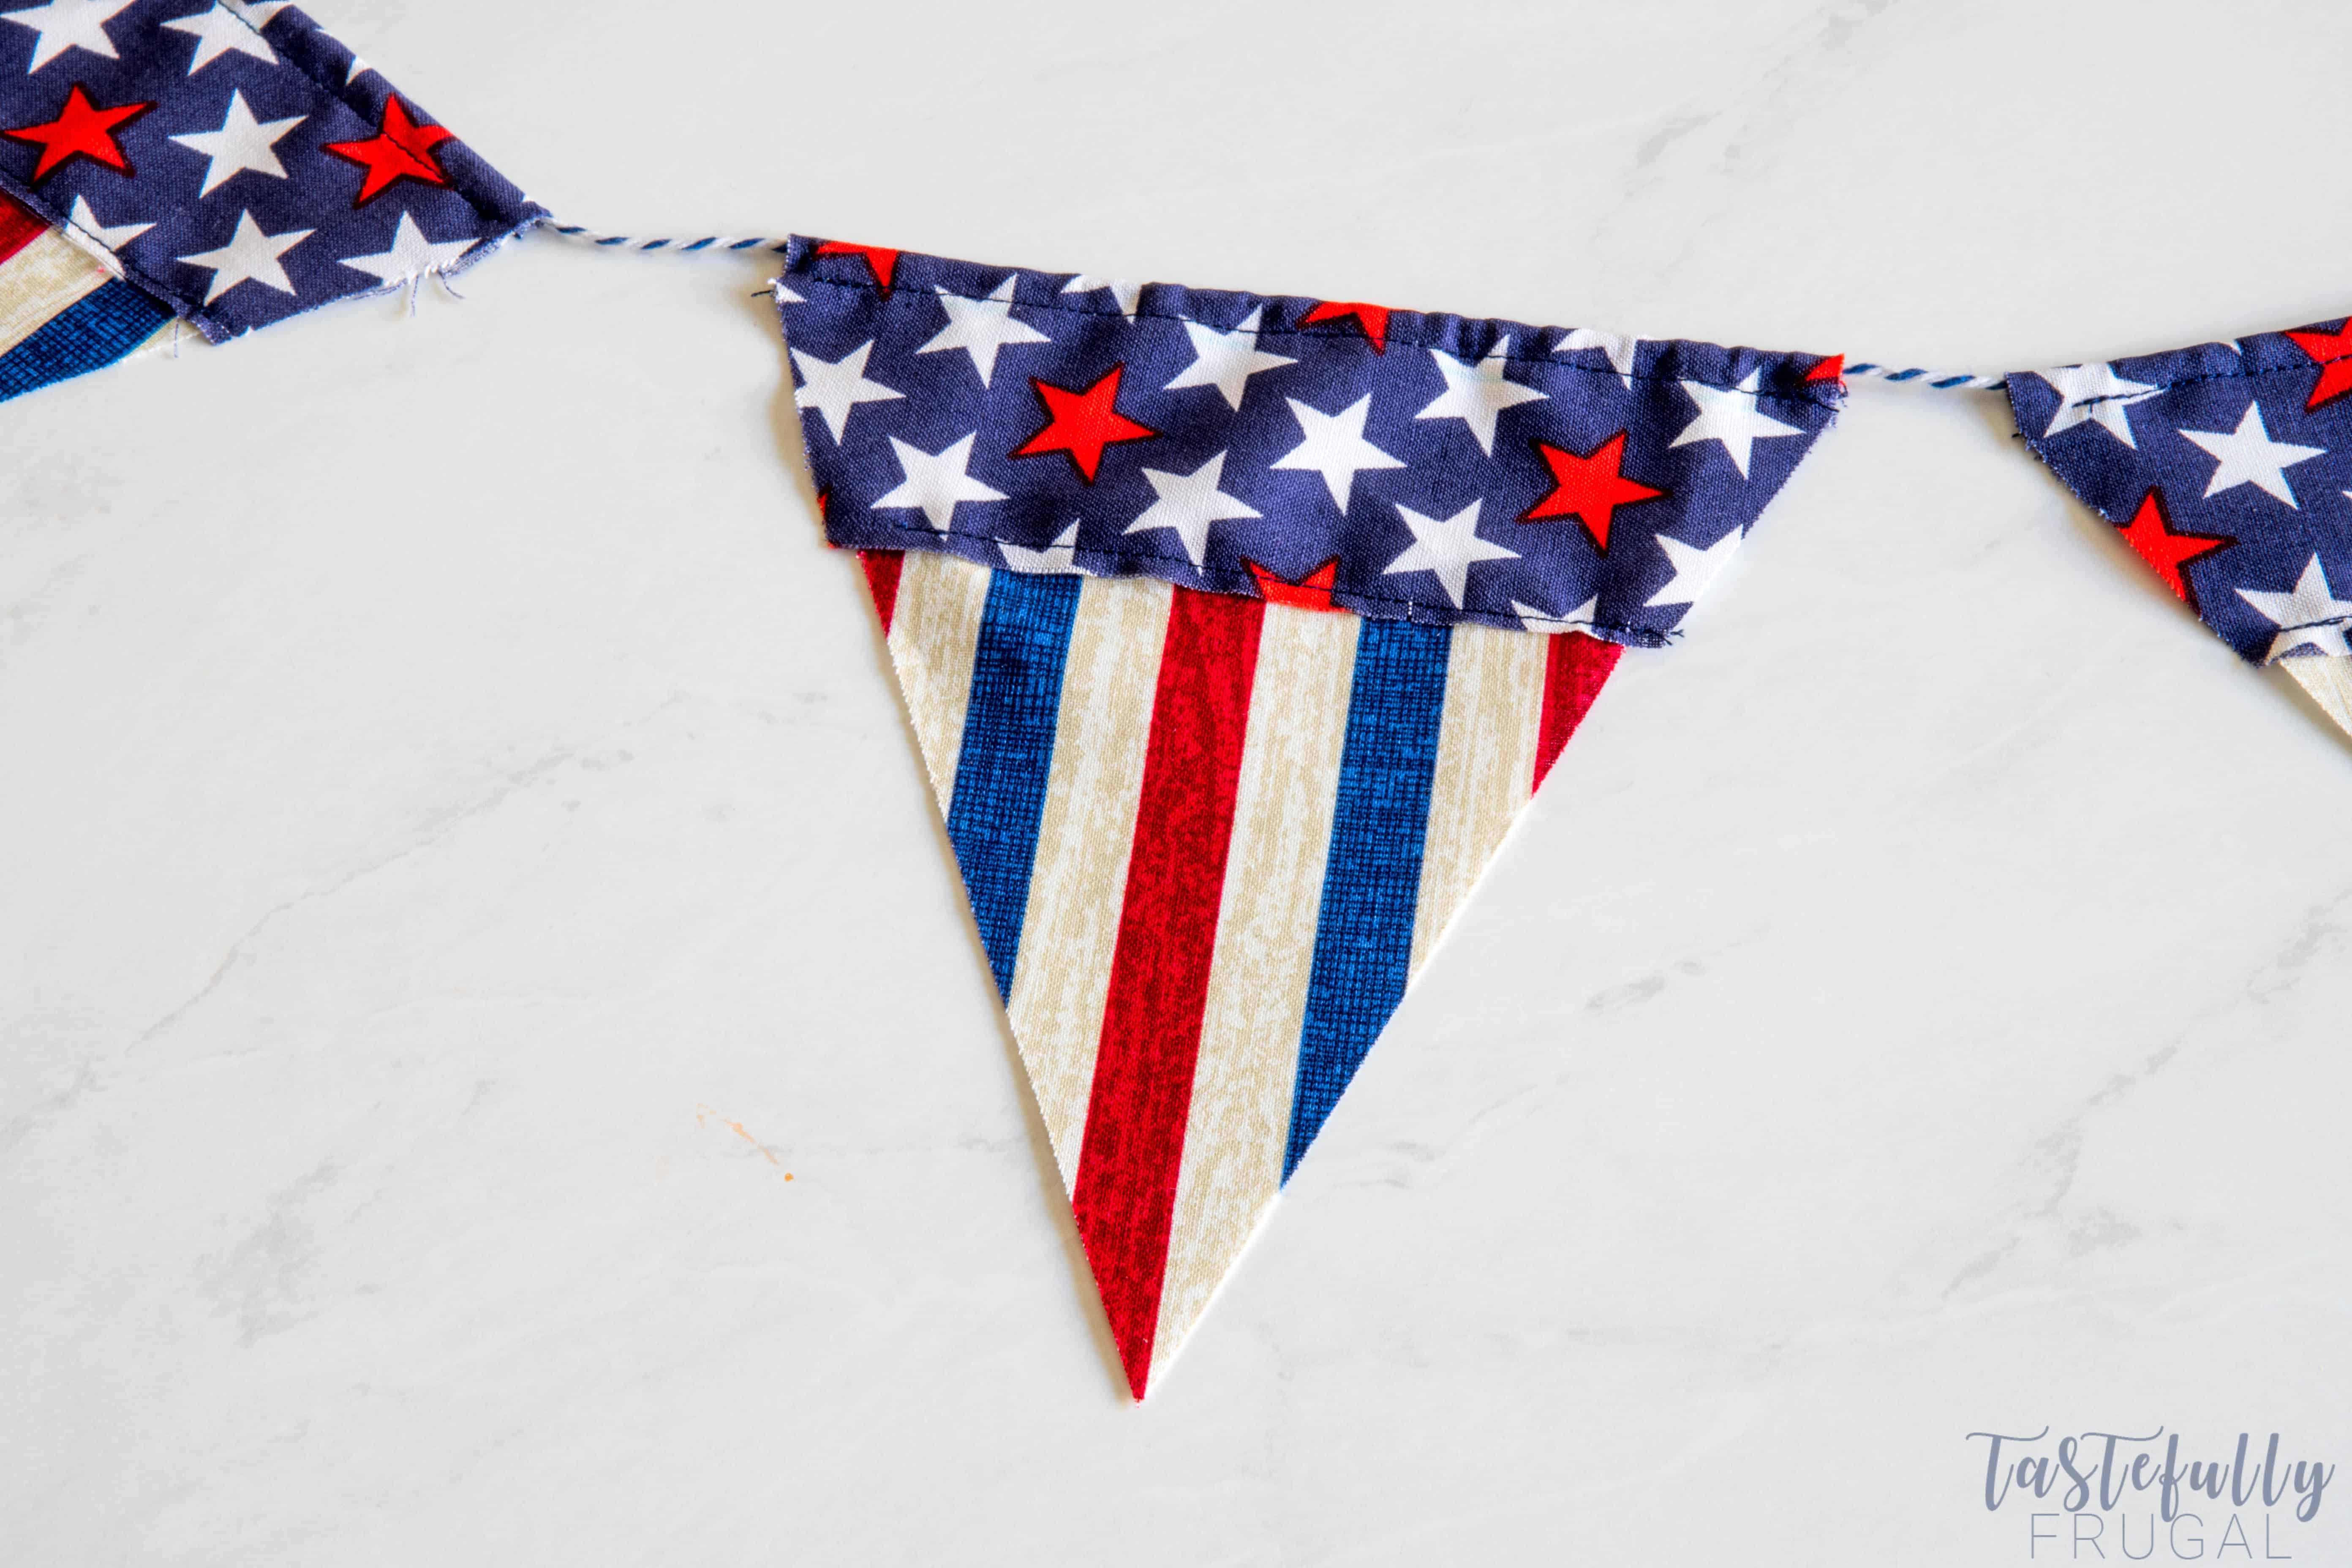
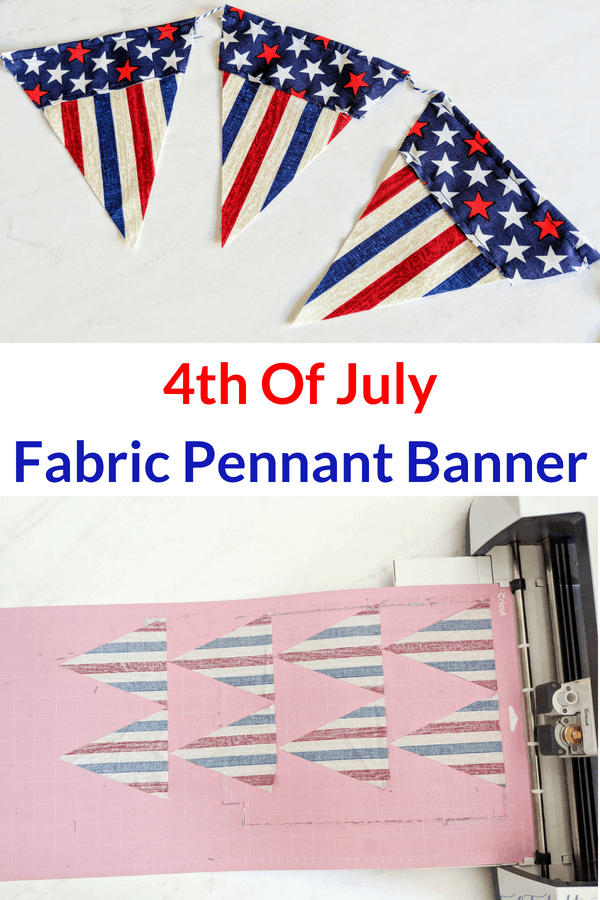
Make this fabric pennant banner in an hour or less with your Cricut Maker.
I’m sure I’ve said it before but 4th of July is my favorite holiday to celebrate! I love Christmas and Halloween with kids but I just love getting together with friends and family, going to parades, BBQs, fireworks and all the late night memories we make celebrating our nation’s independence. To enjoy the holiday longer, the last few years I’ve started making more patriotic decorations.
I know I could go to Target and they have so many cute things in the Dollar Spot, but I feel like those won’t last more than a year, and I won’t feel bad about throwing them away since they only cost $1 (or $3). Homemade decorations are better quality so they last longer and mean more. Plus it’s a whole lot easier, and less expensive, to keep all my decorations in a box and set them up the next year instead of buying new things every year. This project cost me less than $3 to make!
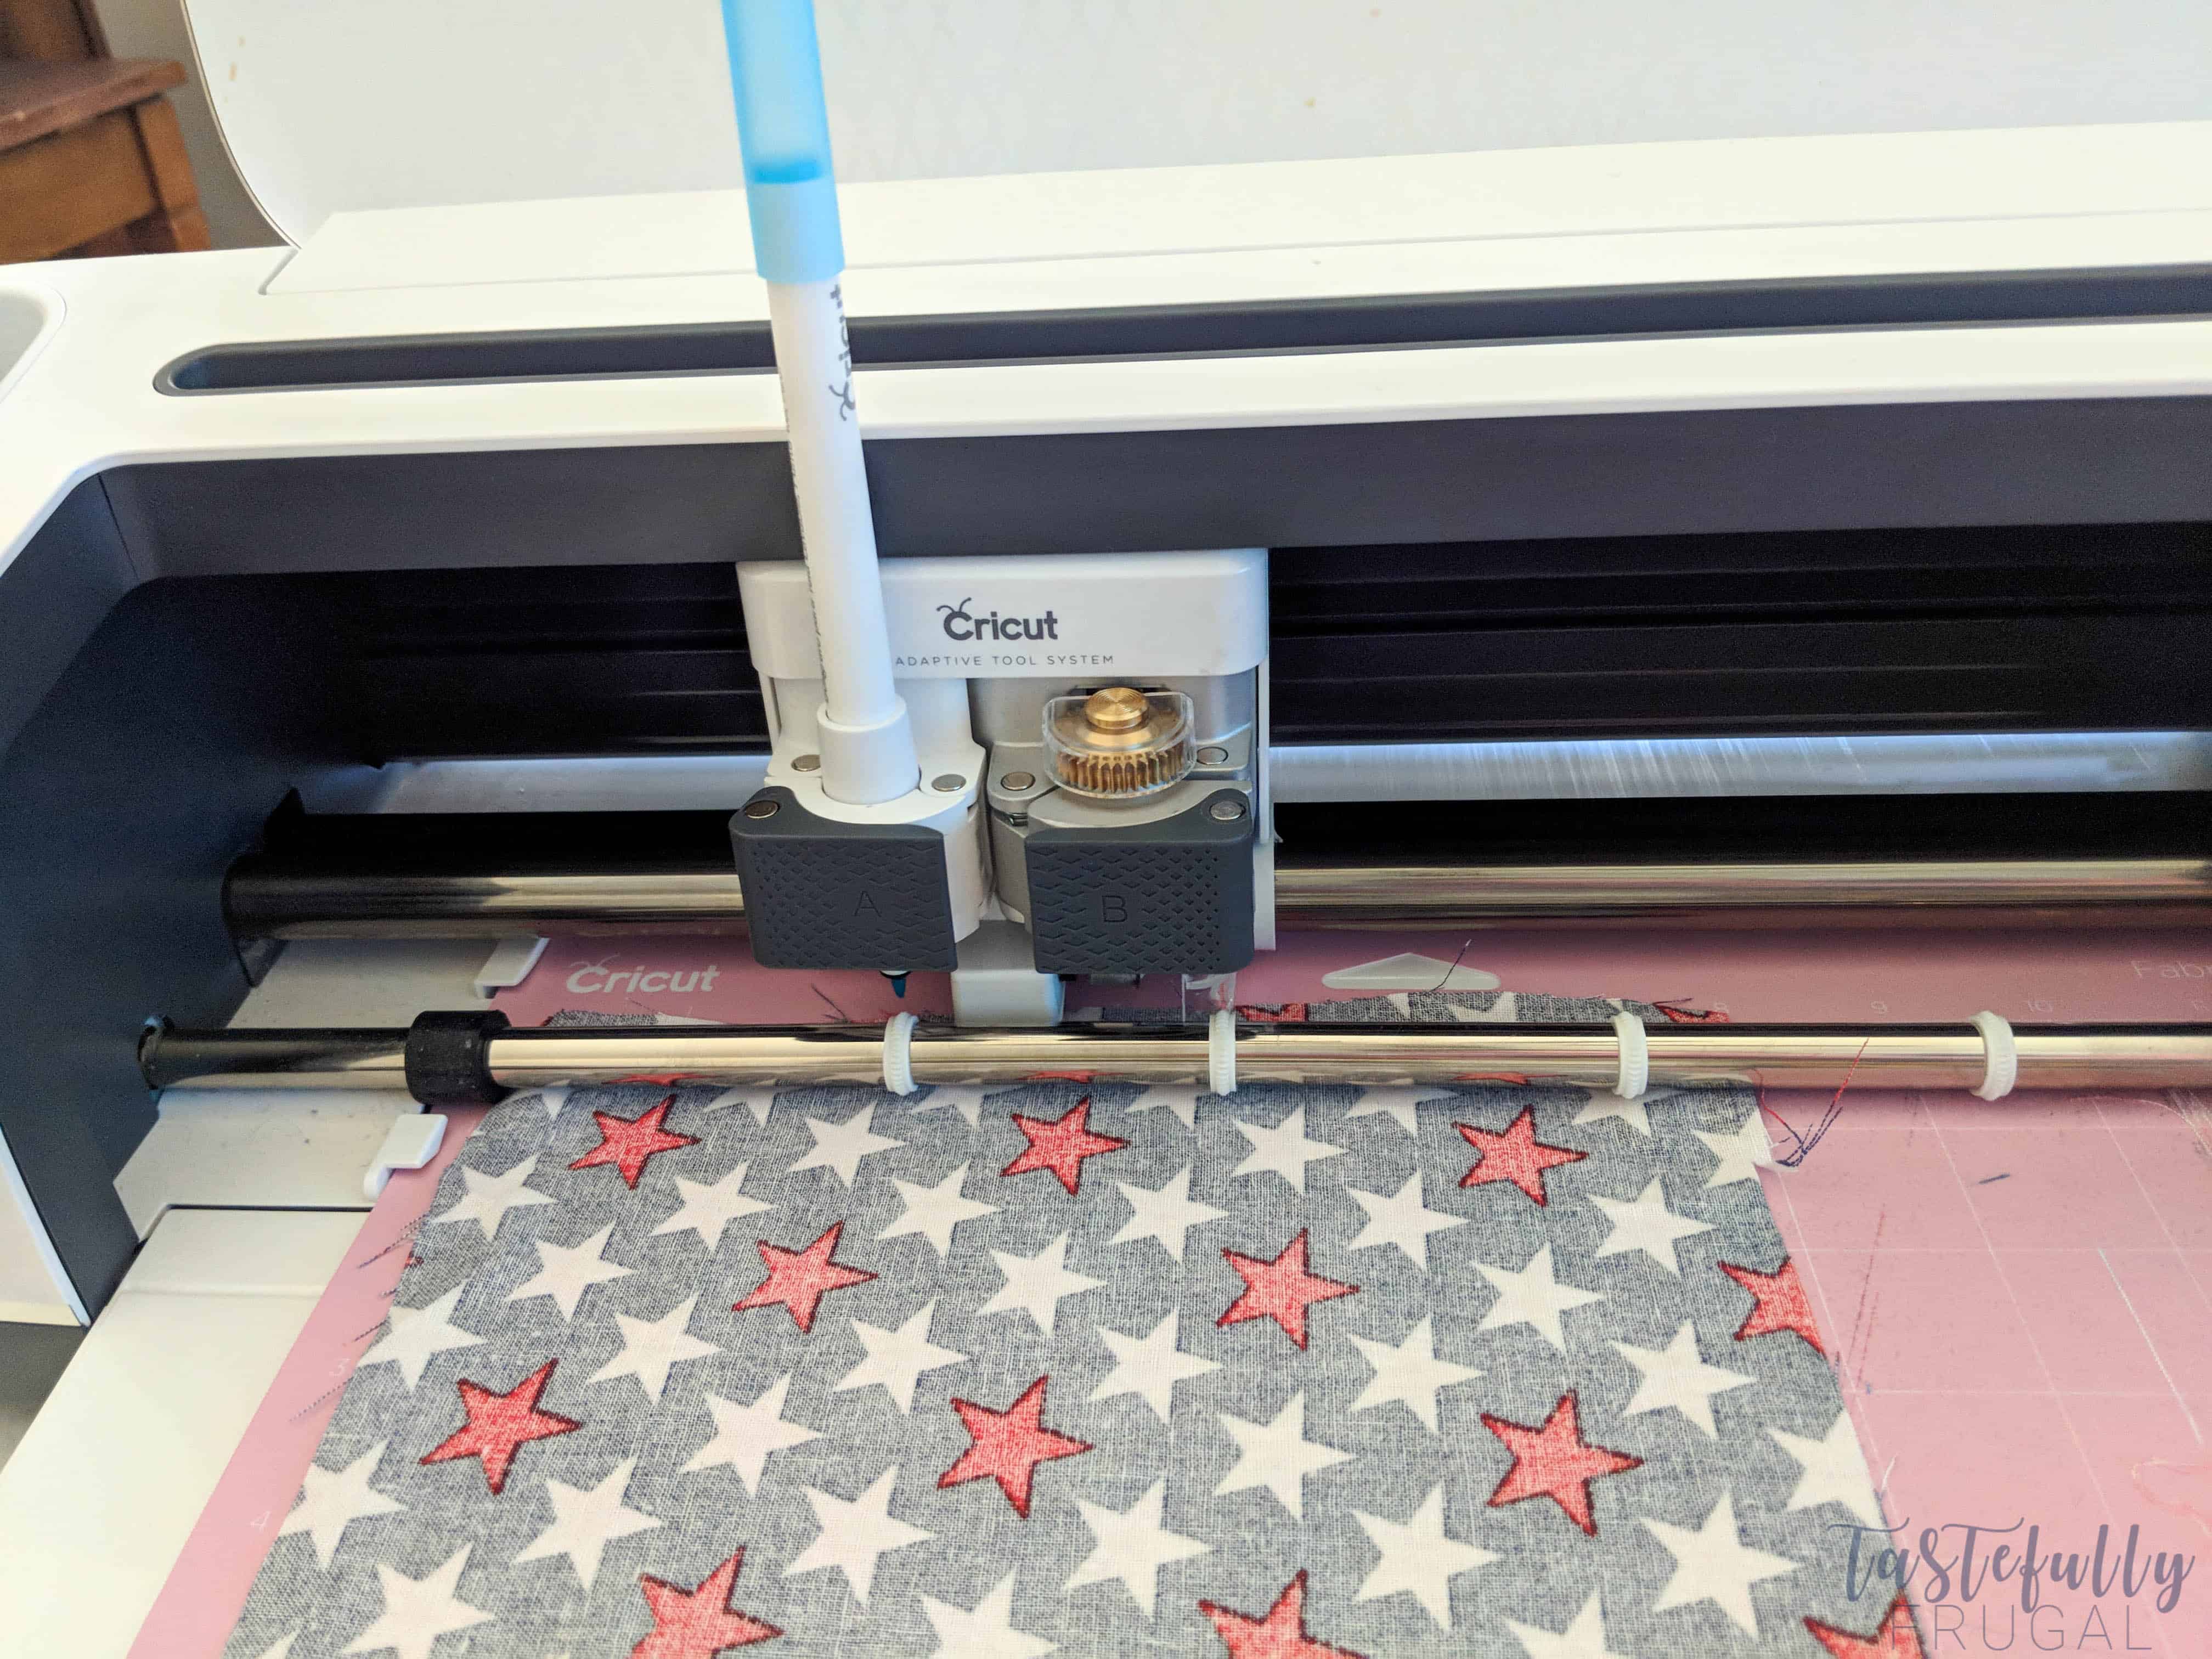
Using Cricut Design Space and the Cricut Maker made making this banner easy peasy! I designed the pennants in design space so they were a little longer up top so I could fold them over to make room for the string to go through and the fabric marker made it so they all got folded over at the same spot.
I picked up this fun fabric at JoAnn and with coupons I paid $2.50 total for the fabric. I got 1/2 yard of the blue stars fabric and 1 yard of the striped fabric. This was enough to make 24 6″ pennants with some fabric leftover.
The Cricut Double-Sided Self Healing Mat and Rotary Cutter made it super easy to cut the fabric down to size too! The mat is 18″ x 24″ and has larger blue lines at the 12″ and 24″ lines so you can easily see where to cut your fabric to fit to your mats. Let me show you how EASY it is to make this banner!
SUPPLIES:
IF YOU’RE BUYING FROM CRICUT.COM, MAKE SURE TO USE CODE TFRUGAL TO SAVE 10% AND SCORE FREE SHIPPING.
Fabric – You’ll need twice as much fabric for the bottom part as you do the top. This is the striped fabric and stars I used
Thread
12×24 Fabric (Pink) Cutting Mat
Iron
Twine or String
DIRECTIONS:
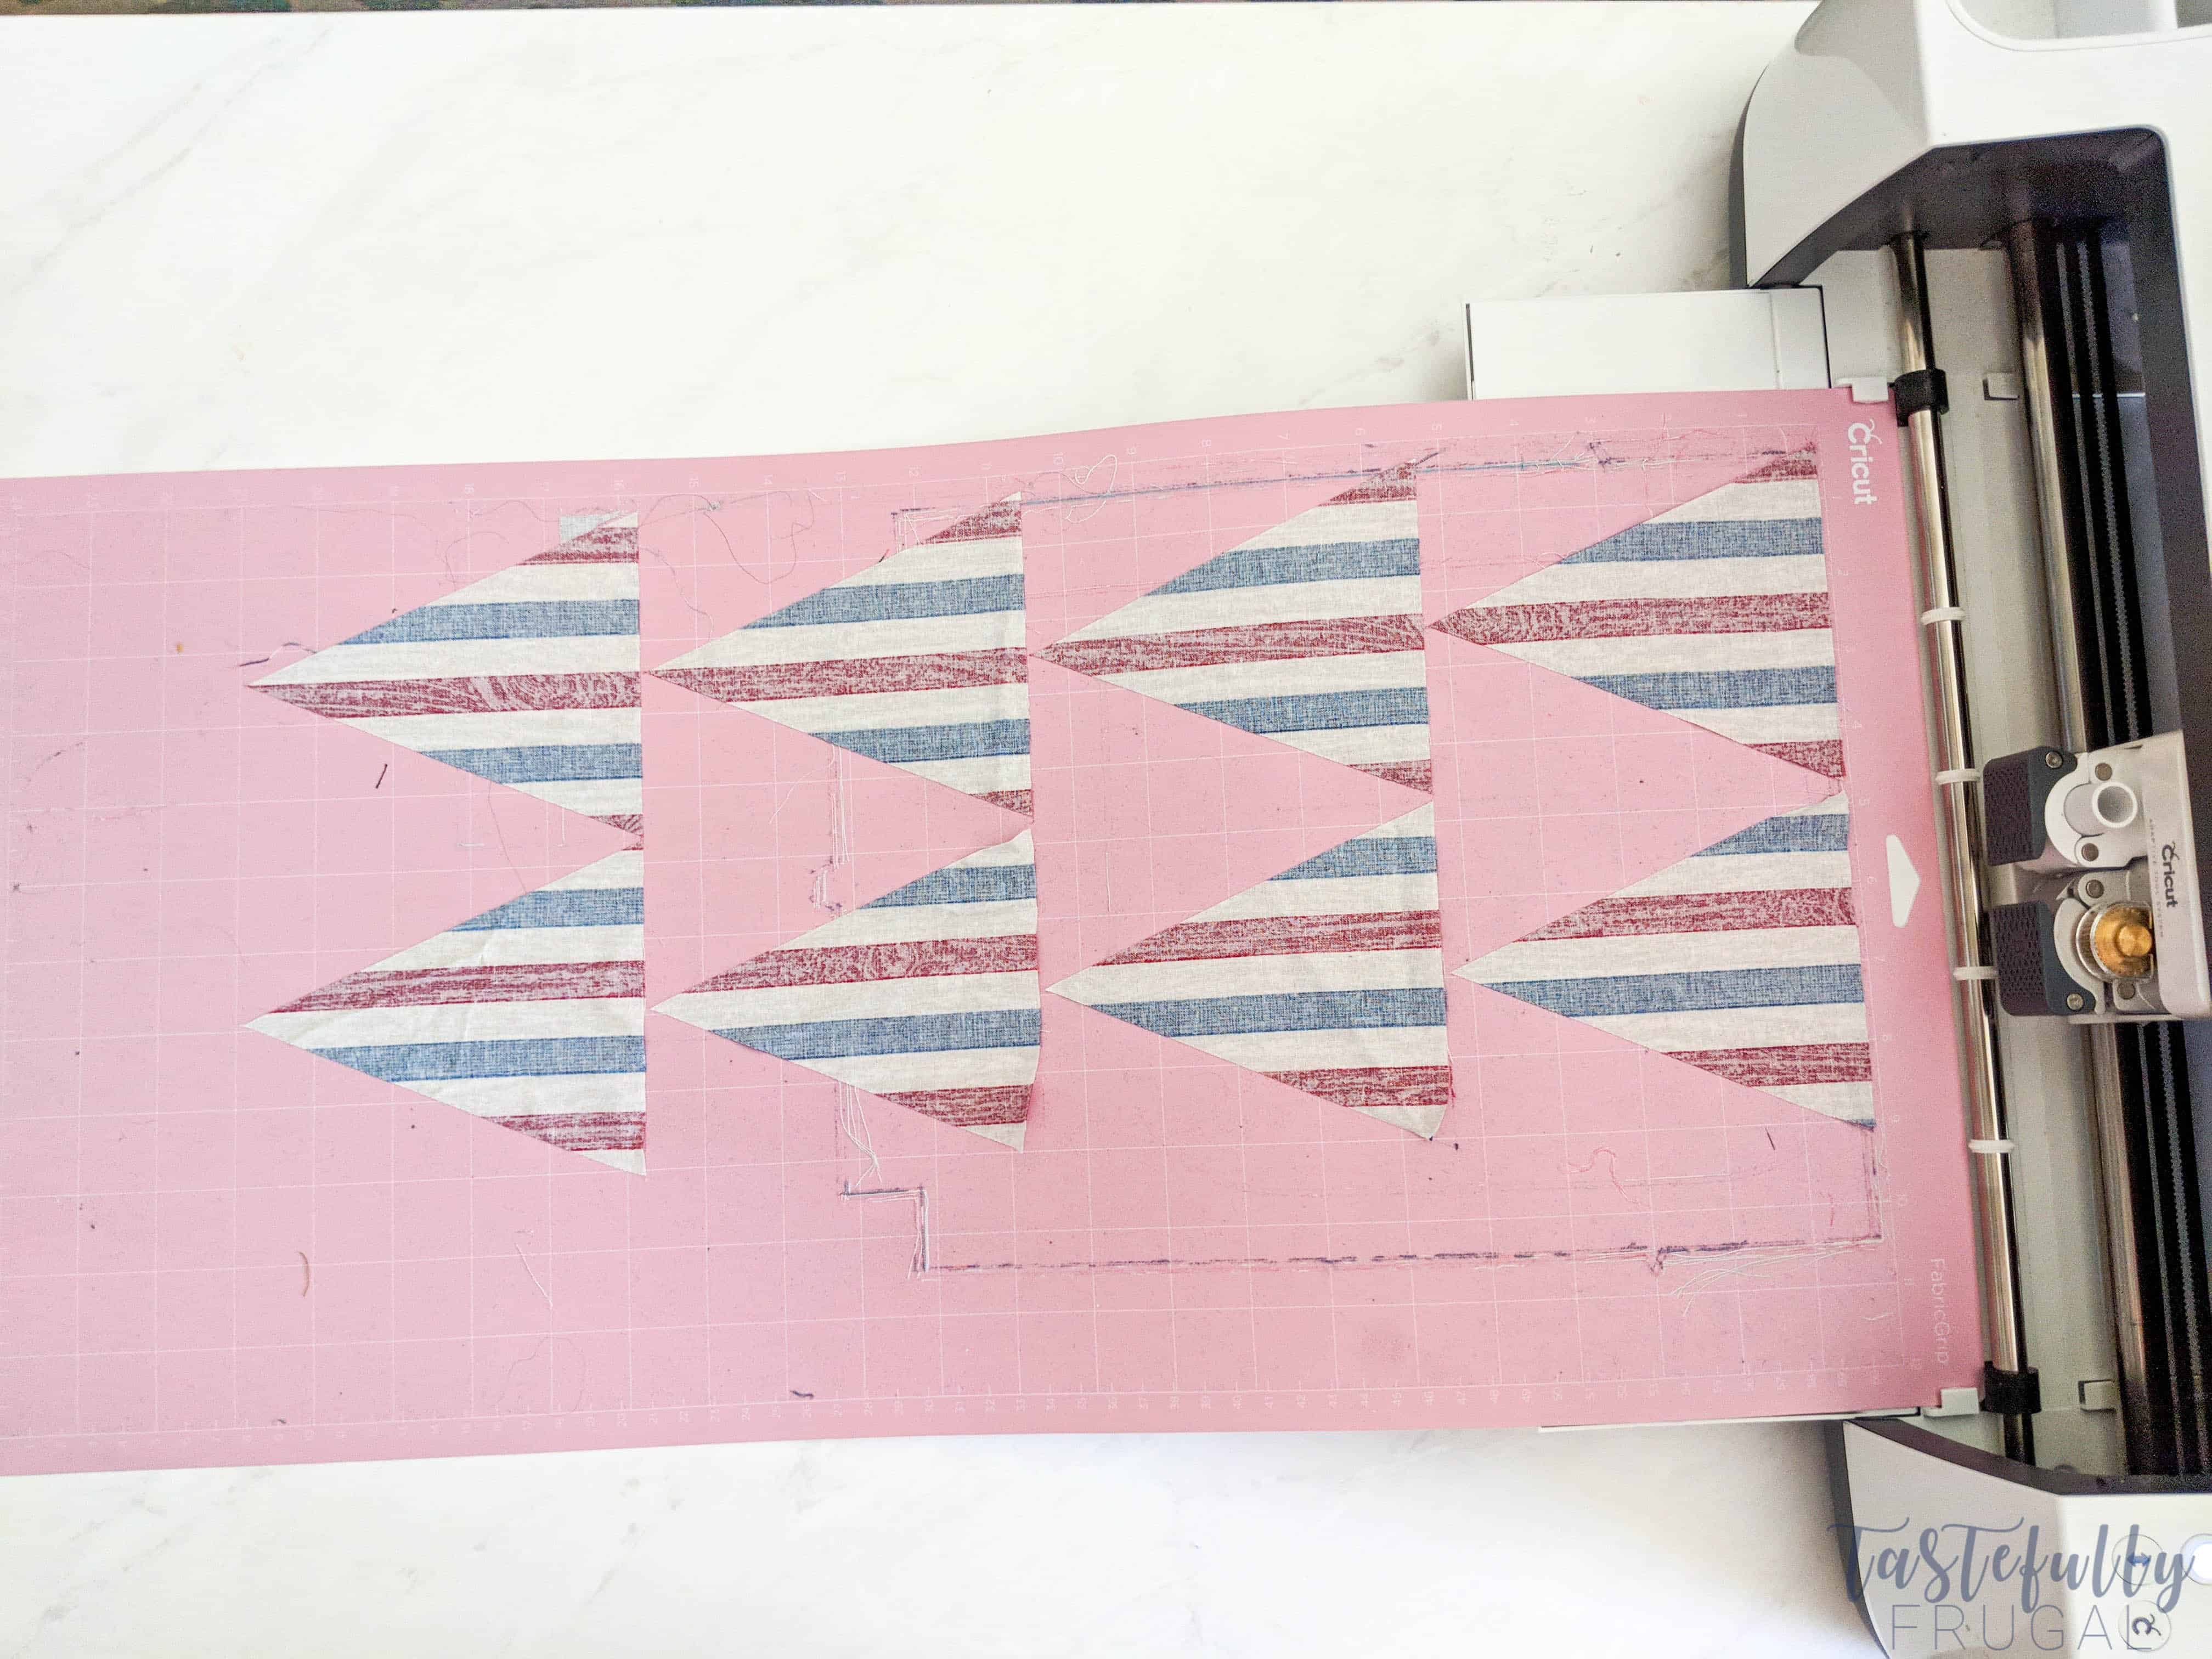
Cut your fabric to fit your mats. You’ll want to put your fabric on the self healing mat and use your rotary cutter to cut your fabric to 12″x24″.
Open up this design in design space.
Send design to cut. Change mat size to 12×24.
Select Medium Fabric and cut the bottom part of the pennants – make sure to have rotary blade loaded in the A clamp. **MAKE SURE FABRIC IS FACING DOWN ON MAT**
After you have cut the triangles, load the Cricut Fabric Marker in your B Clamp and cut the top parts.
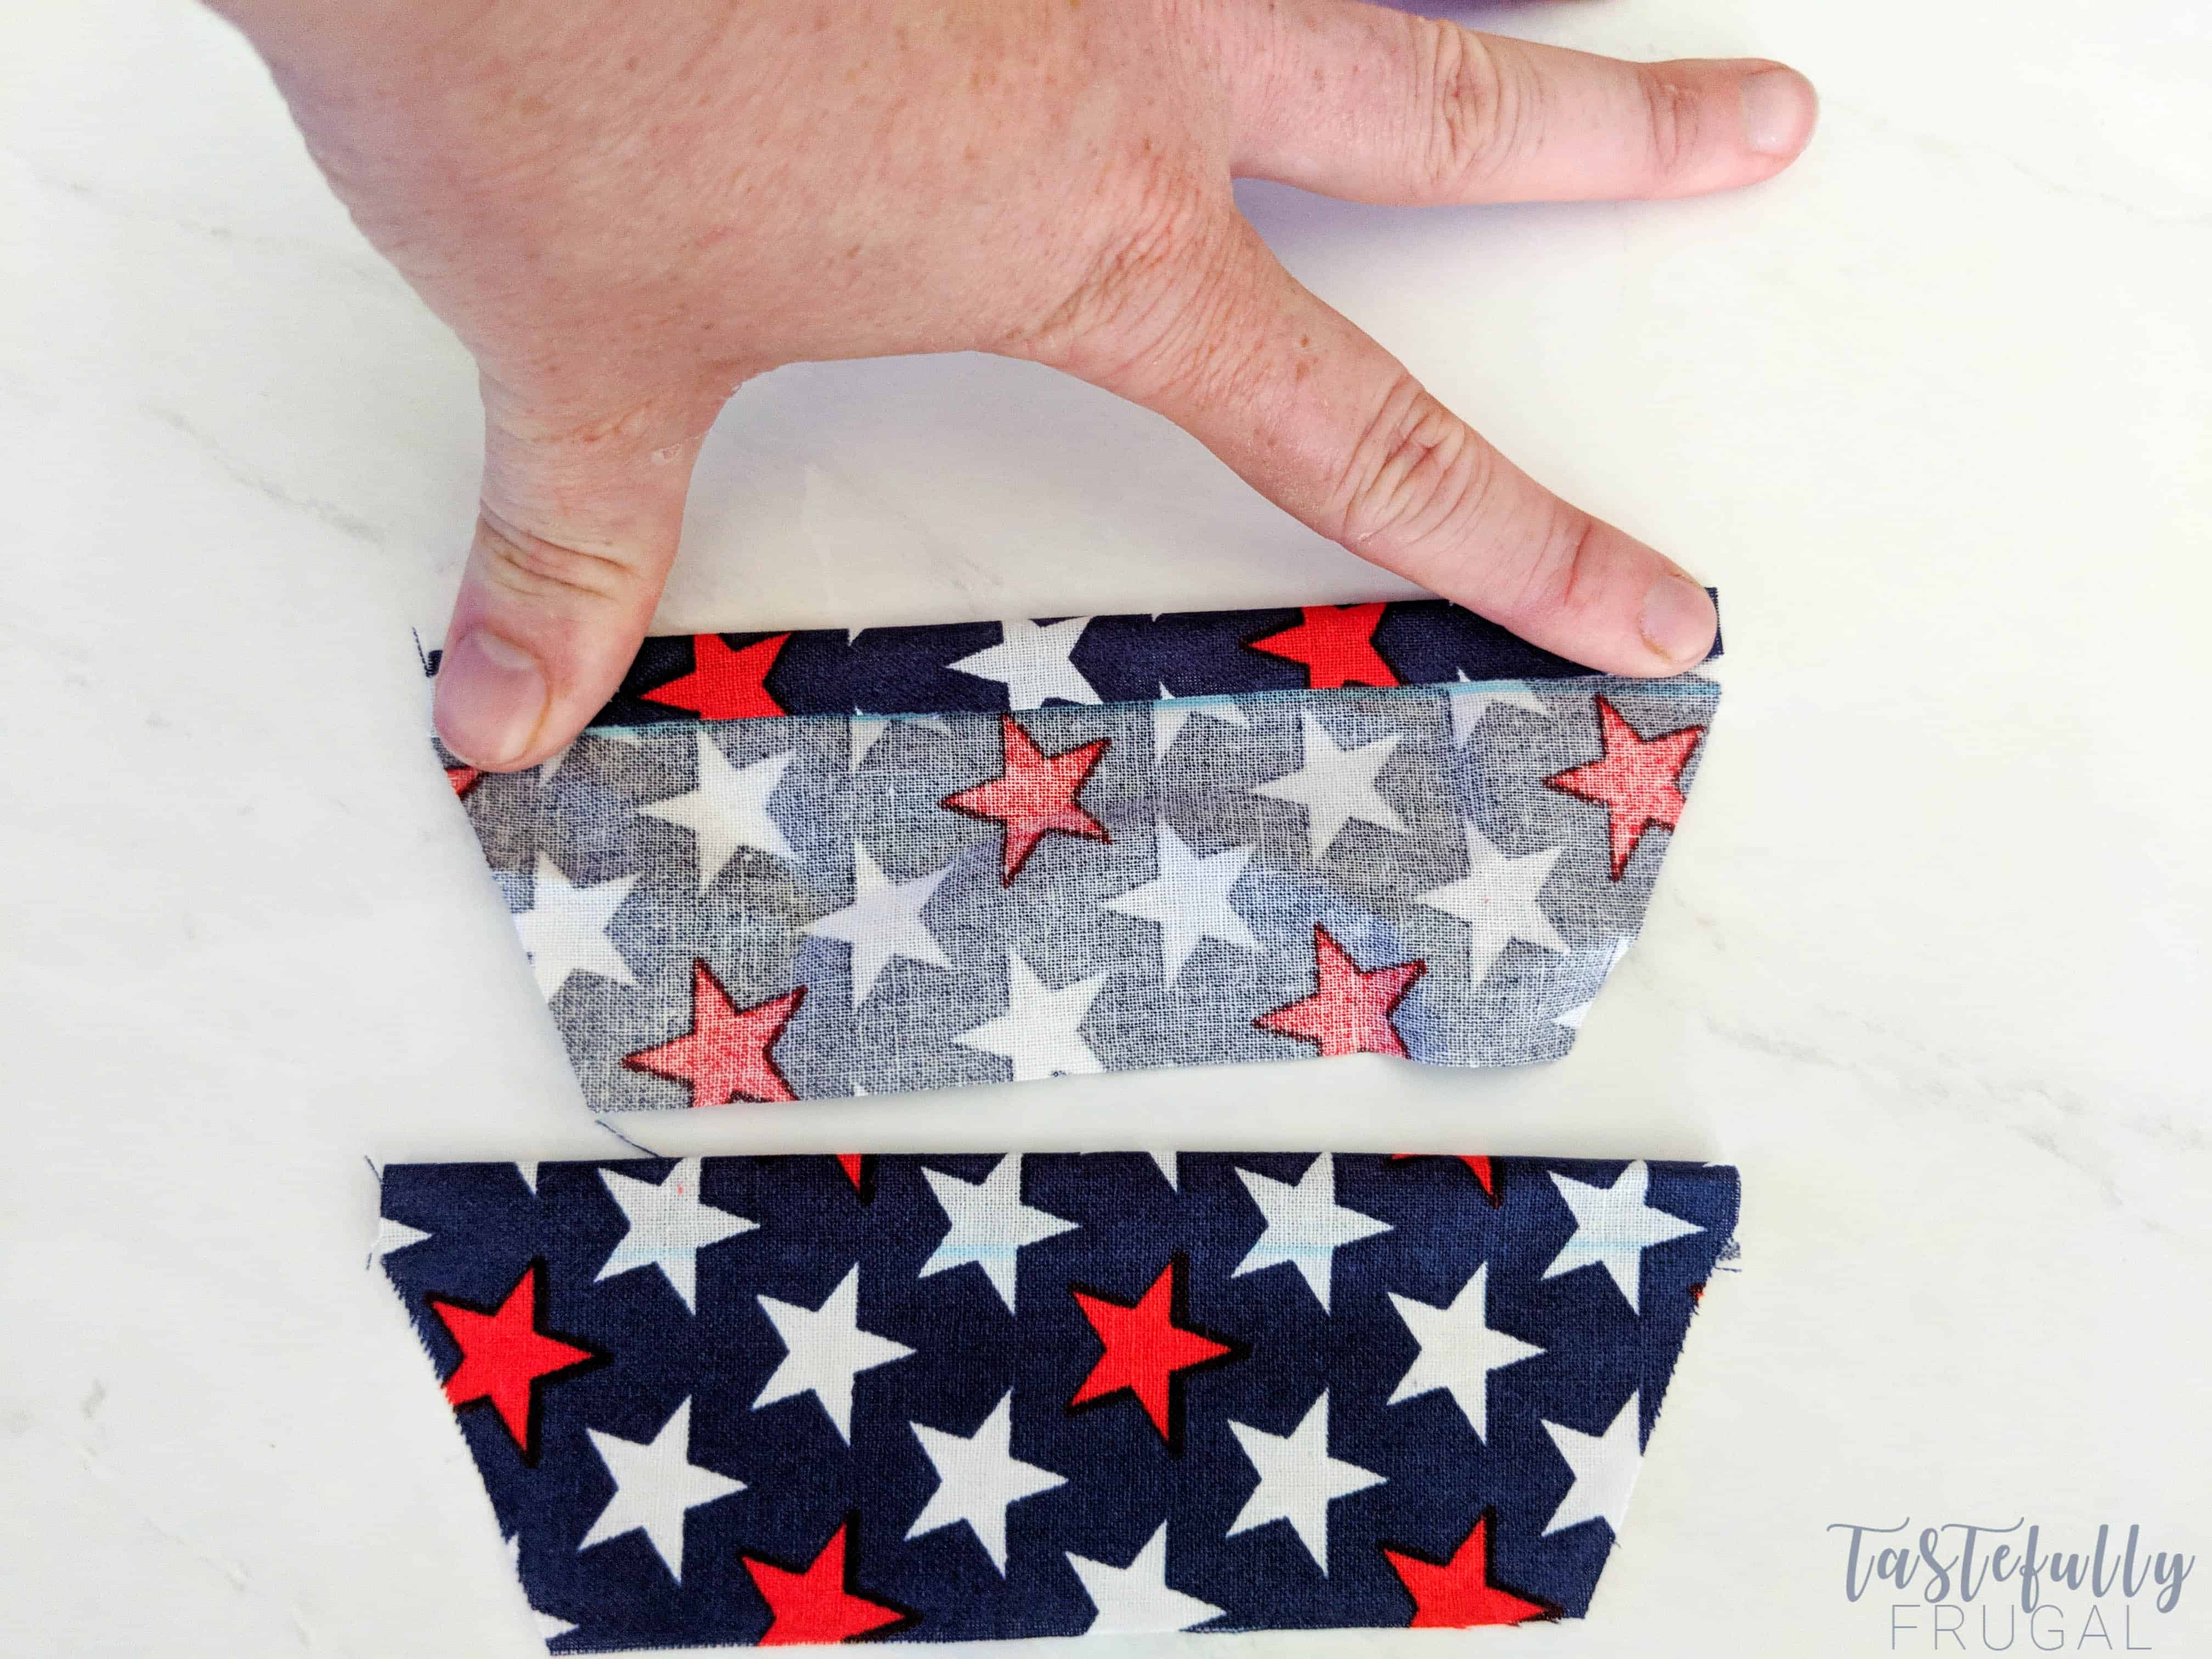
Fold over the top part of your banner to the blue line made by the fabric marker and iron to make sewing easier.
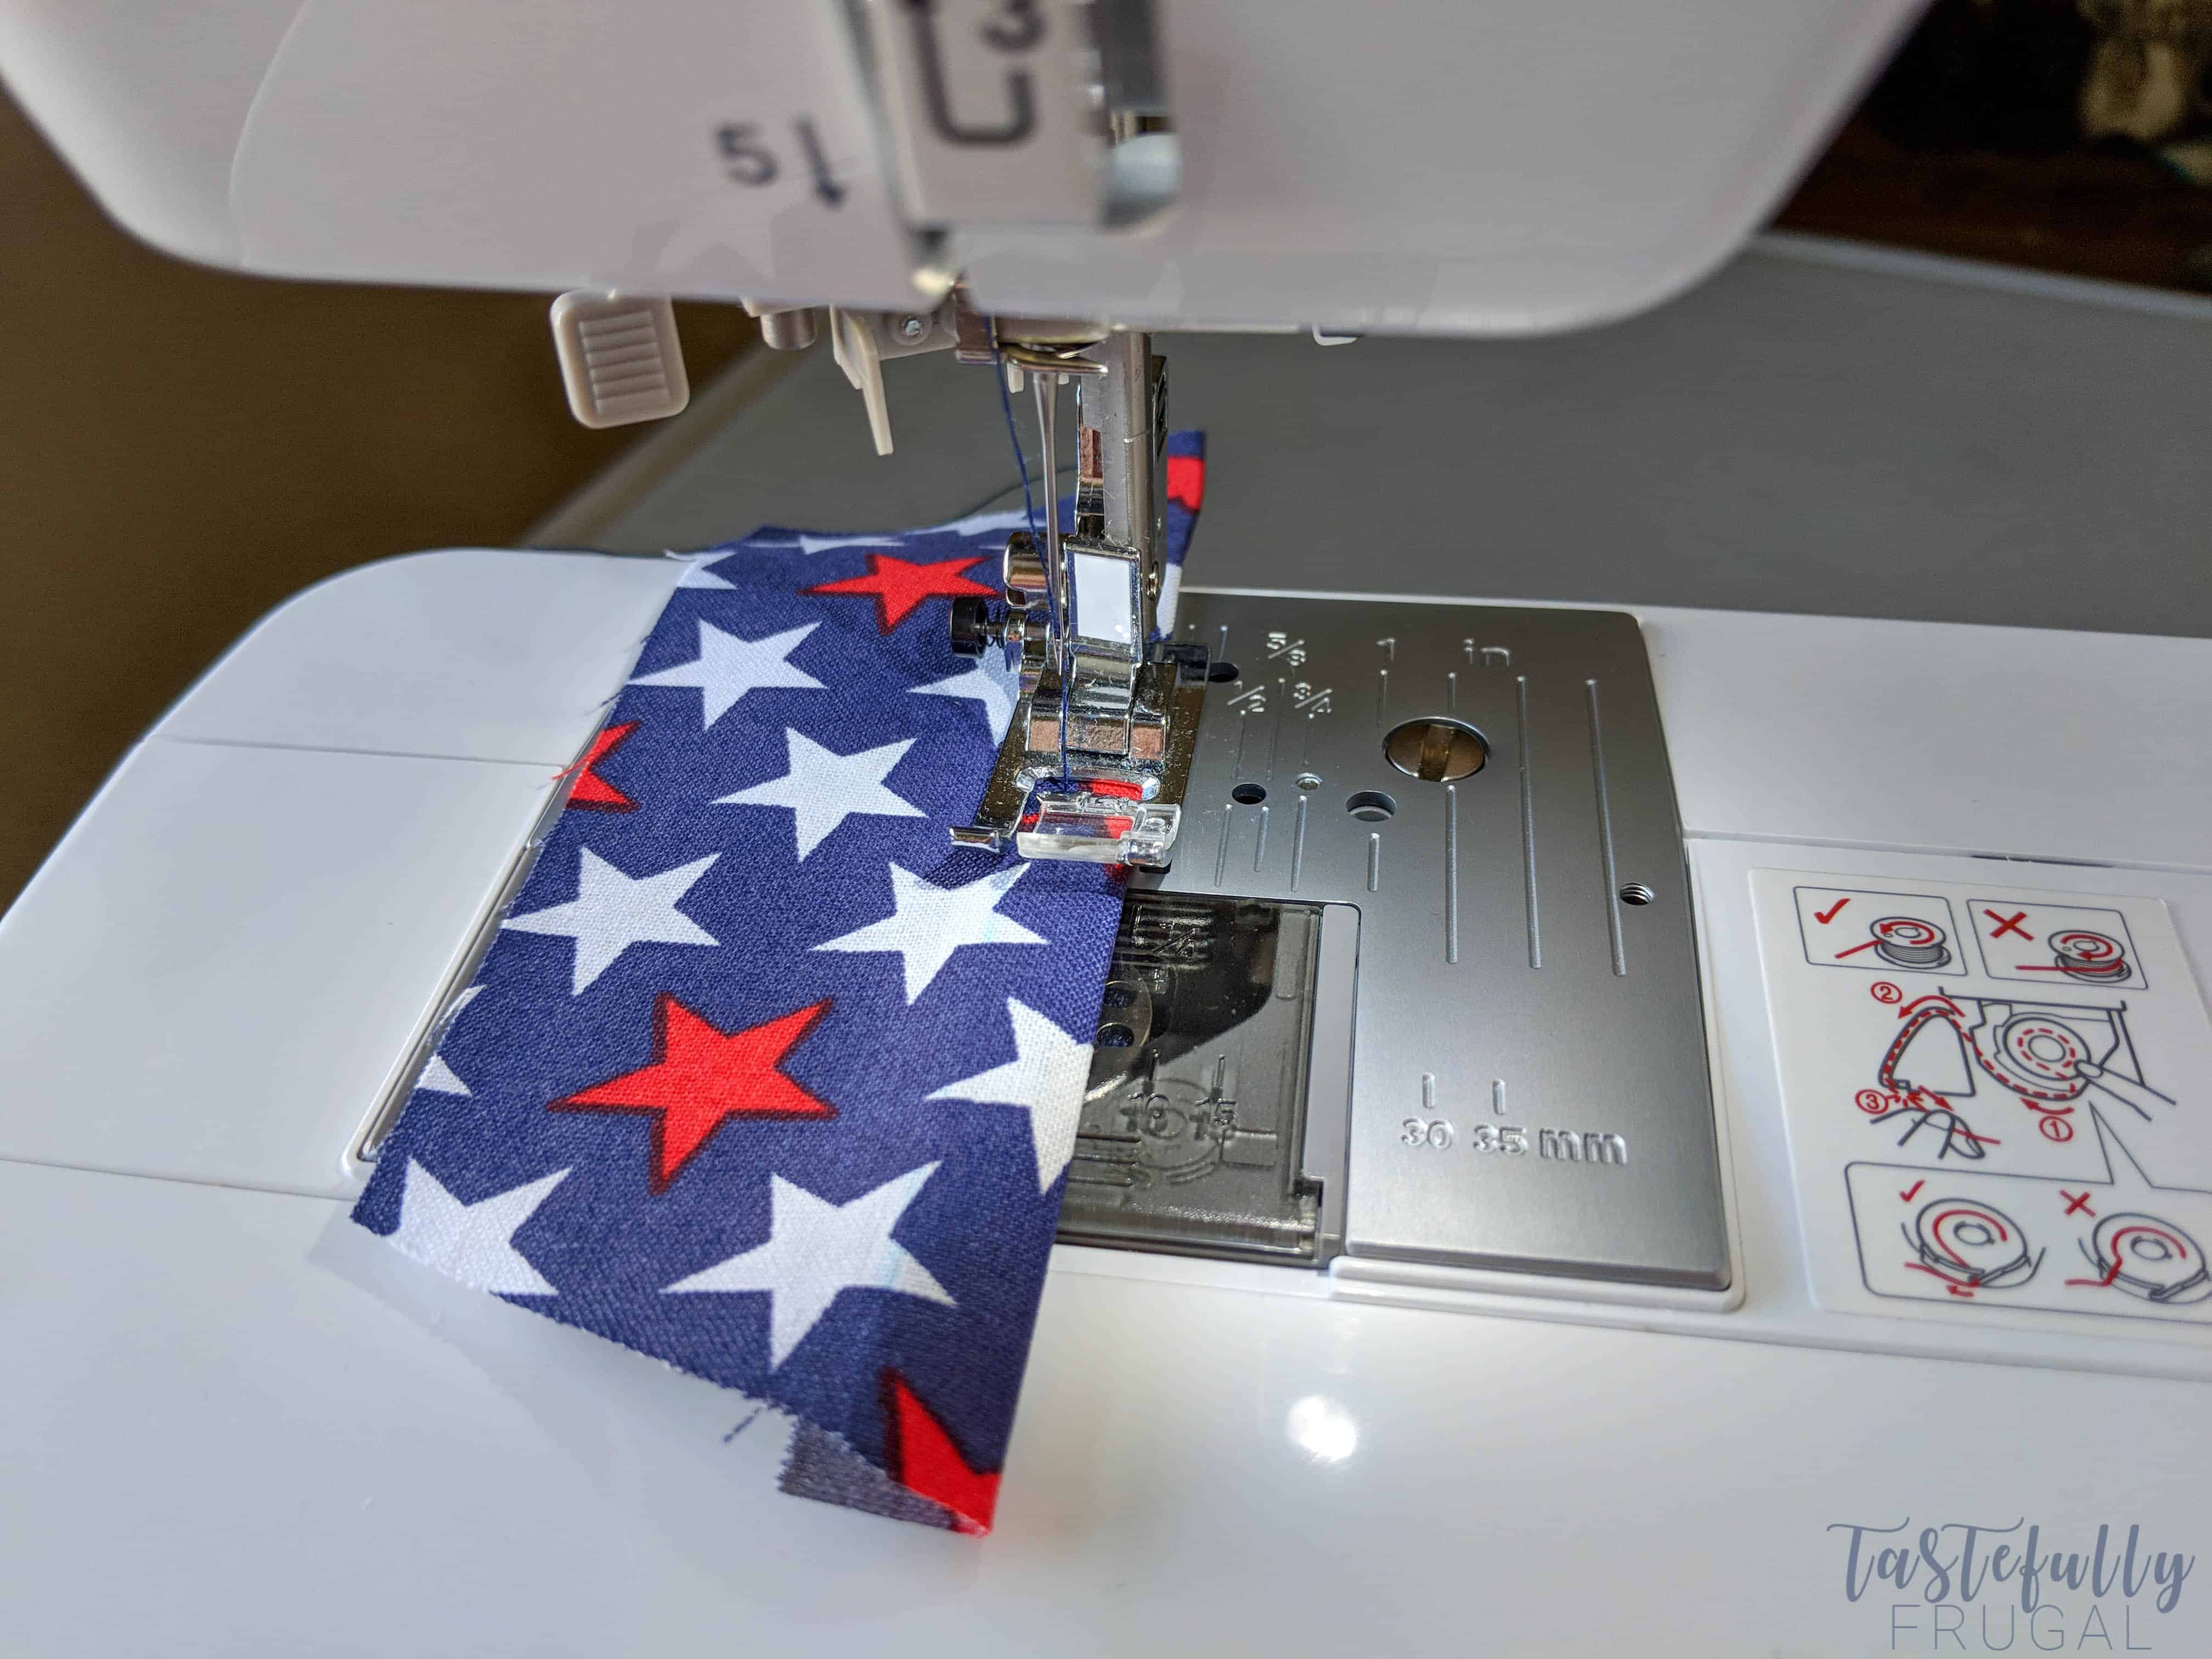
Sew the top part of the blue fabric down so you have a loop for the string.
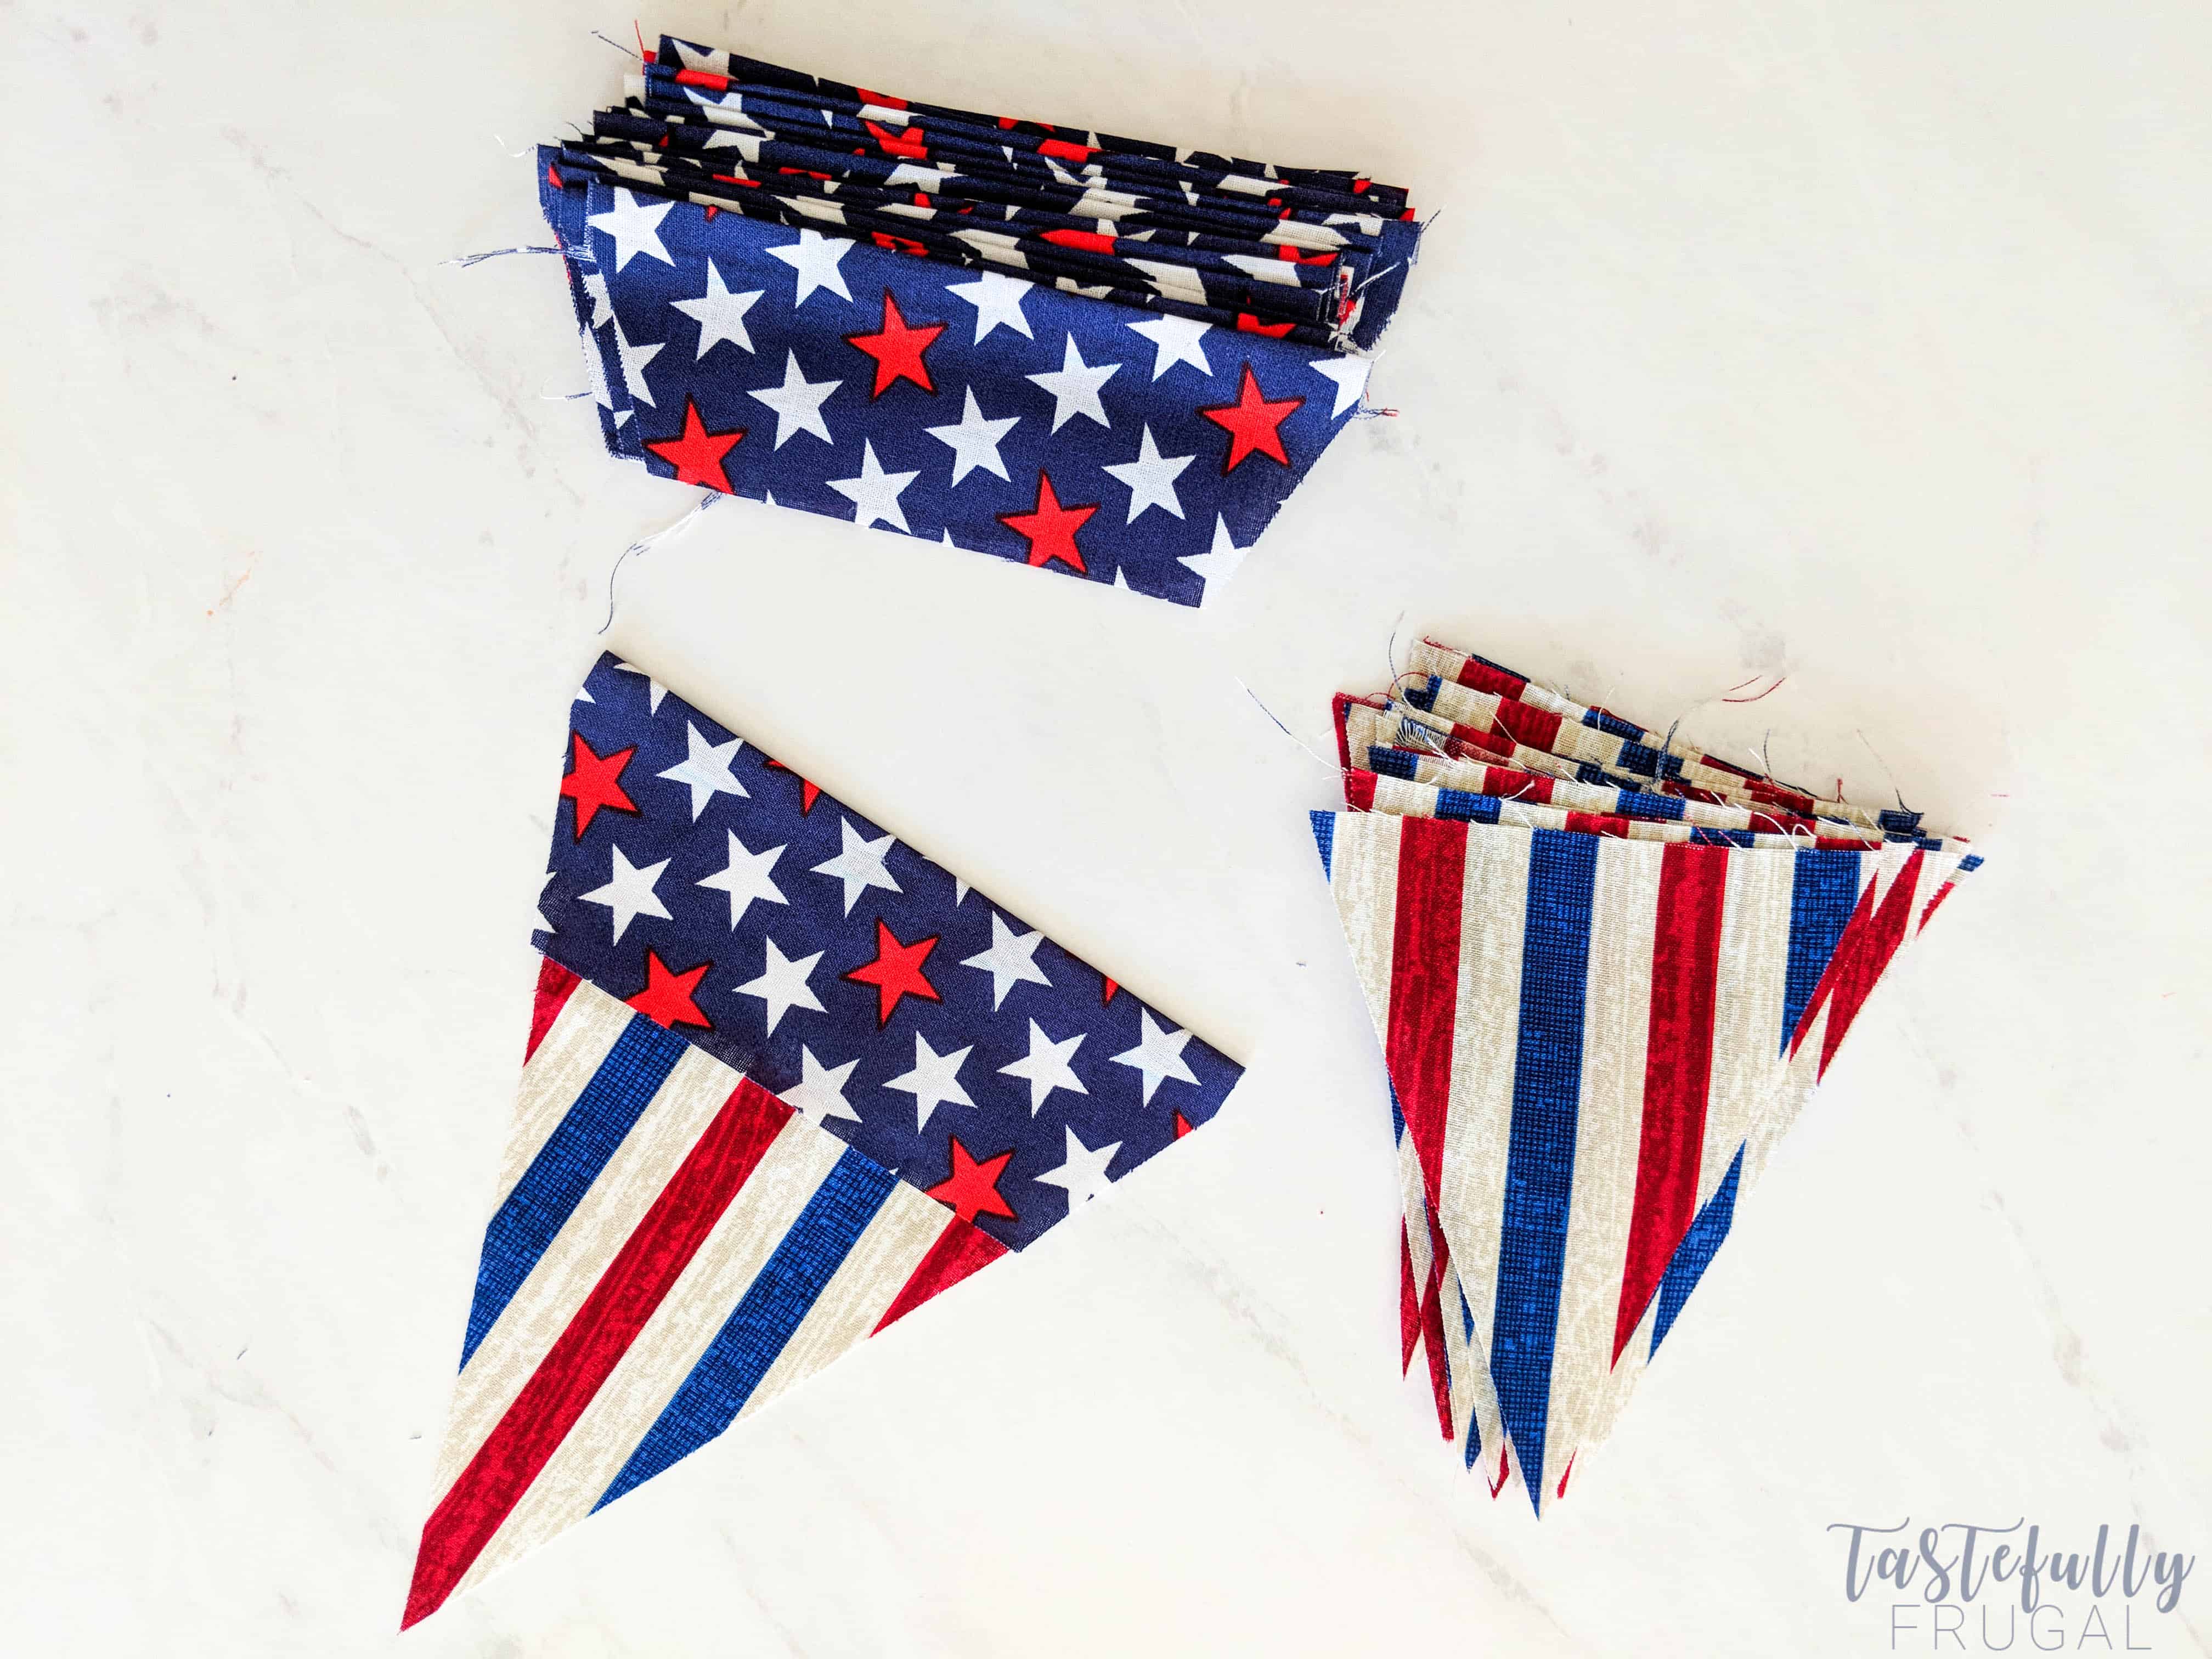
Sew the bottom part (the triangles) to the top part of the banner.
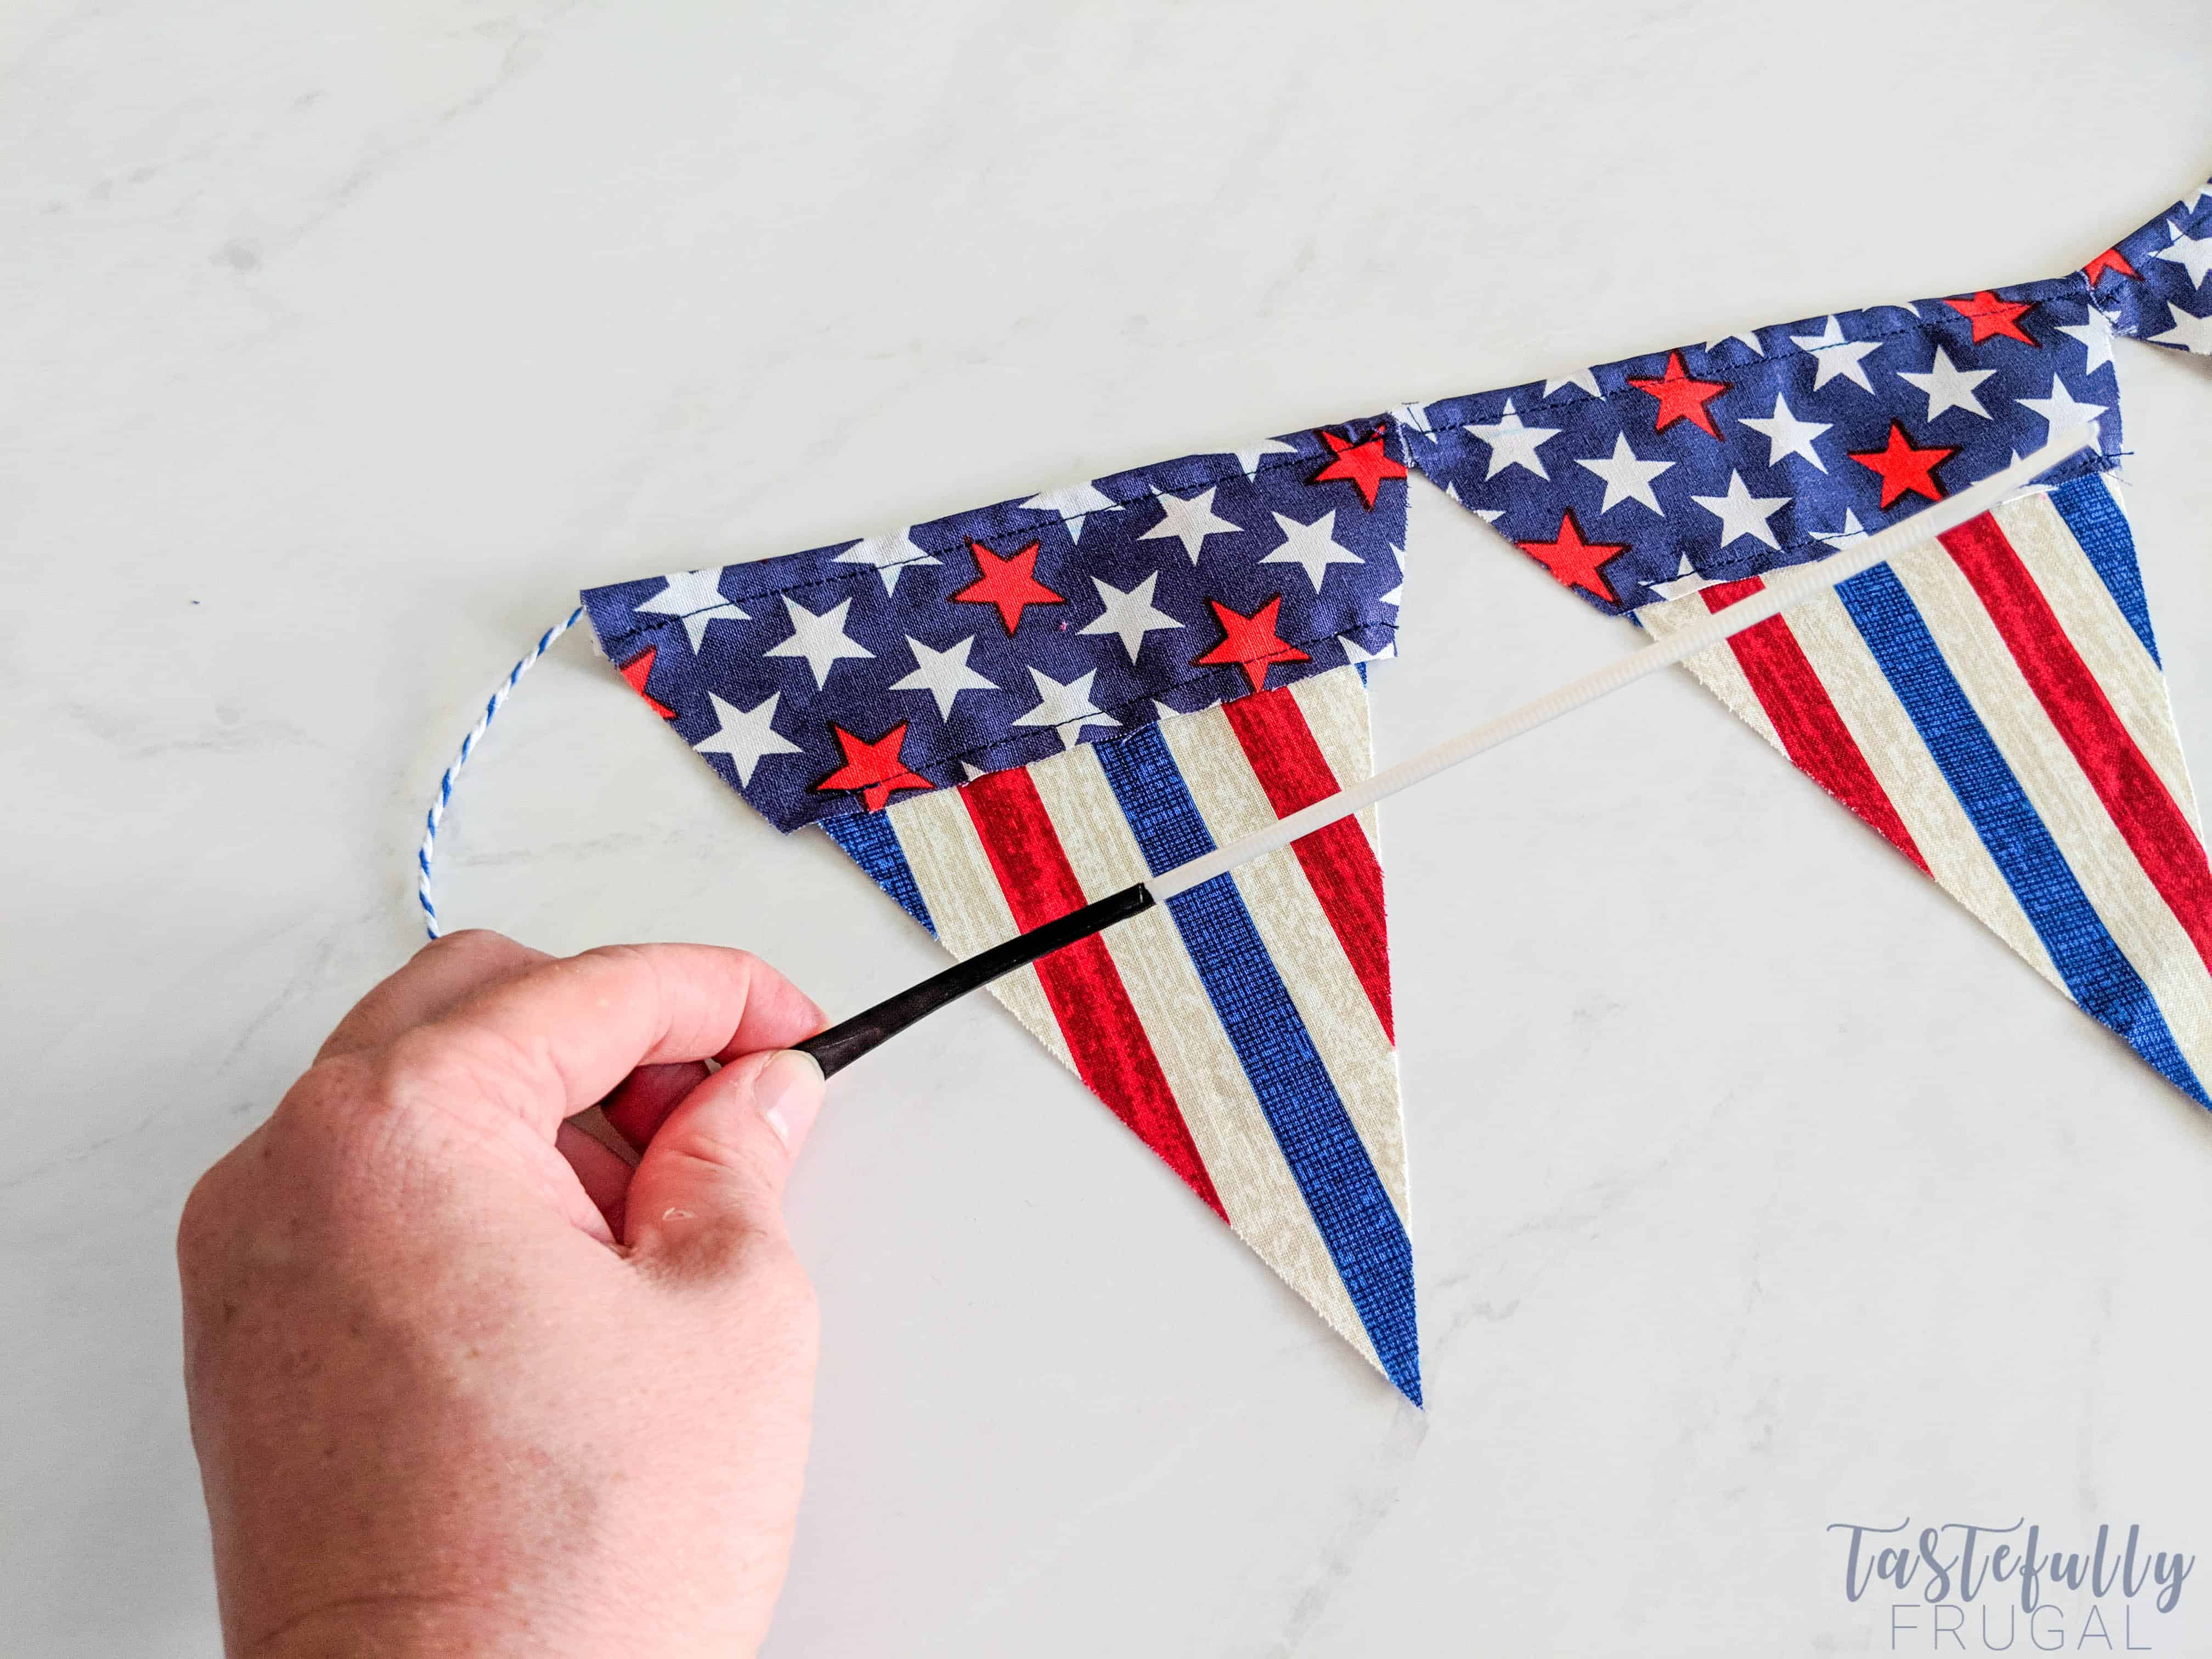
Use a zip tie or long crochet needle if you have it to thread string or twine through banner.
I LOVE how this banner turned out and can’t wait to make similar banners for other holidays! Check back tomorrow and Friday for more patriotic decor and treats!
If you’d like to check out more ways you can use Cricut products check out these posts! Need help with your Cricut? Join our Cricut Support Facebook Group!
This is a sponsored conversation written by me on behalf of Cricut. The opinions and text are all mine.



Leave a Reply