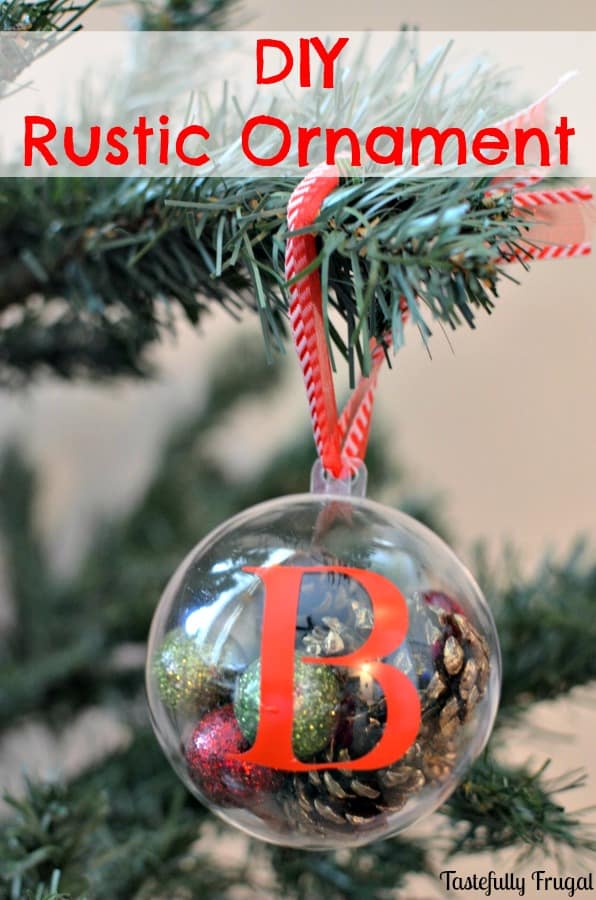
Make this rustic looking Christmas ornament for less than $5 and check out the 2015 Ornament Exchange.
Yes I know it’s only the second day in November but I am so excited for Christmas I couldn’t wait to start sharing some of the fun and frugal Christmas decorations I am creating this year. I’m also excited to tell you about the Ornament Exchange hosted by Erlene at My Pinterventures. Over 80 bloggers have gotten together to create and exchange ornaments this holiday season. I got teamed up with one of my new favorite bloggers, Emily from Our House Now A Home, and couldn’t wait to make something special for her and her family. Emily is getting a sneak peak of her ornament today because I dropped the ball (but not the ornament 😉 ) and am just shipping it today.
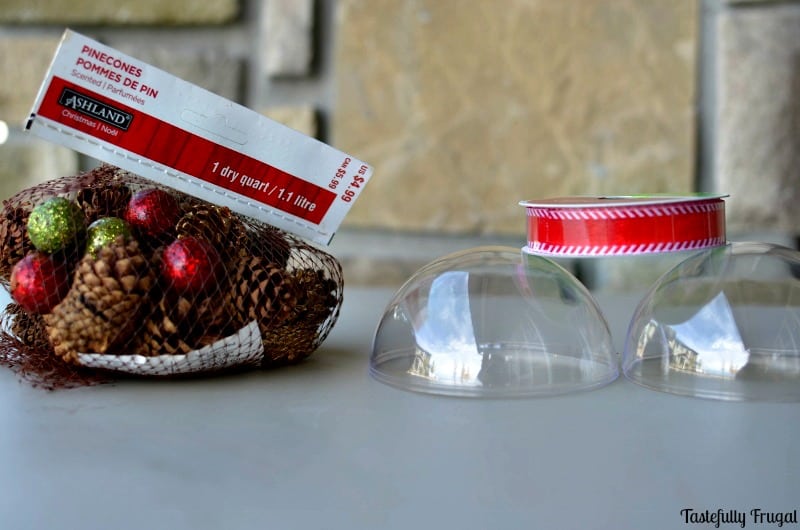
To keep with Emily’s overall theme of traditional Christmas colors and incorporating nature I knew I wanted to include pine cones somehow. I didn’t know what else I wanted to add but knew I wanted pine cones. So I headed to the one place my creativity blooms the most, Michael’s. I found a pack of pine cones and cinnamon sticks. Some of the pine cones were painted gold and there were also green and red balls in the pack. Not only was this EXACTLY what I was looking for but it was also 50% off too making it only $2.50! I picked up a Clear Plastic Ornament too and headed home to put together my ornament. The only other thing you’ll need is ribbon to hang your ornament.
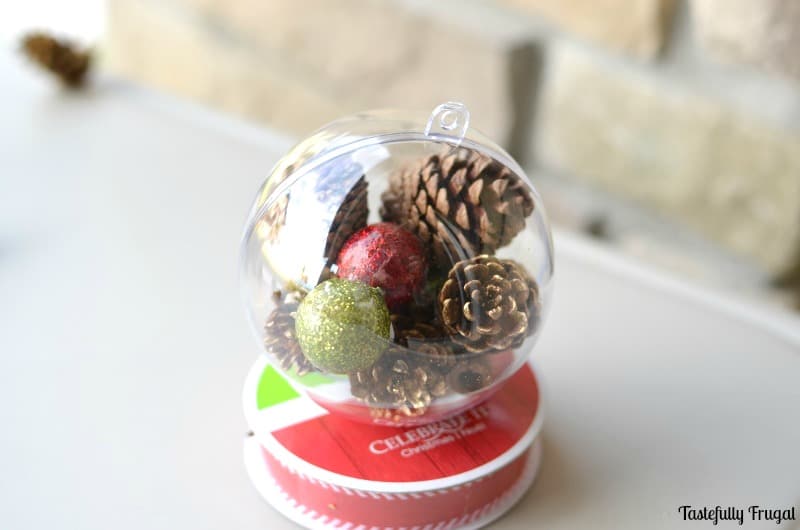
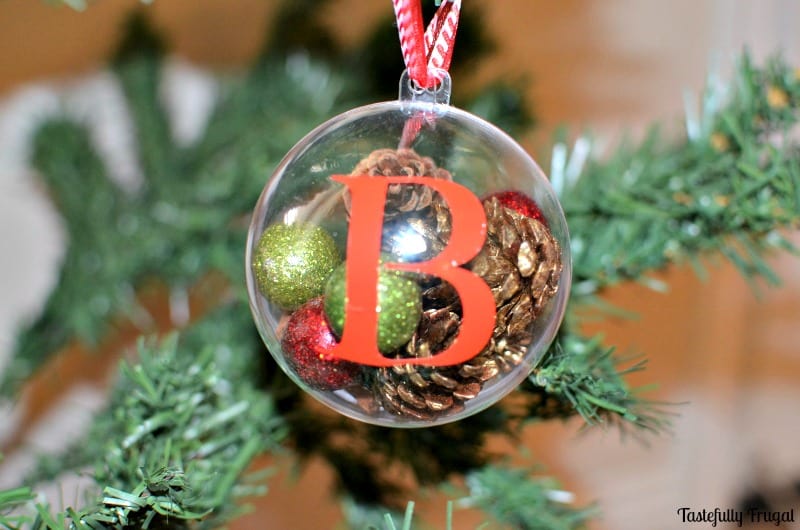
To make: Fill the ornament with as many pine cones, cinnamon sticks and decorative balls as possible and close. Tie a ribbon to the top and you’re done. I added a B to the ornament (Emily’s last initial) using my Cameo too. All in all it took less than 5 minutes to put this ornament together and it turned out better than I could have imagined. Plus it made my house smell amazing too. If you have little ones around I would definitely recommend sealing the ornament with super glue (don’t worry Emily I already did that for you) to keep your contents from being spilled out twenty billion times a day. No exaggeration there by the way. I made one of these for our house too and it has been opened at least that many times in the last three days.
Do you have a color or theme for your holiday decorating? I’d love to hear about it! And don’t forget to check out the other ornaments these crafty ladies made:


Ellen says
Very cute idea! My mind is racing with all of the pretty things you could fill this ornament with.
Pili says
Hi, Sydney! I love your ornament! Those colorful glittered balls are divine, and together with the pinecones look great.
Hugs,
Pili
Erlene says
Love that this is so simple and I can actually use pine cones I find in the neighborhood for these.
Laura Gunn says
Just popping by as I too am participating in the ornament exchange. What a delightful ornament. You are truly clever and crafty.
Hil says
What a nice ornament! Your partner should be happy with it.
I am so excited to be a part of this exchange too and see all the ornaments everyone is exchanging!
Amy Patterson says
Hello i just stopped by to see your ornament i am part of the ornament exchange.
I just love how you placed the little things inside of the glass ornament i think it turned out very pretty.